Hi Readers.
Last week I saw a question on the D365 forum, Filter Power BI Report on a Item in the item list. – Dynamics 365 Business Central Forum Community Forum.
Because I am not very familiar with Power BI, I checked the BC standard code. Since there is no way to pass parameters to Power BI, it is judged that it cannot be done.
Later, after Steven’s reminder, it was possible at this time. More details: Display Custom Power BI Reports – Business Central | Microsoft Learn.
So in this post, I would like to try how to create Power BI Reports for displaying list data in Business Central. If you are willing to learn new things about BC like me, please read on.😁
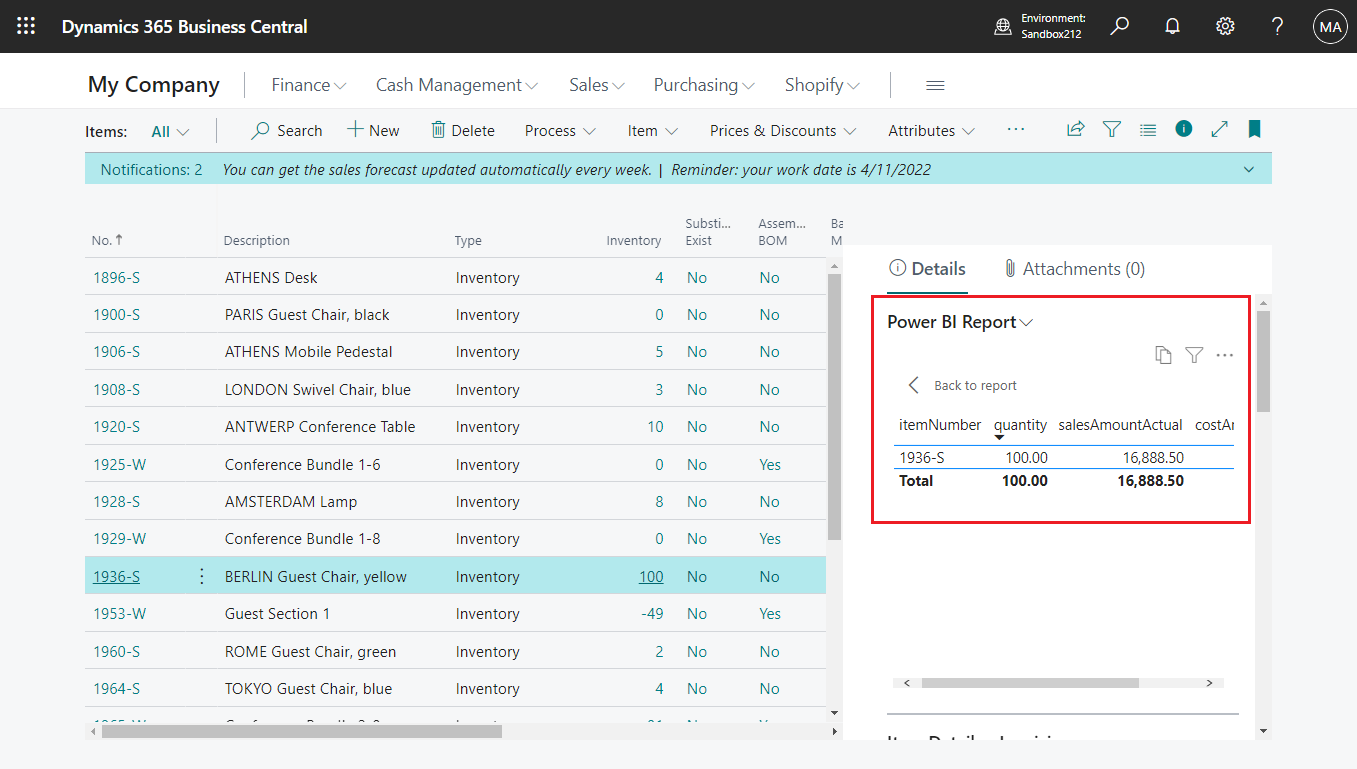
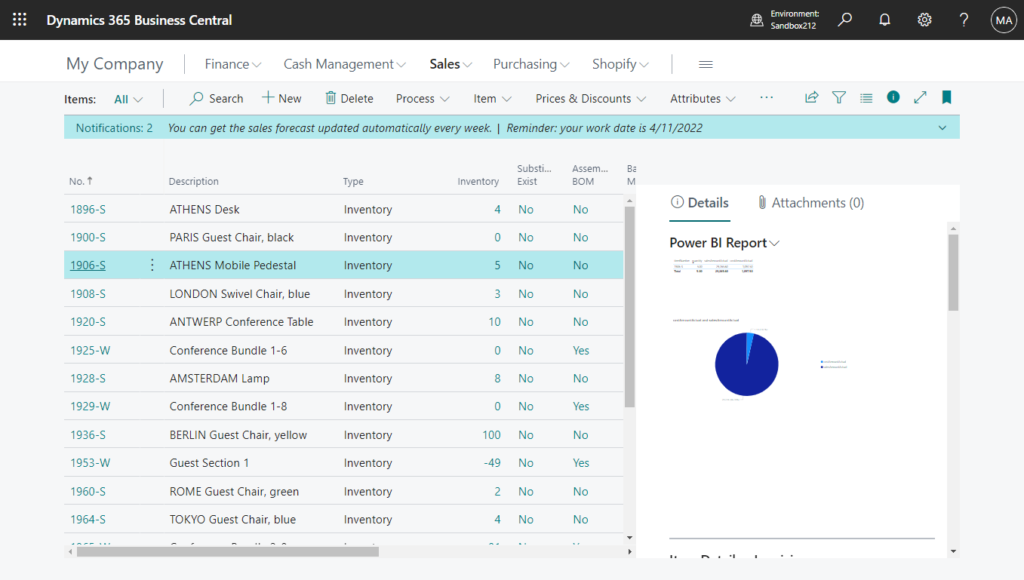
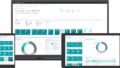
Dynamics 365 Business Central includes a Power BI FactBox control element on many key list pages. The purpose of this FactBox is to display Power BI reports that are related to records in the lists, providing extra insight into the data. The idea is that as you move between rows in the list, the report updates for the selected entry.
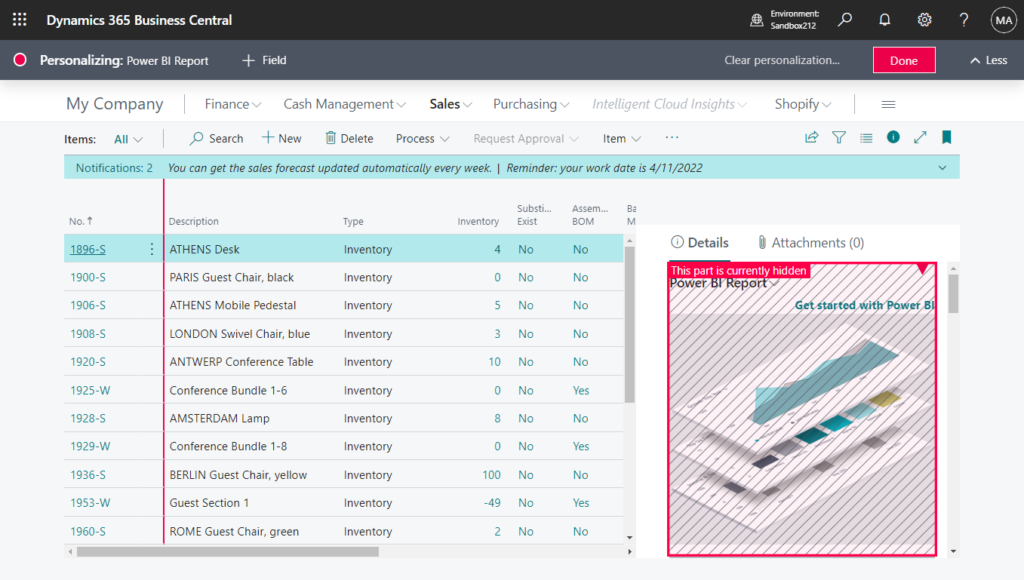
More details: Rely on personalization to show or hide Power BI parts on lists (New Power BI FactBox)
Prerequisites
- A Power BI account.
- Power BI Desktop.
Create a report for a list page
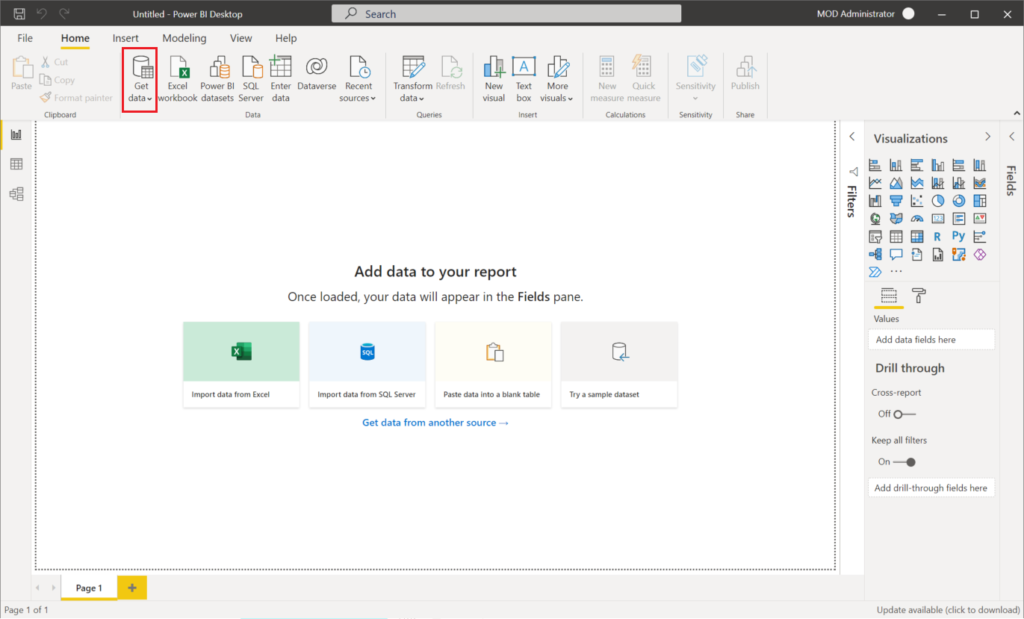
1. Start Power BI Desktop.
2. Select Get Data, and start choosing the data source for the report.
For more information, follow the instructions Add Business Central as a data source in Power BI Desktop.
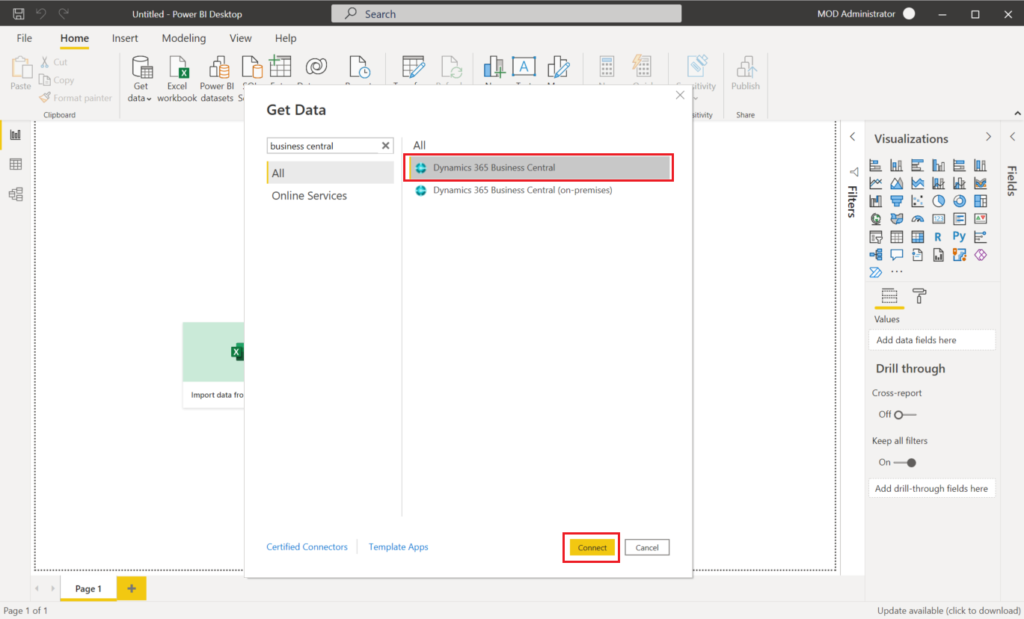
I want to add a Power BI test report to the Item List, so here I choose itemLedgerEntries.

3. Design the report layout.
Create the layout by dragging fields and adding visualizations. For more information, see, Work with Report view in Power BI Desktop in the Power BI documentation.

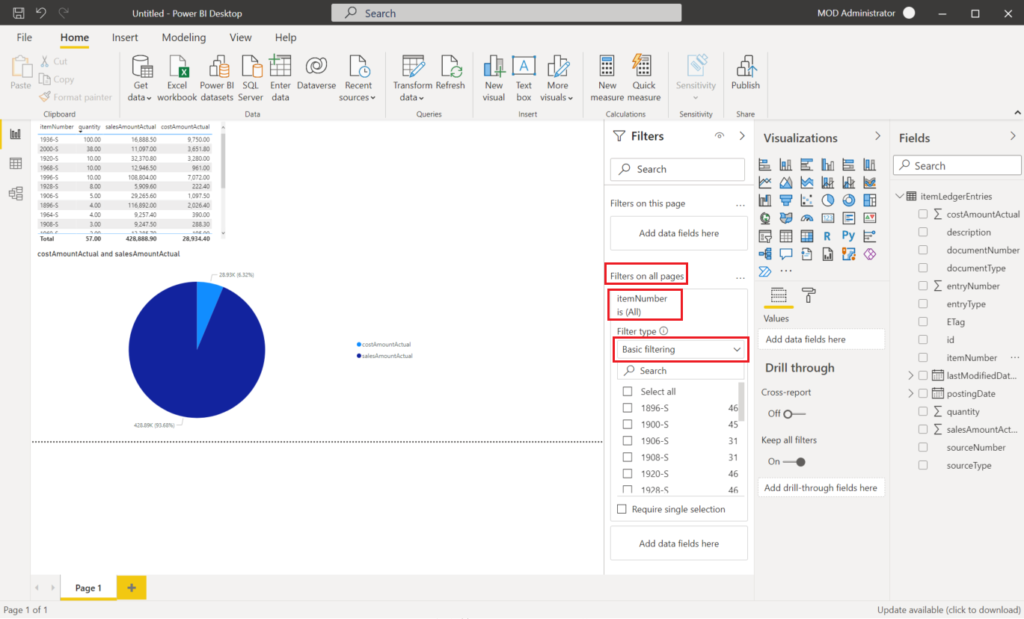
4. Set the report filter. (This is the most important step in this post)
To make the data update to the selected record in the list, you add a filter to the report. The filter must include a field of the data source that’s used to uniquely identify each record in the list. In developer terms, this field is the primary key. In most cases, the primary key for a list is the No. field.
To set the filter, do the following steps:
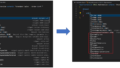
- In the Filters, select the primary key field from the list of available fields.
- Drag the field to Filters pane and drop it in the Filters on all pages box.
- Set the Filter type to Basic filtering. It can’t be page, visual, or advanced filter.
For example, itemNumber:
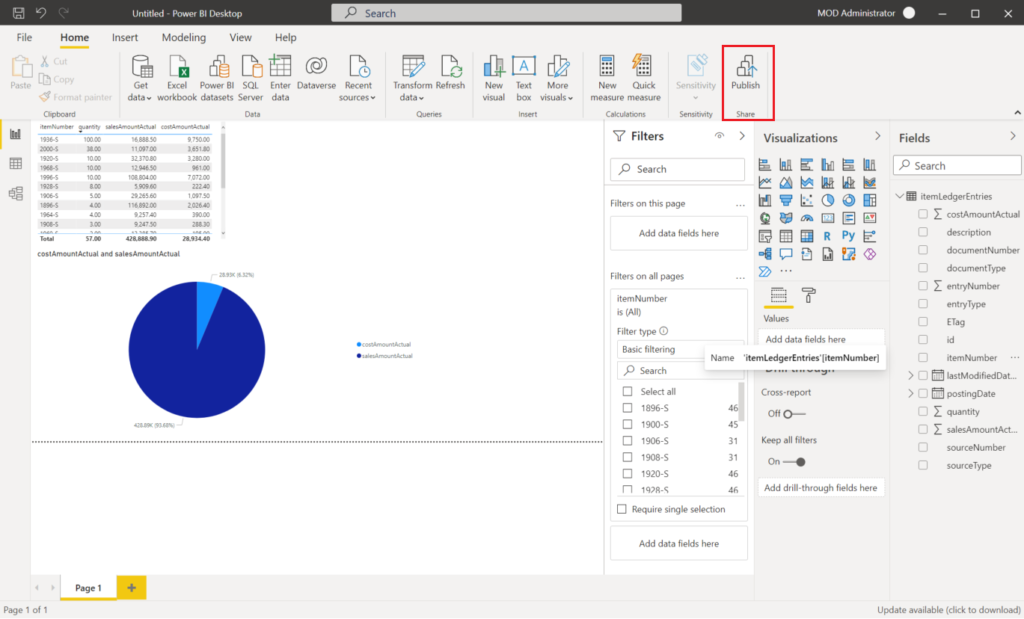
5. Save and name the report.
6. When you’re done, publish the report as usual.
For more information, see Publishing a Report.
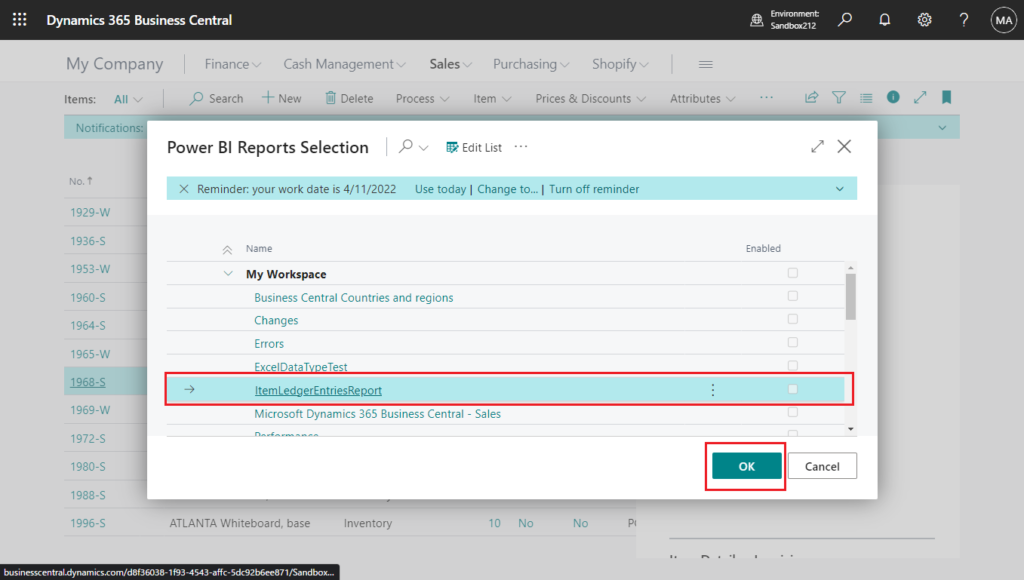
7. Test the report.
Once the report’s been published to your workspace, it should be available from the Power BI FactBox on the list page in Business Central.
Focus Mode:

Test Video:
Very simple, isn’t it? Give it a try!!!😁
More info about Power BI in Business Central:
- Rely on personalization to show or hide Power BI parts on lists (New Power BI FactBox)
- Allow multiple Power BI charts (Multiple “Power BI Embedded Report Part” on the page)
- Set Business Central data to show in Excel Organization Data Types Gallery (Featured tables in Power BI)
- Power BI app report (beta) on Dynamics 365 Business Central telemetry in Azure Application Insights (Dynamics 365 Business Central telemetry app)
END
Hope this will help.
Thanks for reading.
ZHU
コメント