Hi, Readers.
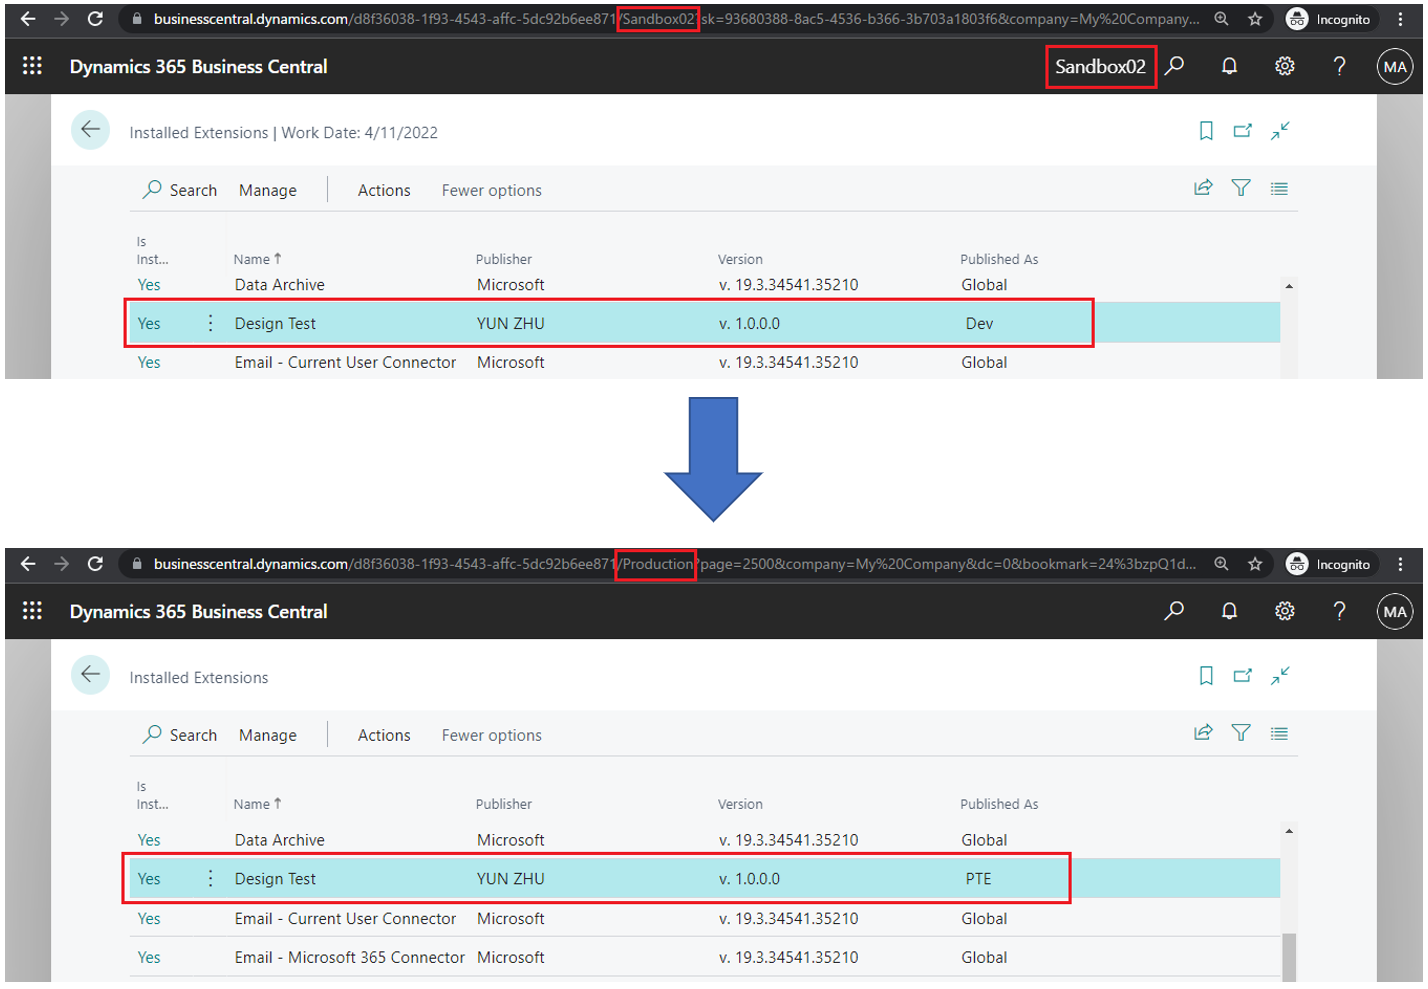
Today I would like to talk about how to deploy your Design Extension to production environment. This is not difficult for BC developers, but for end users or application experts, it may be not easy to start.
As you might know, Designer in Dynamics 365 Business Central complements the development experience in Visual Studio Code. It provides an easy and convenient way to make immediate changes to your design by dragging and dropping the components on the page.
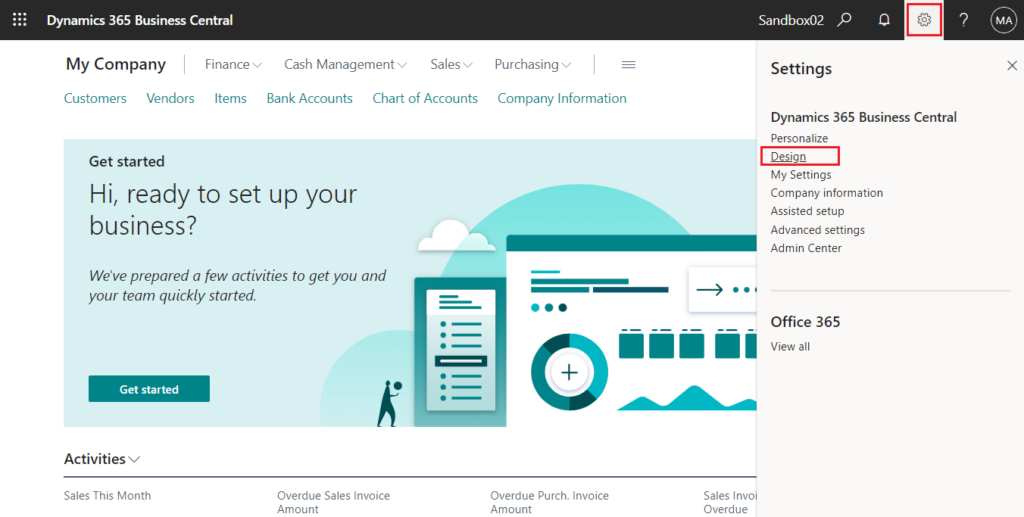
Designer is currently only available from a Dynamics 365 Business Central sandbox.
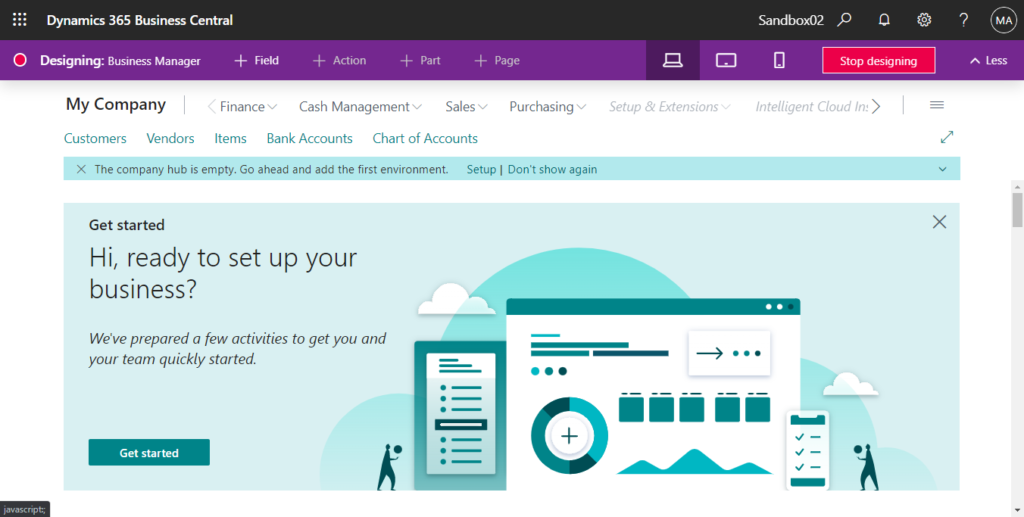
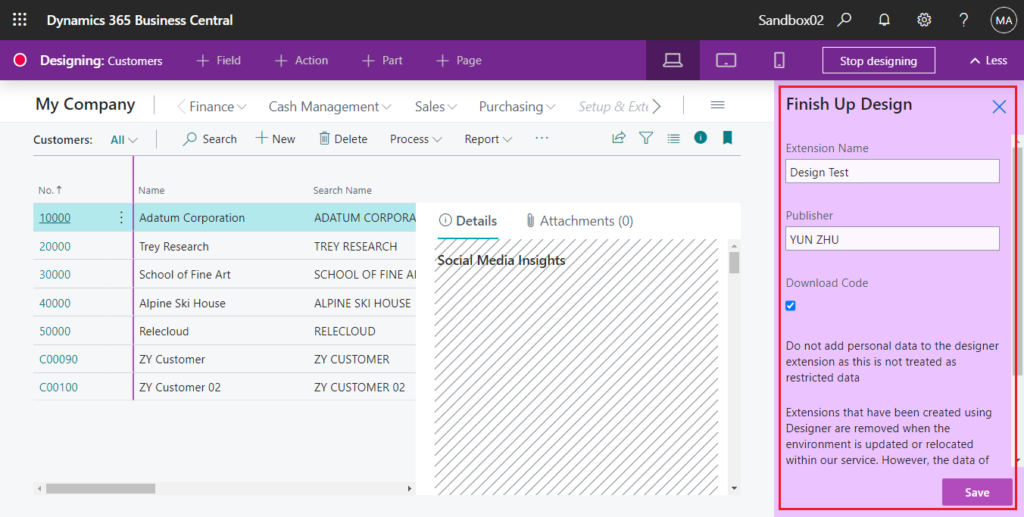
Every time you start designing, you’re effectively creating a new extension. Your changes are immediately visible to other users in the sandbox environment.
Extensions that have been created using Designer are removed when the environment is updated or relocated within our service. However, the data of the app is not removed, so you only have to re-publish and install the app to make it available. For more information, see this article on sandbox environments https://go.microsoft.com/fwlink/?linkid=2153804 .
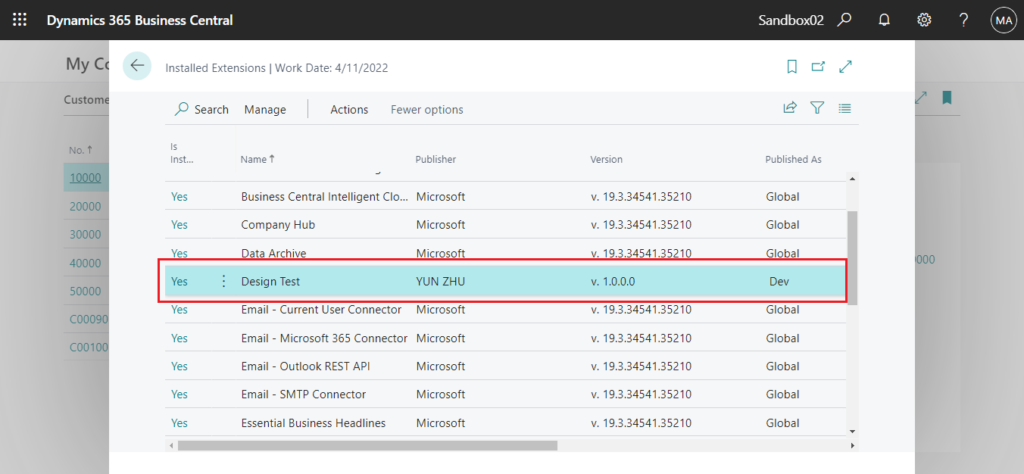
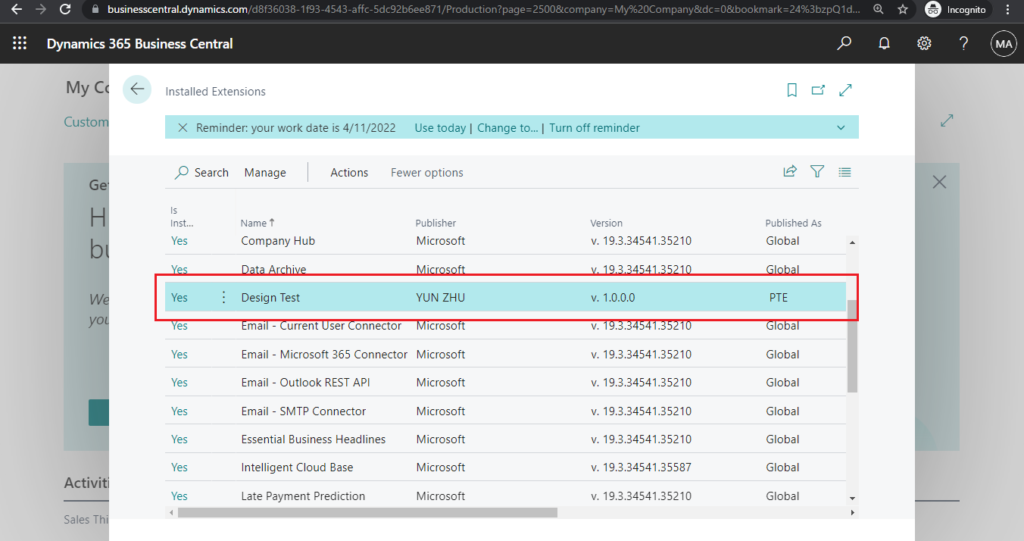
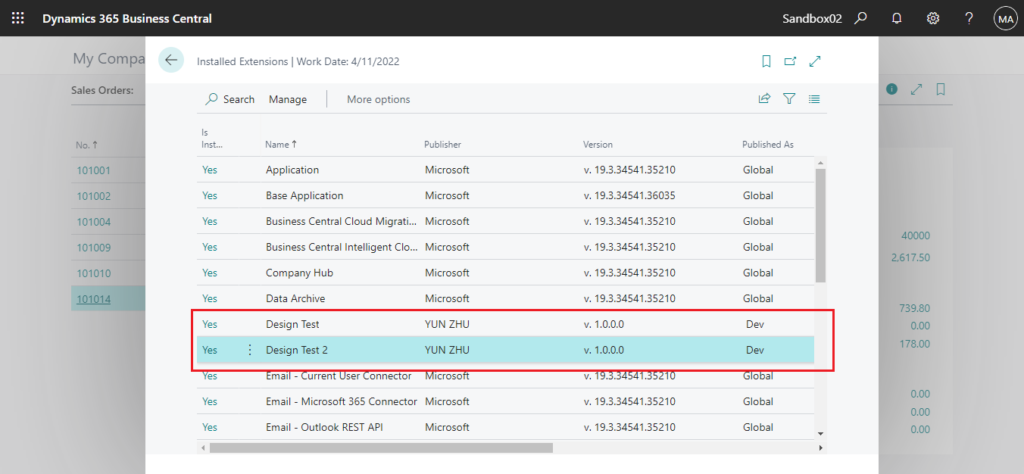
The scope of design extension is “Dev”. More detials: Link
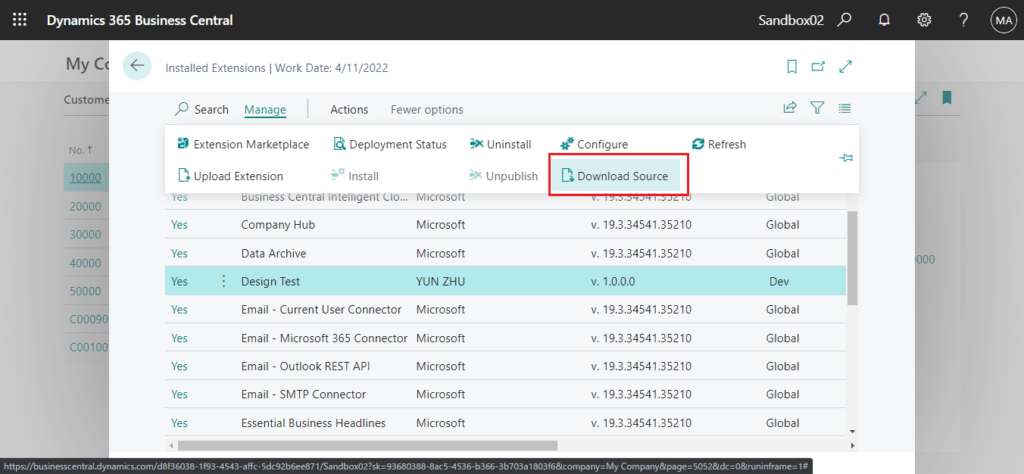
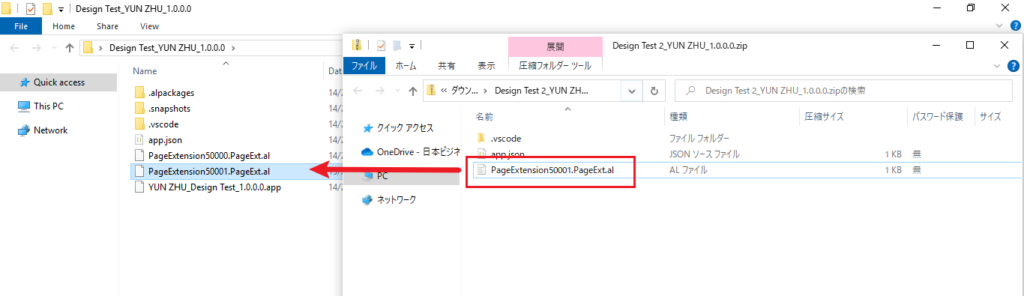
When you save a new design extension, you can select “Download code“, or you can choose “Download Source” to download source code for the extension on the Extension Management page.
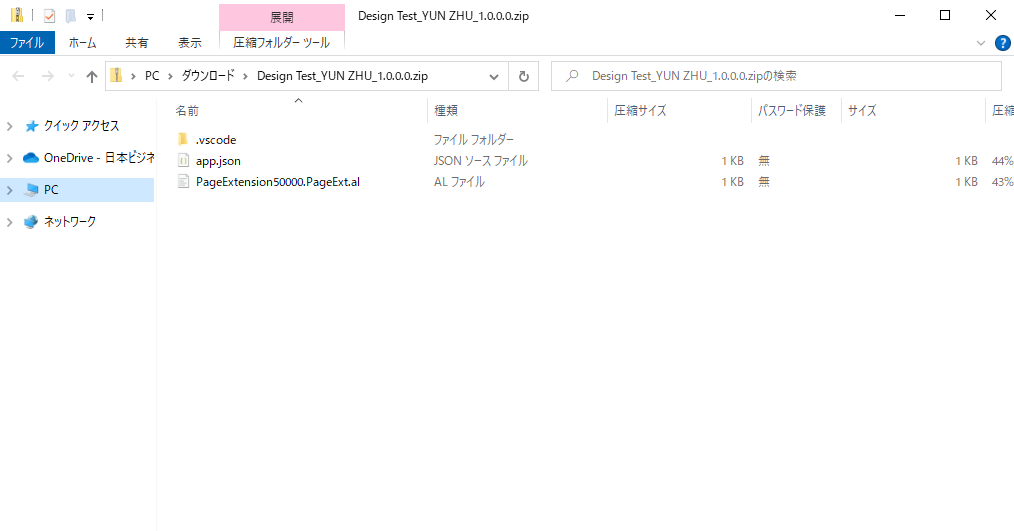
The extension will be downloaded as a zip file, and you can see the objects (PageExtension) inside if you extract it.
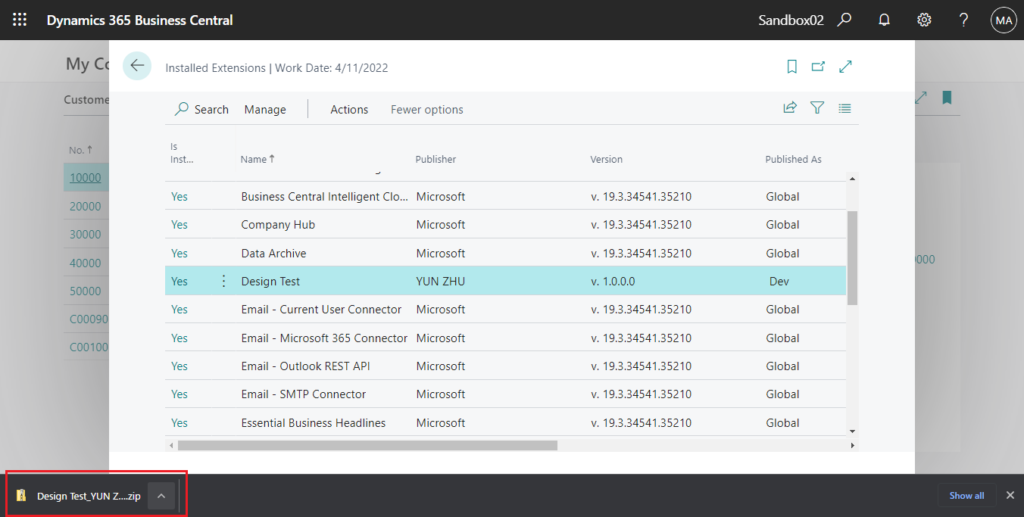
But there is no .app file inside. (Extensions are compiled as .app package files. The .app package file can be deployed to the Business Central production environment)
So how to deploy the Design Extension (.zip file) to production environment?
First we need to install the tools for BC customization.
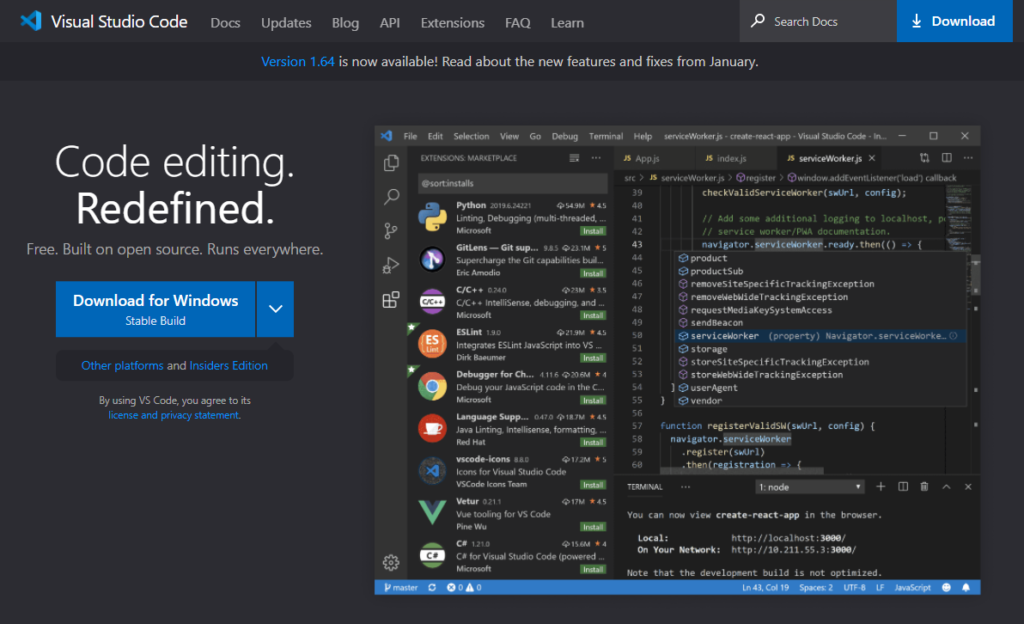
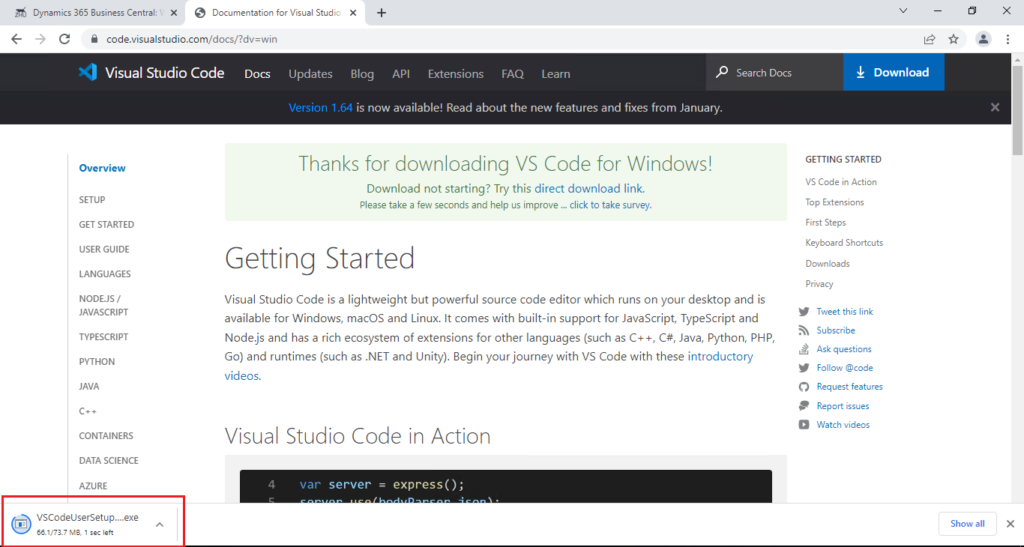
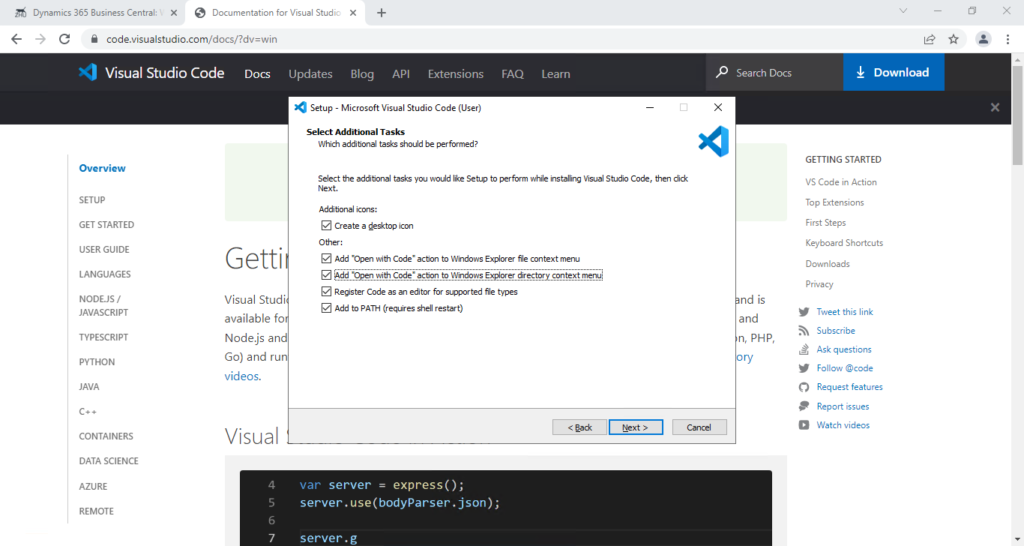
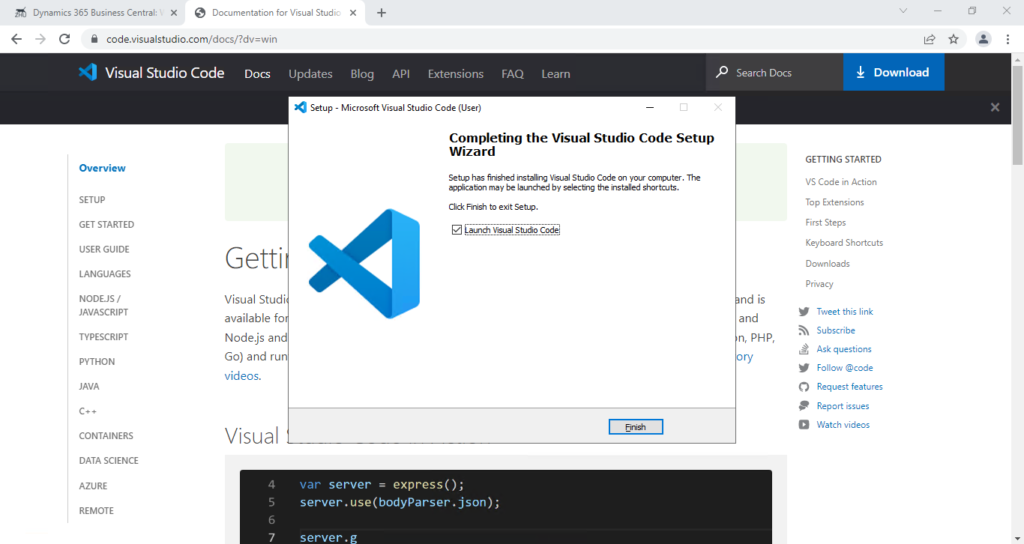
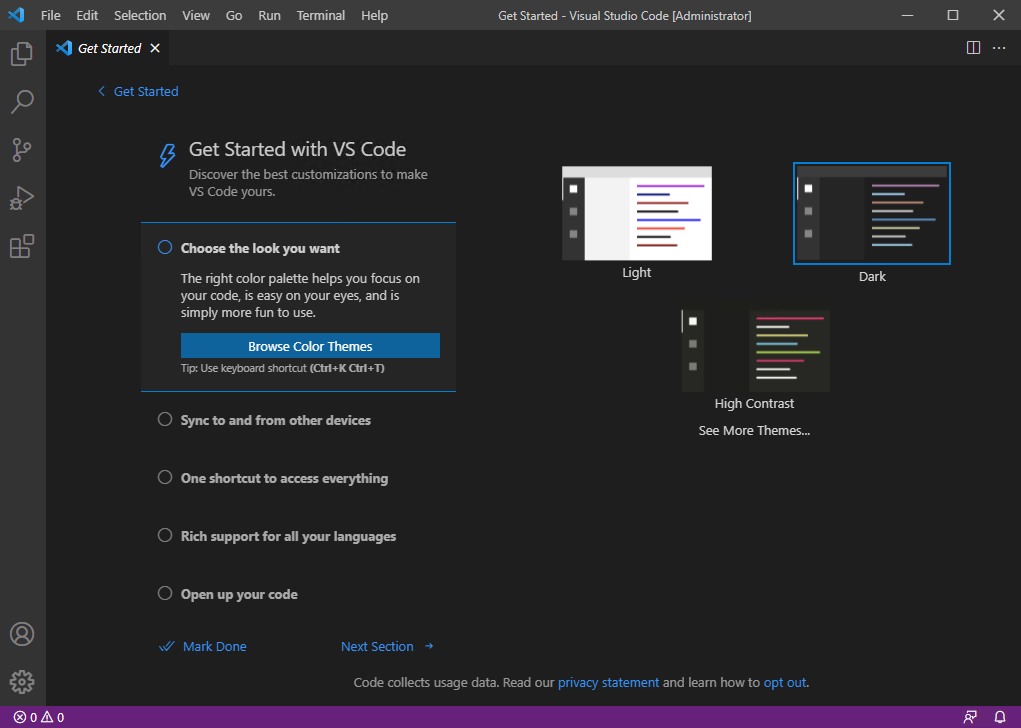
1. Visual Studio Code: Visual Studio Code is a source-code editor made by Microsoft for Windows, Linux and macOS.
Download and install.
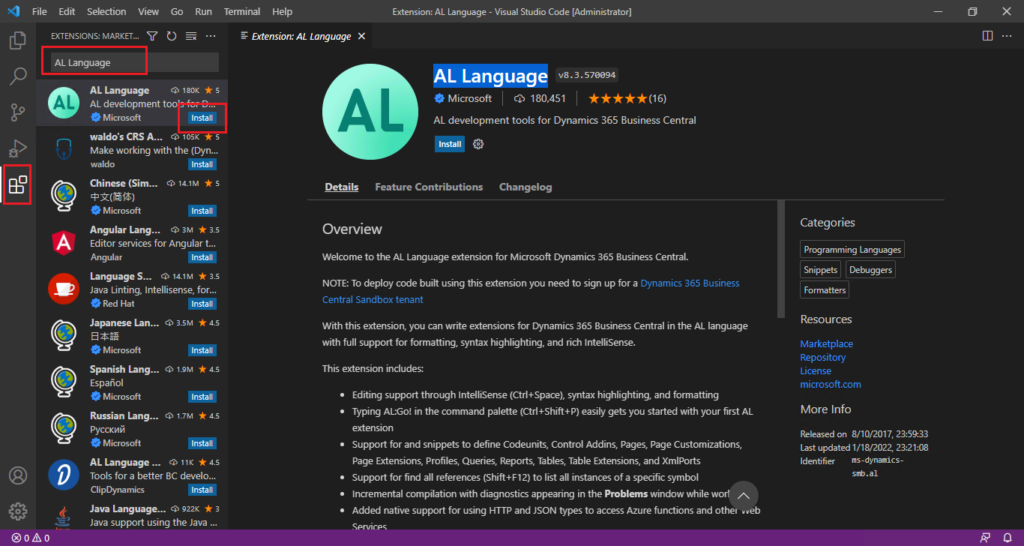
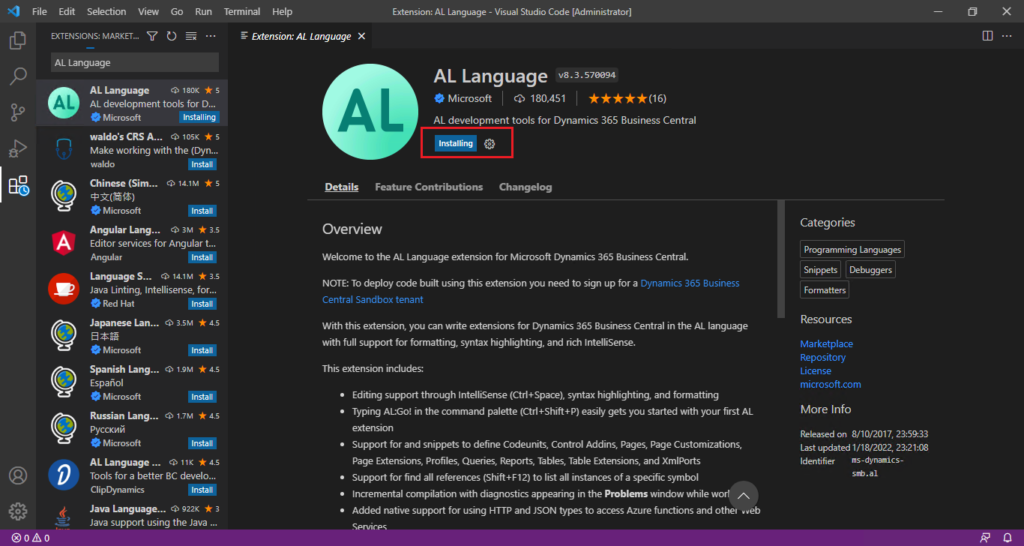
2. AL Language: AL development tools for Dynamics 365 Business Central
Search for AL Language in the Extension of VS Code and click Install.

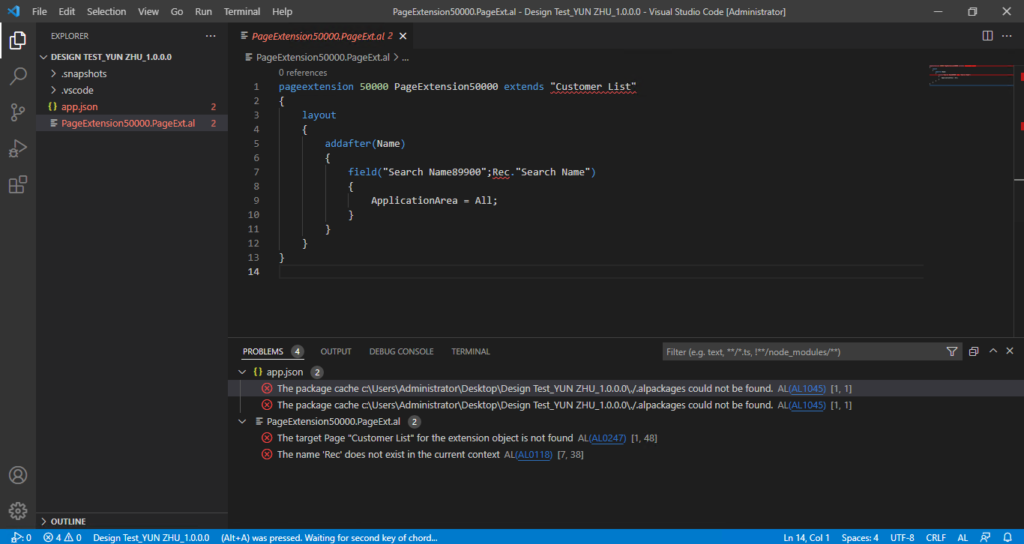
Then you can open the downloaded Design Extension folder with VS Code. And you will find that there are many errors in it. This is due to the missing Symbol files.
There are two methods next.
Method 1: Connect to SaaS Sandbox environment and download the Symbol files.
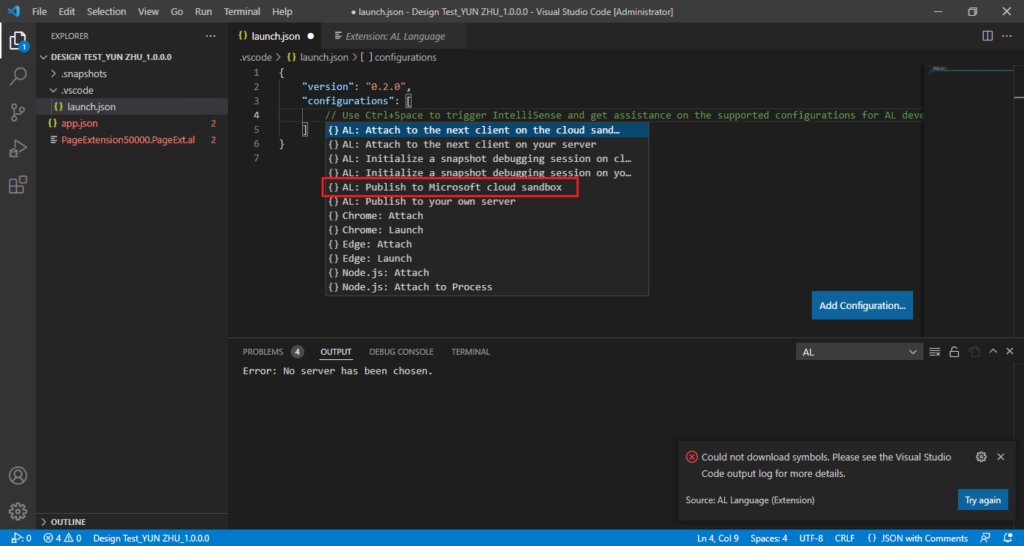
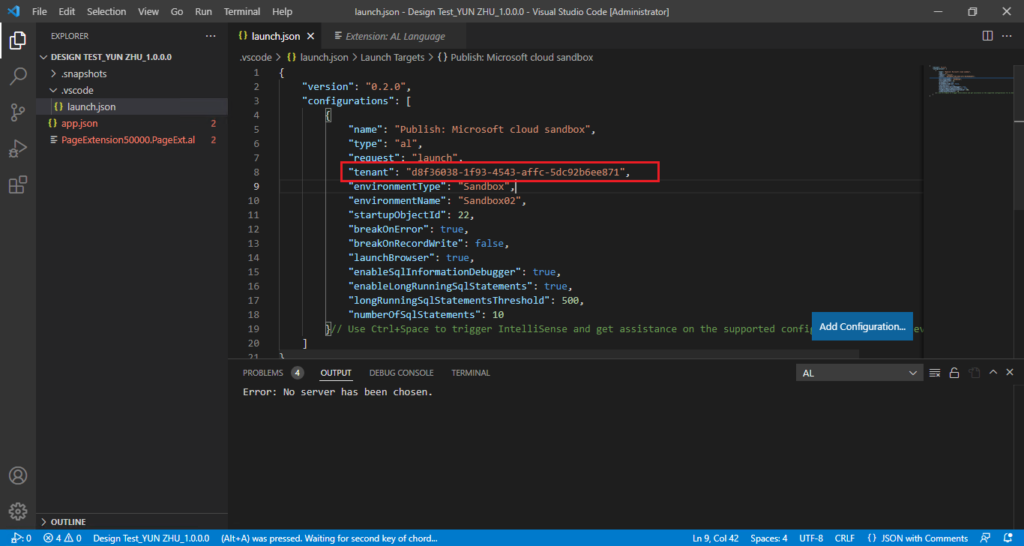
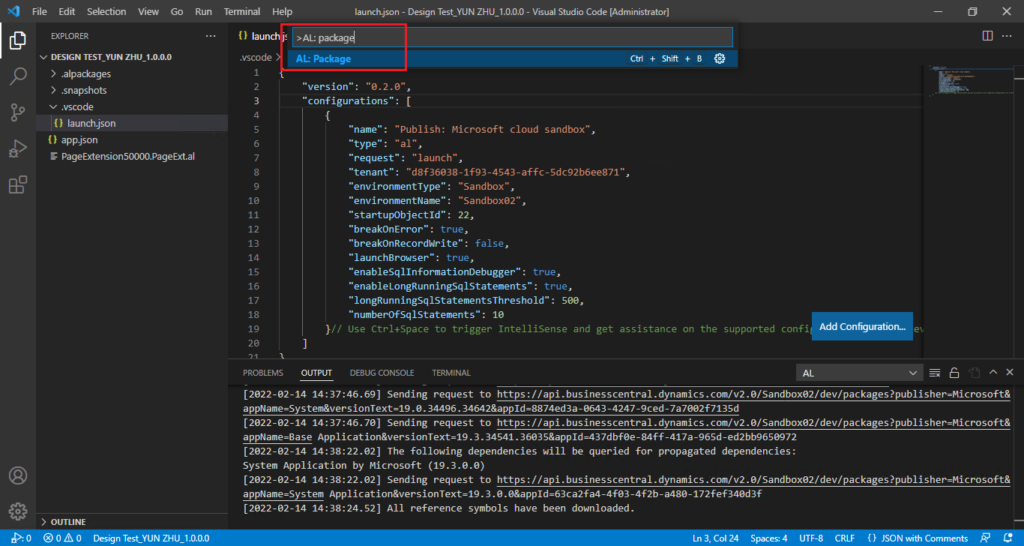
1. Open launch.json file in VS Code. Press Ctrl+Space, select AL: Publish to Microsoft cloud sandbox
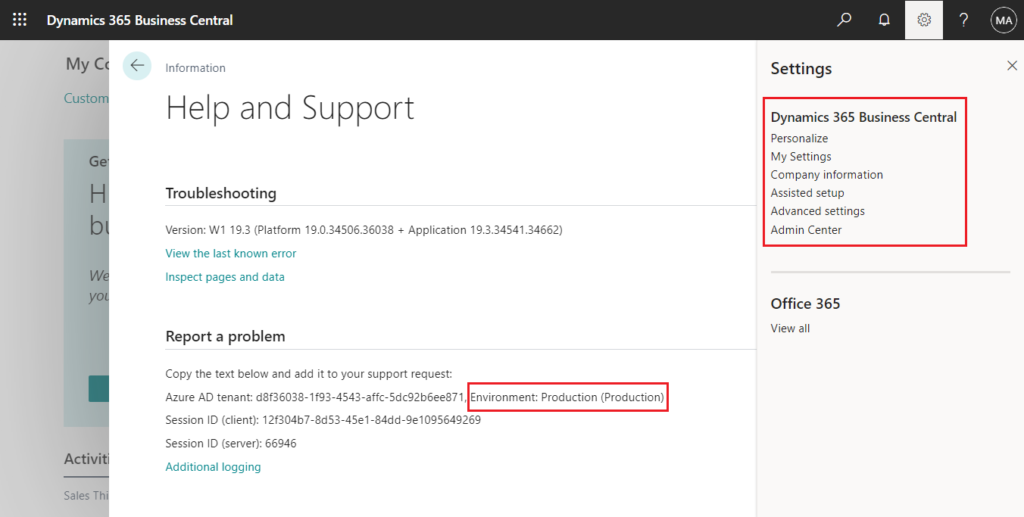
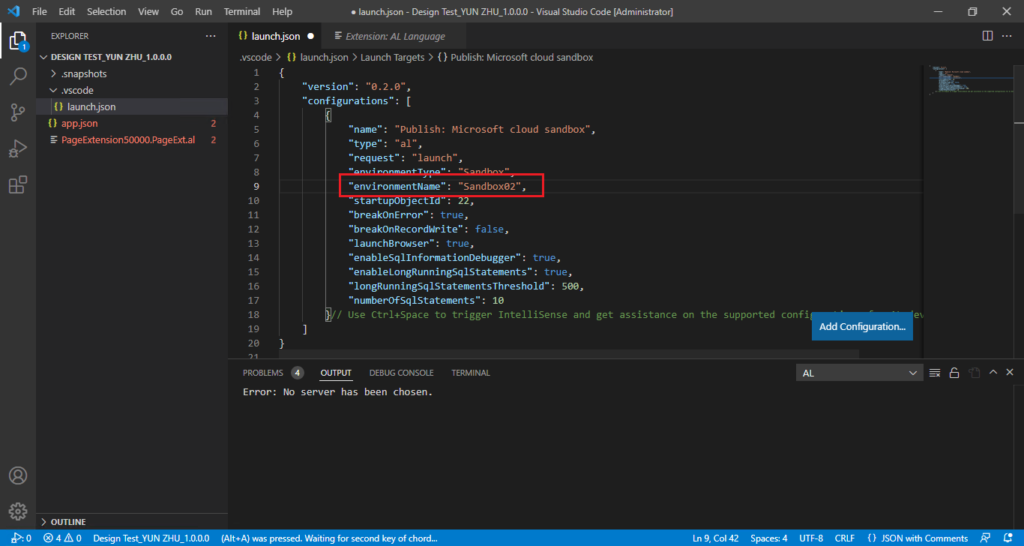
2. Change “environmentName” to your sandbox environment name where you downloaded the design extension. For example: Sandbox02
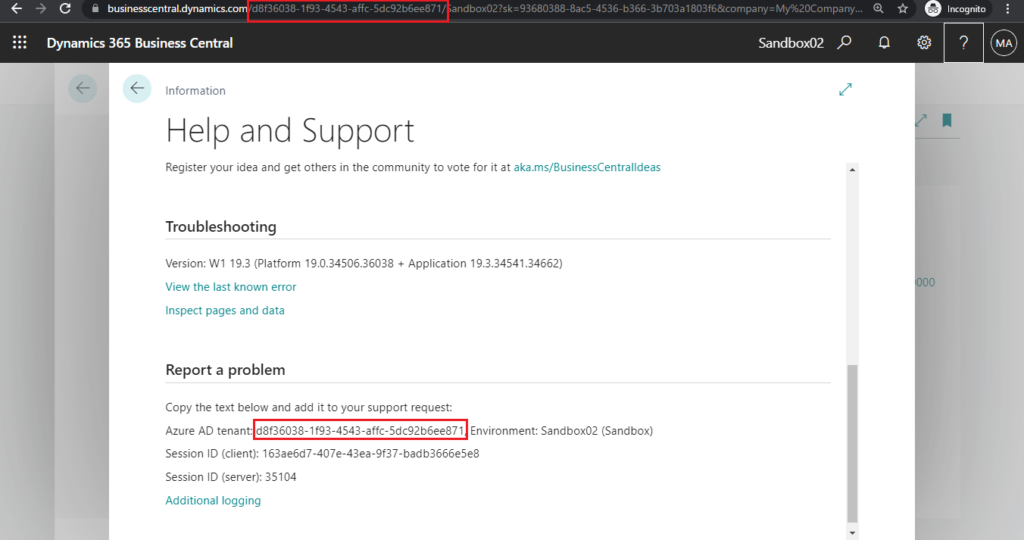
PS: To avoid connecting to other tenant’s environment with the same sandbox name, it is recommended to add “tenant” settings.
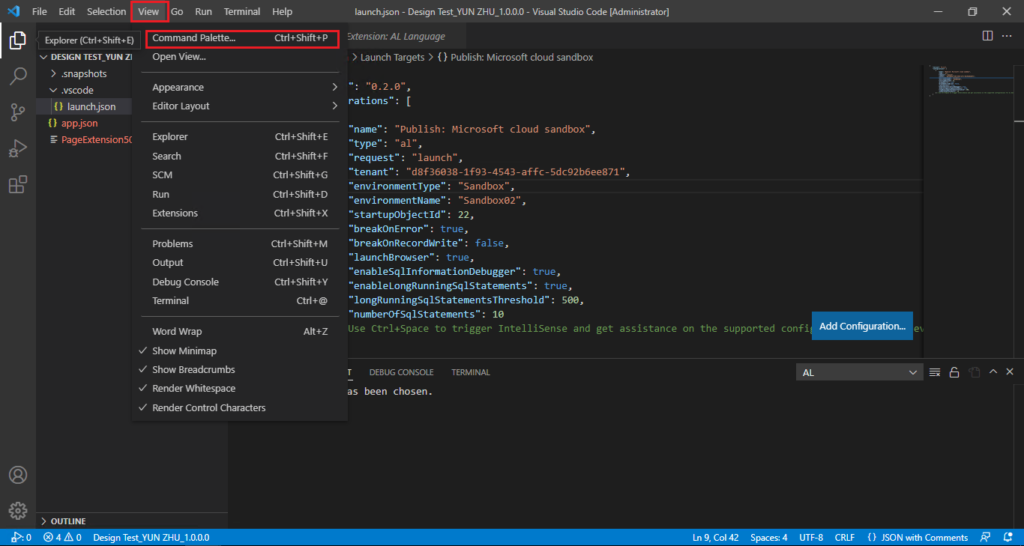
3. Choose View -> Command Palette…, or press F1 or Ctrl + Shift + P to run command palette.
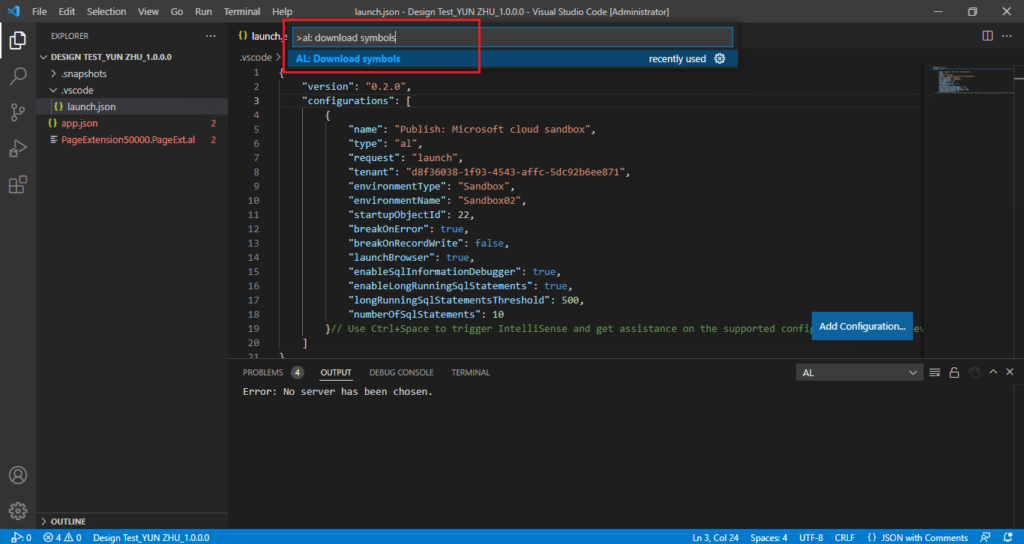
4. Run al: download symbols command.
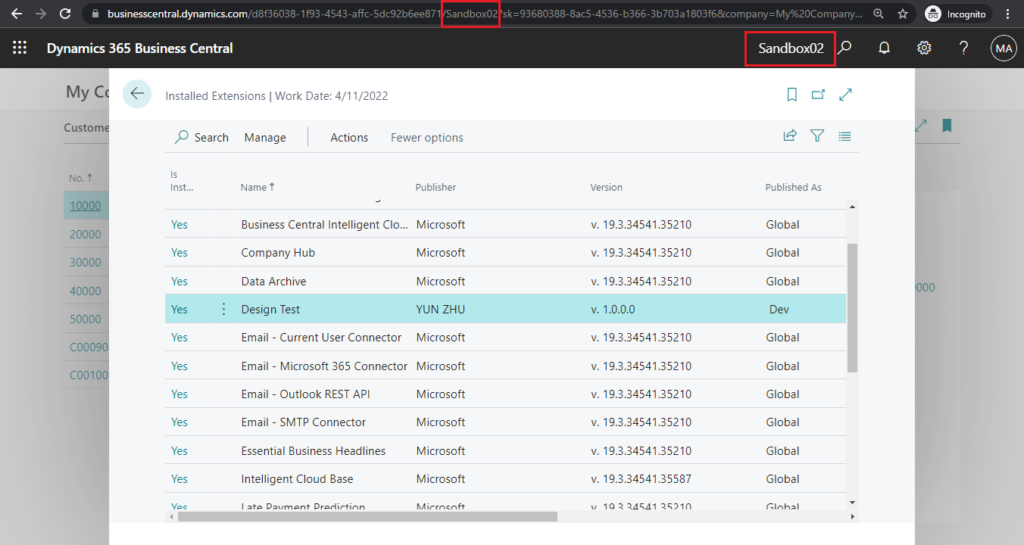
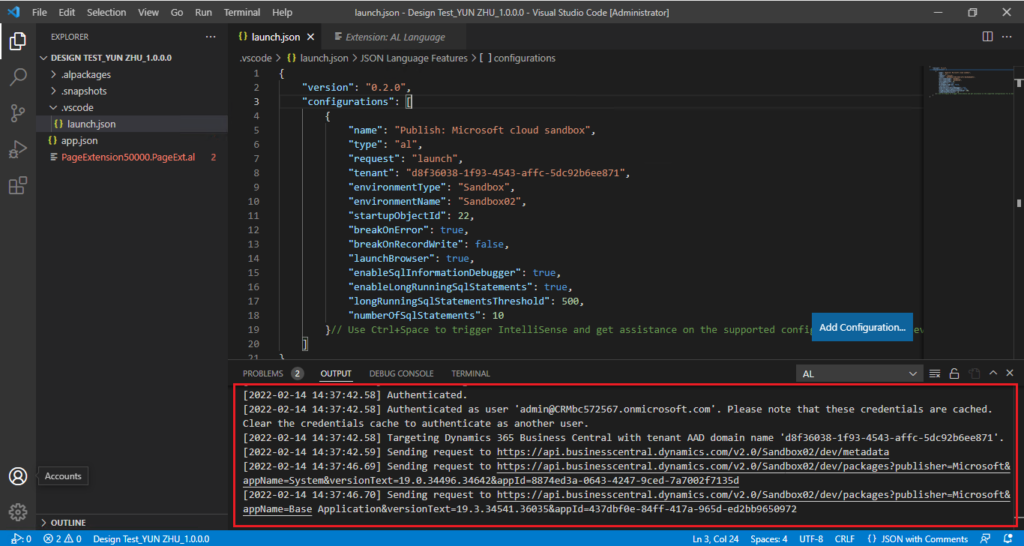
Then you need to access Sandbox Environment in VS Cde.
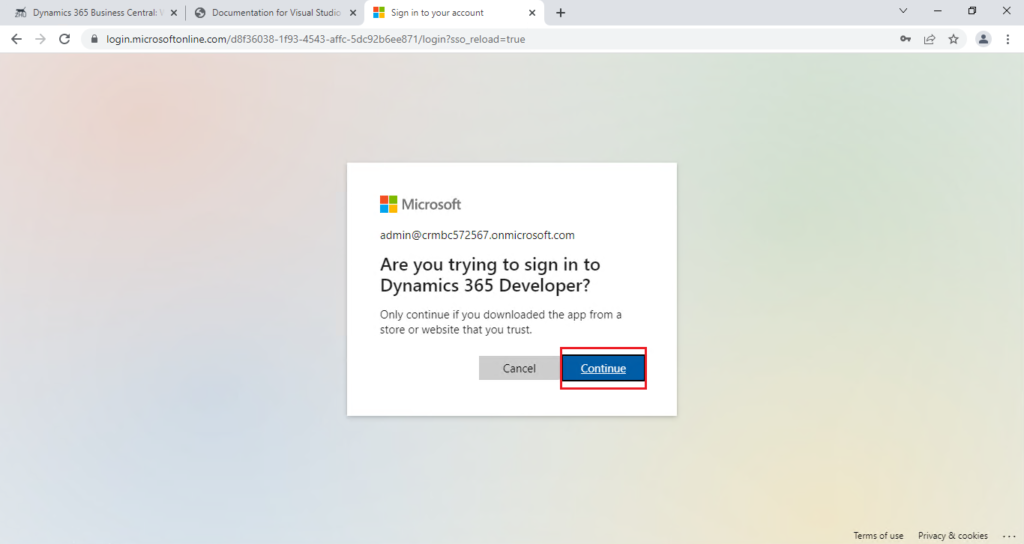
5. Choose Copy & Open
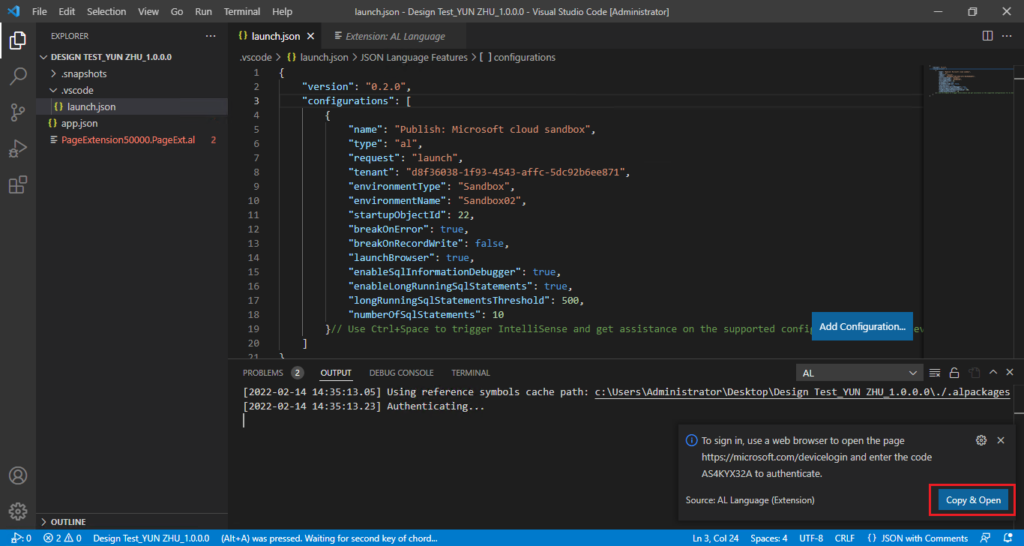
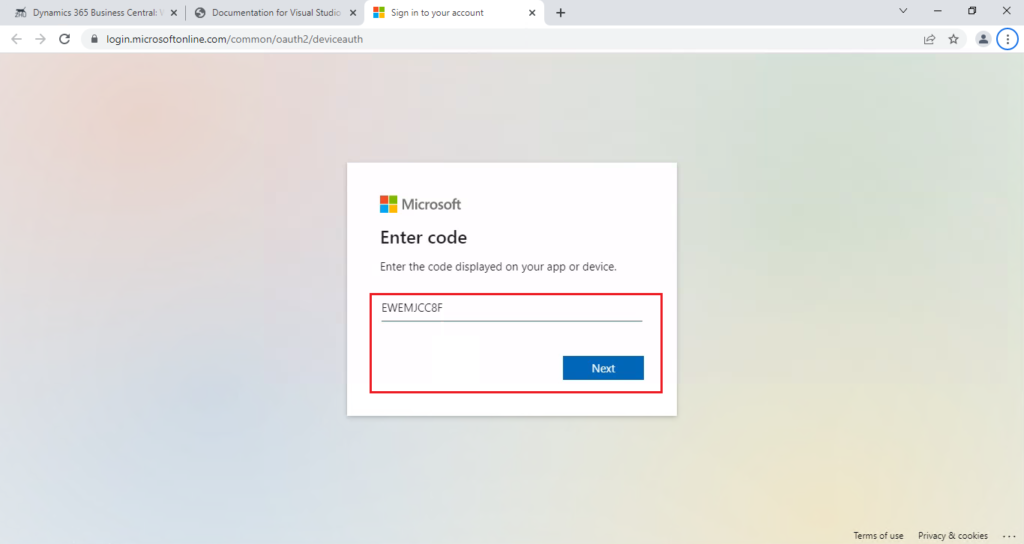
6. Paste the code to authenticate. (If this authentication page does not run automatically, you need to open https://microsoft.com/devicelogin manually and enter the code.)
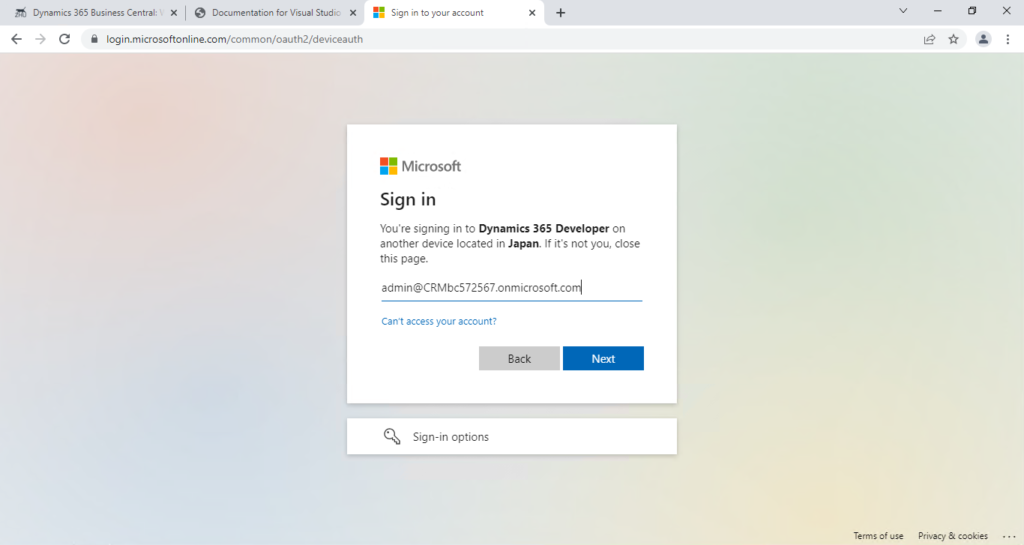
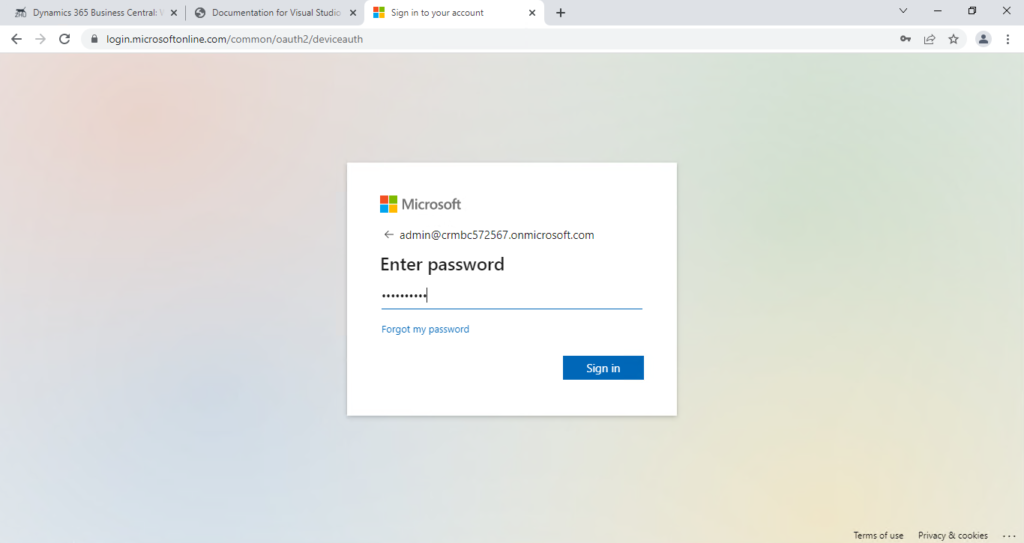
Enter your BC login account and password. If your account can Design and save Extensions in BC, you should have permission to connect to BC as a developer.
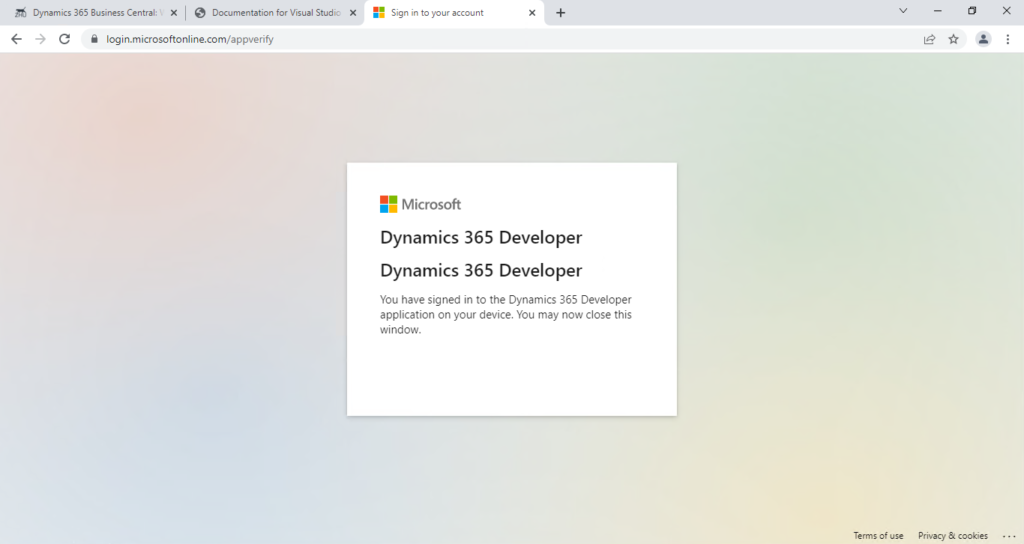
Download started.
Symbols have been downloaded. And all errors are gone.
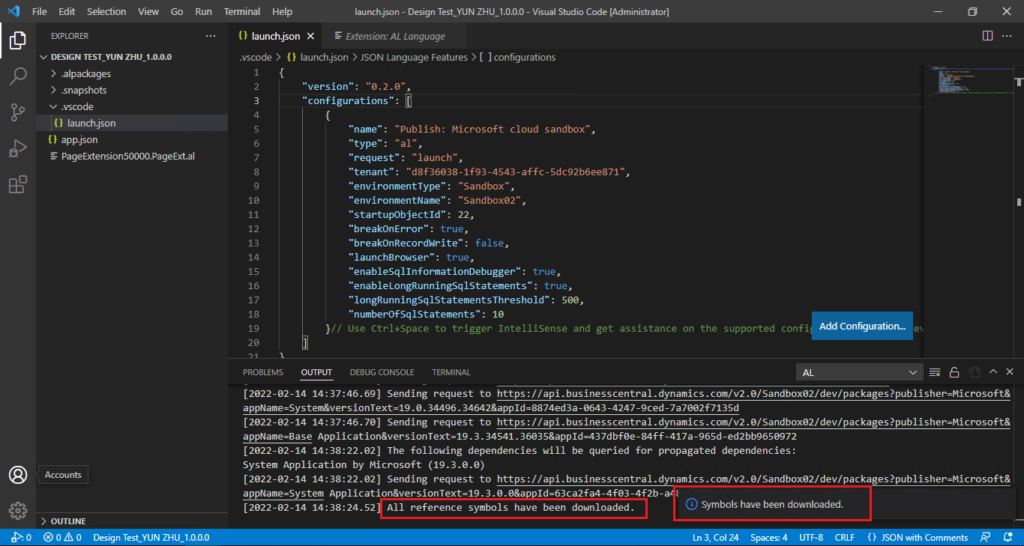
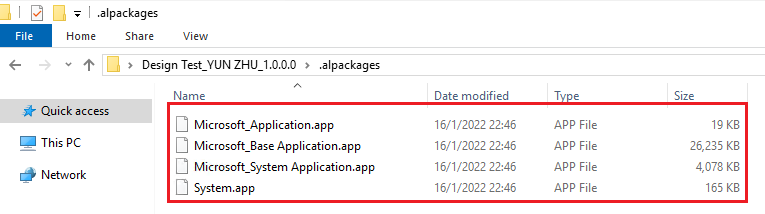
Symbols in the .alpackages folder:
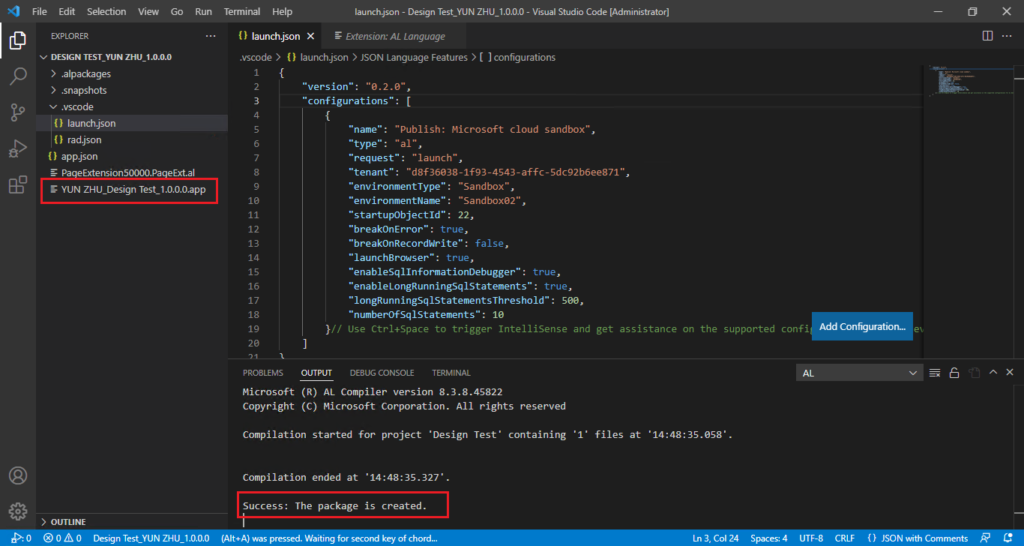
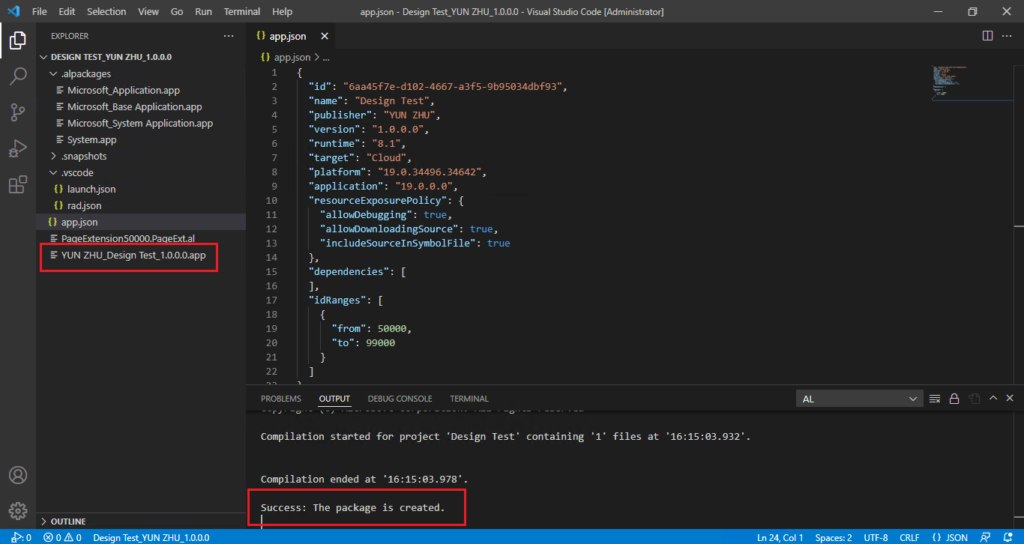
Choose View -> Command Palette…, or press F1 or Ctrl + Shift + P to run command palette. Run AL: Package command.
The package is created.
Method 2: Copy Symbol files manually from elsewhere, such as from the installation package of BC On-Premise.
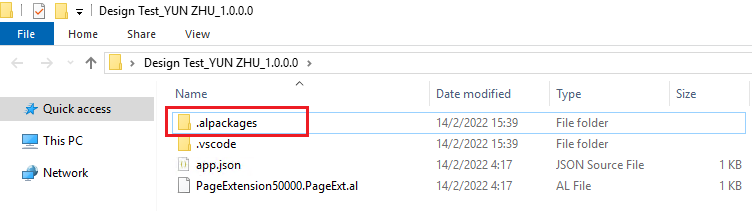
1. Create a new Folder in design extension folder.
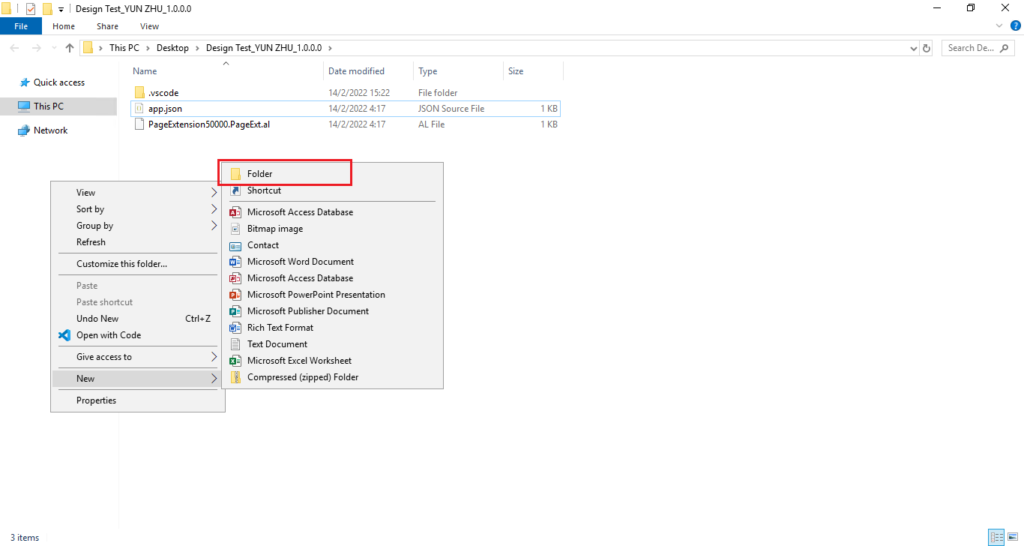
Then rename the folder to .alpackages.
2. Download the latest On-Premises installation package.
For example: BC 19.X
Released Updates for Microsoft Dynamics 365 Business Central 2021 Release Wave 2
Then you can find all standard extension in ~Dynamics.365.BC.35002.W1.DVD 19.3\Applications folder.
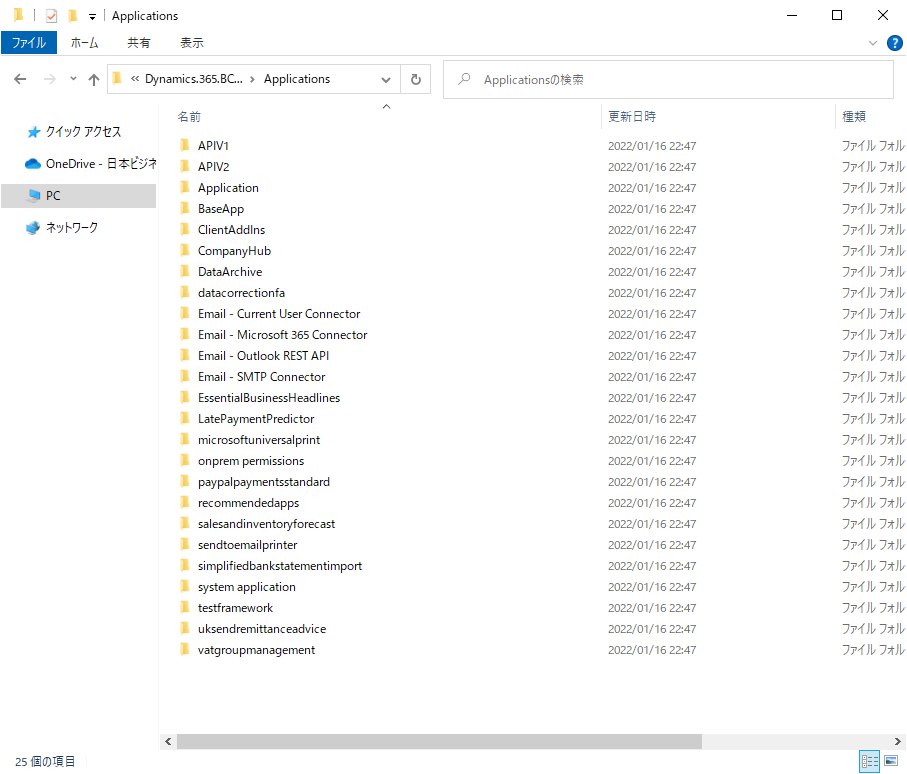
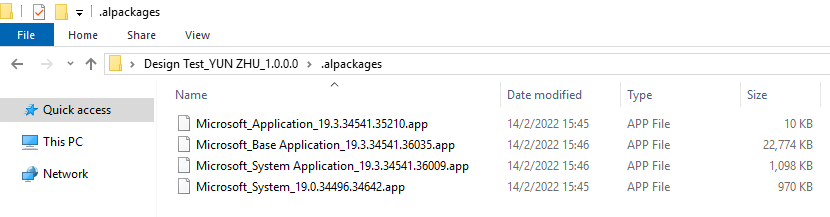
For most cases, you only need four .app files.
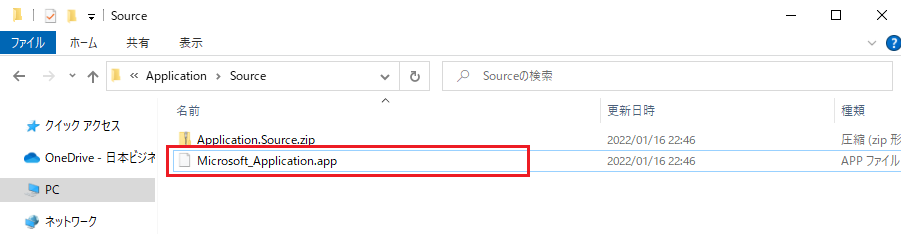
“~\Dynamics.365.BC.35002.W1.DVD 19.3\Applications\Application\Source\Microsoft_Application.app“
“~\Dynamics.365.BC.35002.W1.DVD 19.3\Applications\BaseApp\Source\Microsoft_Base Application.app“

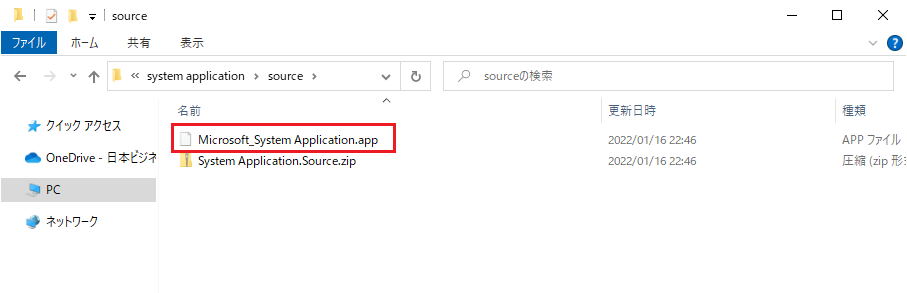
“~\Dynamics.365.BC.35002.W1.DVD 19.3\Applications\system application\source\Microsoft_System Application.app“
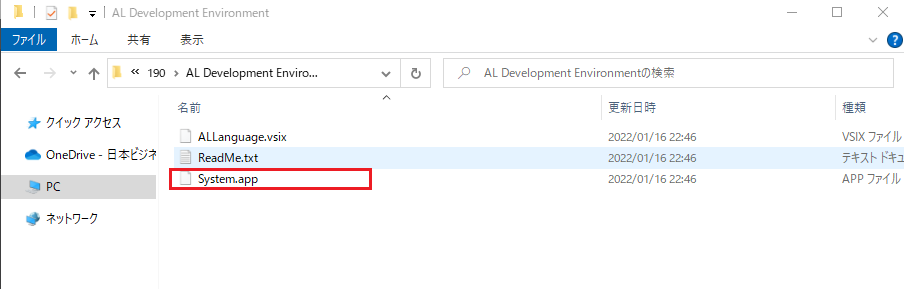
“~\Dynamics.365.BC.35002.W1.DVD 19.3\ModernDev\program files\Microsoft Dynamics NAV\190\AL Development Environment\System.app“
3. Copy these four files into the newly created folder.
4. Open the downloaded Design Extension folder with VS Code
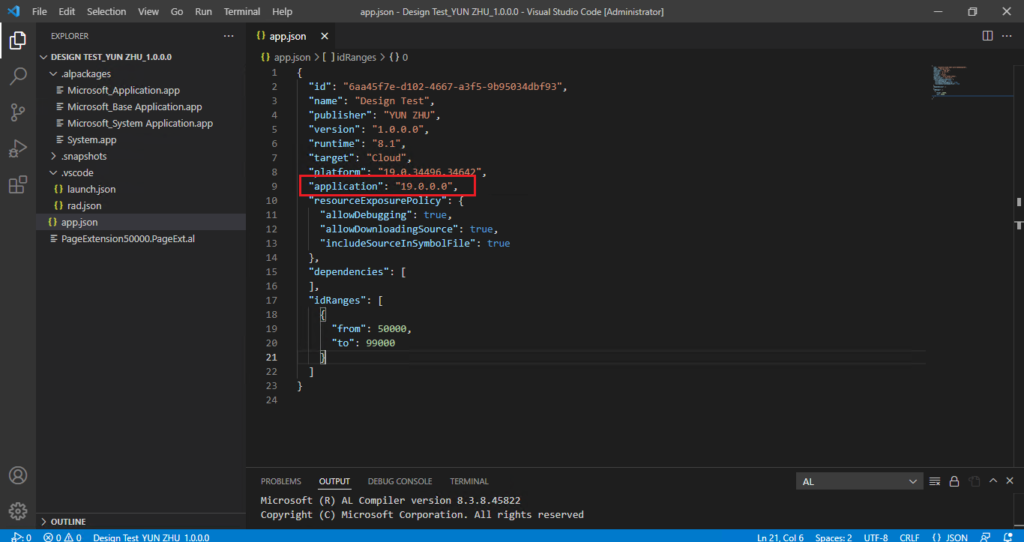
Open app.json file. and delete the value in “dependencies” first.

Then add “application” setting. For example: “application”: “19.0.0.0”,
More details: Dependencies setting to the System Application and Base Application has changed in the app.json file since BC17.0
5. Choose View -> Command Palette…, or press F1 or Ctrl + Shift + P to run command palette. Run AL: Package command.
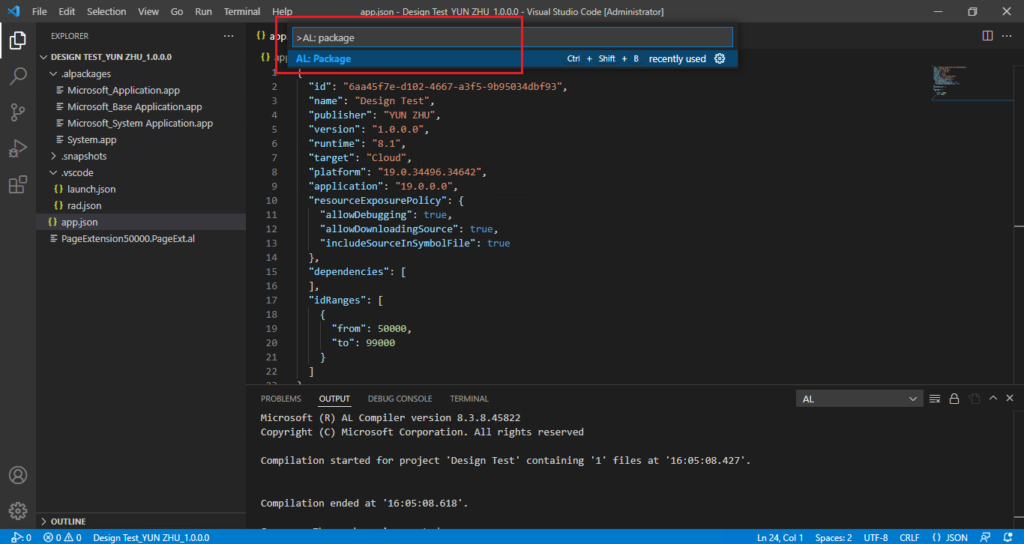
The package is created.
Okay, no matter which of the above methods you use, you have now obtained the .app file.
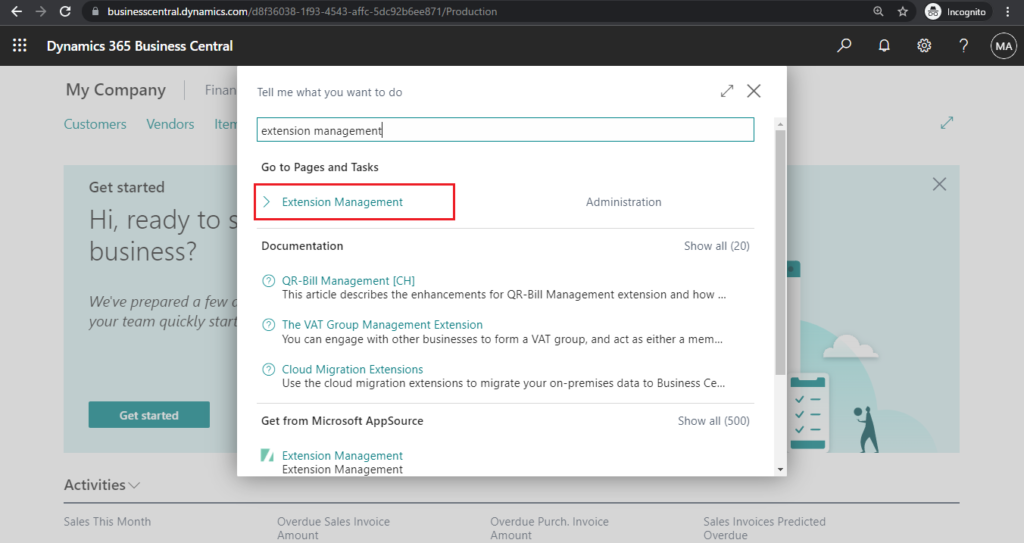
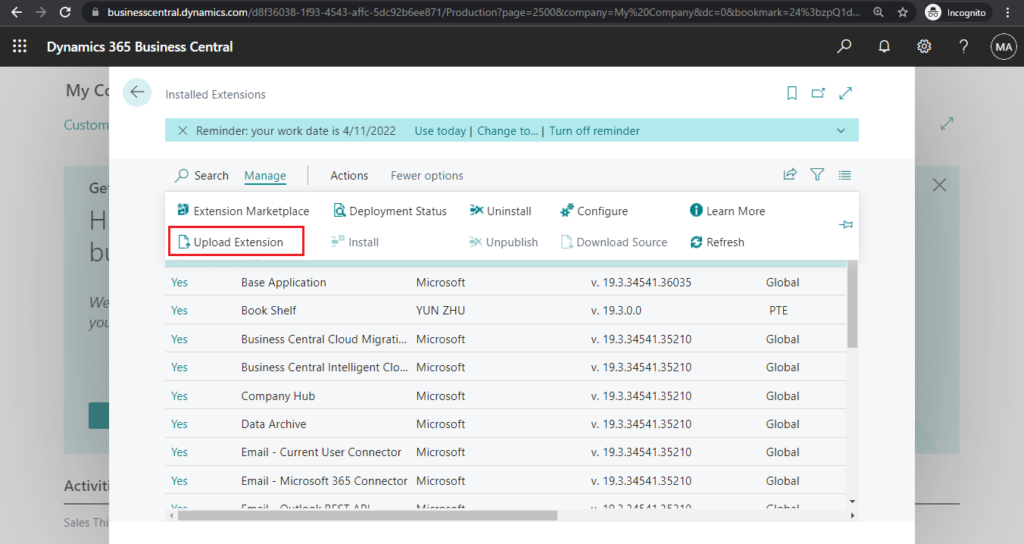
The rest is very simple. Go to the Extension Management page of the production environment and upload the .app file.
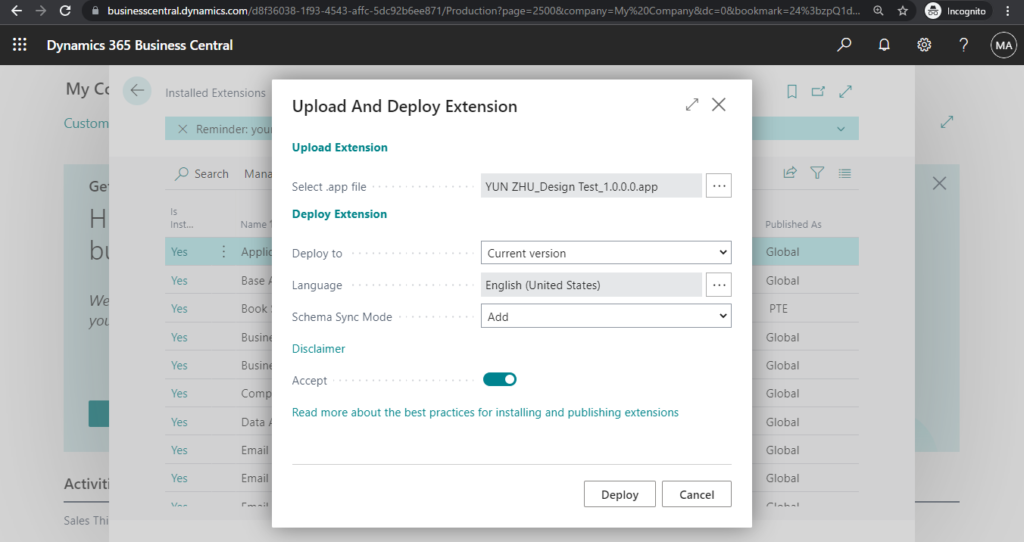
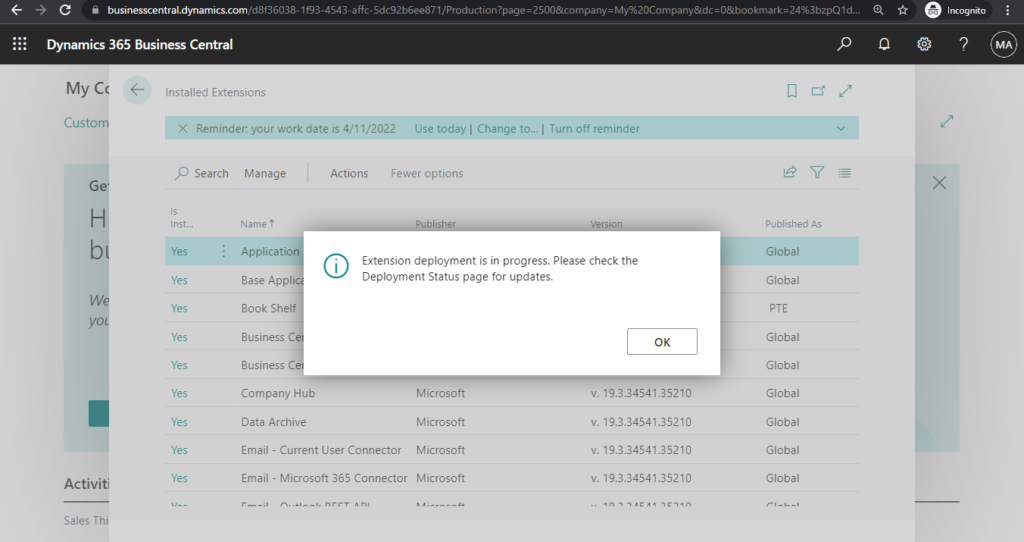
Installed successfully.
PS:
1. If there are multiple Design extensions in an environment, you can deploy them to the production environment separately, but it is recommended to concentrate the AL files in one extension and then package.
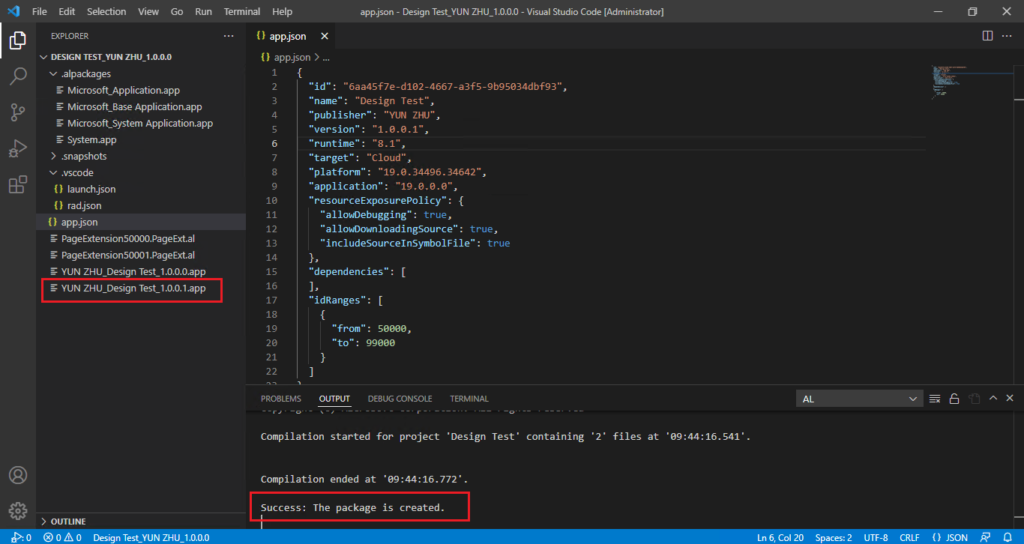
2. When updating the design extension, you need to increase the version number, as shown below, 1.0.0.0 -> 1.0.0.1.
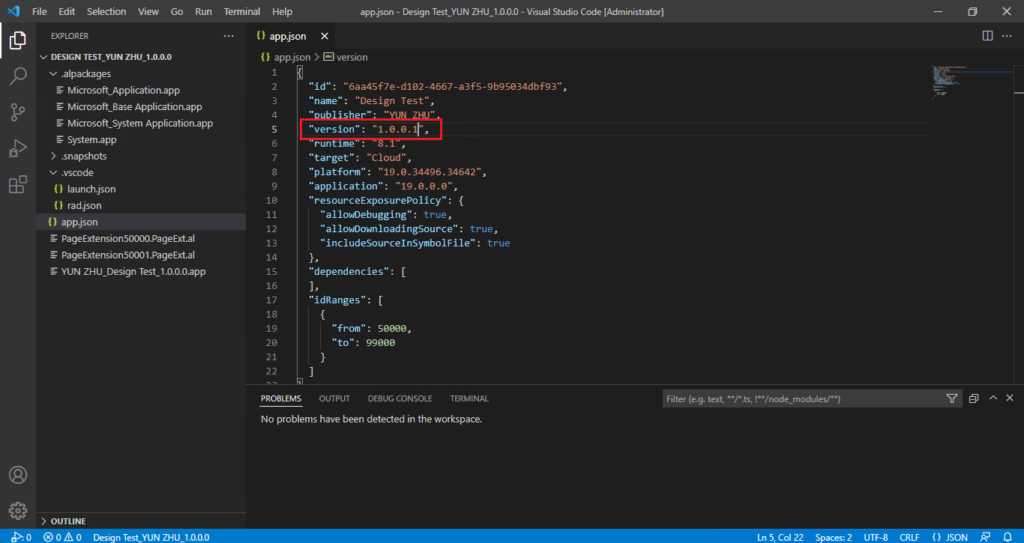
A new .app file will be generated when you run the AL: Packagecommand again. Then upload this new .app file to the production environment.
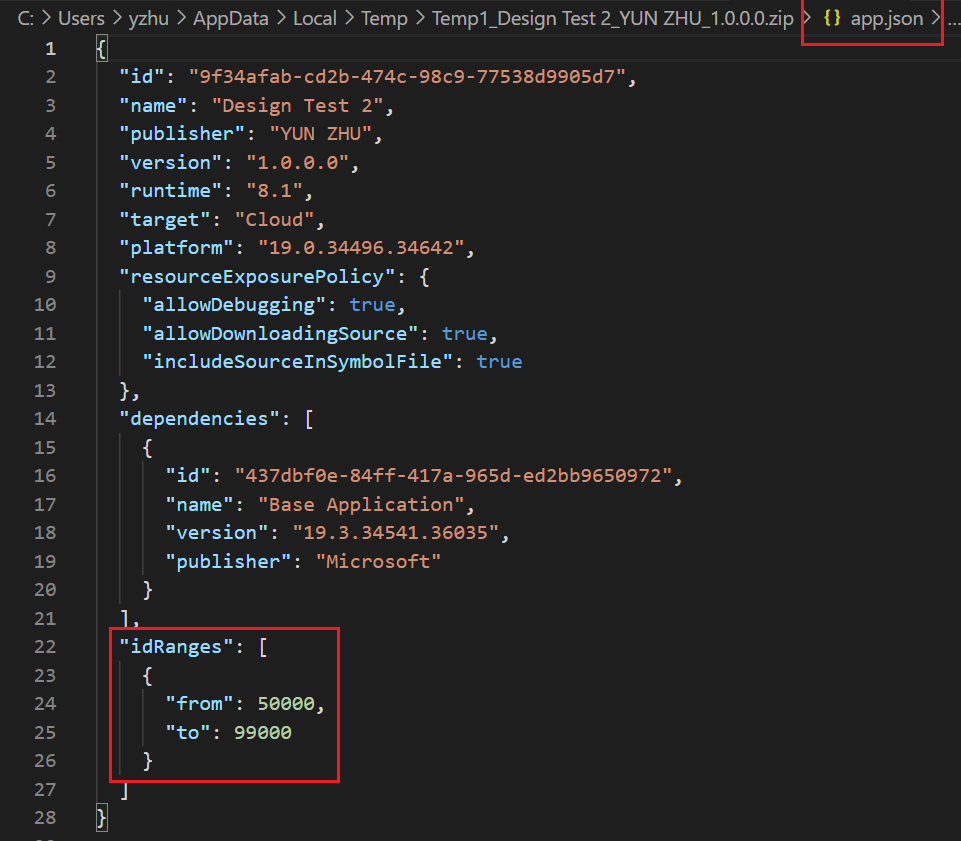
PS: When you develop an extension for Business Central, you must request an object range in terms of licensing. The Object ID of Design Extension will start from 50000 and end at 99000, and if the ID conflicts with other Extensions, the number will be skipped automatically.
idRanges in app.json file: A range for application object IDs. For all objects outside the range, a compilation error will be raised.
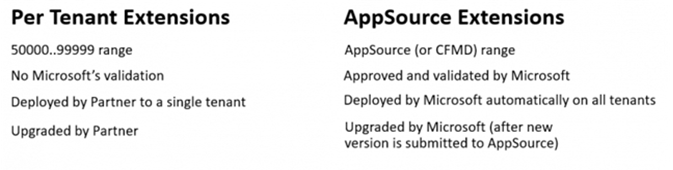
Per-Tenant Extensions (PTE) and AppSource Extensions.
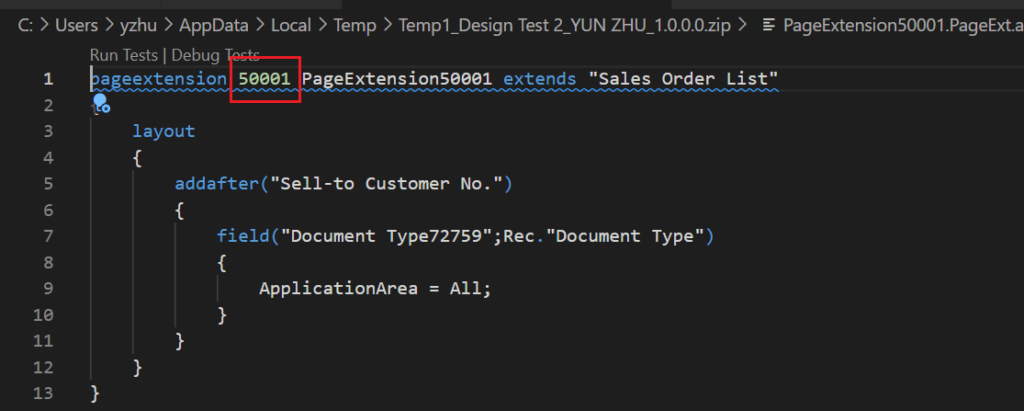
When the PTE installed in your Production environment and Sandbox environment are different, the following error may occur.
Deployment failed. Errors: App ID : 9f34afab-cd2b-474c-98c9-77538d9905d7 Message : { The application object of type ‘PageExtension’ with the ID ‘50001’ is defined in multiple apps. The apps are: Get BC Ip Info by YUN ZHU 1.0.0.0; Design Test 2 by YUN ZHU 1.0.0.0. } – Job Id : 64cd3529-db3a-4ae2-8ca0-d9bbe68c226
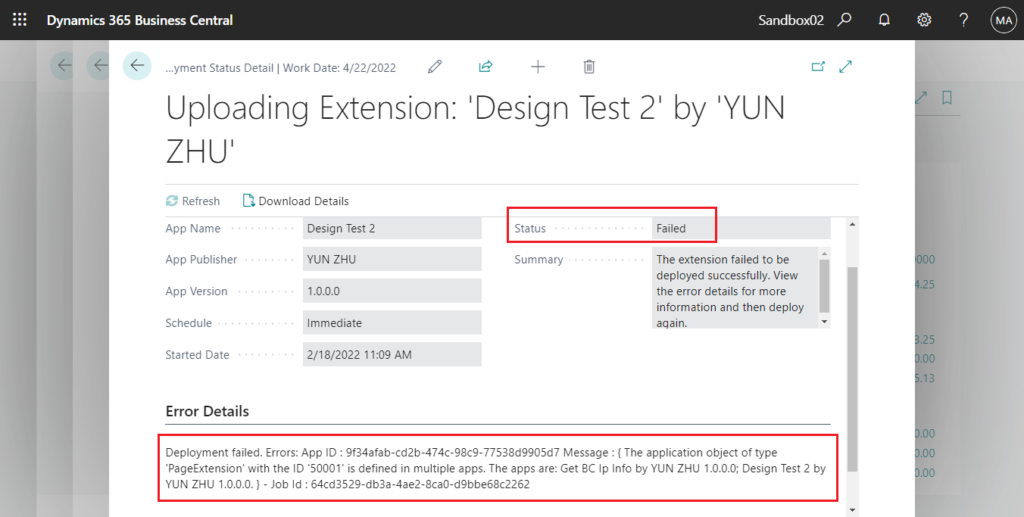
At this time, you need to find the conflicting Object, update its ID, and then re-Package.

Find out more about Using Designer from MS Docs.
END
Hope this will help.
Thanks for reading.
ZHU
コメント