Hi, Readers.
The public preview for Dynamics 365 Business Central 2024 release wave 1 (BC24) is available. Learn more: Link.
I will continue to test and share some new features that I hope will be helpful.
In this post, I would like to talk about Changes to AL Table Proxy Generator tool (altpgen). This is not yet documented in the Business Central 2024 release wave 1 (BC24) release plan. But it is mentioned in AL Language extension changelog Version 13.0
Changes to AL Table Proxy Generator tool (altpgen)
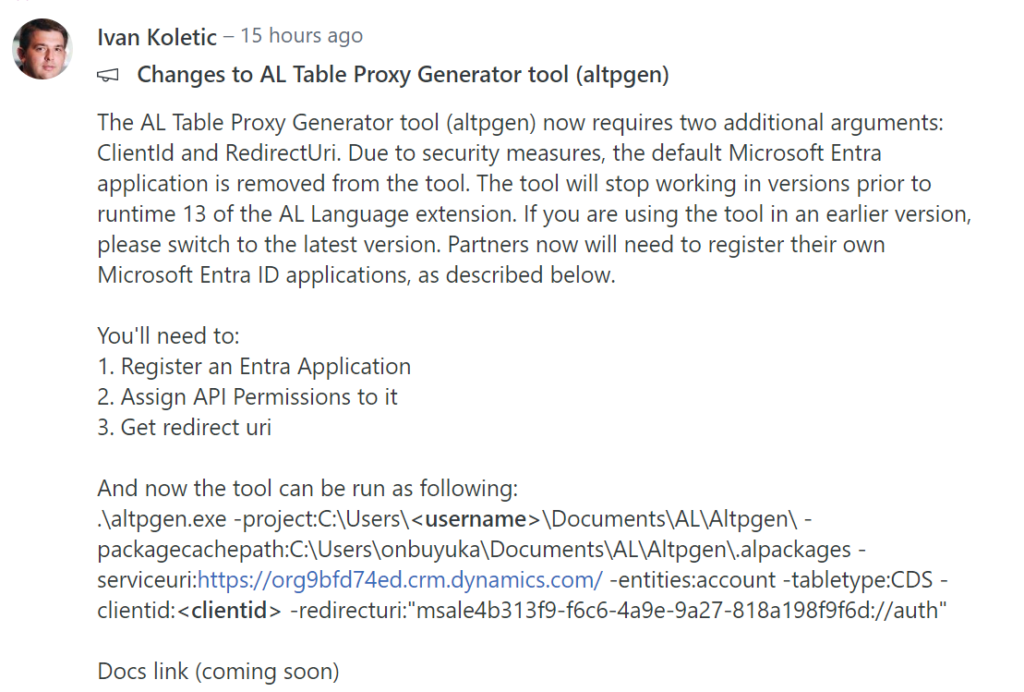
AL Table Proxy Generator tool (altpgen) now requires two additional arguments: ClientId and RedirectUri. Due to security measures, the default Microsoft Entra application is removed from the tool. Users are now required to register their own Microsoft Entra application as described at aka.ms/altpgen.

About two weeks ago, when I tested the feature below, this change had not yet been released.
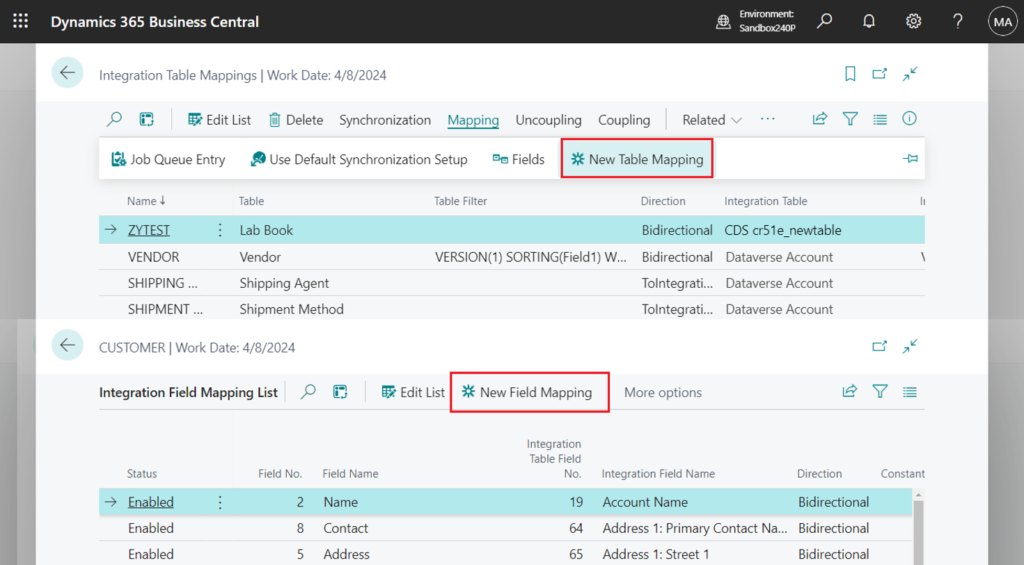
Business Central 2024 wave 1 (BC24): Add table and field mappings to existing integration tables (Dataverse)
But yesterday, Microsoft released the following notification in Viva Engage (formerly Yammer)
PS: About Business Central partner community on Viva Engage (formerly Yammer)
So if you still use the same command, an error will be prompted. Let’s look at a simple example
As you might know, to add additional or custom Dataverse tables, you’ll need help from a developer to create and deploy them through an extension. More details: Using AL Table Proxy Generator tool to create an integration table in Business Central for the Dataverse table
Run the command and open the folder where altpgen is located.
cd "C:\Users\yzhu\.vscode\extensions\ms-dynamics-smb.al-13.0.921843\bin\win32\altpgen"Run the command, creating a new integration table
.\altpgen -project:"C:\Users\yzhu\Documents\AL\ALProject18" -packagecachepath:"C:\Users\yzhu\Documents\AL\ALProject18\.alpackages" -serviceuri:"https://org547faab1.crm.dynamics.com/" -entities:cr51e_newtable -baseid:50100 -tabletype:CDS
And, I just saw this question in Dynamics 365 Community. More details: AL Table Proxy Generator Error: “ClientId”

From the error message, it starts from version 13.0.964488.
AL Language extension for Microsoft Dynamics 365 Business Central:

This can also be updated in VS Code.
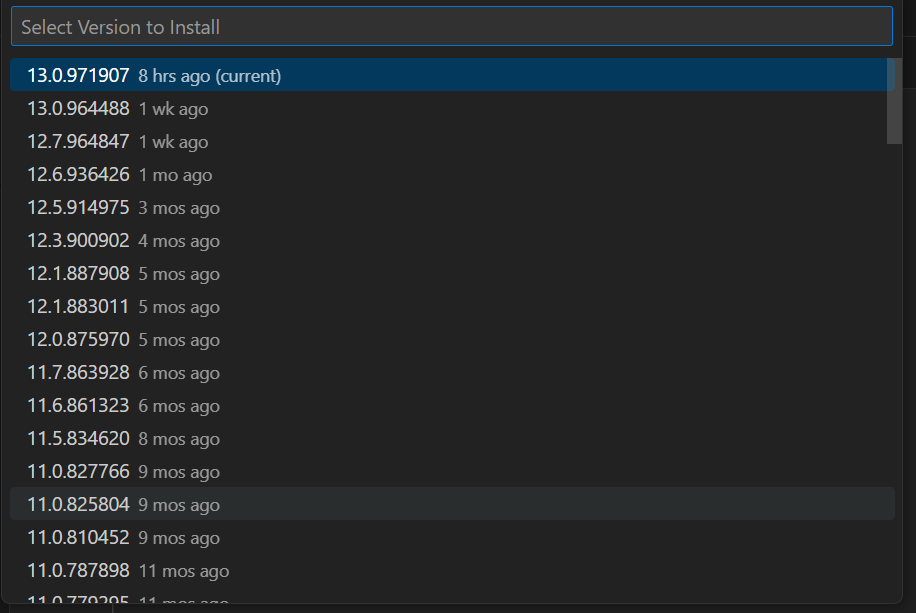
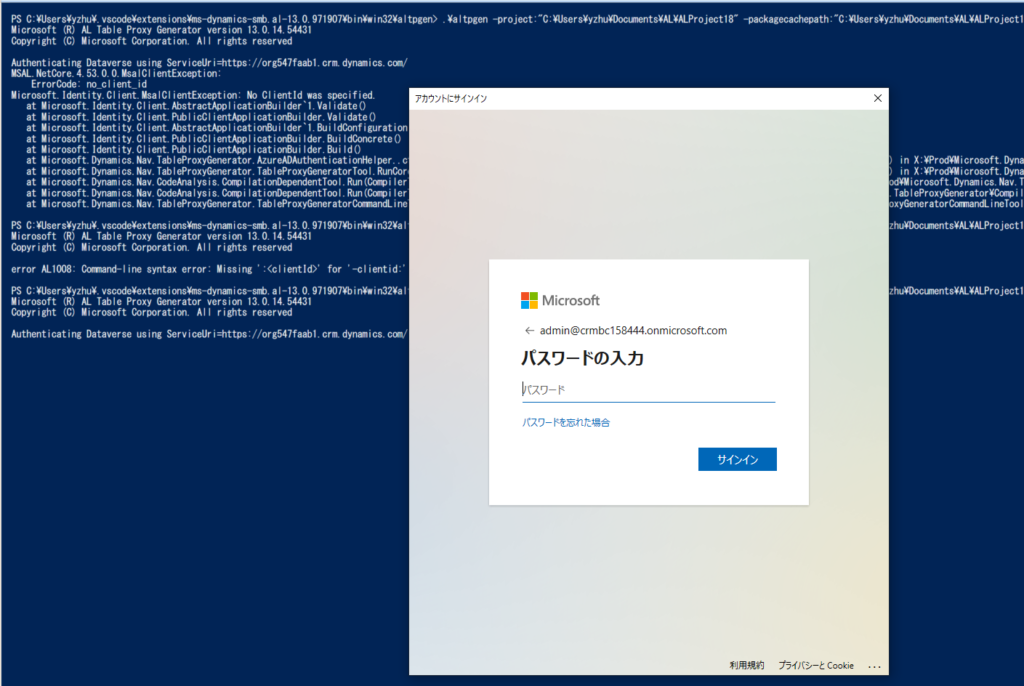
I just updated to the latest version. Then I retested it and now the following error will appear.

Authenticating Dataverse using ServiceUri=https://org547faab1.crm.dynamics.com/
MSAL.NetCore.4.53.0.0.
MsalClientException:
ErrorCode: no_client_id
We now need to add new arguments, ClientId and RedirectUri. According to Microsoft’s instructions, we need the following three steps. This is somewhat similar to what we mentioned in Using OAuth to connect Business Central APIs and Web Service in Postman. Let’s see more details.
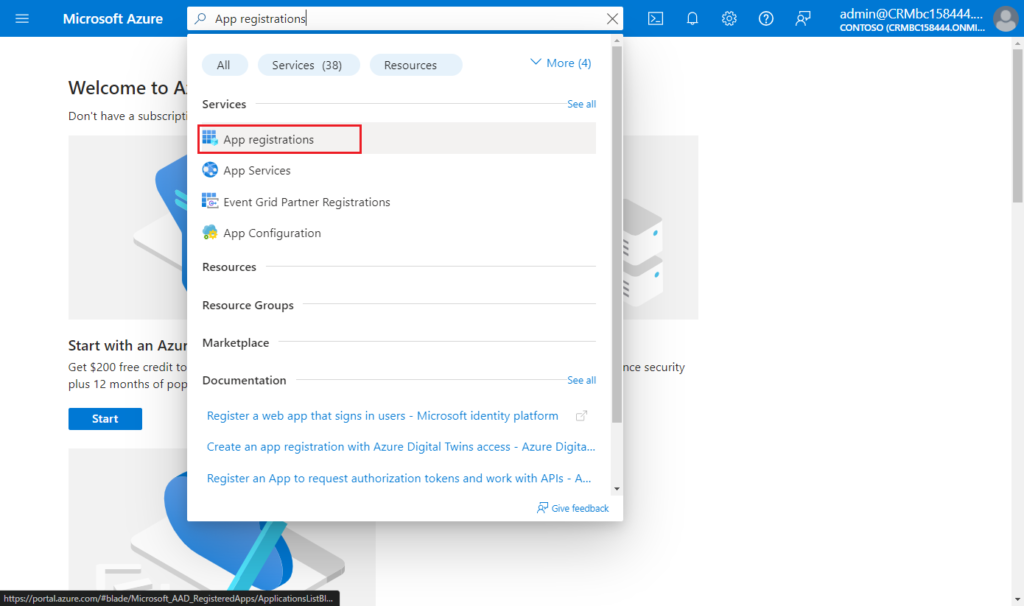
1. Register an Entra Application
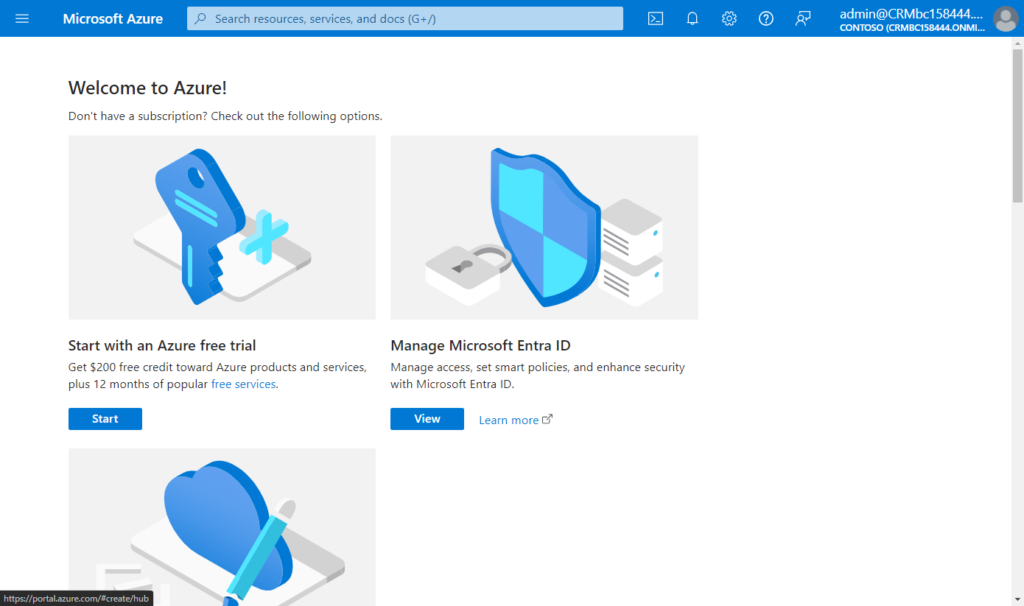
Access to Azure Portal.
Search for App registrations and then choose the related link.
Choose New registration to create a new app registration.

Enter the Name, select account type (Accounts in any organizational directory (Any Microsoft Entra ID tenant – Multitenant)), then choose Register.
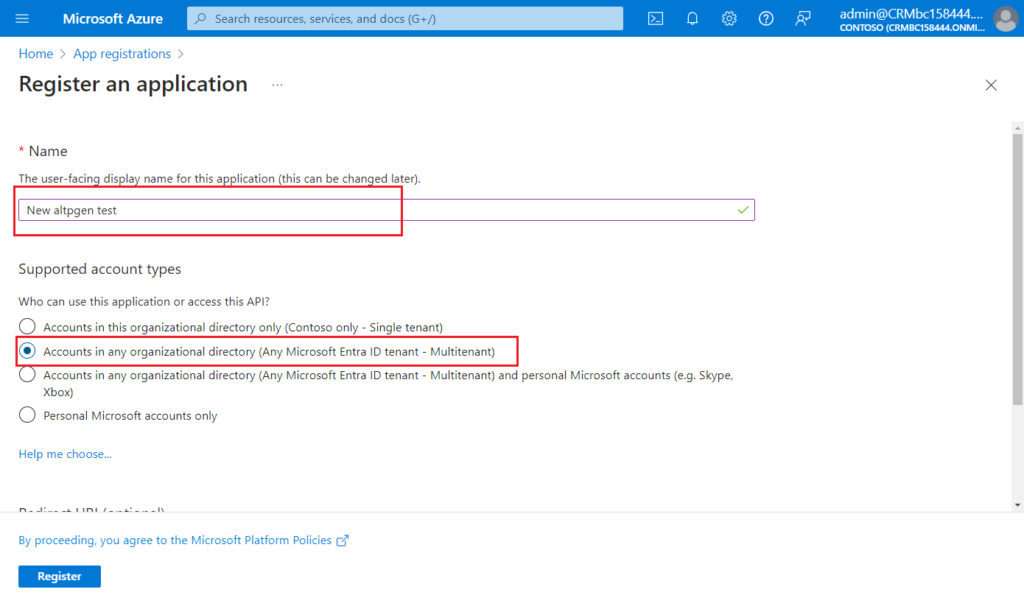
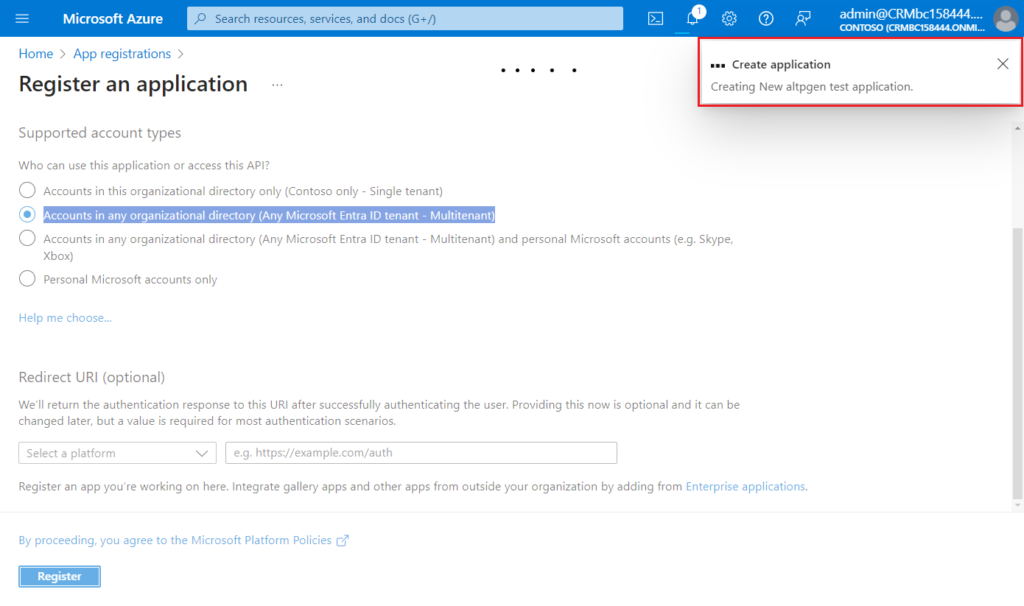
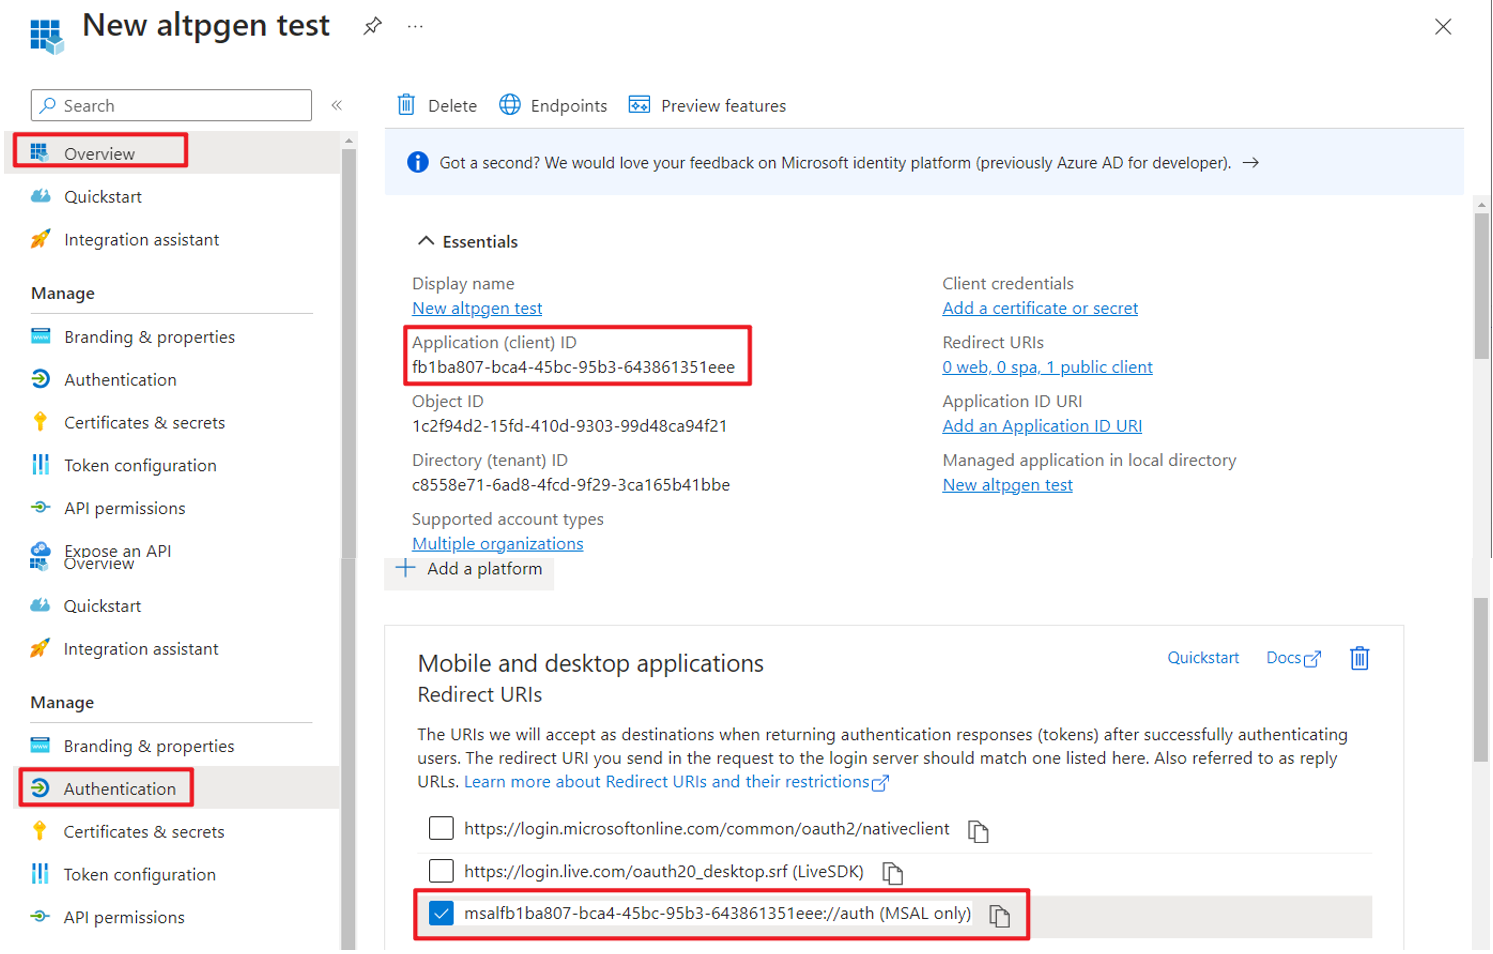
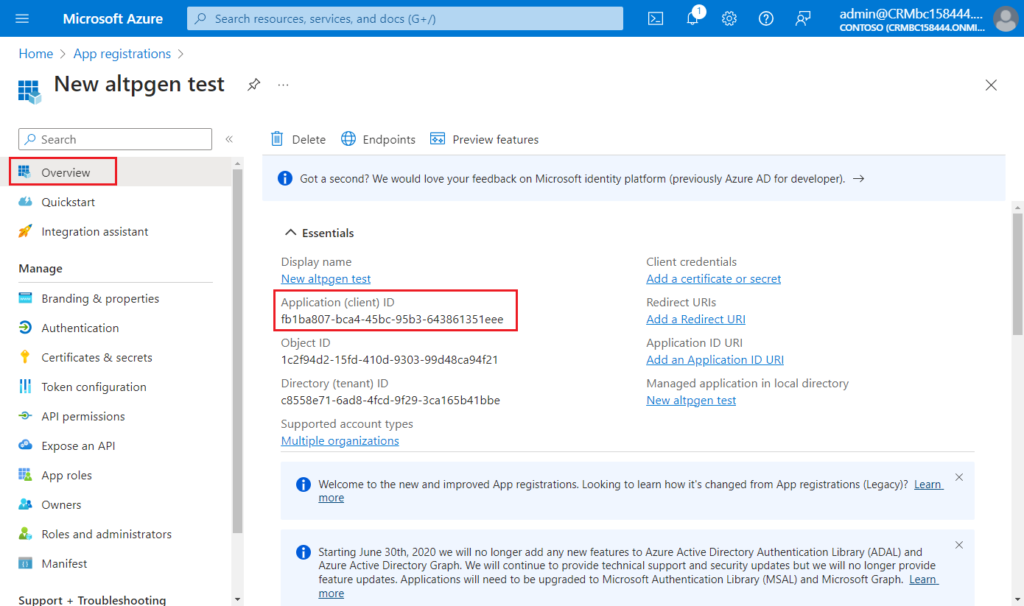
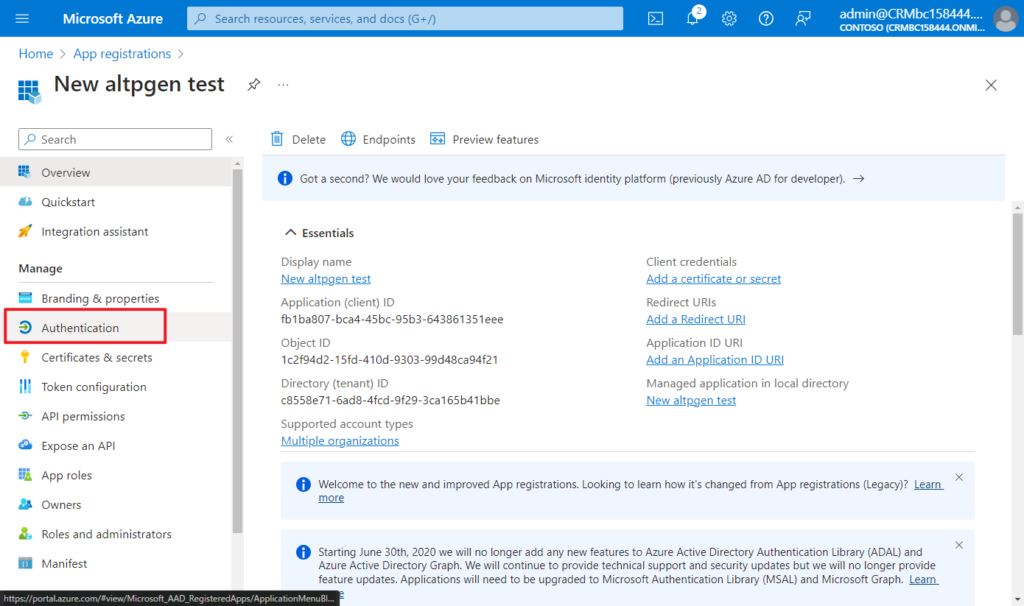
Then you can get the first argument, client ID: fb1ba807-bca4-45bc-95b3-643861351eee
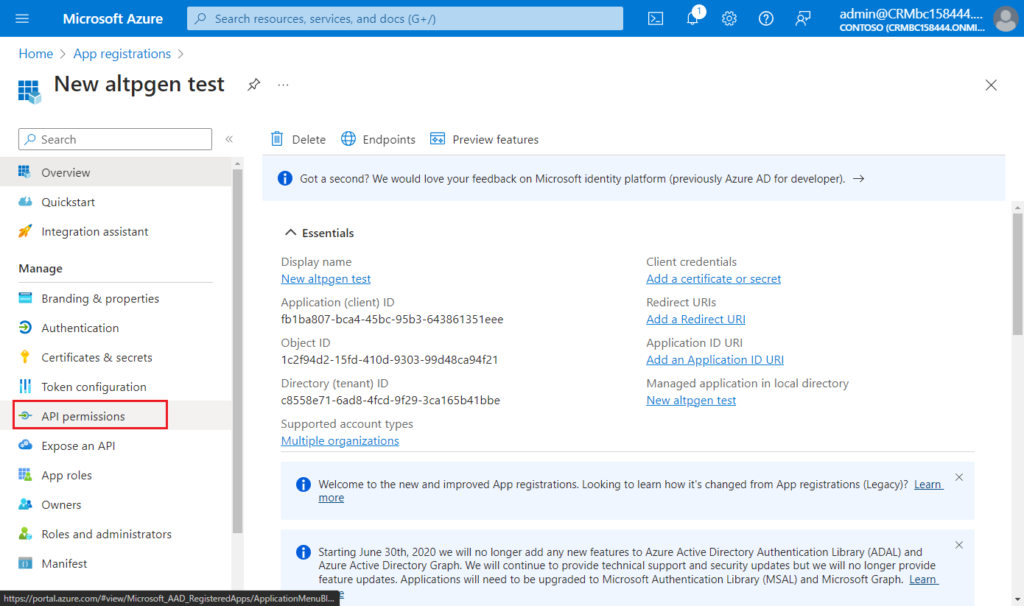
2. Assign API Permissions to it
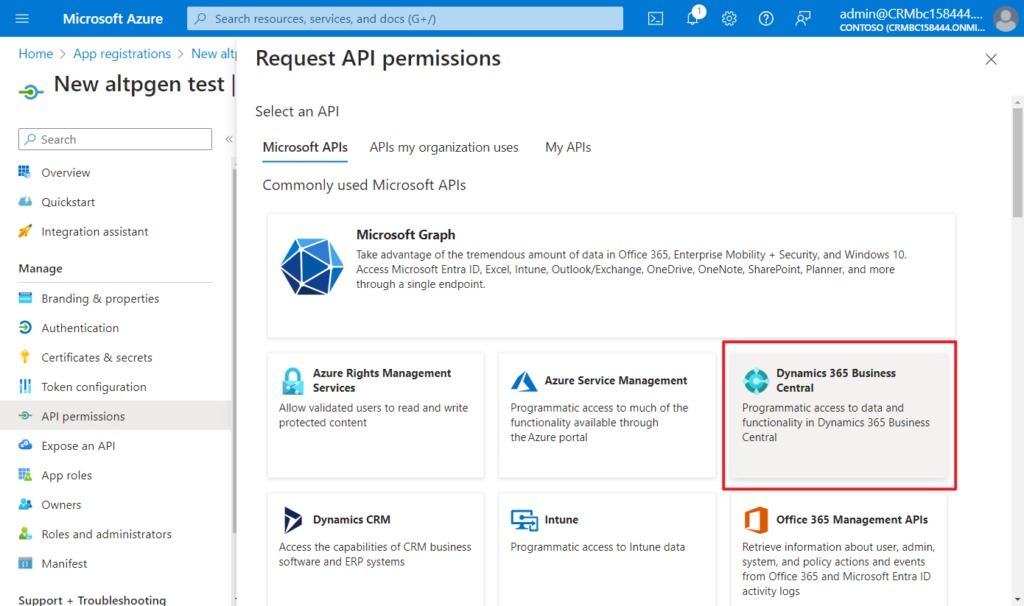
Choose API permissions.
Choose Add a permission.
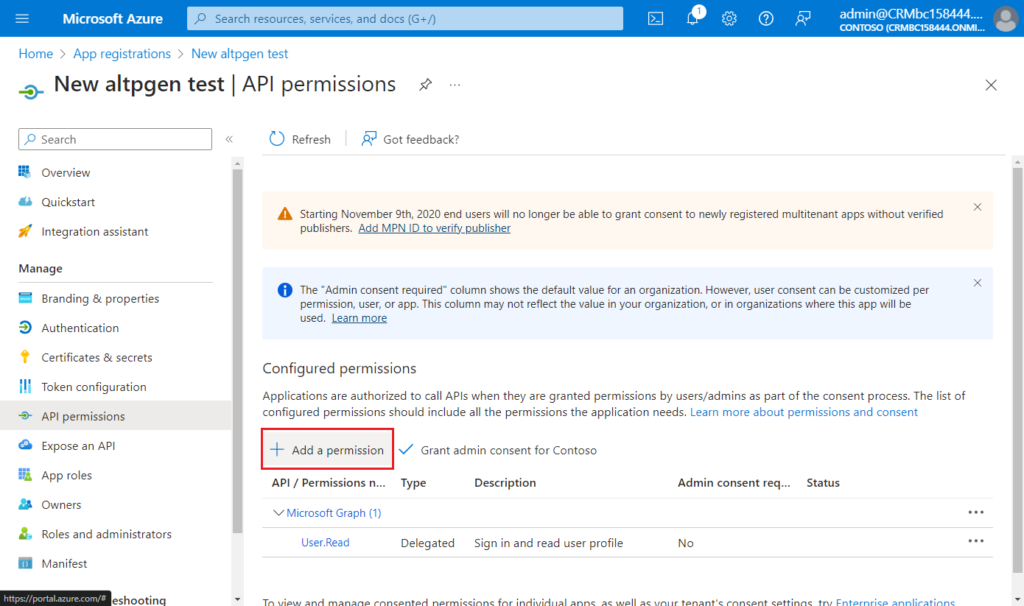
From the MS Yammer screenshot, we only need to add one permission.
Find Dynamics 365 Business Central and click it.
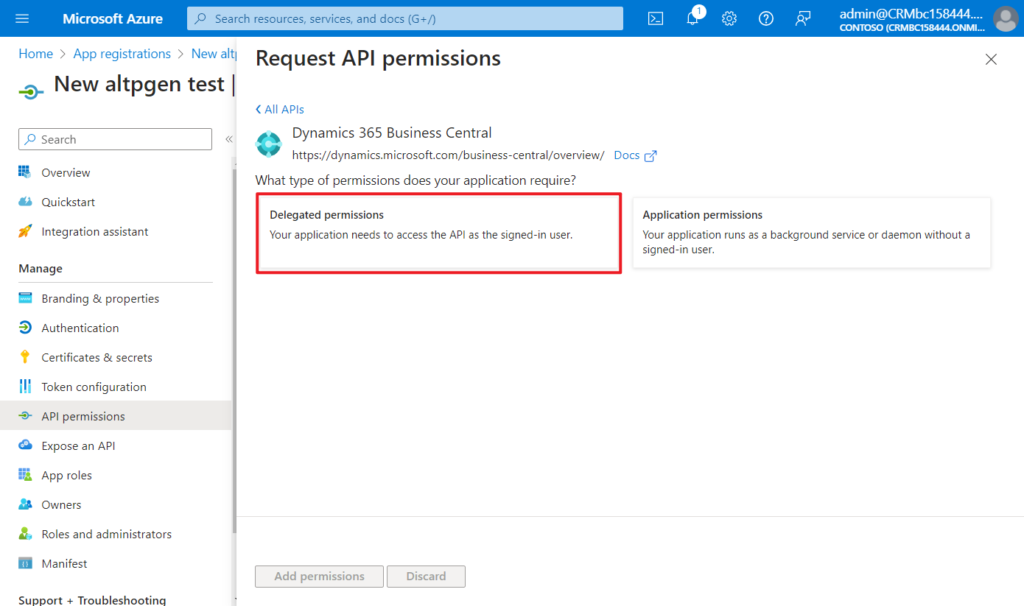
Choose Delegated permissions.
user_impersonation
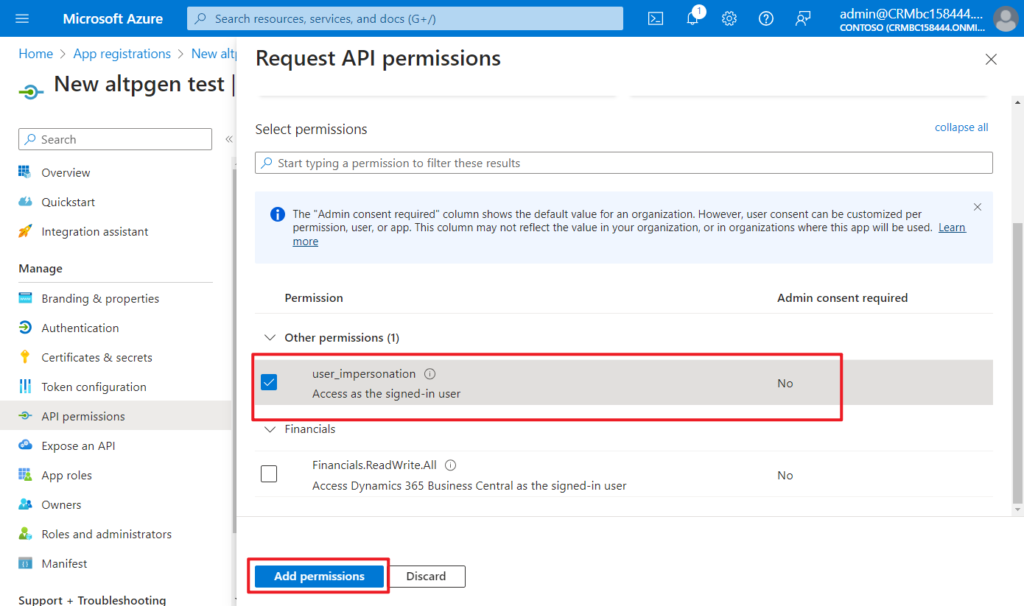
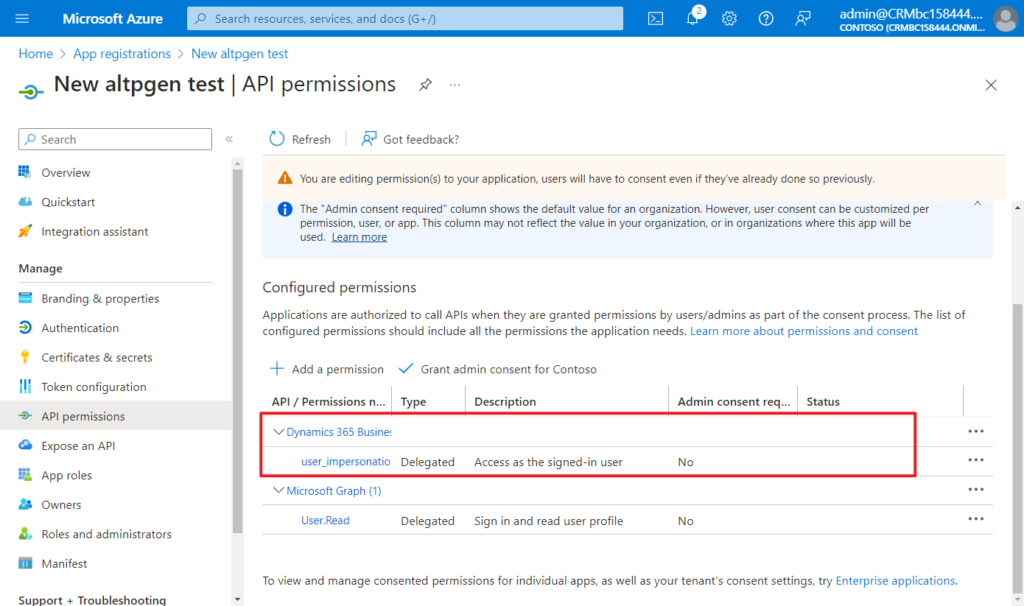
Done.
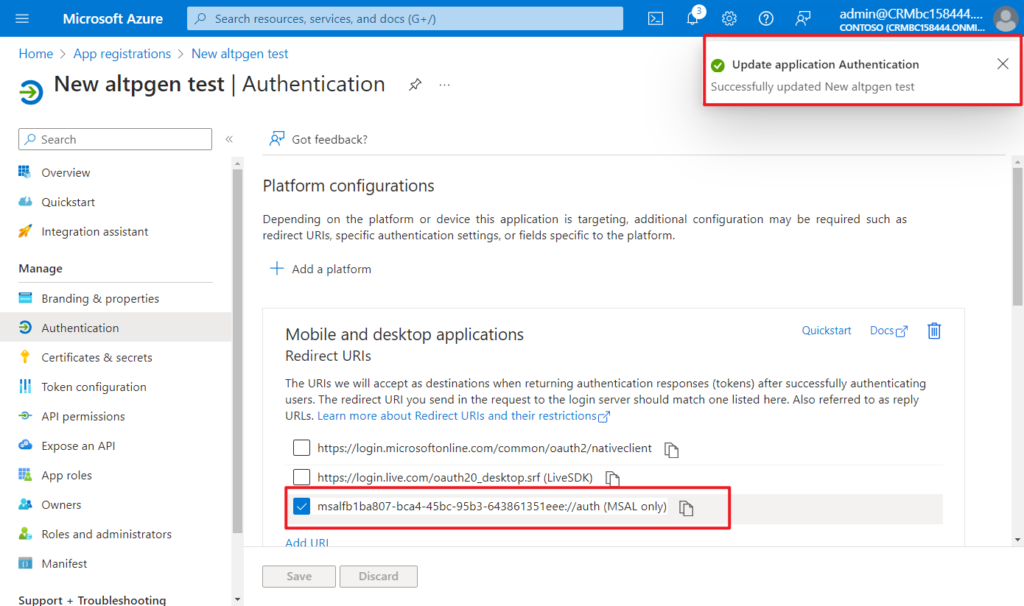
3. Get redirect uri
Choose Authentication.
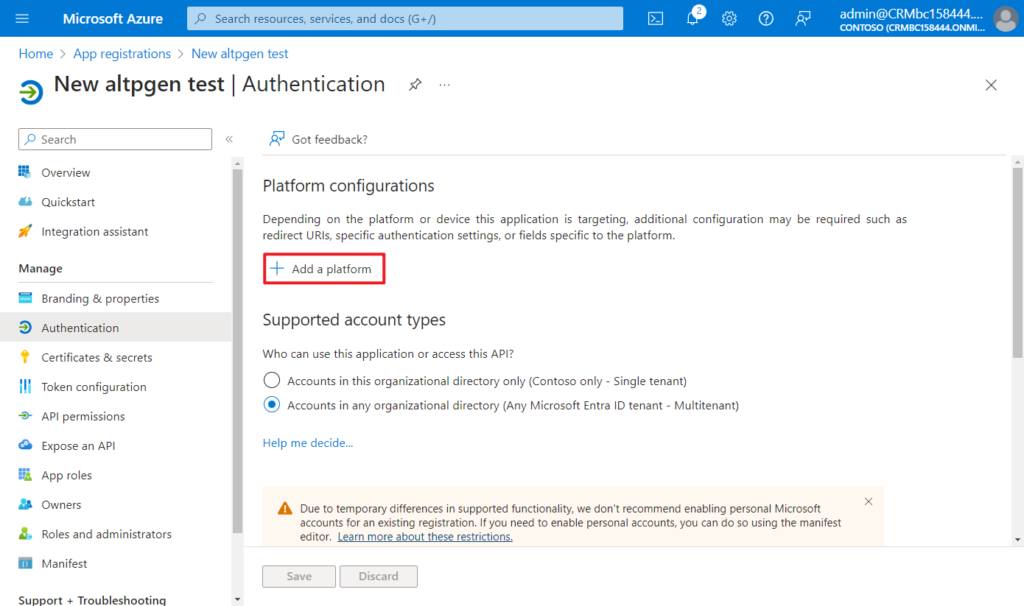
Choose Add a platform.
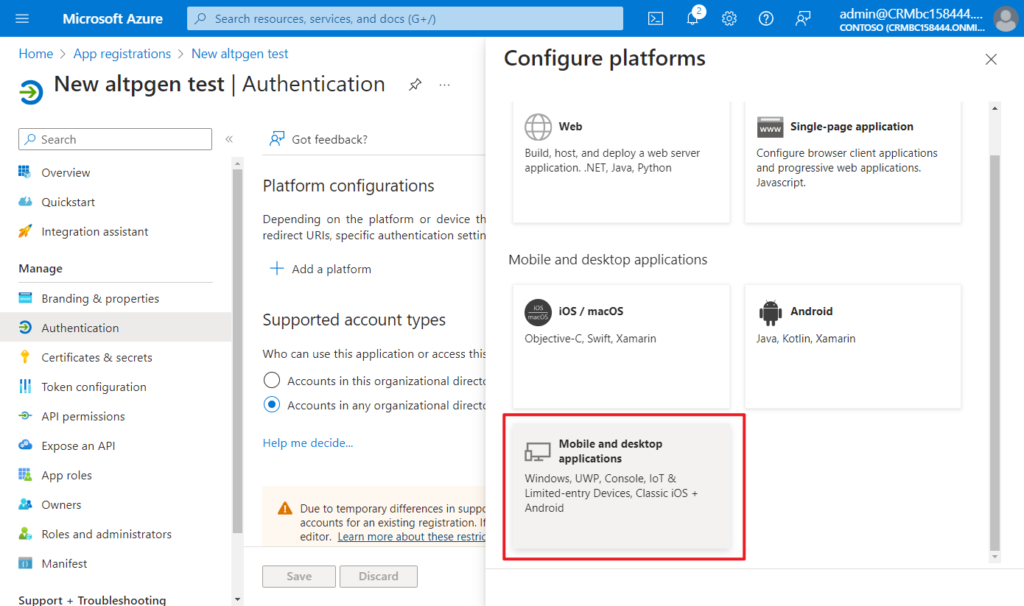
Choose Mobile and desktop applications.
Select the third one (MSAL only) and click Configure.
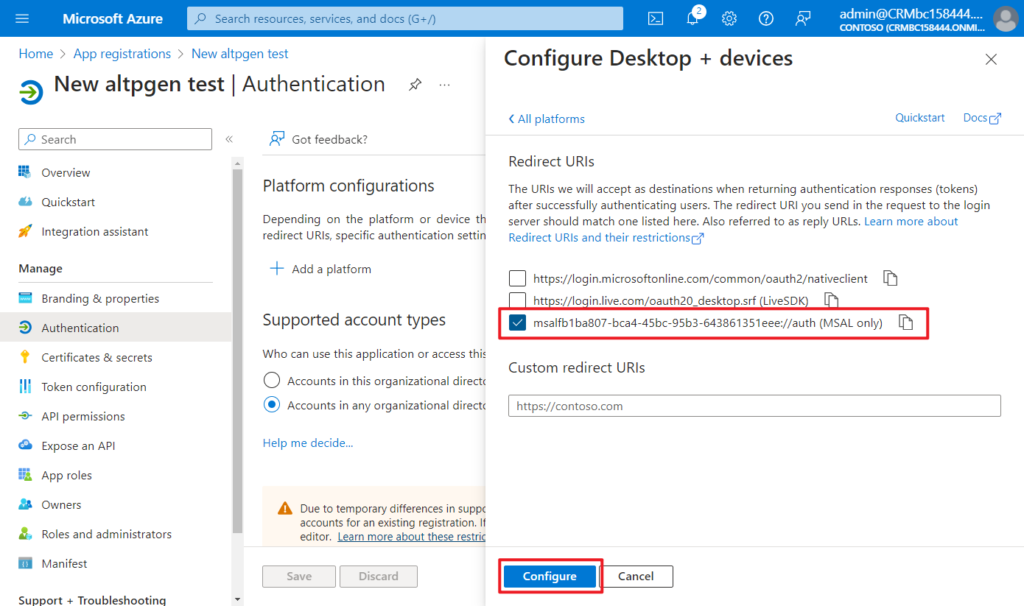
You will get the second argument, redirecturi: msalfb1ba807-bca4-45bc-95b3-643861351eee://auth
OK, let’s try again.
-clientid: fb1ba807-bca4-45bc-95b3-643861351eee -redirecturi:"msalfb1ba807-bca4-45bc-95b3-643861351eee://auth"
Sign in:
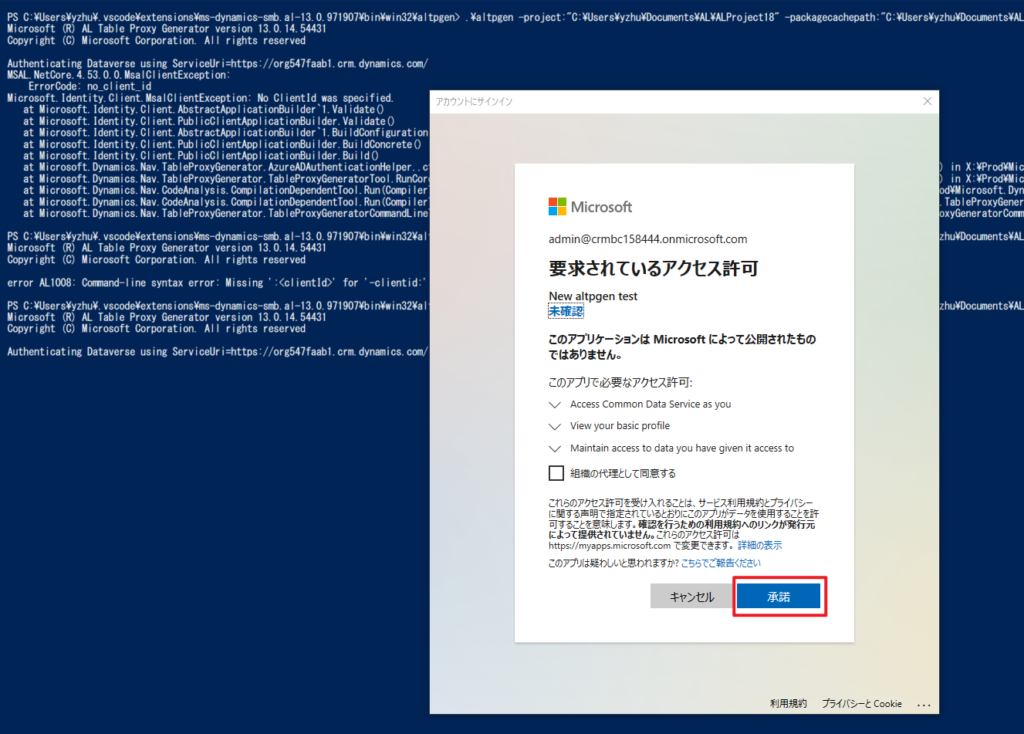
Accept:

The complete command is below.
.\altpgen -project:"C:\Users\yzhu\Documents\AL\ALProject18" -packagecachepath:"C:\Users\yzhu\Documents\AL\ALProject18\.alpackages" -serviceuri:"https://org547faab1.crm.dynamics.com/" -entities:cr51e_newtable -baseid:50100 -tabletype:CDS -clientid:"fb1ba807-bca4-45bc-95b3-643861351eee" -redirecturi:"msalfb1ba807-bca4-45bc-95b3-643861351eee://auth"Great. Give it a try!!!😁
END
Hope this will help.
Thanks for reading.
ZHU
コメント