Hi, Readers.
Yesterday morning, I made a cup of coffee first as always, opened Twitter, and found a very interesting thing shared by Peter Borring (MSFT).
Here are the links:
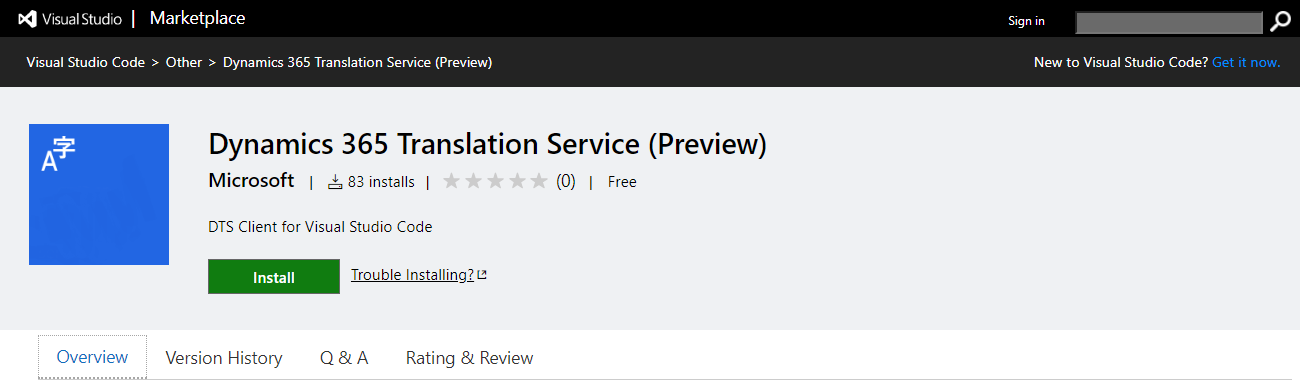
Dynamics 365 Translation Service Visual Studio Code extension (Public Preview) – MS Docs
Dynamics 365 Translation Service (Preview) – VS Code extension
And we have discussed how to use Dynamics 365 Translation Service (DTS) to translate your solutions (Partners Only) last year.
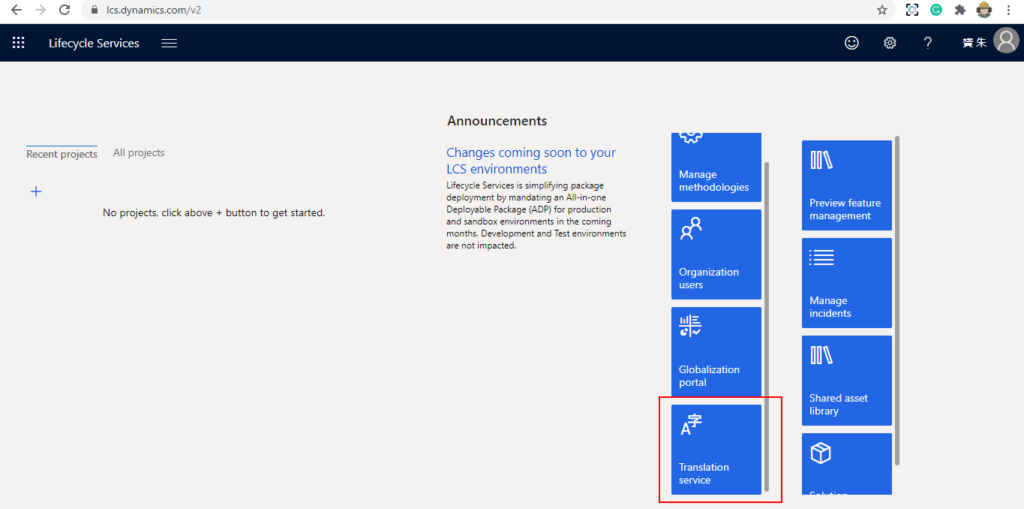
The Microsoft Dynamics 365 Translation Service (DTS) is hosted in Microsoft Dynamics Lifecycle Services (LCS). It’s designed to enhance the experience for partners and independent software vendors (ISVs) when they translate their solutions or add a new language for supported Dynamics products. DTS uses a machine translation (MT) system that is custom-trained for Microsoft General Availability (GA) languages to maximize the quality of the translation output. DTS also supports translation recycling from the linguistic assets of Microsoft Dynamics and partners/ISVs. Therefore, identical strings are translated one time and then consistently reused.
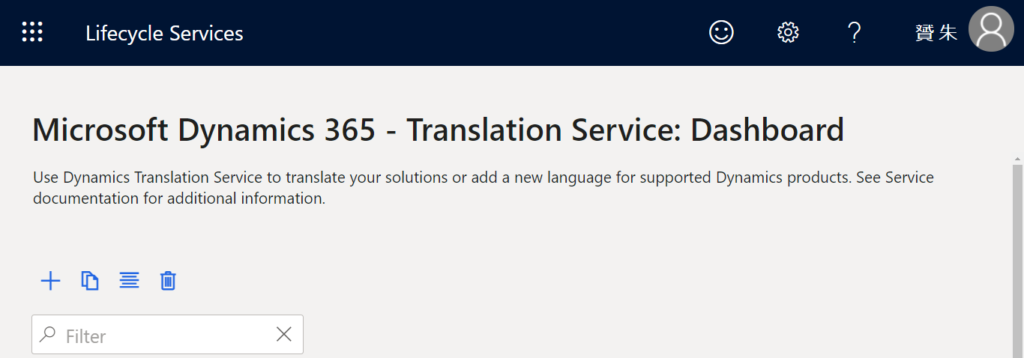
The Lifecycle Services site: https://lcs.dynamics.com/Logon/Index
Microsoft Dynamics 365 – Translation Service: Dashboard
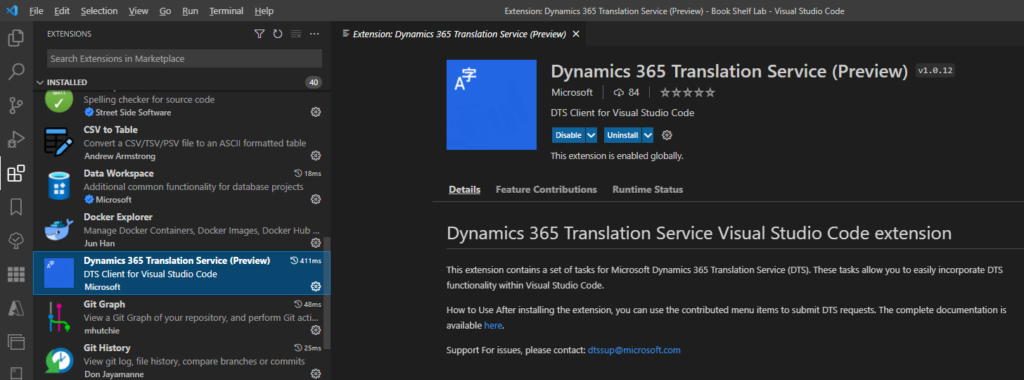
The Microsoft Dynamics 365 Translation Service (DTS) extension for Visual Studio Code (VS Code) lets users interact with DTS from the VS Code editor. This extension was created for Dynamics 365 Business Central users who develop extensions in AL. It provides a user interface (UI) for creating, submitting, and retrieving new DTS translation requests. (Released on June 1, 2022)
Okay, let’s test this extension together.
Before you start, you should be familiar with development in AL. You should also know how to work with translation files in the Business Central development environment. More details: XLIFF translation files (Working with Translations)
1. Install the Microsoft Dynamics 365 Translation Service (DTS) extension for Visual Studio Code
First, install the Dynamics 365 Translation Service (Preview) for VS Code from the Visual Studio Marketplace. For more information about how to install extensions, see Extension Marketplace.
2. Access the DTS extension.
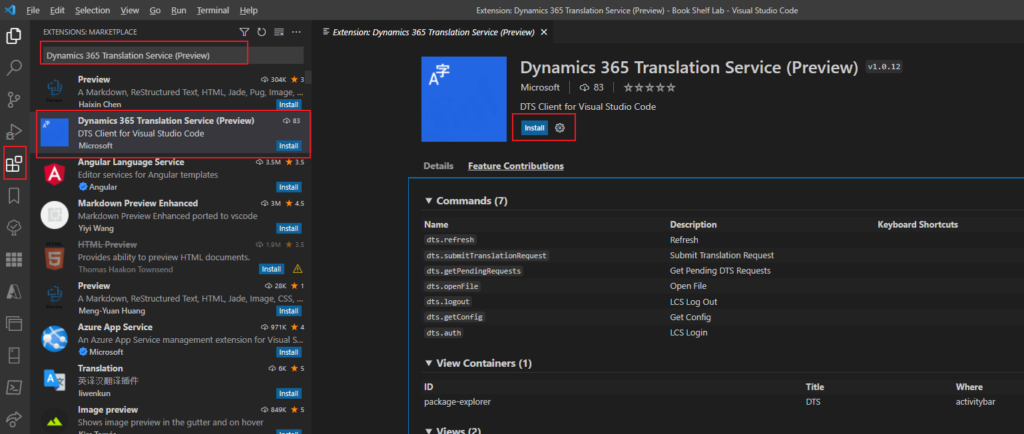
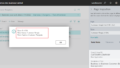
The extension will be active if you’re in an AL workspace. To access the extension, select the DTS icon in the Activity Bar on the side of the VS Code window, as shown in the following illustration.
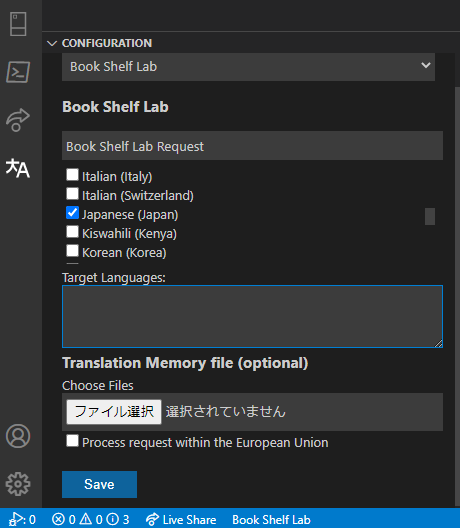
The DTS view is opened. It consists of the resource file explorer and the translation request configuration view.
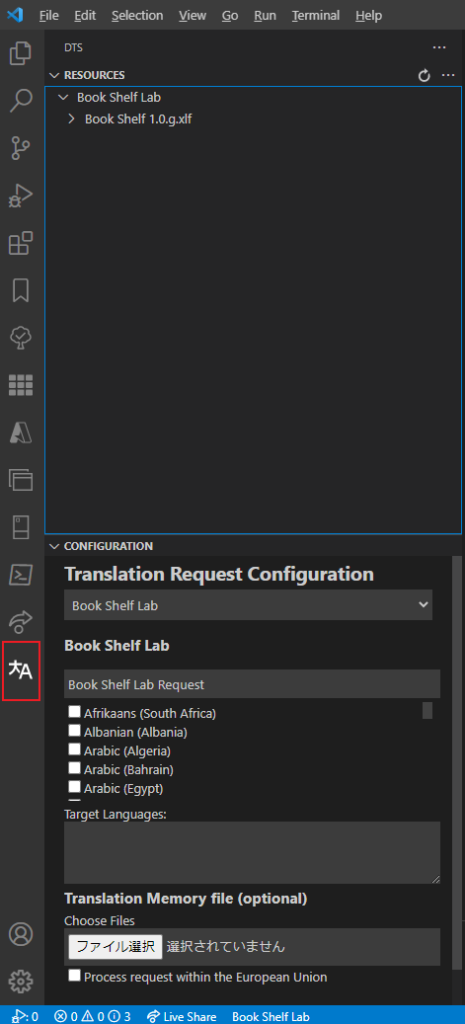
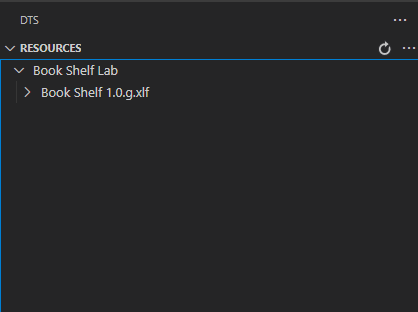
The resource file explorer provides a tree view that you can use to navigate your project’s resources.
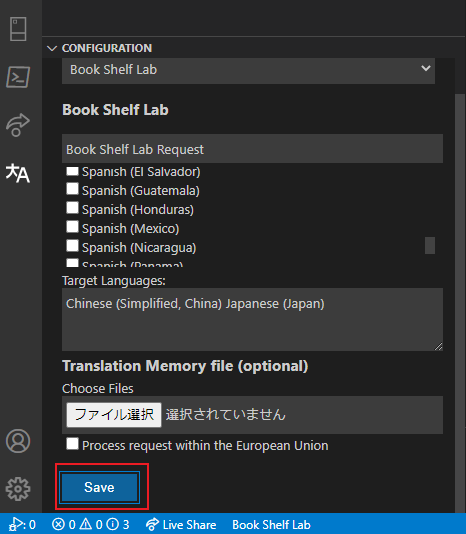
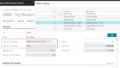
3. Configure translation requests.
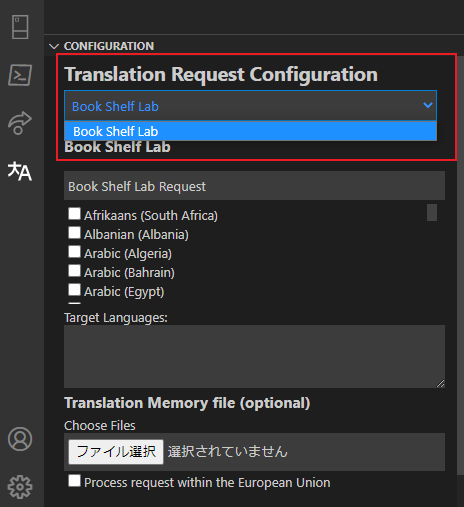
In the translation request configuration view, select the AL project that you want to configure. Unless you’re working with multiple AL project folders in one workspace, only one project will be available.
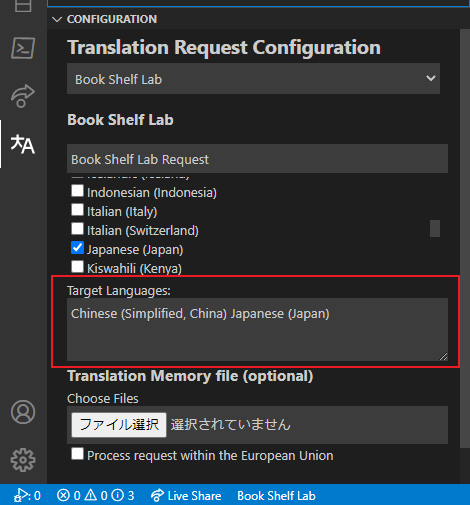
In the Target Languages list, select the target languages.
It seems that after refreshing the page, the selected language can be displayed in Target Languages. For example, Chinese (Simplified, China) and Japanese (Japan)
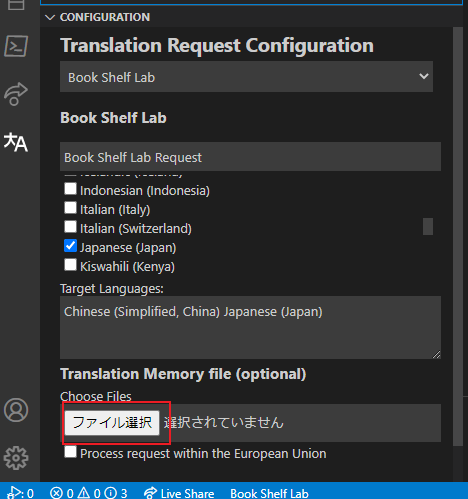
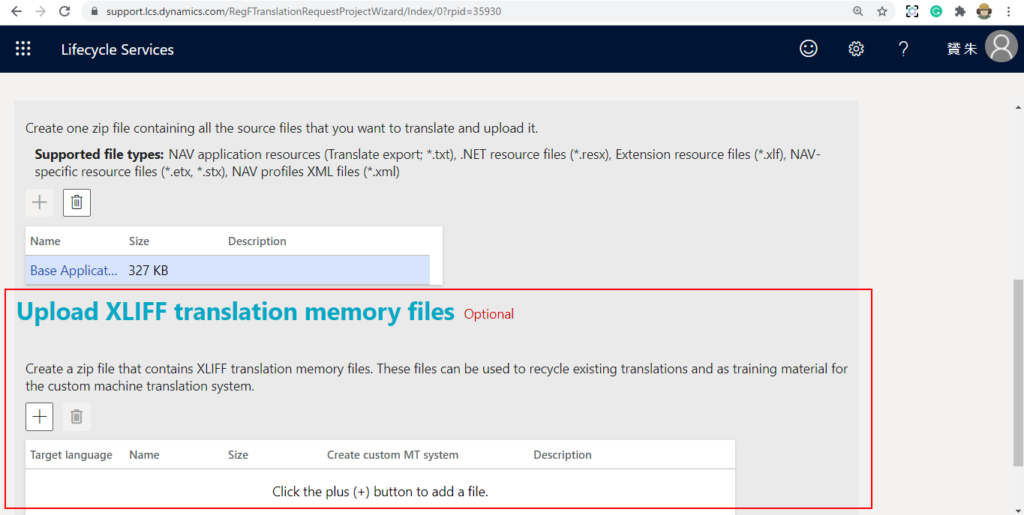
If you have any XLIFF files to recycle, you can add them by using the Choose Files (ファイル選択) button.
This is the same as when submitting on a web page.
If you want all data to be processed in the European Union (EU), select the Process request within the European Union checkbox.

Finally, click Save to save the current settings.
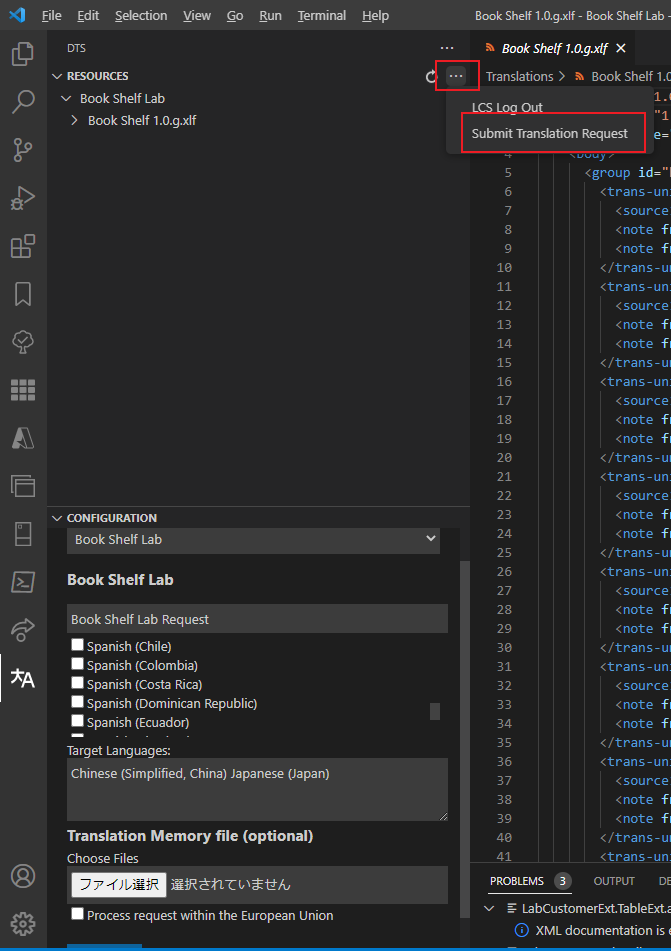
4. Submit translation requests
Before you submit a new translation request, make sure that you’ve saved the configuration for translation requests. That configuration will be used for all future requests, unless it’s overridden by a new save operation.
To submit a new request, select the ellipsis button (…) in the resource file explorer, and then select Submit Translation Request on the menu.
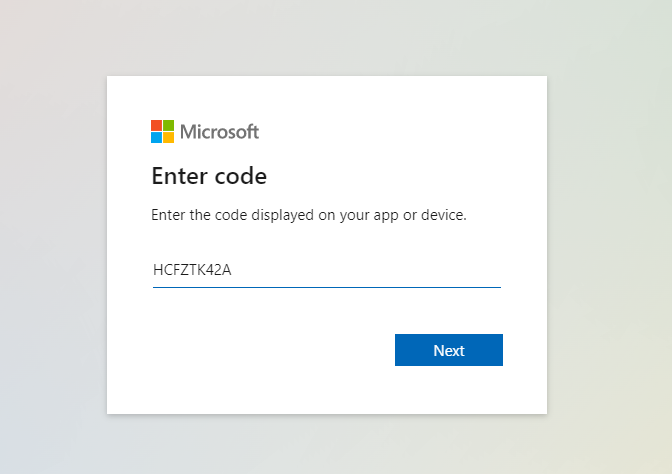
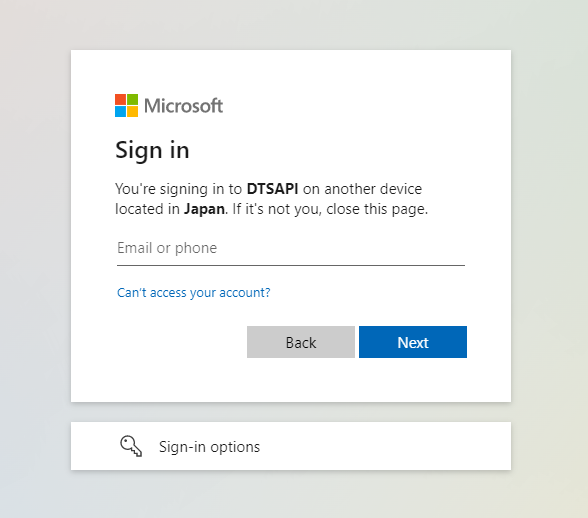
If you aren’t signed in, you’re prompted to authenticate. Make a note of the authentication code in the prompt, and then select Open URL.
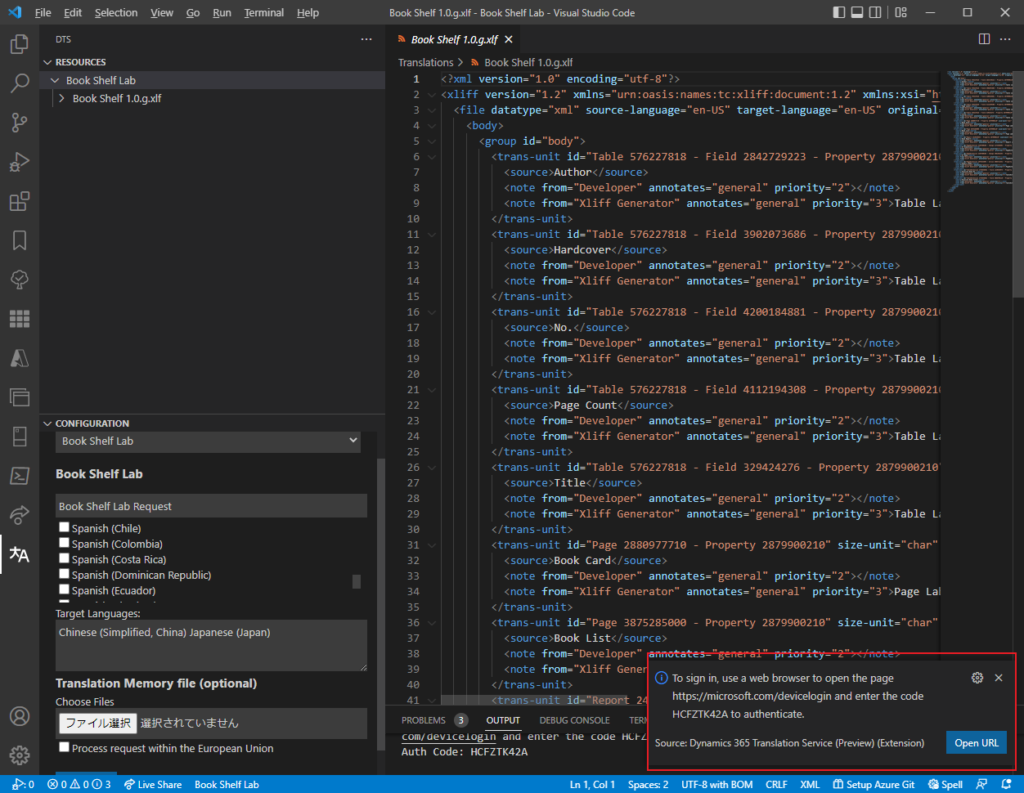
A new web browser window should be opened. If a new browser window isn’t opened, open one, and then, in the address bar, enter the URL from the prompt. In the browser window, enter the authentication code. You will be redirected to a sign-in page. Sign in by using your credentials.
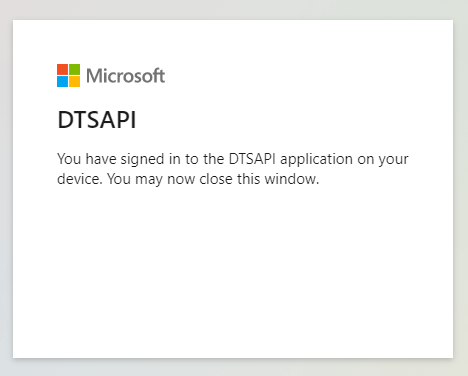
Verification succeeded.
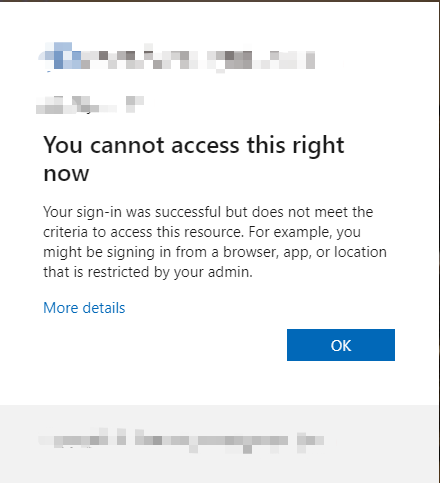
If you are unable to complete verification, you need to try contacting your administrator.
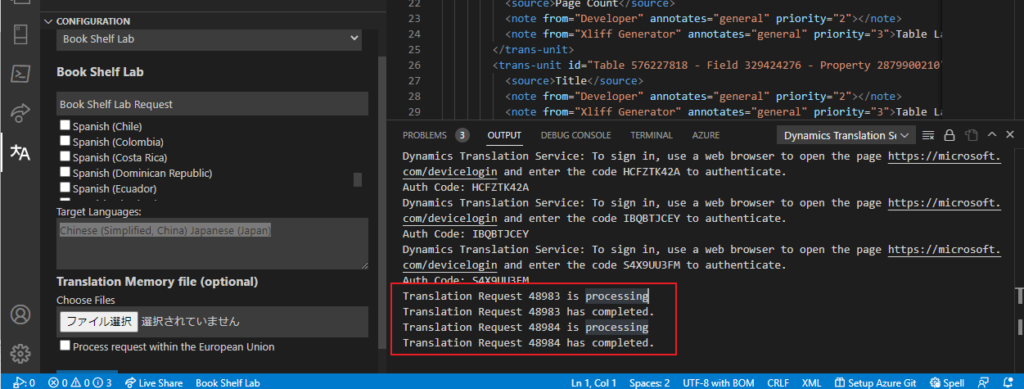
Then you will receive a notification when the processing of the request begins and another notification when it’s completed.
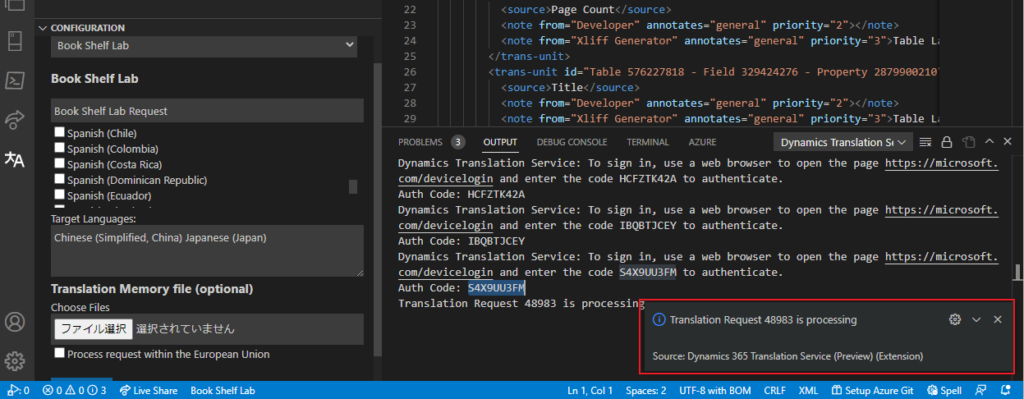
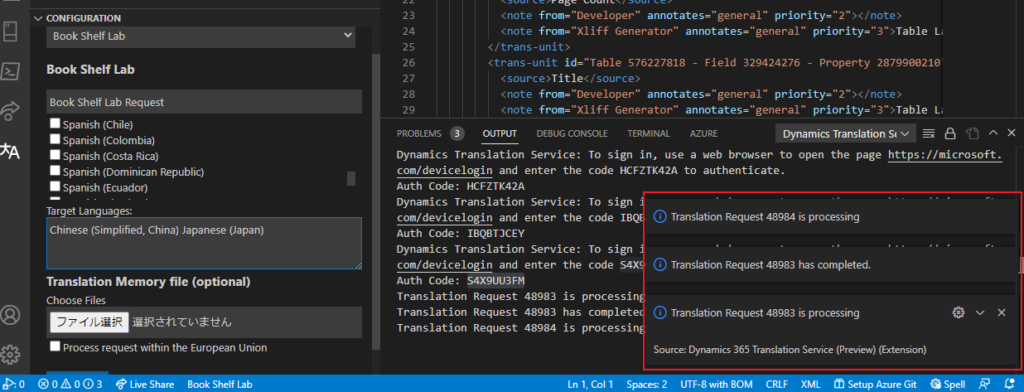
This information is also displayed in OUTPUT window.
Then click Refresh icon.
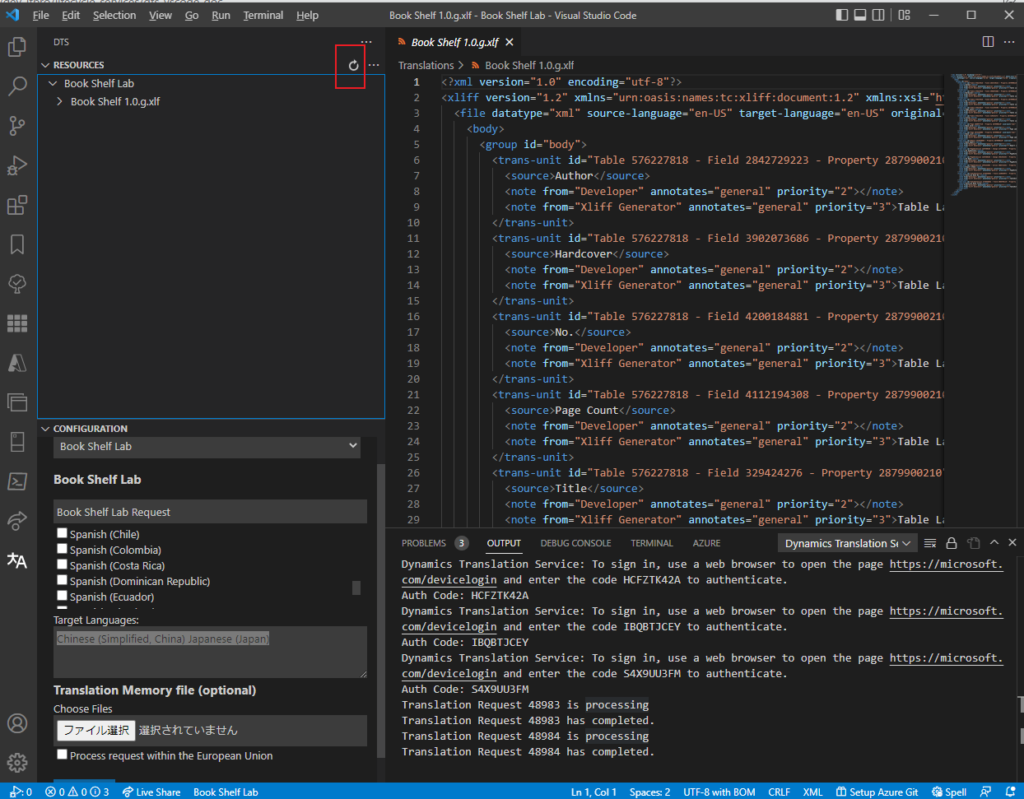
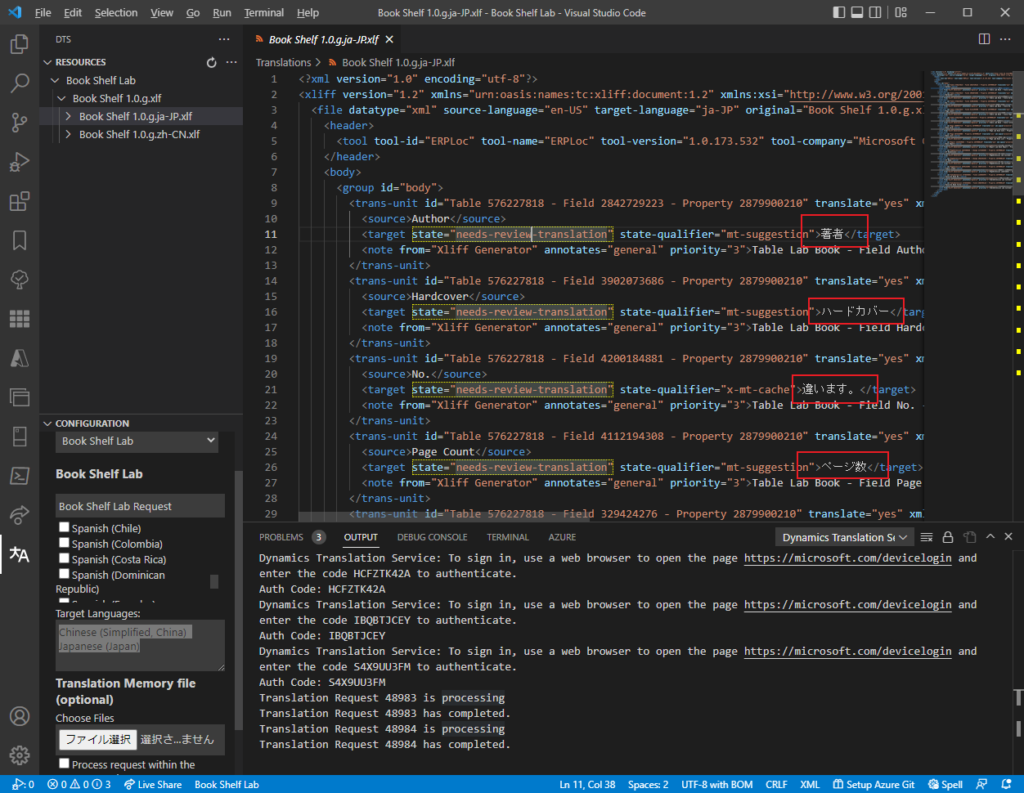
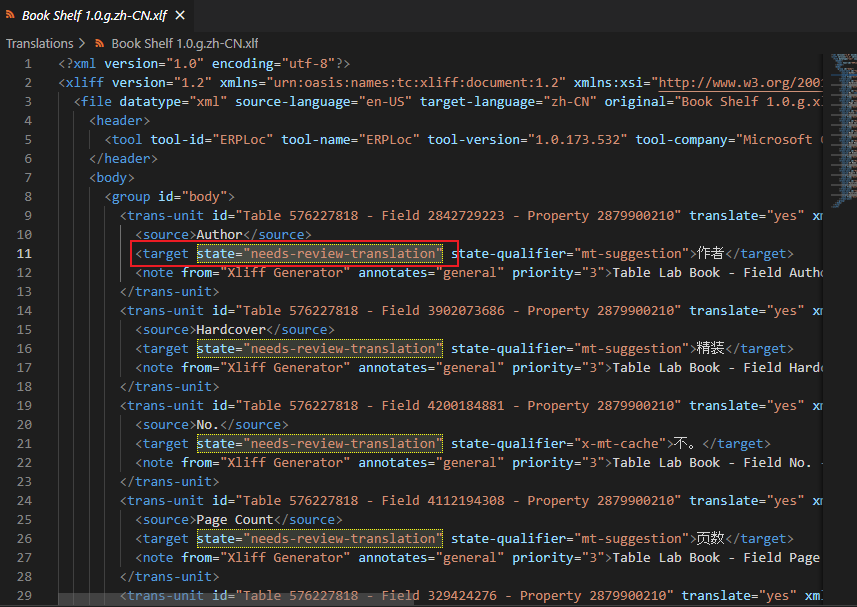
Each translation file is written to the folder where the source translation file is located.
Japanese (Japan):
Chinese (Simplified, China):

PS:
1. In Dynamics 365 Translation Service (DTS) you must have a Partner account to use this Translation service, but with this VS Code extension, it seems to be possible with any work account.
Work Account:
Partnar Account:
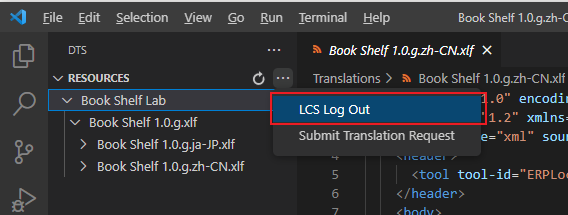
2. If you want to switch accounts, select the ellipsis button (…) in the resource file explorer, and then select LCS Log Out on the menu.
3. Texts translated using this method have their state automatically marked as “needs-review-translation” because they are not accurate enough.
4. Commands of Dynamics 365 Translation Service (Preview):
| Name | Description | Keyboard Shortcuts | Menu Contexts |
|---|---|---|---|
dts.refresh | Refresh | view/title | |
dts.submitTranslationRequest | Submit Translation Request | view/title | |
dts.getPendingRequests | Get Pending DTS Requests | ||
dts.openFile | Open File | commandPalette | |
dts.logout | LCS Log Out | view/title | |
dts.getConfig | Get Config | ||
dts.auth | LCS Login |
5. This extension is not just for Business Central, other Dynamics 365 products can also be translated by this method.
Find more about Dynamics 365 Translation Service Visual Studio Code extension (Public Preview) in MS Docs.
END
Hope this will help.
Thanks for reading.
ZHU
コメント