Hi, Readers.
Today I would like to discuss how to use Dynamics 365 Translation Service to translate your solutions.
The Microsoft Dynamics 365 Translation Service (DTS) is hosted in Microsoft Dynamics Lifecycle Services (LCS). It’s designed to enhance the experience for partners and independent software vendors (ISVs) when they translate their solutions or add a new language for supported Dynamics products.
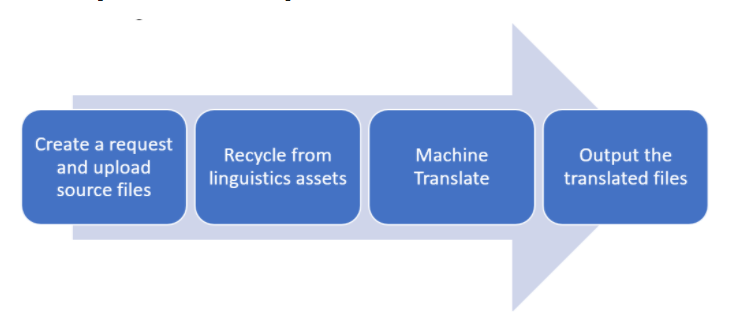
DTS uses a machine translation (MT) system that is custom-trained for Microsoft General Availability (GA) languages to maximize the quality of the translation output. DTS also supports translation recycling from the linguistic assets of Microsoft Dynamics and partners/ISVs. Therefore, identical strings are translated one time and then consistently reused.
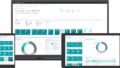
The following illustration shows, at a high level, how the service works.
Next, what is LCS?
Microsoft Dynamics Lifecycle Services (LCS) helps improve the predictability and quality of implementations by simplifying and standardizing the implementation process.
LCS is a Microsoft Azure-based collaboration portal that provides a unifying, collaborative environment along with a set of regularly updated services that help you manage the application lifecycle of your implementations.
The goal of LCS is to deliver the right information, at the right time, to the right people and to help ensure repeatable, predictable success with each roll out of an implementation, update or upgrade.
By providing a collaborative workspace that can be used by both customers and partners, separately and together, LCS enables closer collaboration, helps speed implementations and reduces time to value.
Let’s start to try it
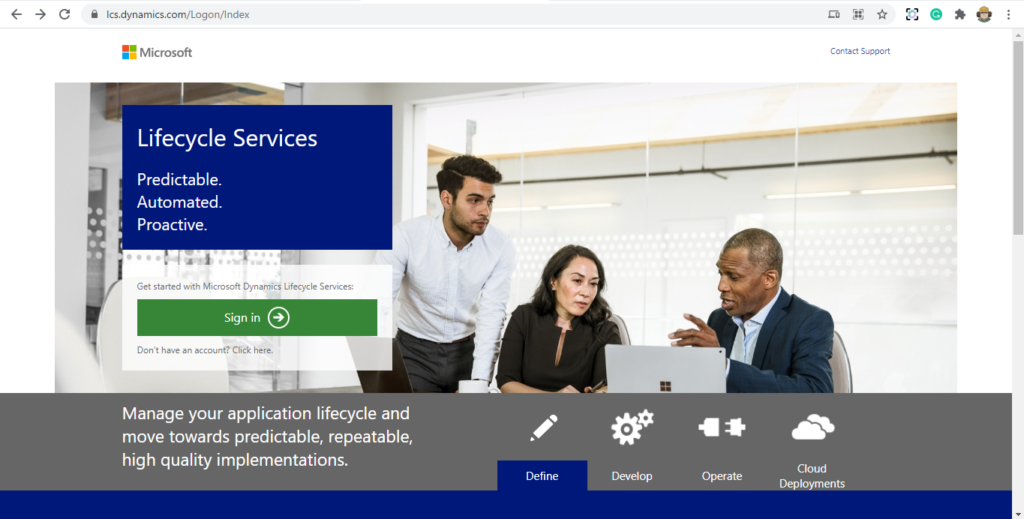
1. Open the Lifecycle Services site and click Sign in.
https://lcs.dynamics.com/Logon/Index
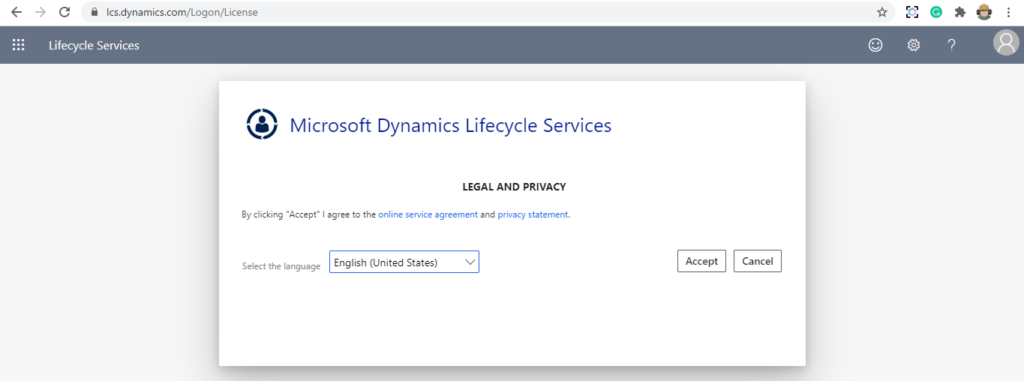
2. If you are signing in for the first time, you will need to accept the service agreement and privacy statement. Select your language then click Accept.
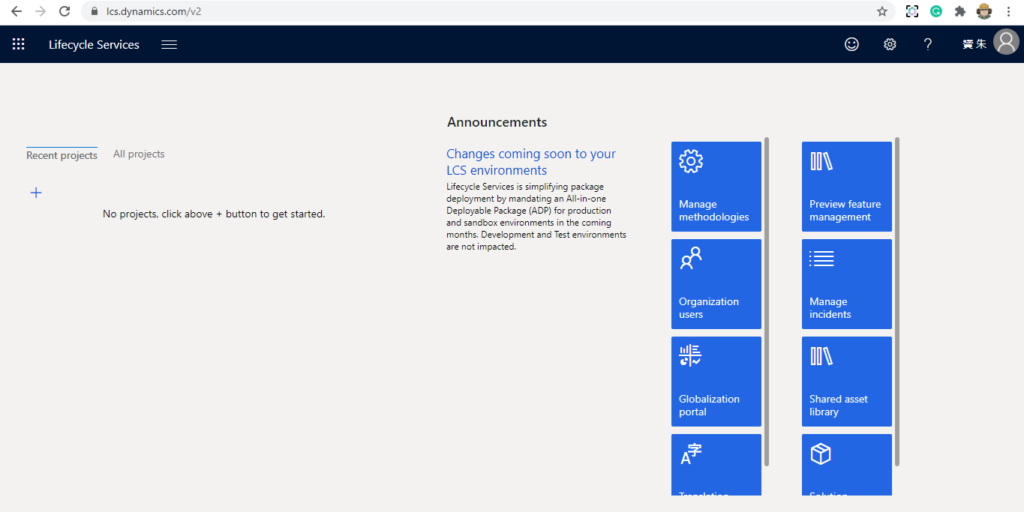
3. After successful login, you will jump to the home page of Lifecycle Services. Several functions can be seen on the right side.
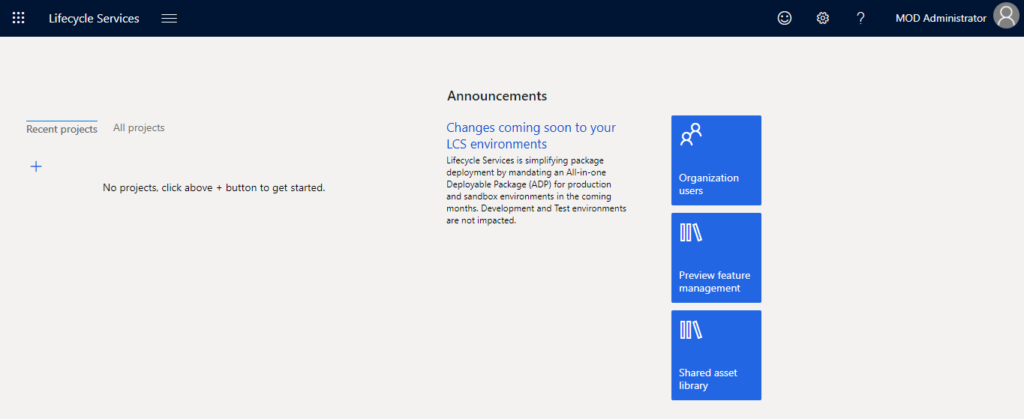
Note: If you are using an account other than Partner’s, you will be able to sign in, but you will be limited in the features you can use.
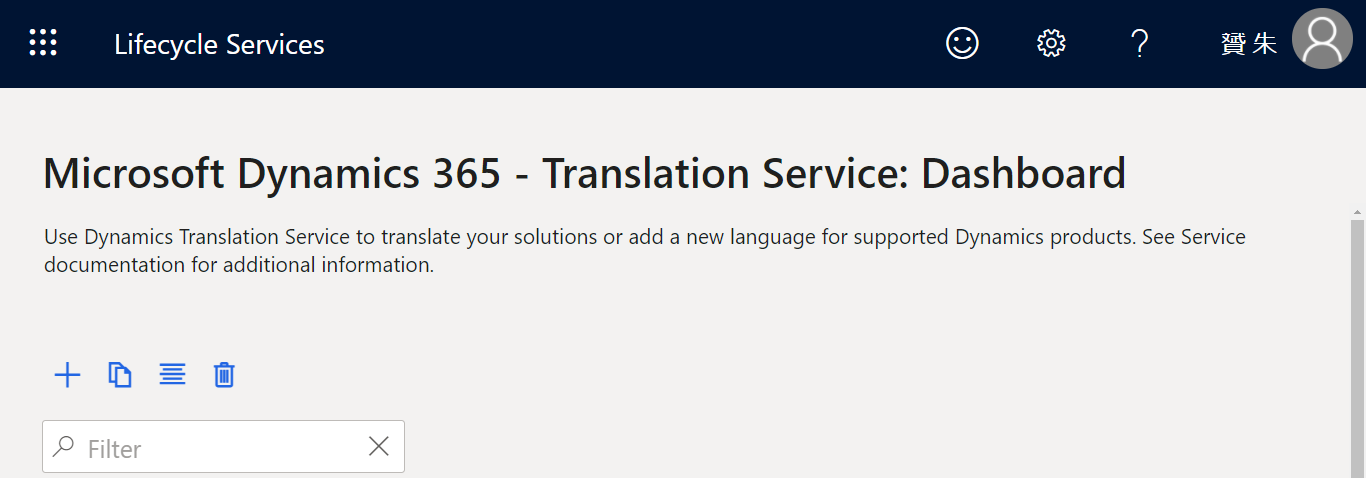
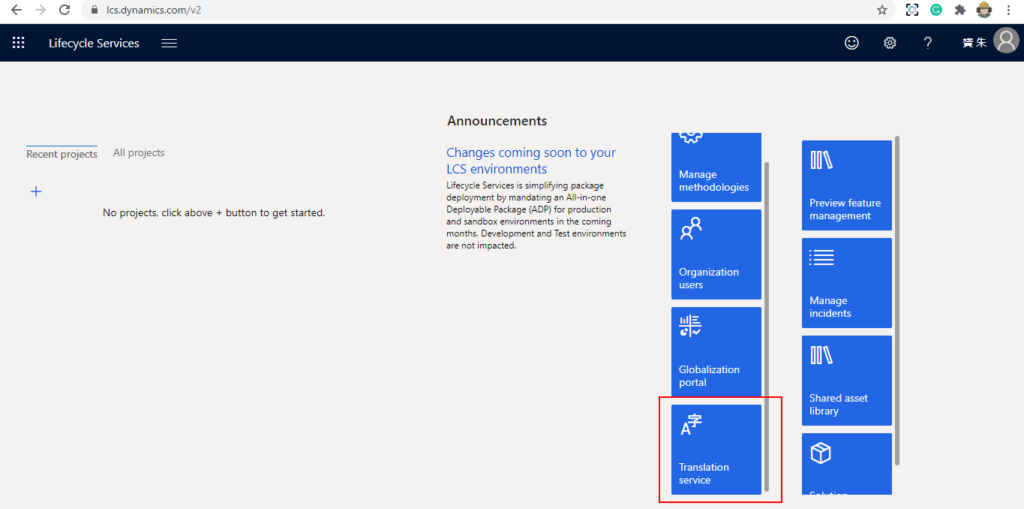
4. Select Translation service at the bottom right.
Microsoft Dynamics 365 – Translation Service: Dashboard opens.
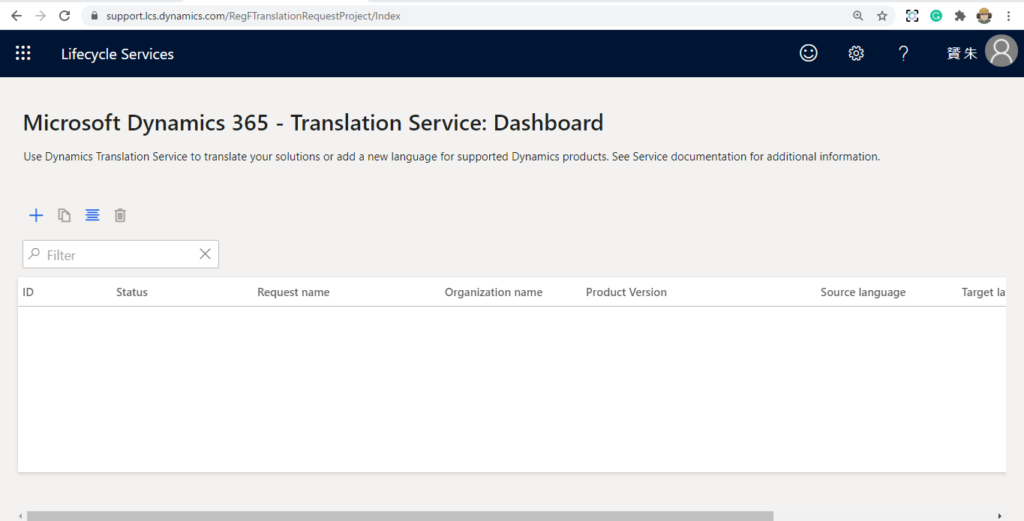
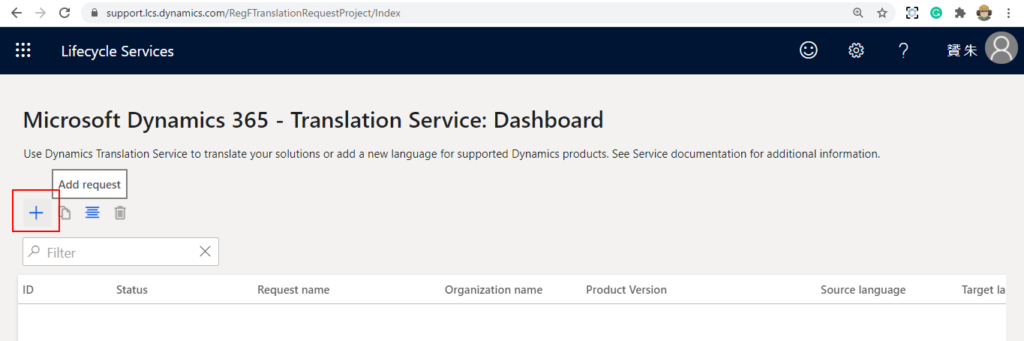
5. Select Add to create a new translation request.
6. Enter the required information for the request.
| Field | Description |
|---|---|
| Request name | Enter a name for the request. |
| File type | Select User Interface. |
| Product name | Select a product name. If you accessed DTS from within an LCS project, this field is automatically filled in and is read-only. |
| Product version | Select a product version. If you accessed DTS from within a LCS project, this field shows the default product version information from the project. However, you can select a different version. |
| Translation source language, Translation target language | Select the set of source and target languages to translate from and to. If your business requires that multiple target languages be translated for the same source language, you can select all of the target languages in one request. Select the target languages using the check box next to the language name. This saves time and allows you to track the status of all the target language translations in one request. The fields list all the languages that are supported for the selected product name and version. Language names that are shown in bold type are General Availability (GA) languages for Microsoft Dynamics products. This means that Microsoft-trained machine translation (MT) systems are available in those languages and the MT system is trained on the terminology for Microsoft Dynamics. For non-GA languages, the MT system uses the general domain training. |

7. Choose Yes.
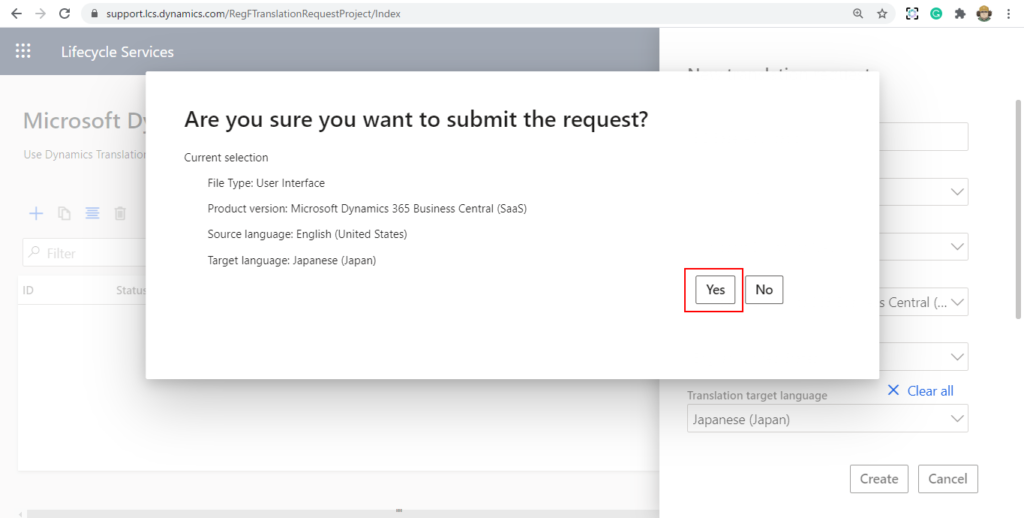
8. New translation request has been created.

9. Select the plus sign (+) open the File upload page.
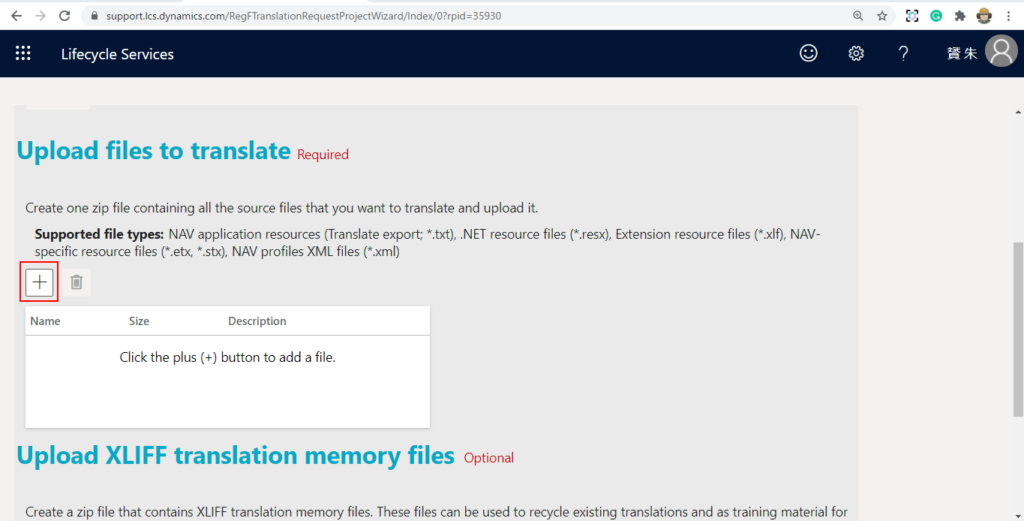
10. Select translation file and upload.
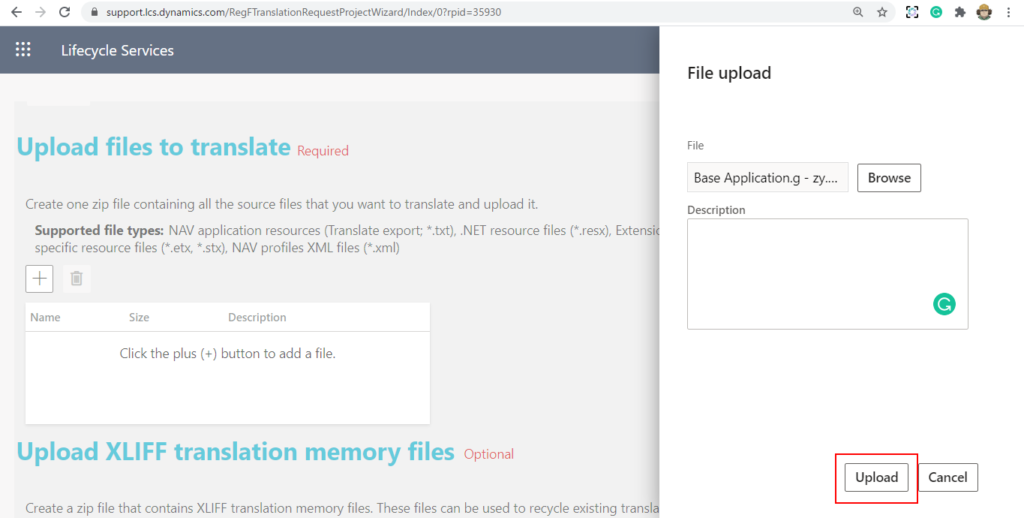
You need to create one zip file that contains all the UI files in the source language that you want to translate from. The zip file can include different file types, provided that the file types are supported for the product.
For example: I extracted part of the translation of Base Application.


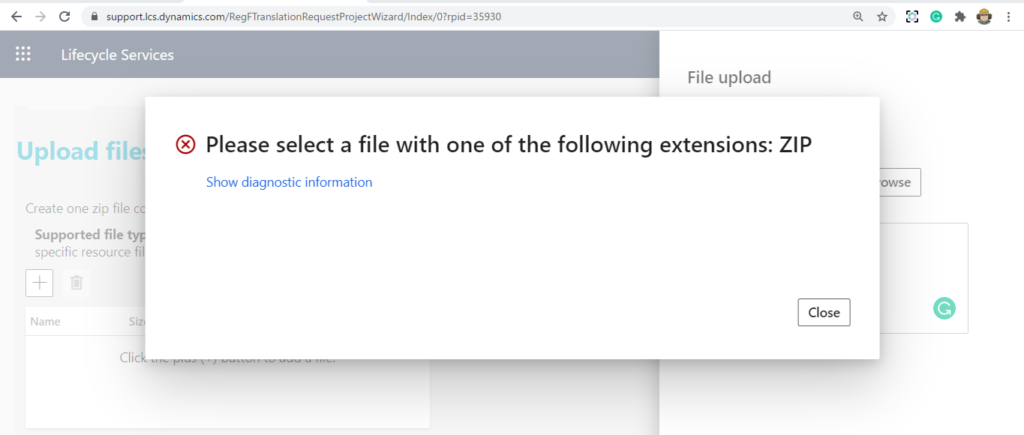
Note: If the uploaded file is not zip, an error will be reported.
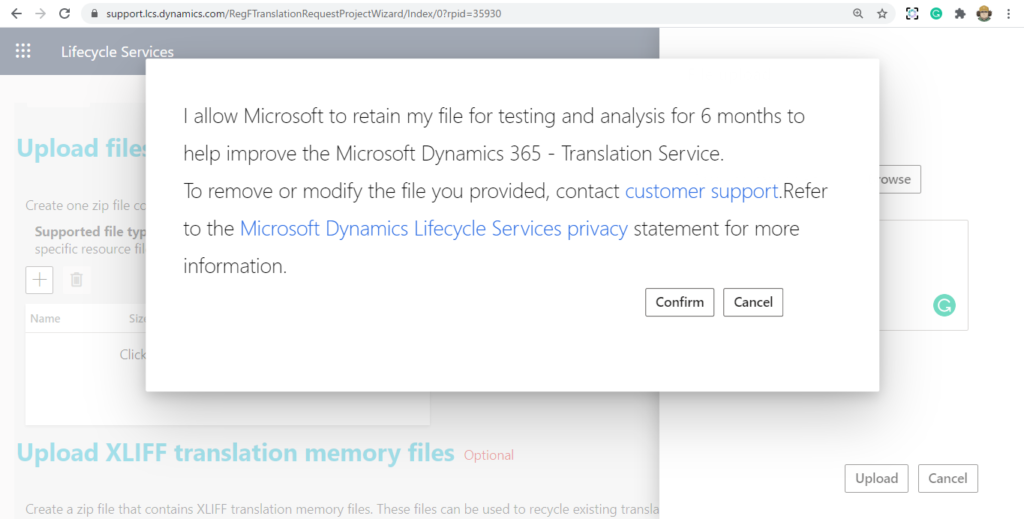
11. Choose Confirm.
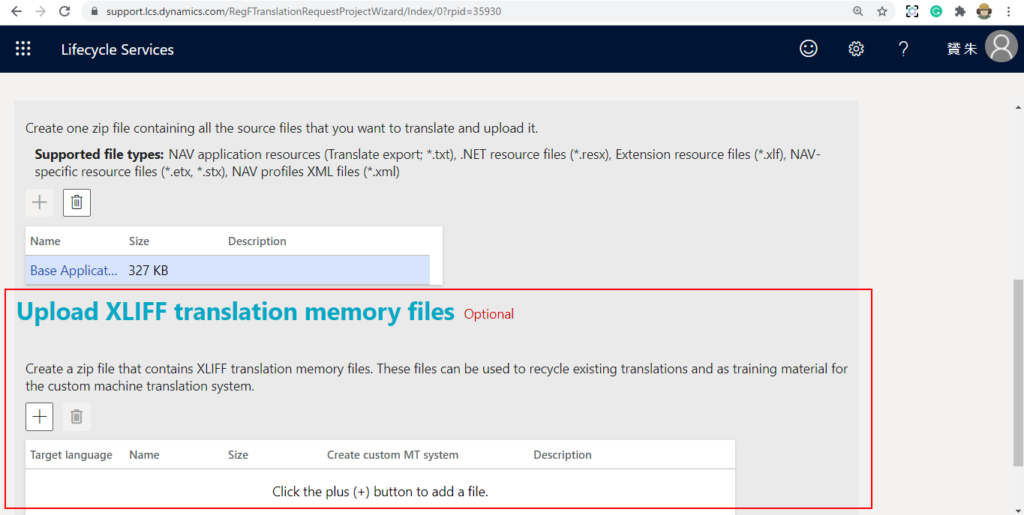
Note: If you have XLIFF TM files from a previous UI translation request, or if you used the Align tool to create an XLIFF TM, create a zip file that contains all TM files before you upload them. Strings that match are then recycled to help guarantee consistency between product versions.
12. Choose Submit to submit the translation request.

13. Choose Confirm.
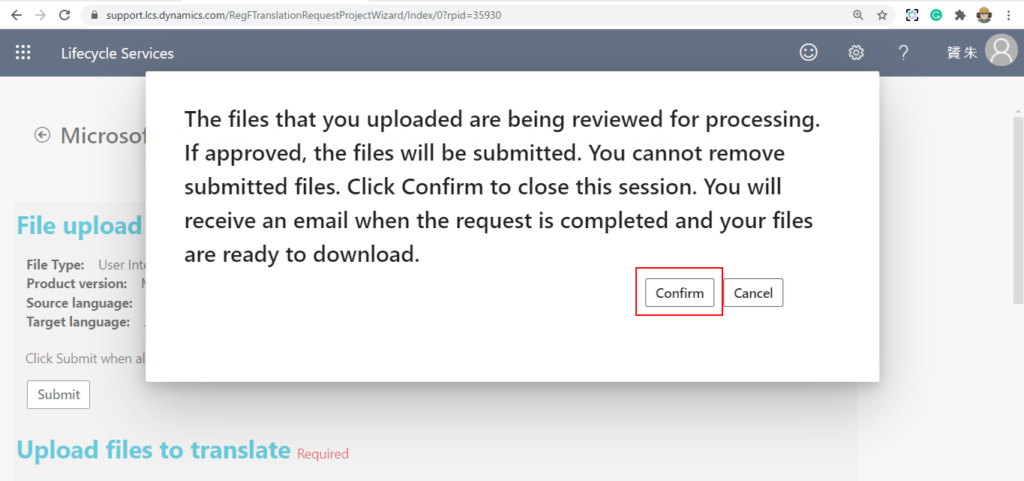
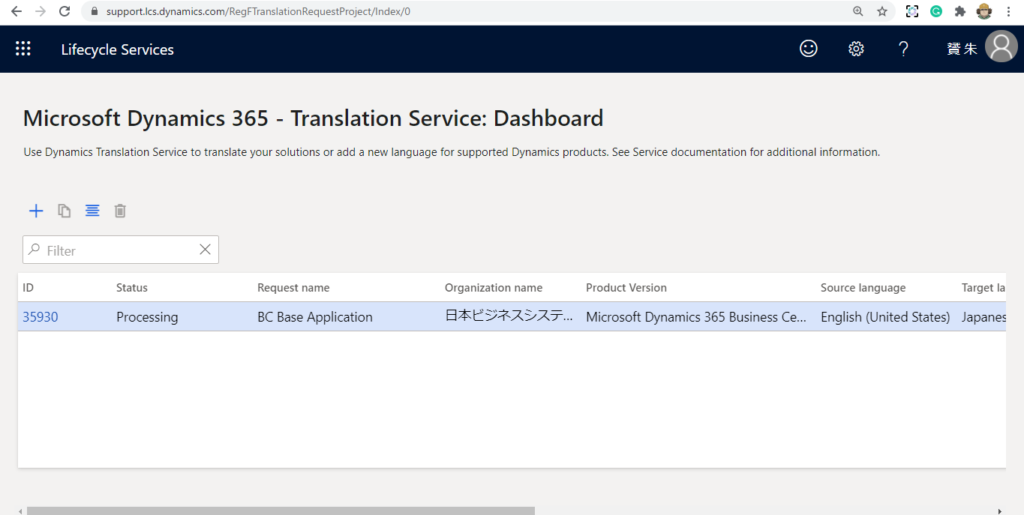
The files will be uploaded. And the status is processing.
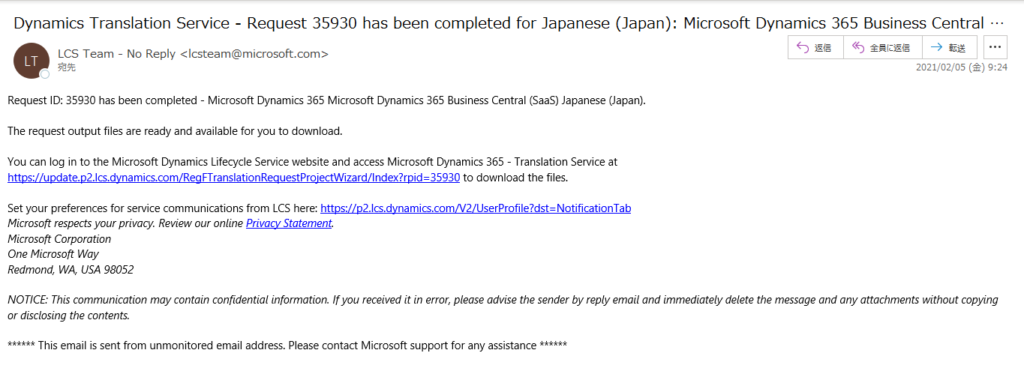
When you submit a new translation request, you will receive the notification email as below.

When the translation is complete, you will receive another notification email.
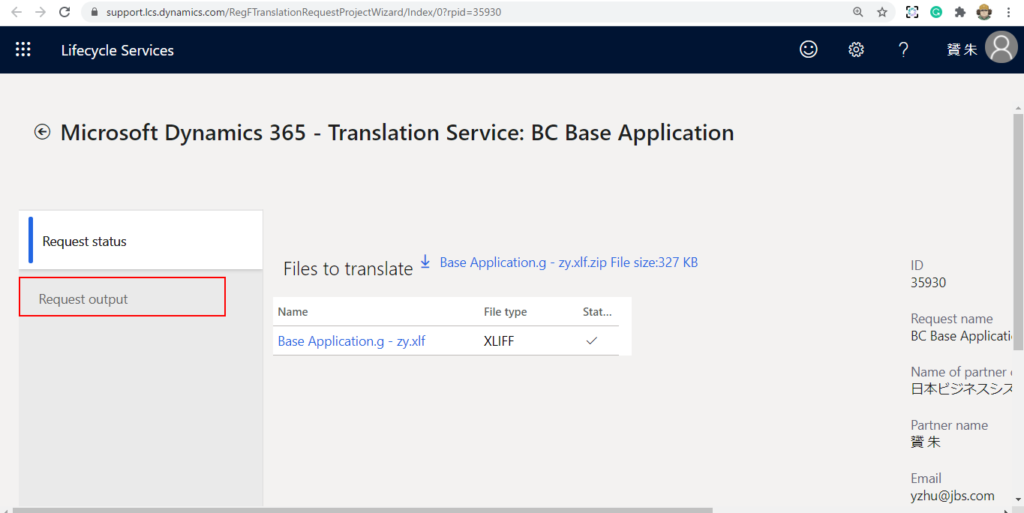
After returning to the Dynamics 365 Translation Service page, you can find that the status has become completed.
Click the ID.
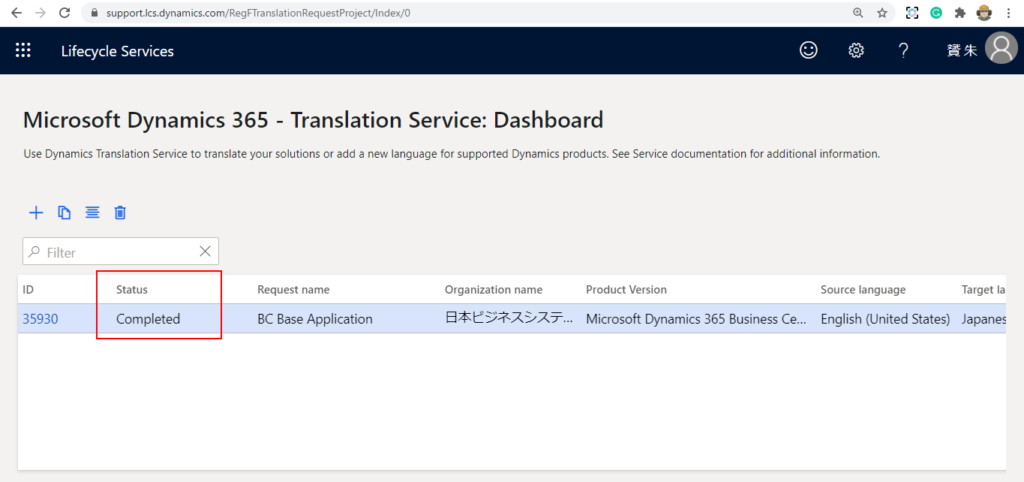
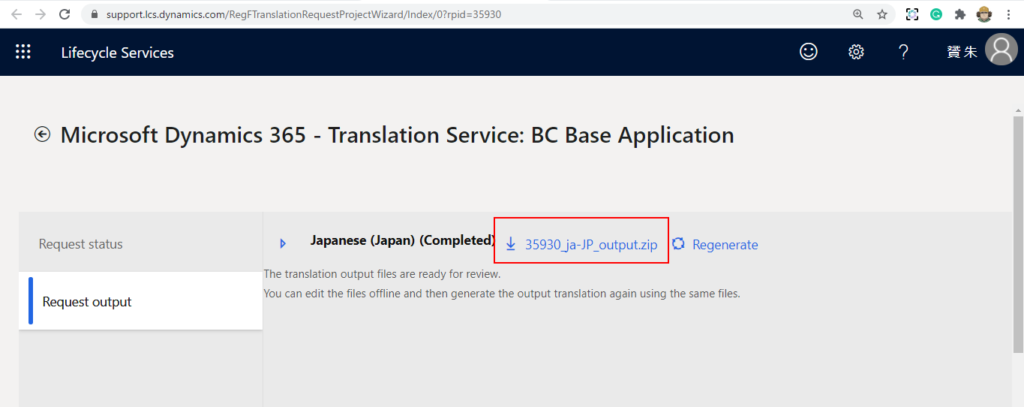
Select Request output.
Then you can download the translation file.
After extracting the zip file downloaded, you will get two folders with the translated file in each.
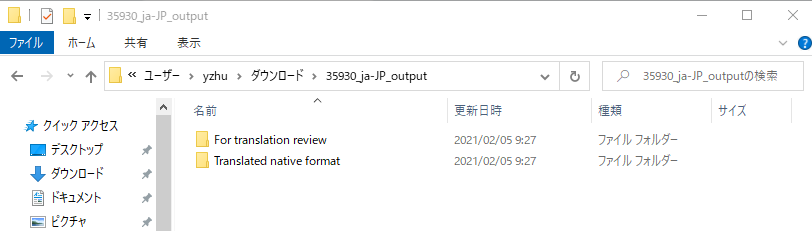
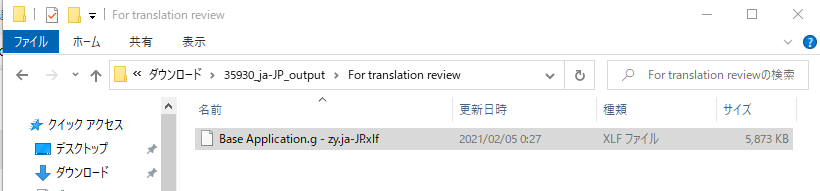
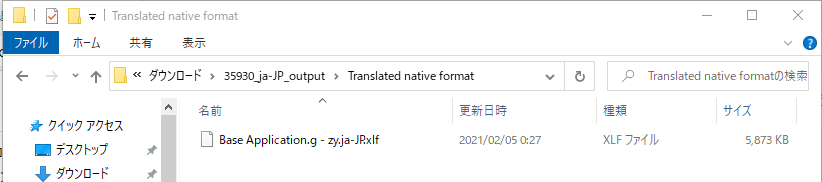
But they are exactly the same file.
After opening the xlf file, you can find target is added automatically and has been translated.
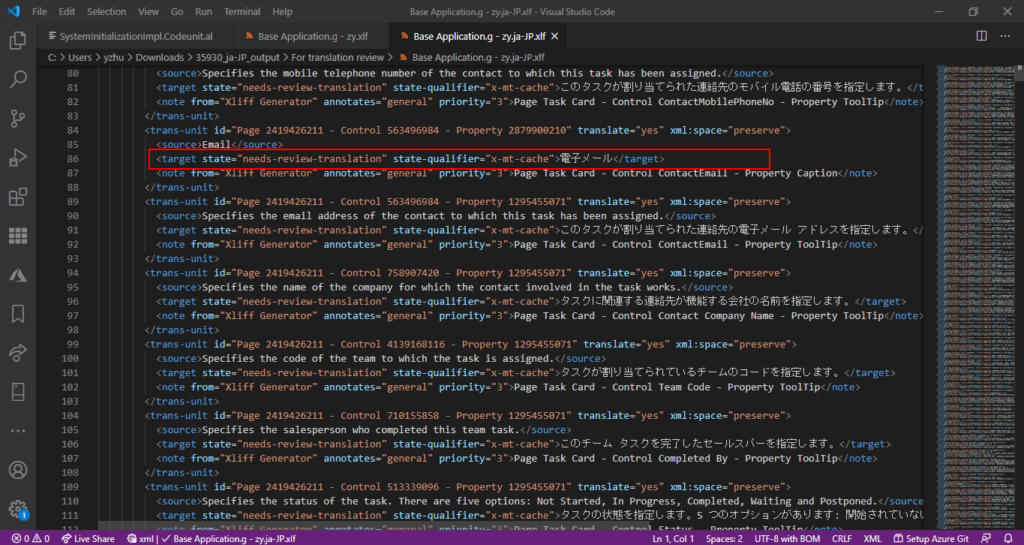
The xlf file of about 5M will be done in about 2 minutes. And Because DTS uses a machine translation (MT) system, the translation result is not necessarily accurate. It is recommended to manually modify the translation file after downloading it. But for those who need to do a lot of translation work, this service certainly plays a big help.
PS:
Supported products:
DTS currently supports the following product versions.
| Product name | Versions | Supported format for user interface files | Supported format for documentation files | Notes |
|---|---|---|---|---|
| Microsoft Dynamics AX 2012 | All versions | .ktd, .ald | .docx | |
| Dynamics 365 Finance and Operations apps | All versions | .label.txt | .docx, .html | .txt is the specific label format and .html is the custom help solution format. |
| Microsoft Dynamics 365 Commerce | All versions | .label.txt | .docx | |
| Microsoft Dynamics CRM | All versions | .resx | .docx | |
| Microsoft Dynamics NAV | All versions | .etx, .stx, .resx, .txt, .xml, .xlf | .docx | .txt and .xml are the NAV specific format, and .xlf is the Business Central extension resource format. |
Find out more about Dynamics 365 Translation Service from Microsoft Docs.
END
Hope this will help.
Thanks for reading.
ZHU
コメント