Hi, Readers.
Today I would like to talk about how to create an environment with all demo/sample data in Business Central SaaS/Cloud W1 version (No Local Functionality).
First of all, the demo/sample data will be automatically installed when you create the environment.(except “W1 countries”)
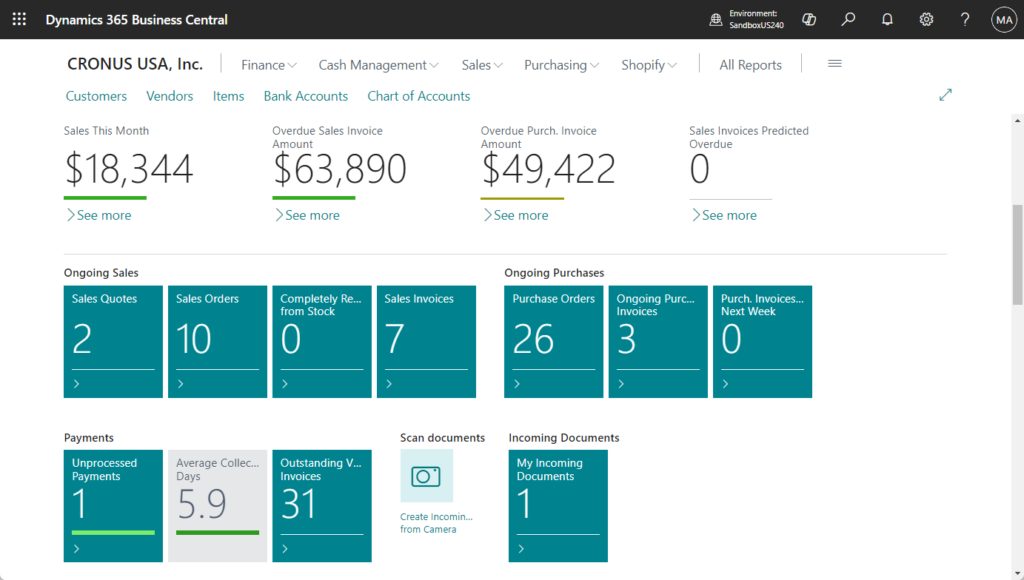
For example, in US version: CRONUS USA, Inc.
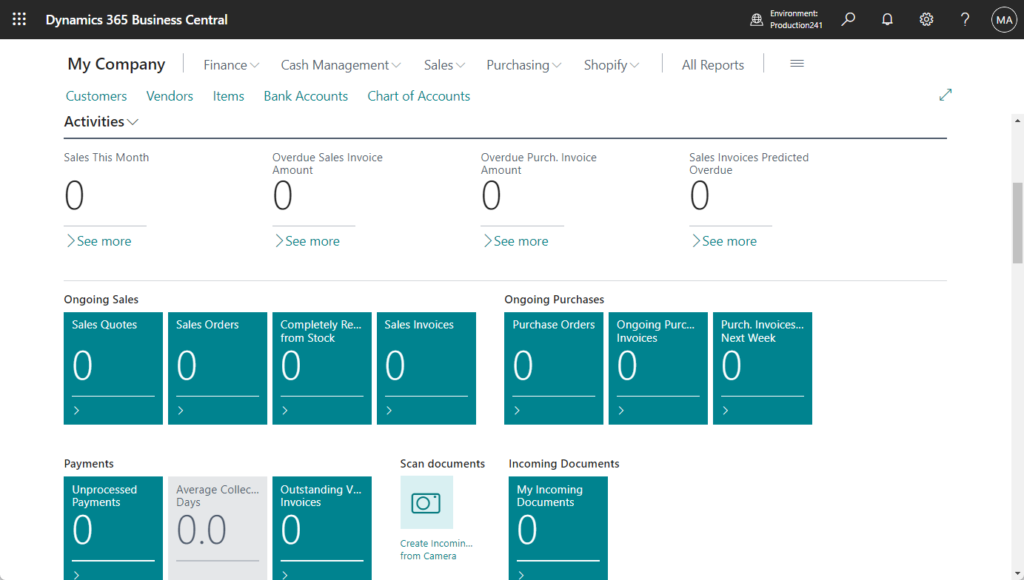
W1 version: My Company
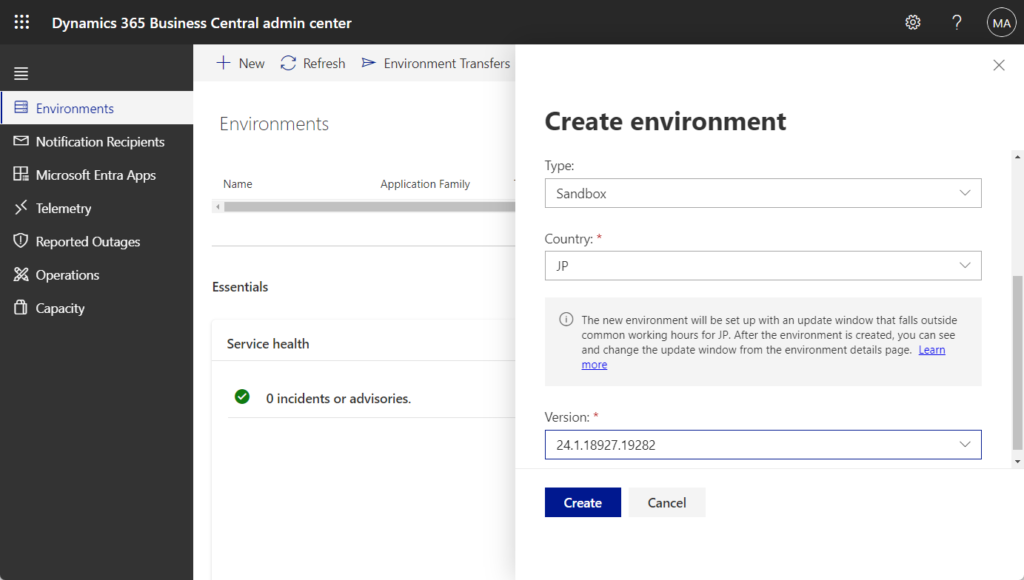
Let’s see more details. I created a completely new environment, Country/Region is JP.
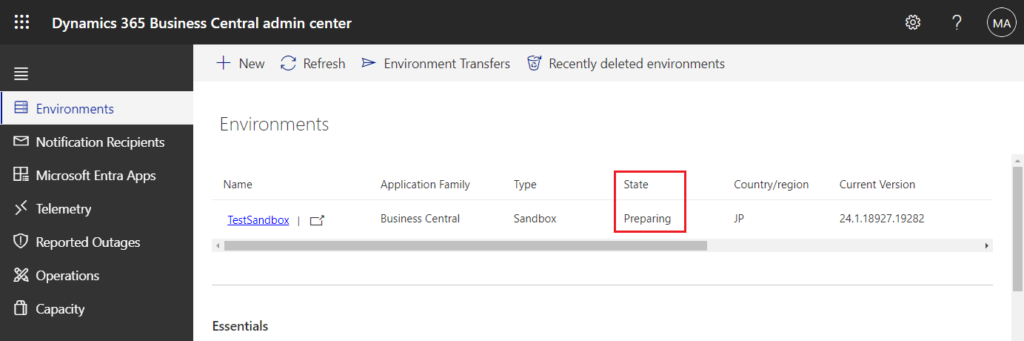
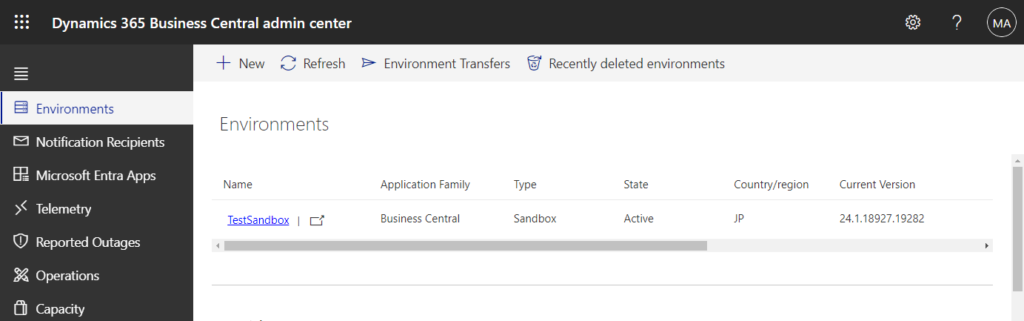
Empty company.
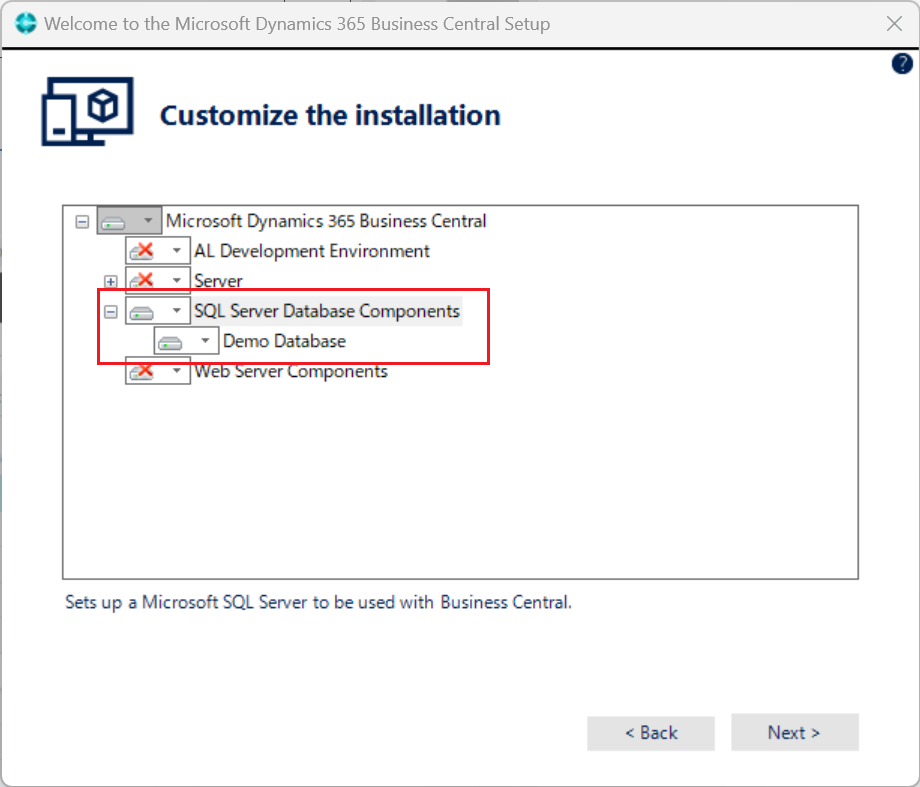
PS: For the W1 On-Premises version, different from the SaaS version, if you select Demo Database during the installation, it will also include the data of the test company CRONUS International Ltd. More details: How to import Advance Evaluation Data (EXTENDED Package – Complete Sample Data)
So how to install all demo/sample data SaaS/Cloud W1 version? In the current version (BC24), we can to do this in two steps.
PS: You can change from Essential to Premium on the Company Information page. More details: Dynamics 365 Business Central: Changing from Essential to Premium (Change which features are displayed)
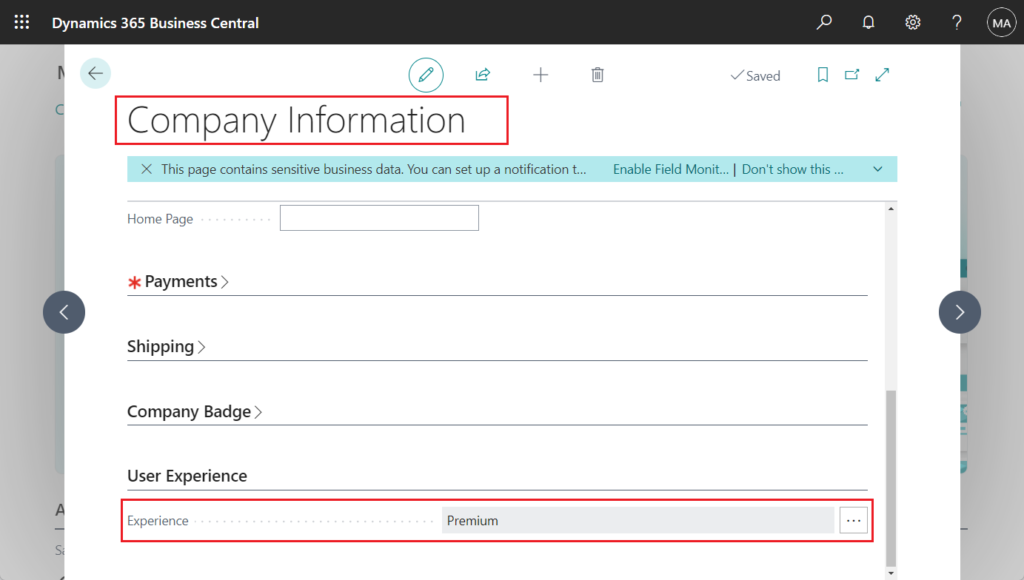
| Experience | Impact on User Interface |
|---|---|
| Essential | Shows all actions and fields for all common business functionality. |
| Premium | Shows all actions and fields for all business functionality, including Manufacturing and Service Management. |
Update 2025.01.23: Business Central 2024 wave 2 (BC25.3): Configuration packages for setup and evaluation data has been deprecated (The method of creating demo/sample data has changed)
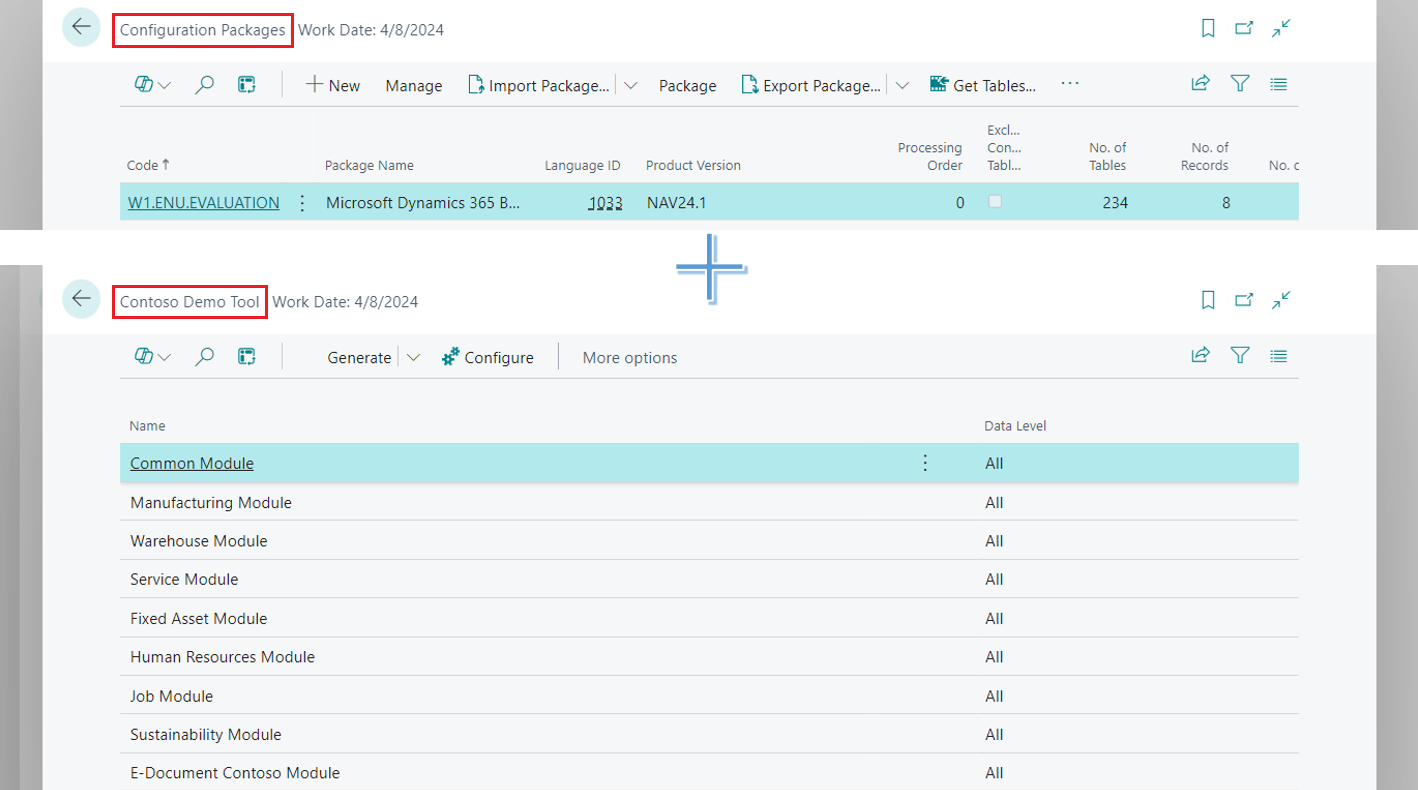
1. Use Configuration Package to import W1.ENU.EVALUATION Configuration Package File
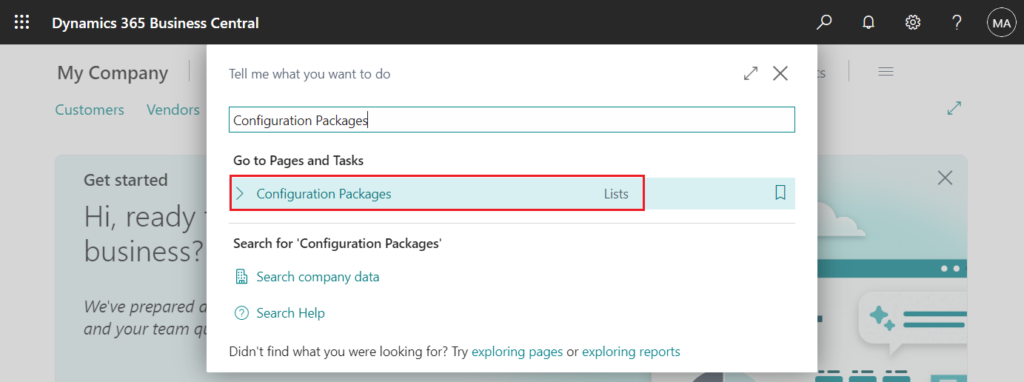
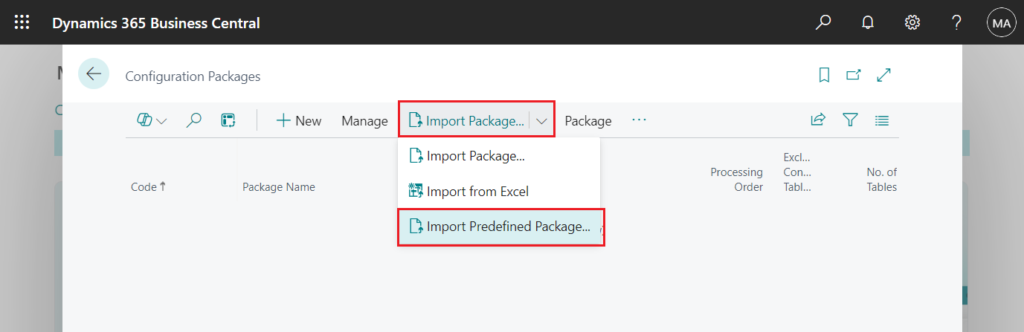
Enter Configuration Packages in tell me, and then choose the related link.
Choose Import Package… -> Import Predefined Package…
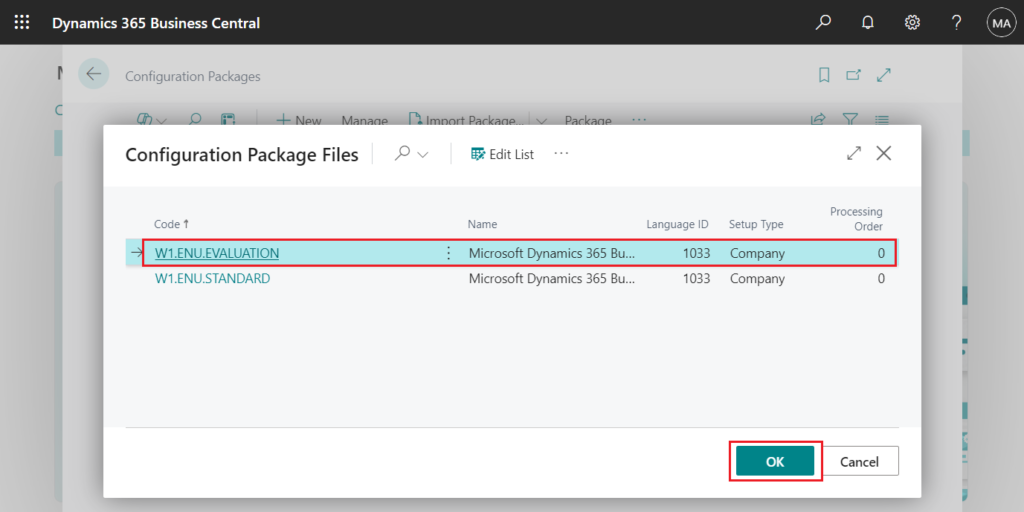
Select W1.ENU.EVALUATION and click OK.
Evaluation – Sample Data: The configuration package with sample data and setup data.
Standard – Setup Data Only: The configuration package with setup data but without sample data.
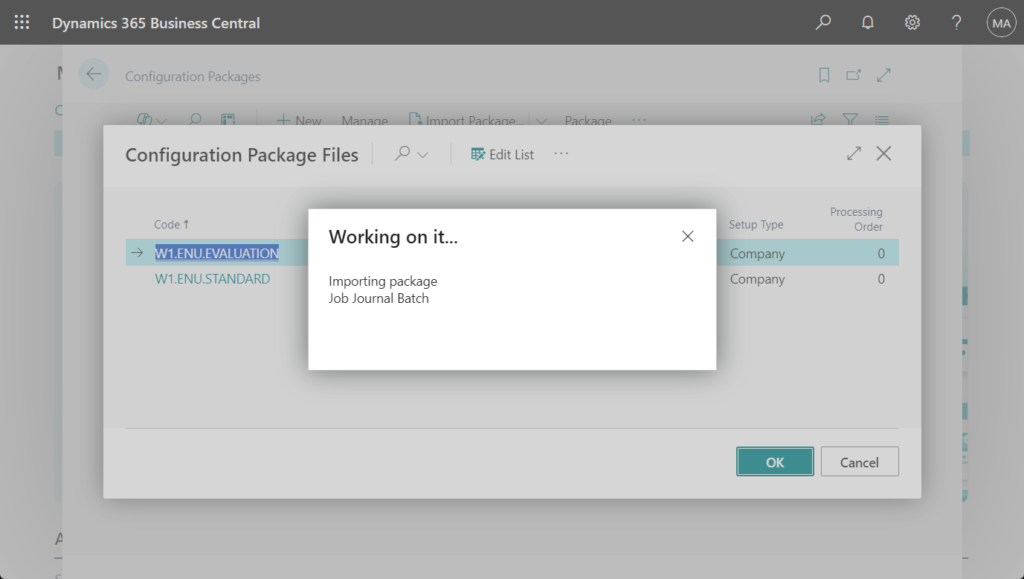
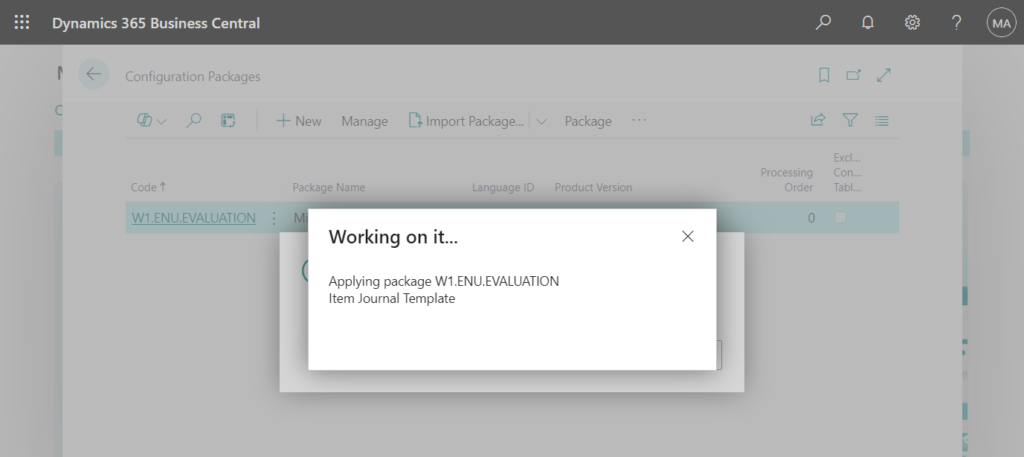
Working on it…
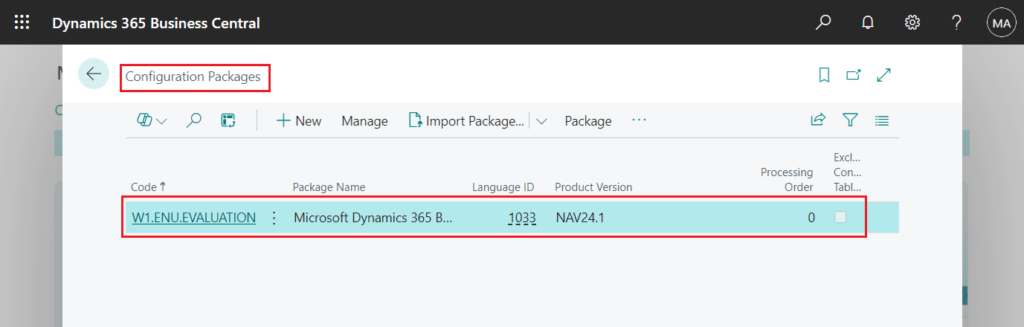
After the import is complete, it will appear on the Configuration Packages page.
Until now, the sample data has not really been written into the database, it is just stored in the configuration packages. Therefore, if you open the customer list, it is still empty. Next we need to apply the data.
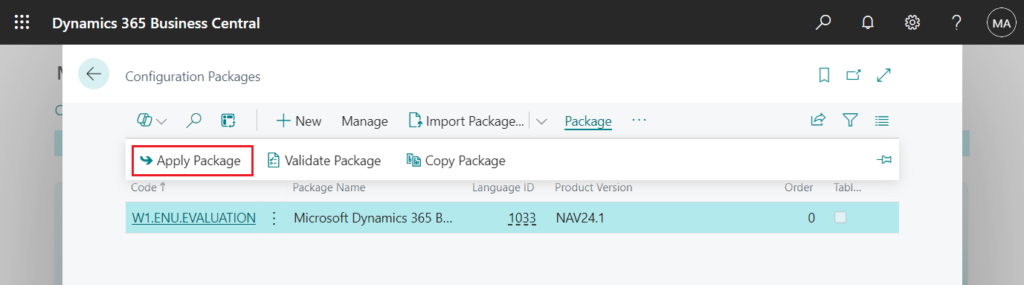
Choose Package -> Apply Package
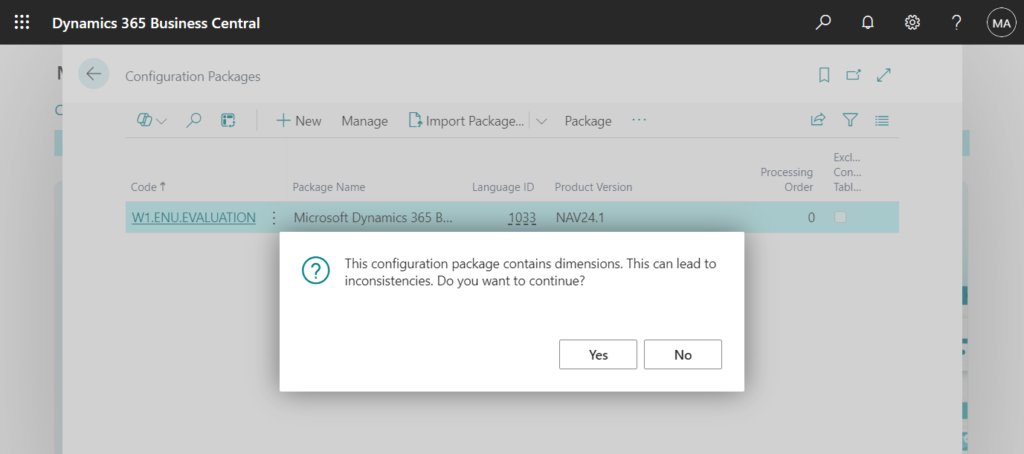
Choose Yes.

Choose Yes again.
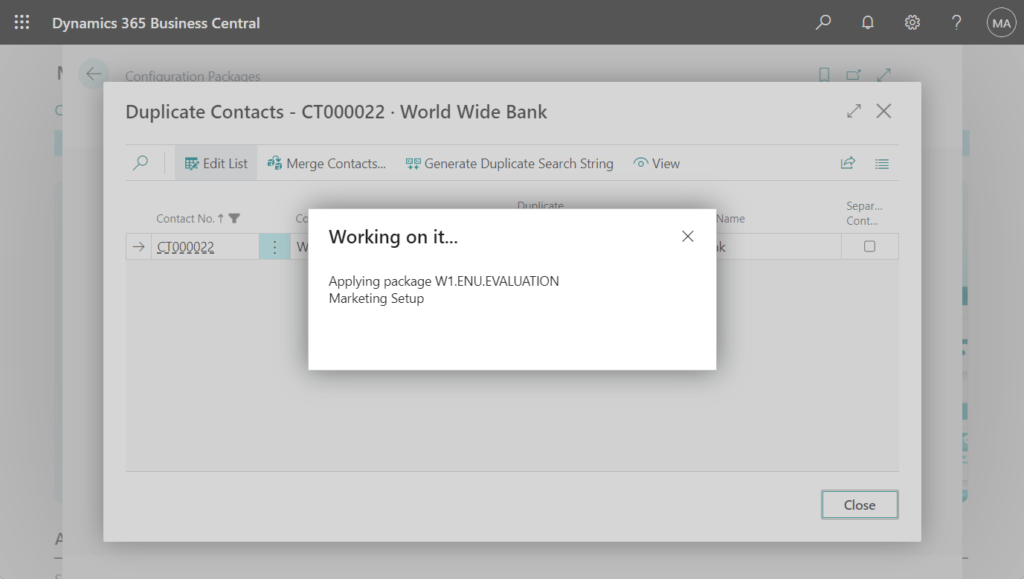
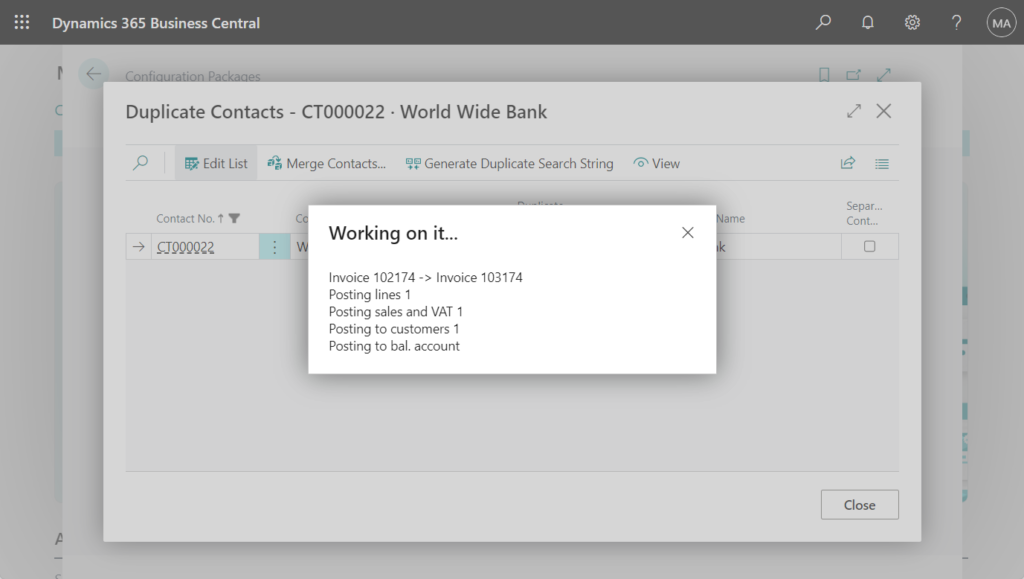
The sample data will start being applied to the table. But please don’t leave the screen, because there will be a message that needs to be confirmed along the way.
Choose Yes.
Duplicate Contacts were found. Would you like to process these?
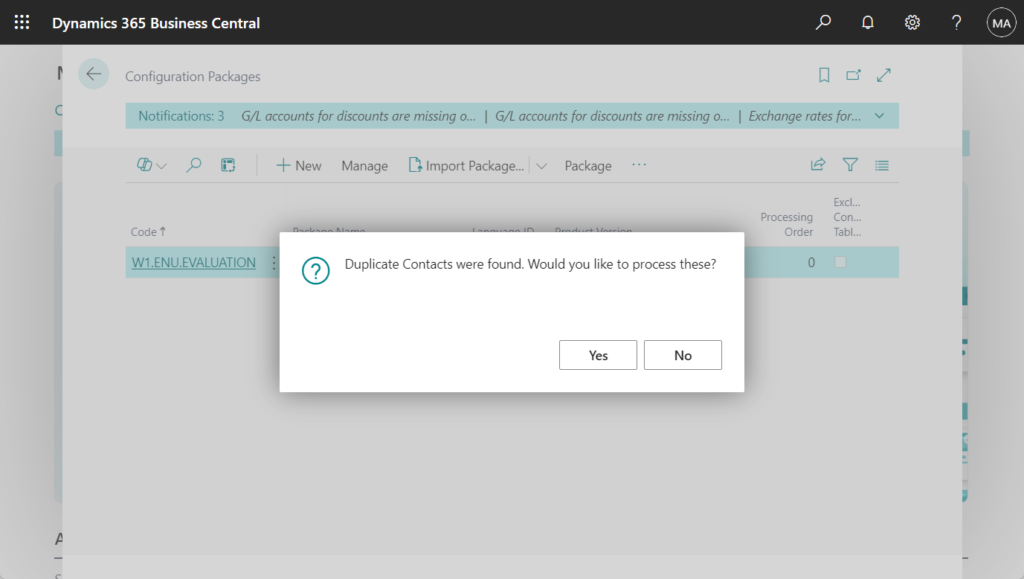
If you don’t want to do anything, click Close and the applying data will continue.

Including automatic posting.
PS: Dynamics 365 Business Central: How to use Configuration Package to post documents (Sales Order, Purchase Order, Transfer Order, General Journal, etc.)
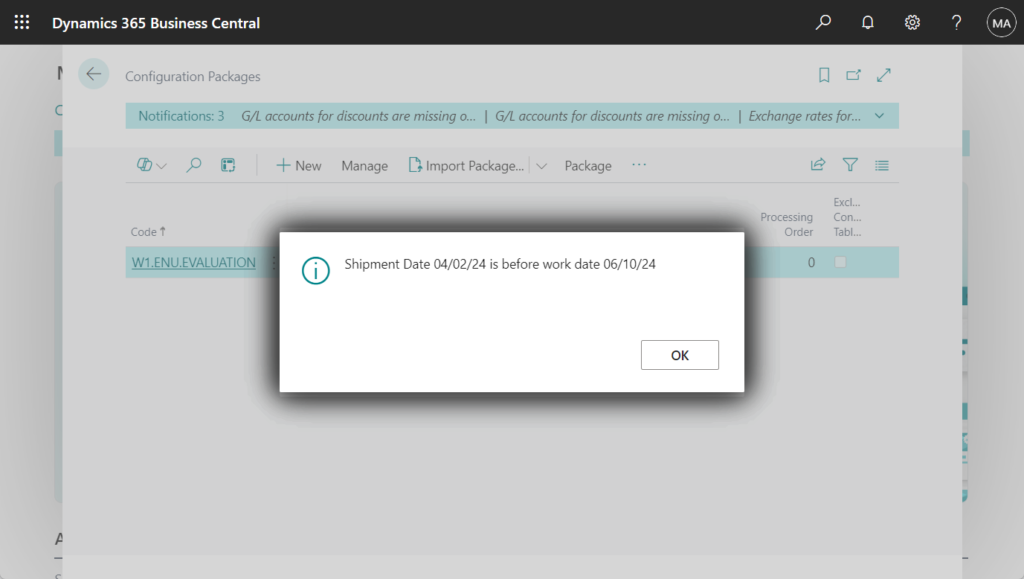
Finally, click a few OKs to confirm some messages, and the data application is complete.
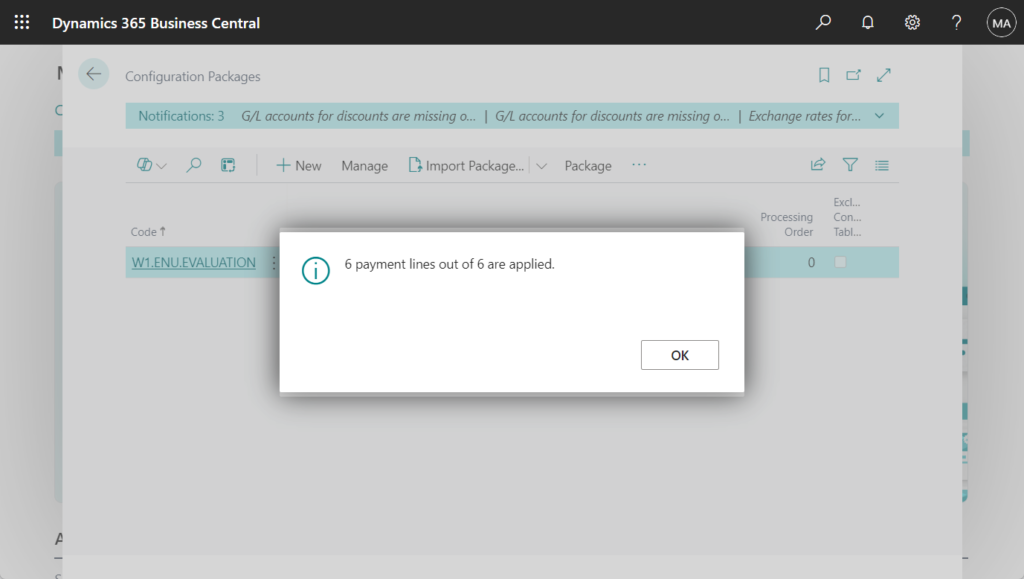
234 tables are processed.
0 errors found.
4548 records inserted.
65 records modified.

More details: Dynamics 365 Business Central: How to Export and Import Data (Using Configuration Packages)
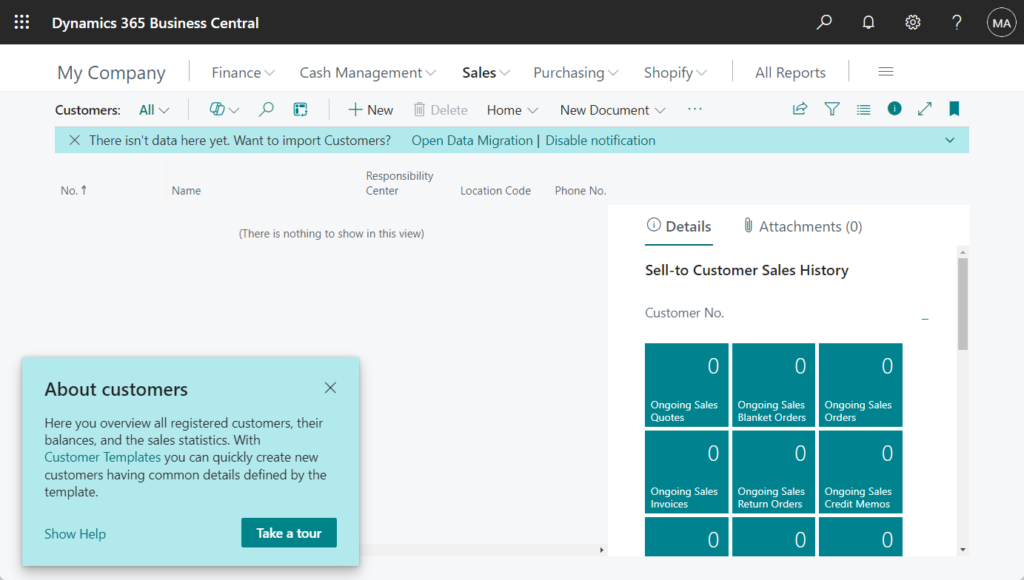
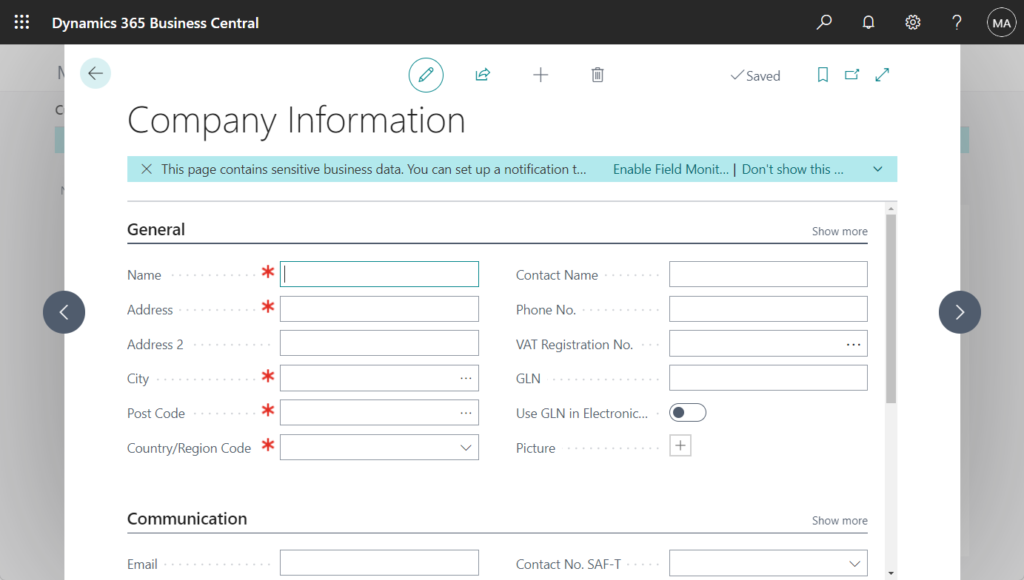
At this point you can find that most of the sample data has been imported.
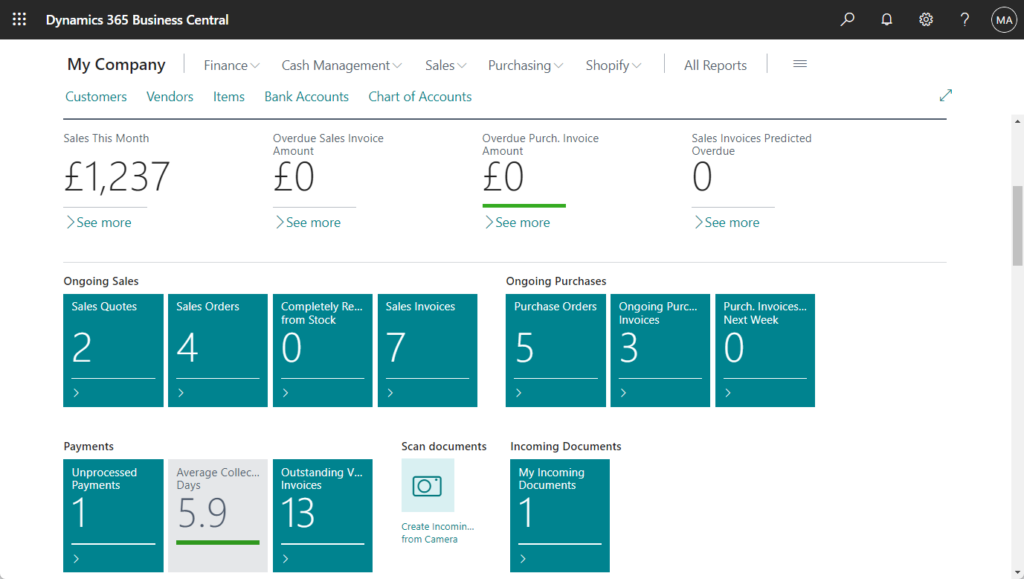
Role Center:
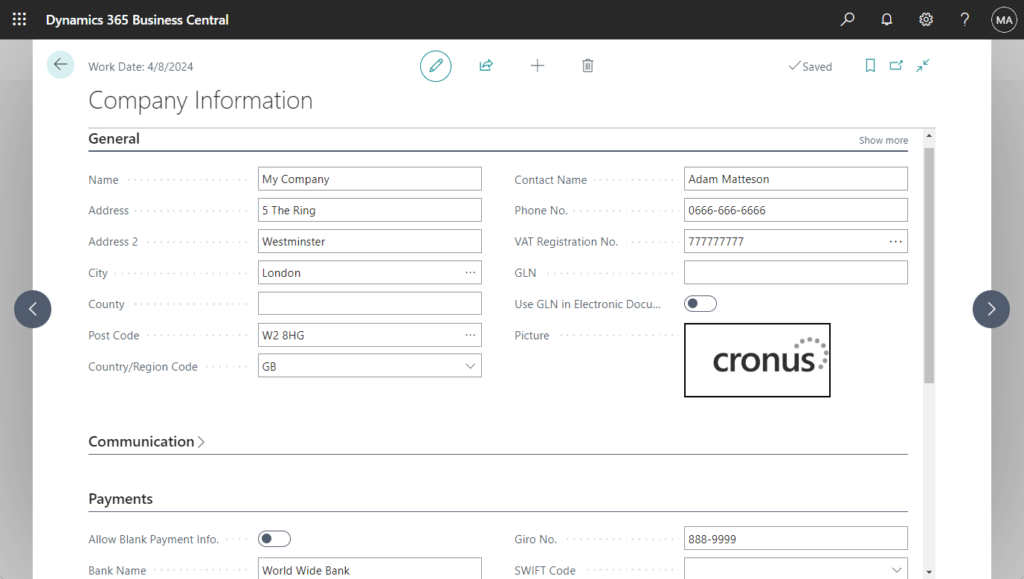
Company Information:
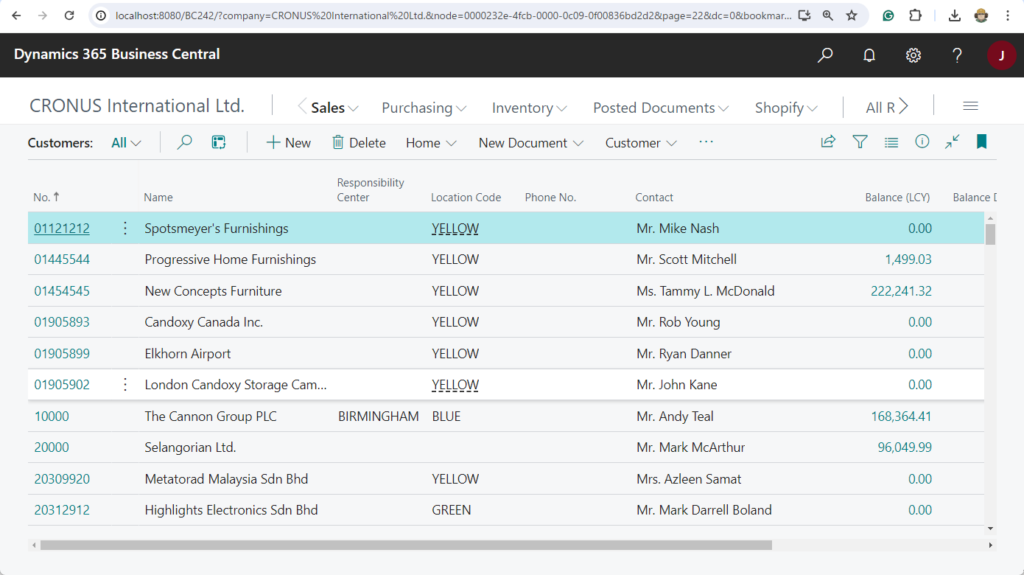
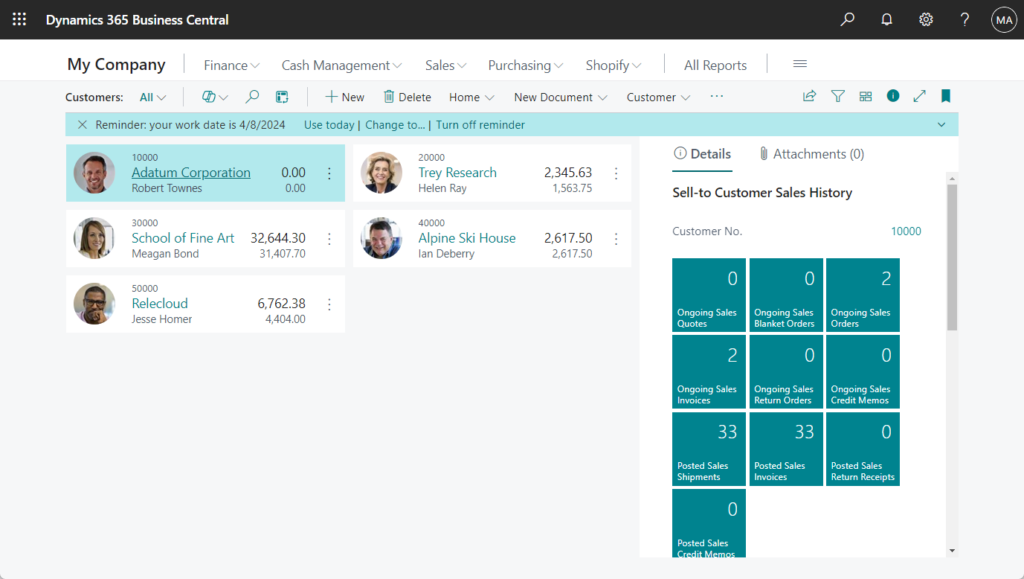
Customers:
But this is not complete, for example it does not contain any data for Manufacturing, Warehouse and Service modules. If you need more sample data, please proceed to step 2.
2. Install Contoso Coffee extension to import extended data (e.g. services, manufacturing, warehouse, etc.)
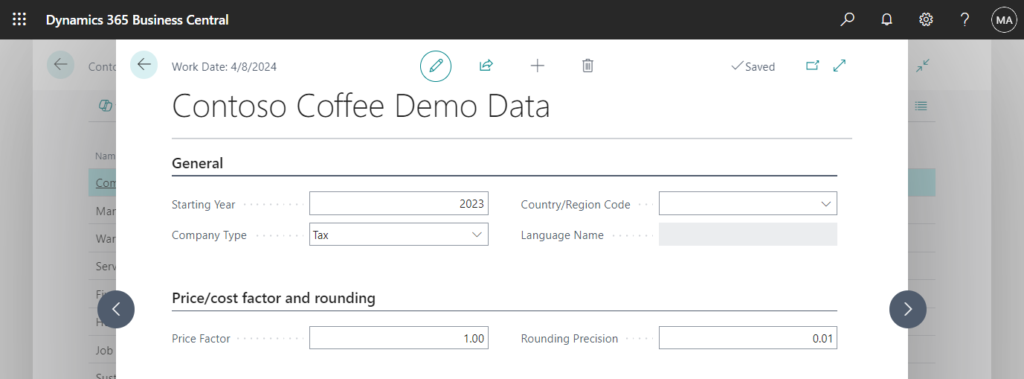
The Contoso Coffee extension for Business Central add demo data that you can use to learn how to use the capabilities in Business Central.
More details:
1. Business Central 2023 wave 2 (BC23): Demo tool and data for service scenarios (New demo data)
2. Business Central 2023 wave 1 (BC22): Demo tool and data for warehouse and inventory scenarios (Contoso Coffee Whse Demo Data)
3. Business Central 2022 wave 1 (BC20): Demo tool and demo data for manufacturing scenarios (Contoso Coffee Demo Dataset)
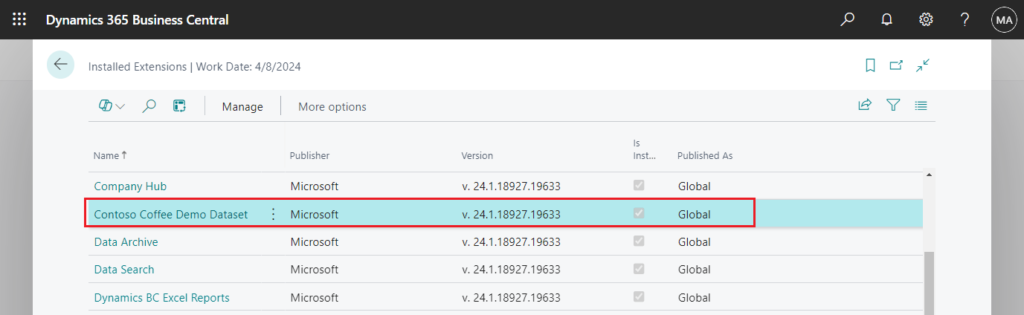
In the latest version (BC24.1), this extension is already installed by default in the environment.
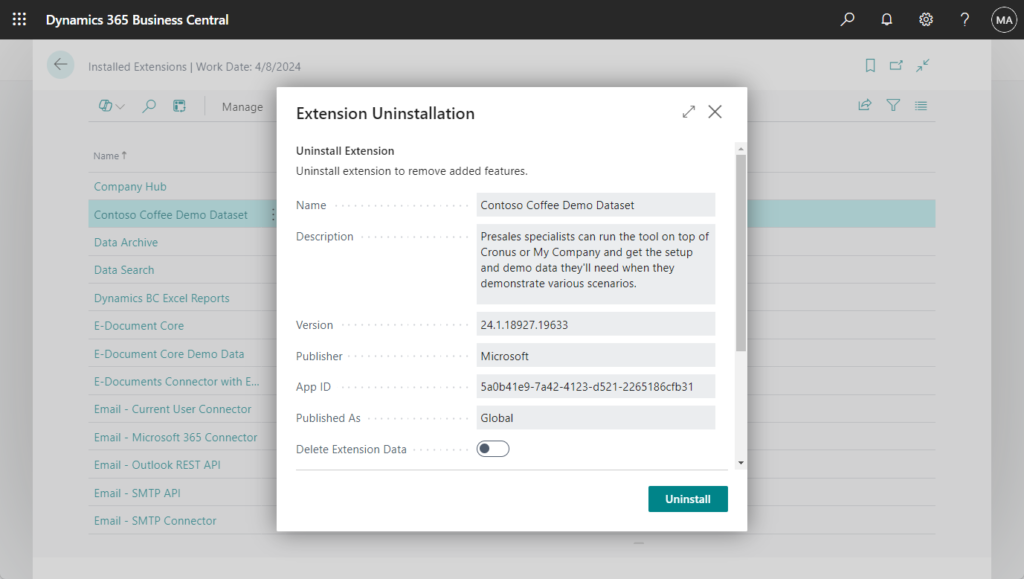
If you’re in an upgraded environment, or didn’t find this extension, you can use the direct URL to install it.
PS: To install AppSource Extension do following: In address bar, append following to the base business central URL
?aid= FIN&page=2503&filter=%27ID%27%20IS%20%27<App ID>%27&signInRedirected=1
Then replace part with the AppSource Extension’s App Id.
?aid= FIN&page=2503&filter=%27ID%27%20IS%20%275a0b41e9-7a42-4123-d521-2265186cfb31%27&signInRedirected=1More details: How to install AppSource Extension in Dynamics 365 Business Central SaaS
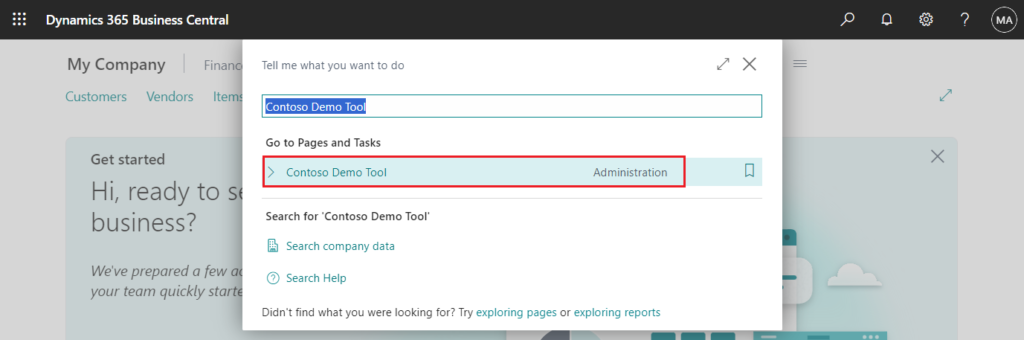
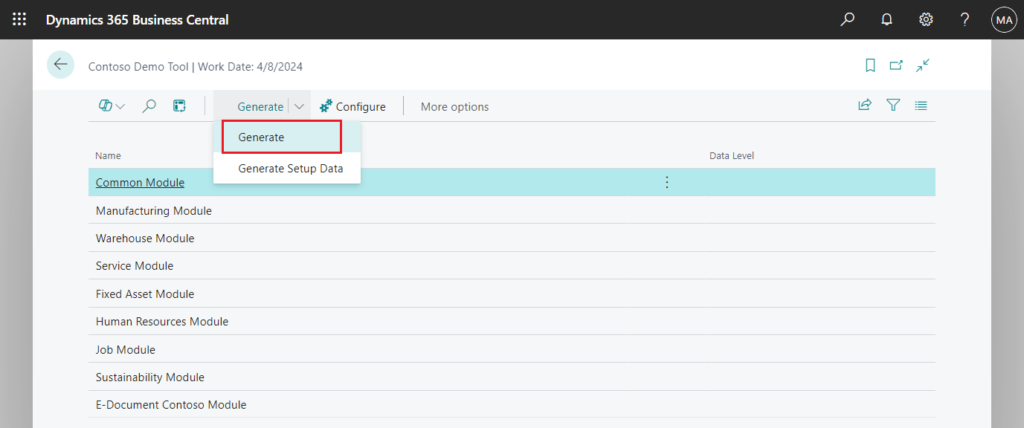
Enter Contoso Demo Tool in tell me, and then choose the related link.
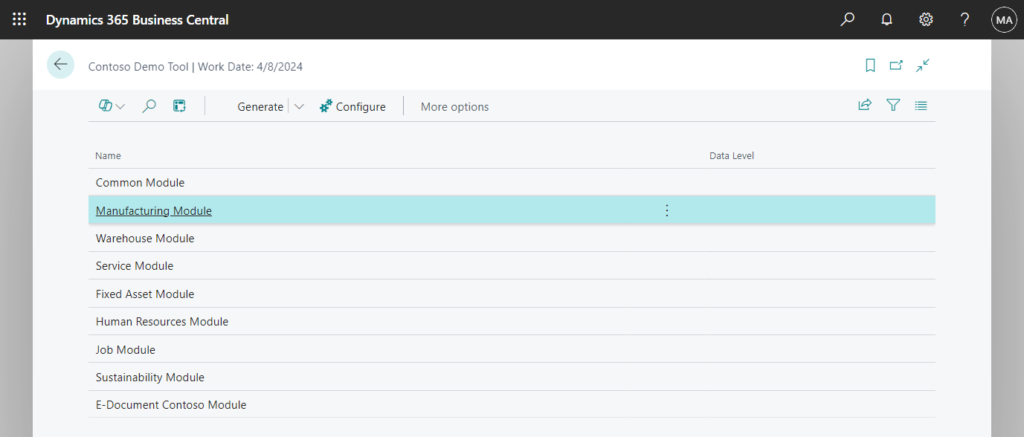
Microsoft will update the module data or add new modules. Below are all the modules from BC24.1.
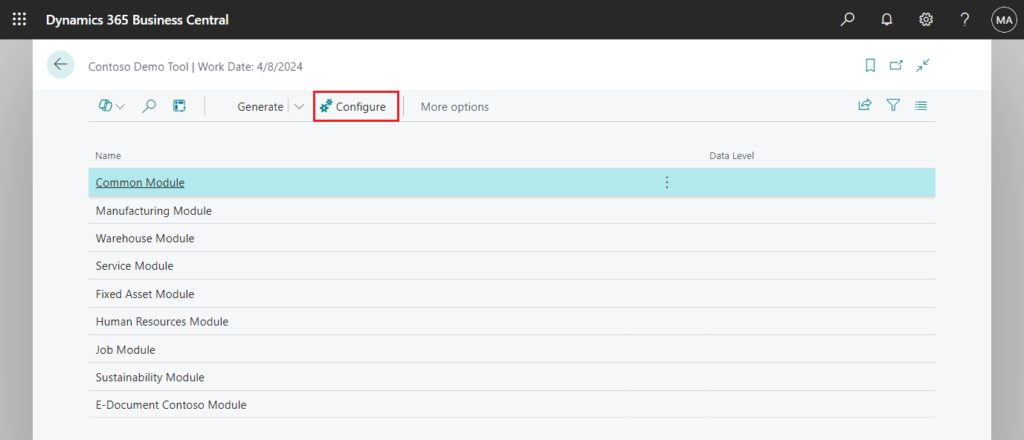
PS: On the Contoso Demo Tool page, you can use the Configure action to prepare the following modules. More details: Introduction to Contoso Coffee Demo Data
For example,
- The Manufacturing Module to prepare for manufacturing scenarios.
- The Warehousing Module to prepare for warehousing scenarios.
- The Service Module to prepare for Service scenarios.
After you configure the modules you want to try out, choose the Generate action to create demonstration data for them.•Import and apply W1.ENU.EVALUATION
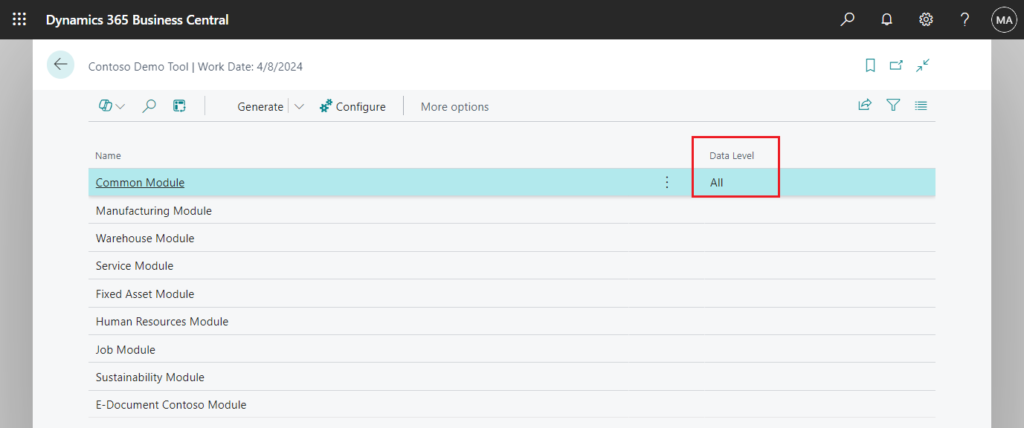
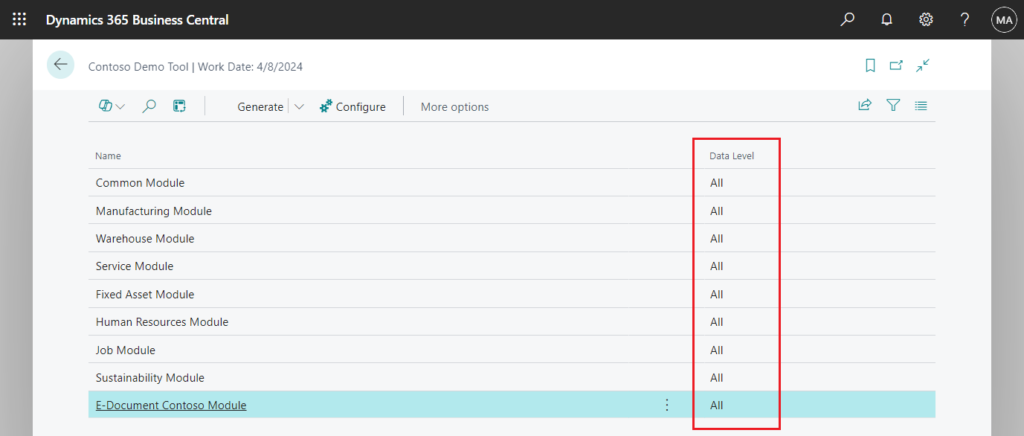
After the generation is completed, the Data Level will become All.
Create demonstration data for for all modules.
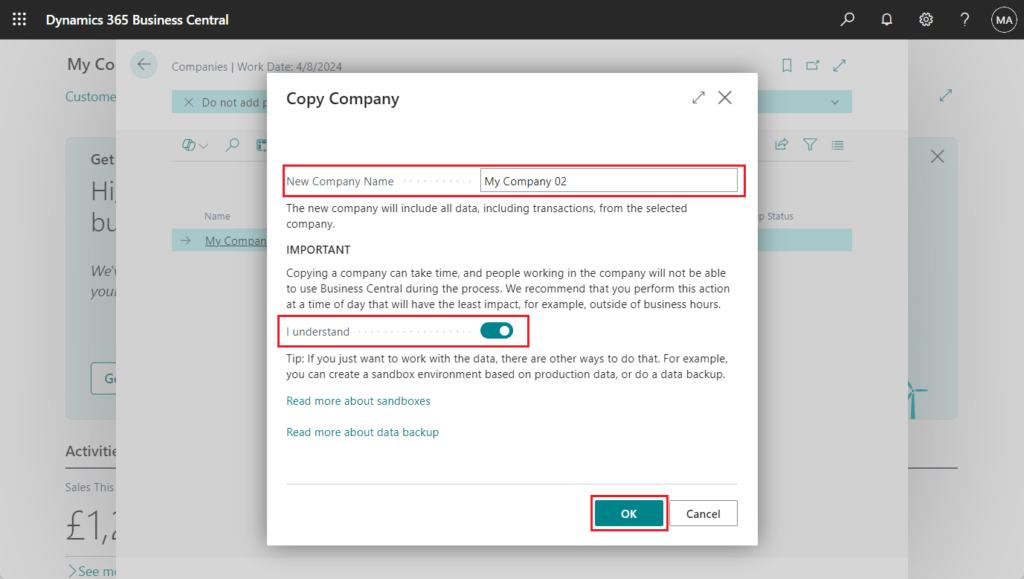
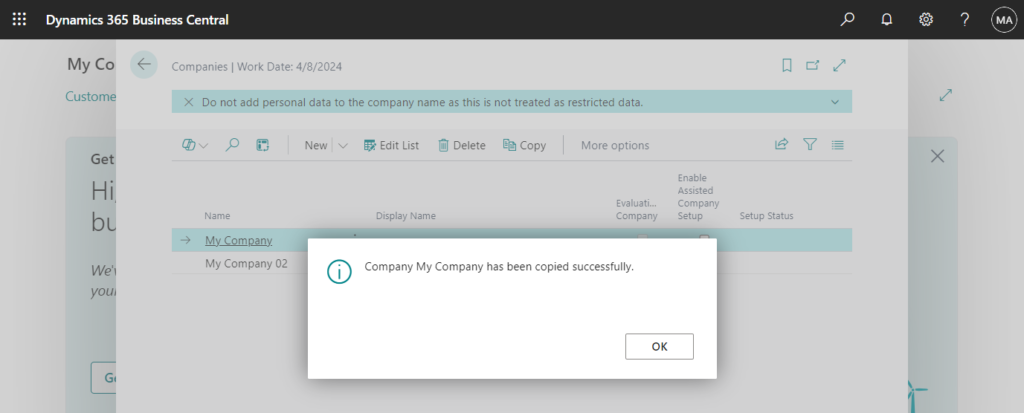
That’s all, now you have an environment with all demo/sample data. Finally I would like to mention that it is always a good idea to copy a company after importing the data so that you always have a complete backup.
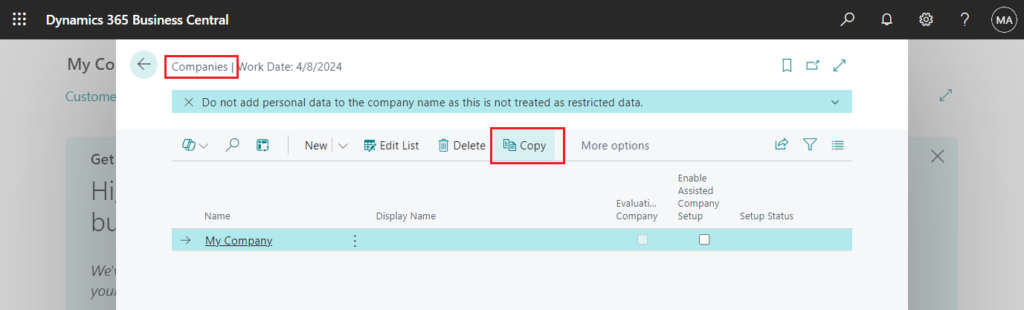

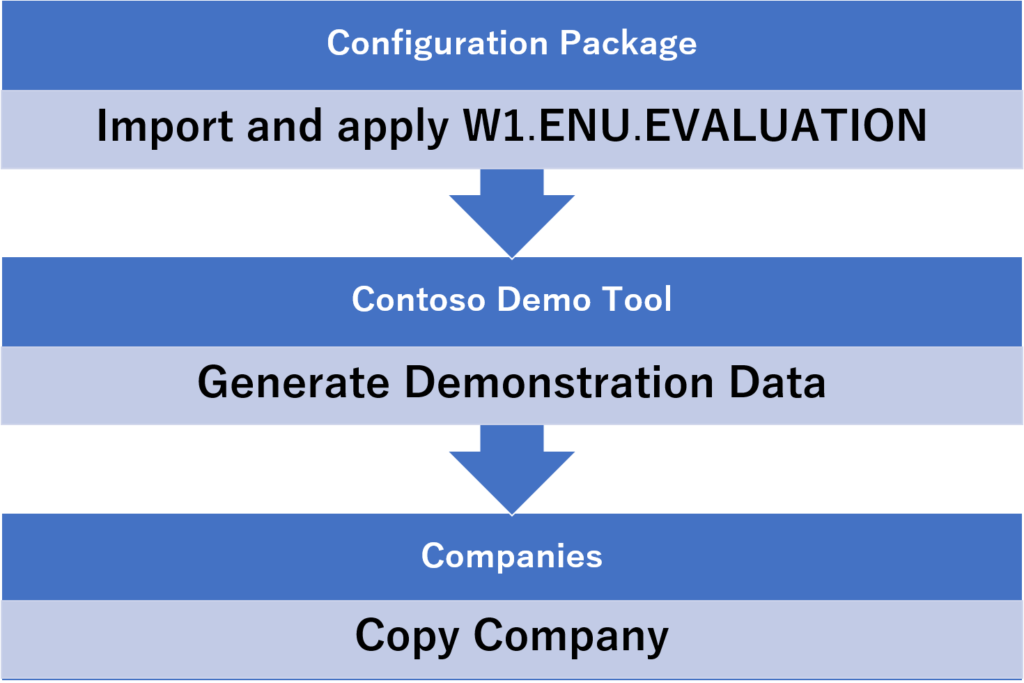
In summary, when creating a new test environment, I generally do the following three things.
Give it a try😁.
PS: Full video in Youtube
END
Hope this will help.
Thanks for reading.
ZHU
コメント