Hi, Readers.
Today I would like to talk about how to manually add new Power Automate action from VS Code.
Power Automate empowers customers to create their own workflows using a low-code/no-code approach with a vast amount of connectors that make it easy to integrate systems.
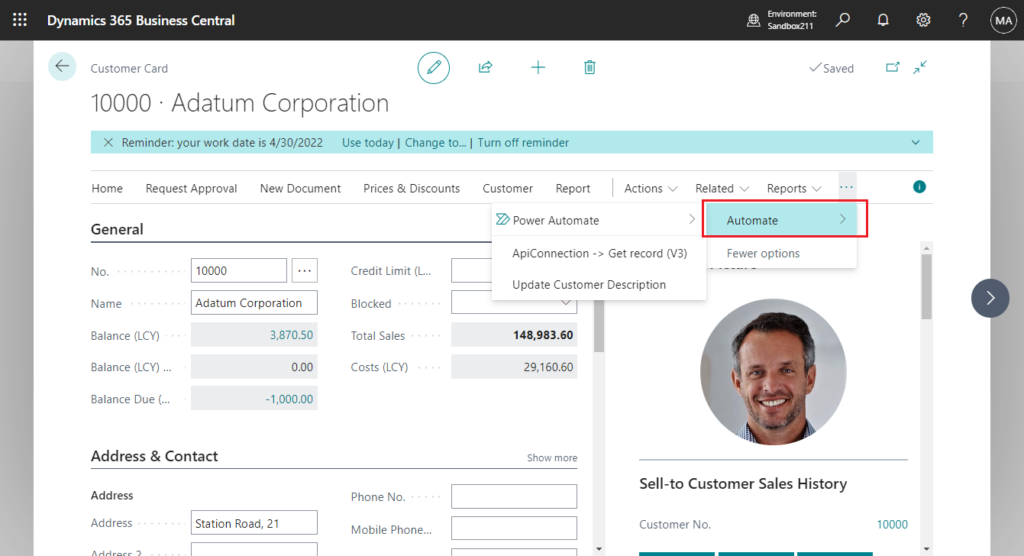
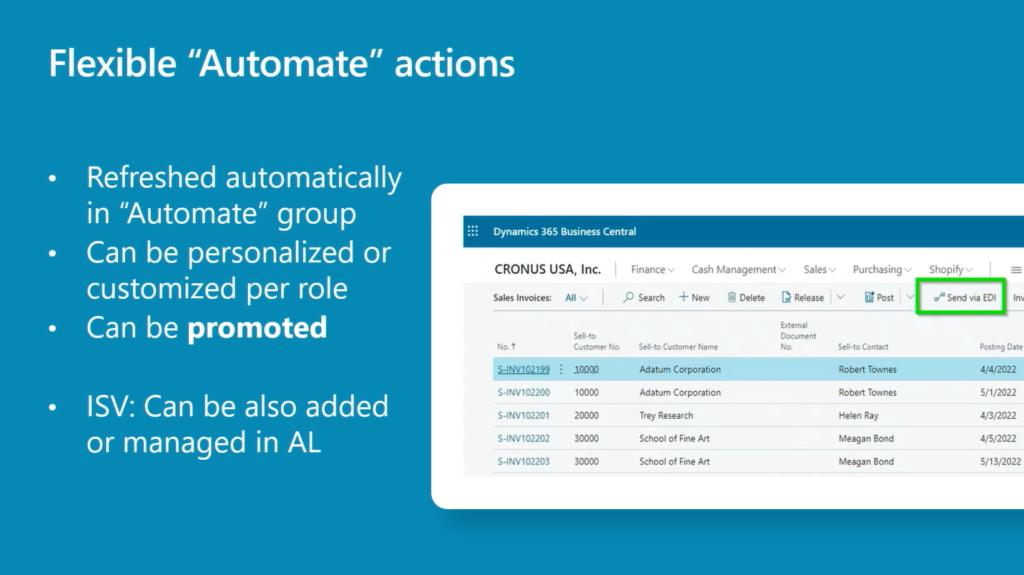
With Business Central 2022 wave 1 (BC20), every page that runs in the context of a data table now features a new Automate group in the action bar.
More details:
- Business Central 2022 wave 1 (BC20) new features: New Automate action group (Run Power Automate flows without leaving Business Central)
- Dynamics 365 Business Central: “For a selected record (V3)” trigger in Power Automate
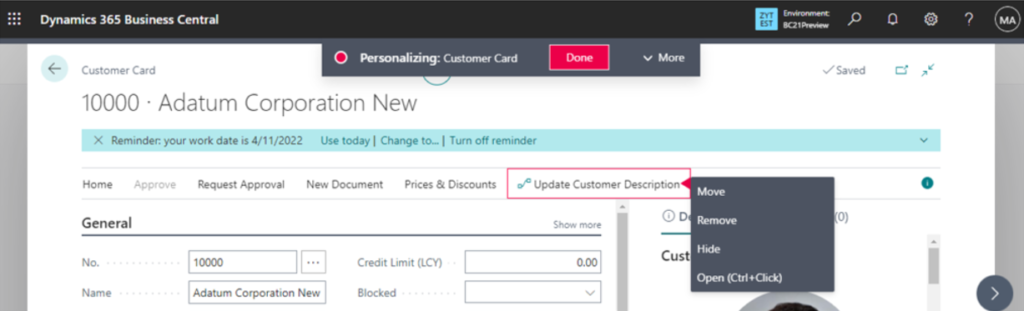
And in this wave, Business Central 2022 wave 2 (BC21), actions added in the new Automate action group in the action bar now rely on personalization or designer, so that they can be moved, promoted, or hidden.
More details: Business Central 2022 wave 2 (BC21) new features: Personalize and design the Automate action group in the web client – The customaction keyword
So can we manually add our flows to Business Central?
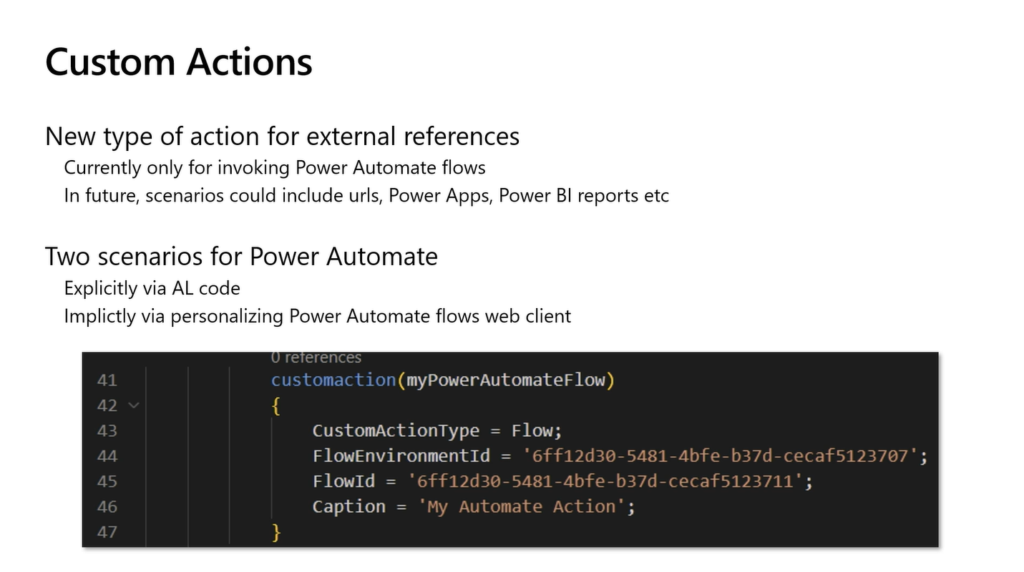
Yes, Microsoft have added the ability to define page actions triggering a Power Automate flow using custom actions. The syntax is as follows:
customaction(MyFlowAction)
{
CustomActionType = Flow;
FlowId = '<the-GUID-identifying-the-Power-Automate-Flow>';
FlowEnvironmentId = '<the-GUID-identifying-the-Power-Automate-environment>';
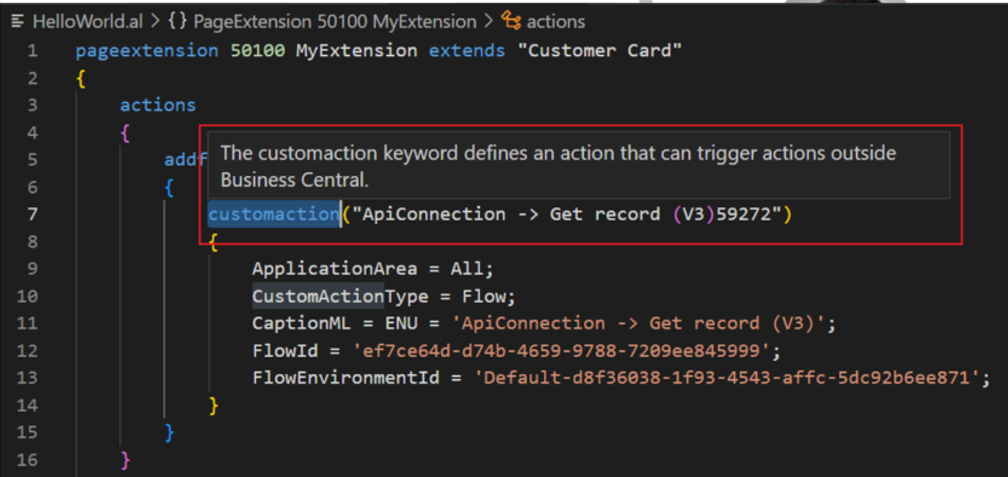
}There is a new keyword:
customaction
The customaction keyword defines an action that can trigger actions outside Business Central.
Info from Business Central Launch Event (2022 release wave 2):
Let me do a simple test.
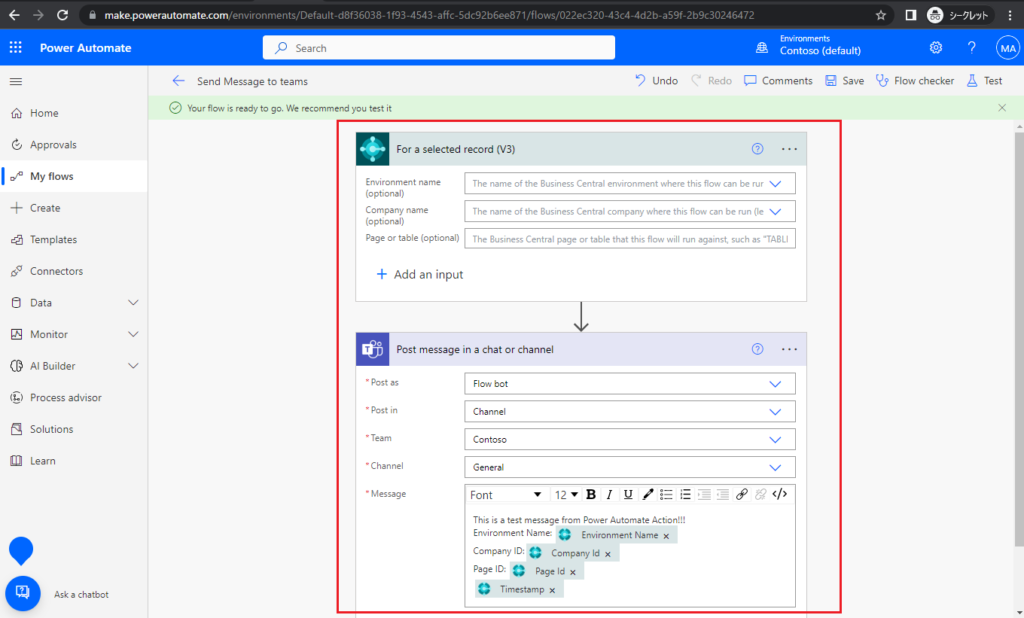
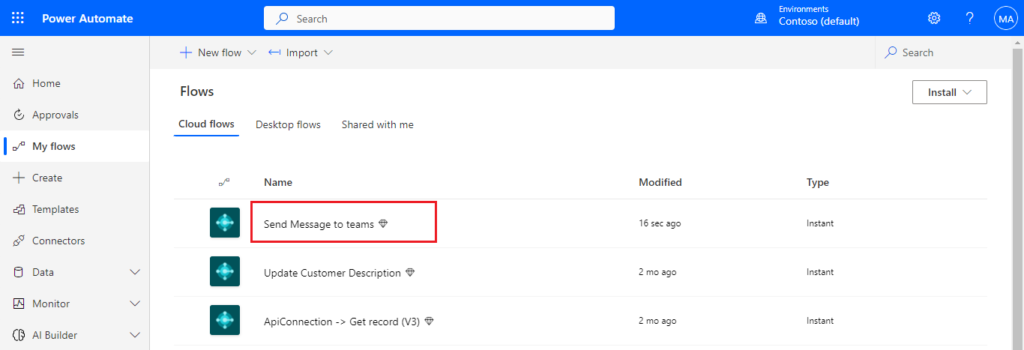
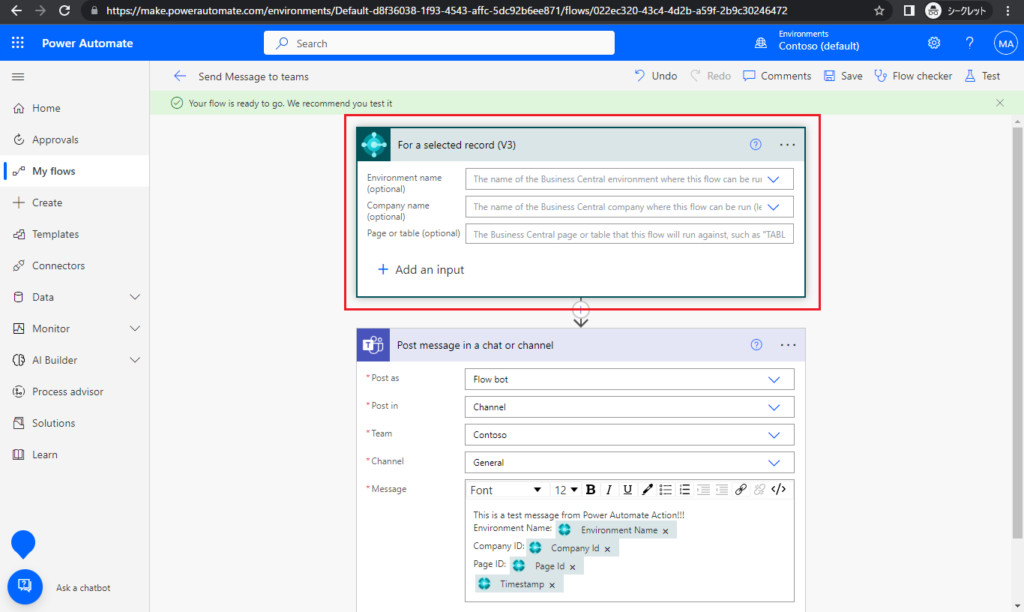
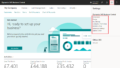
First I created a very simple process in Power Automate: Send a message to Teams with current BC environment, company and page information.
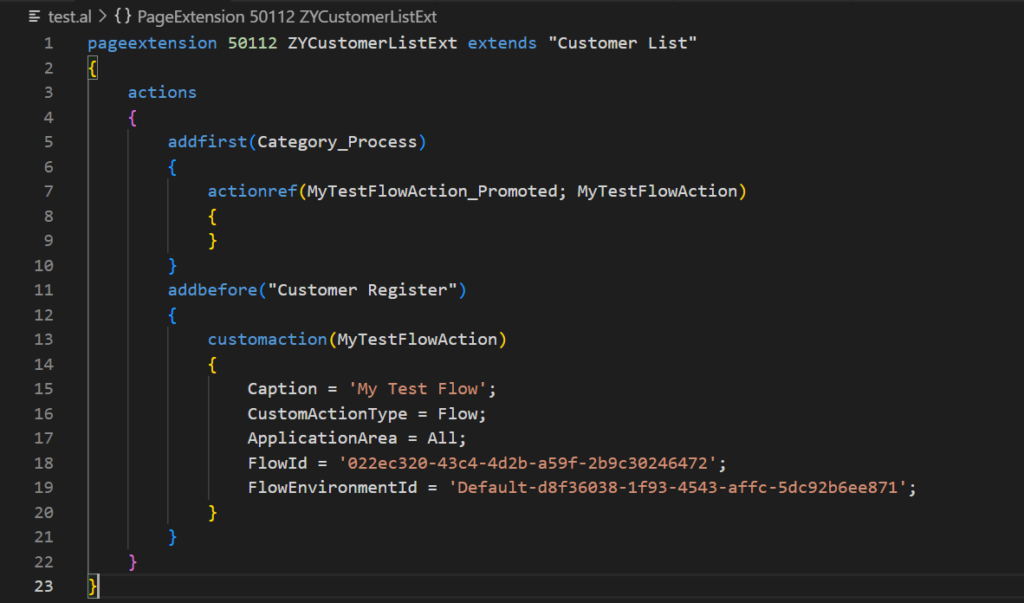
Then create a pageextension to add this flow.
Source Code:
pageextension 50112 ZYCustomerListExt extends "Customer List"
{
actions
{
addfirst(Category_Process)
{
actionref(MyTestFlowAction_Promoted; MyTestFlowAction)
{
}
}
addbefore("Customer Register")
{
customaction(MyTestFlowAction)
{
Caption = 'My Test Flow';
CustomActionType = Flow;
ApplicationArea = All;
FlowId = '022ec320-43c4-4d2b-a59f-2b9c30246472';
FlowEnvironmentId = 'Default-d8f36038-1f93-4543-affc-5dc92b6ee871';
}
}
}
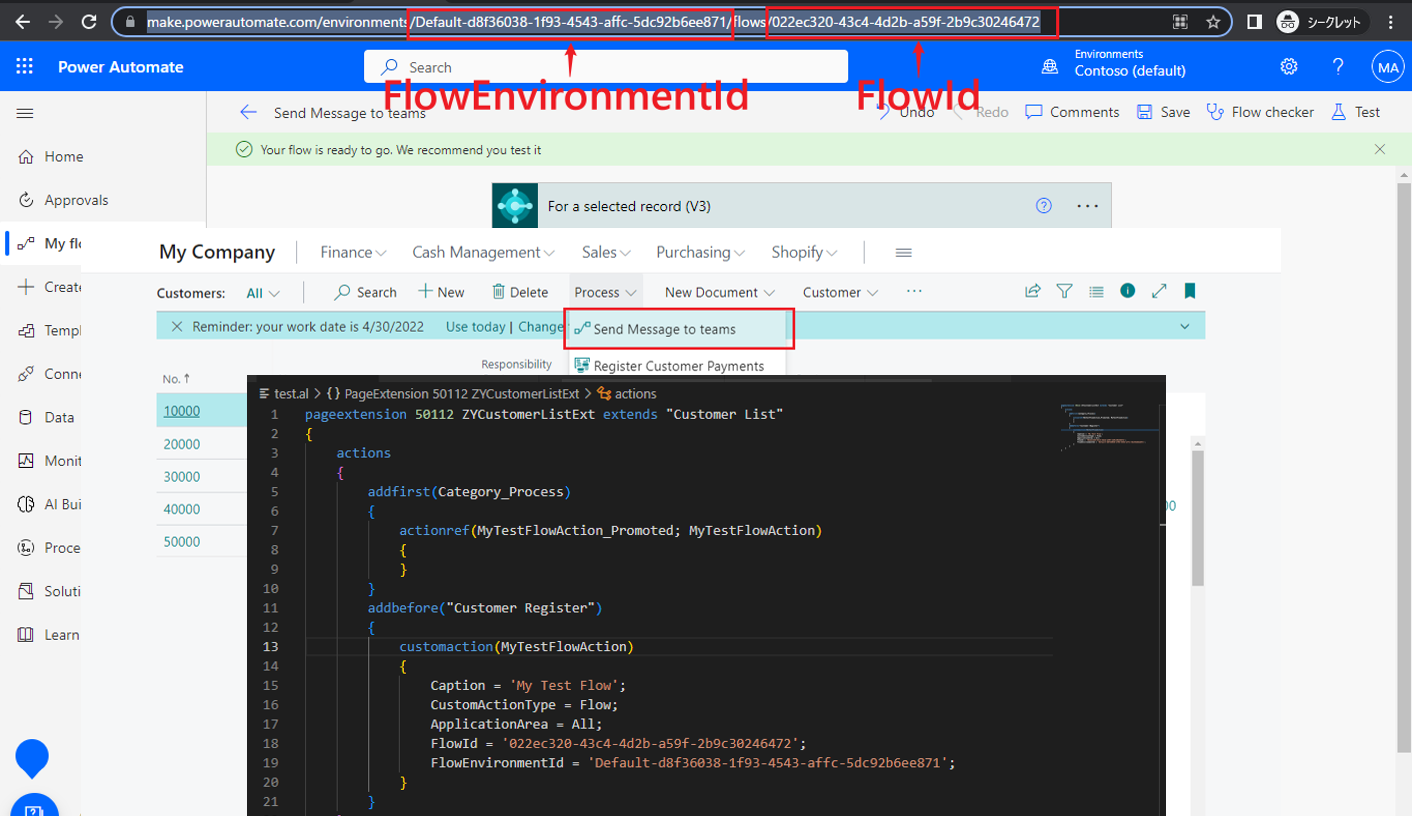
}Here is a problem, where can we get the FlowId and FlowEnvironmentId of the flow???
FlowId: Sets the ID of the Power Automate Flow triggered by this action.
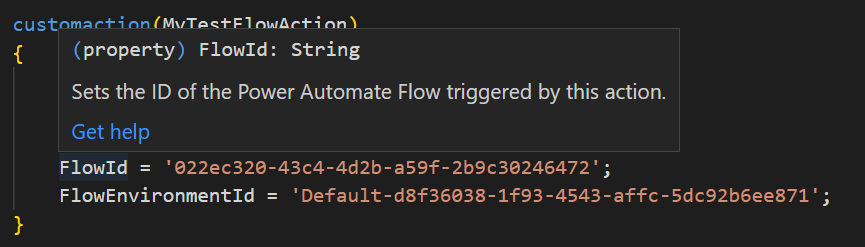
FlowEnvironmentId: Sets the ID of the environment where the Power Automate Flow triggered by this action is located.

Similar to the Business Central URL, this information is stored in the Power Automate URL.
For example, open the flow you need to add.
FlowId: 022ec320-43c4-4d2b-a59f-2b9c30246472
FlowEnvironmentId: Default-d8f36038-1f93-4543-affc-5dc92b6ee871
https://make.powerautomate.com/environments/Default-d8f36038-1f93-4543-affc-5dc92b6ee871/flows/022ec320-43c4-4d2b-a59f-2b9c30246472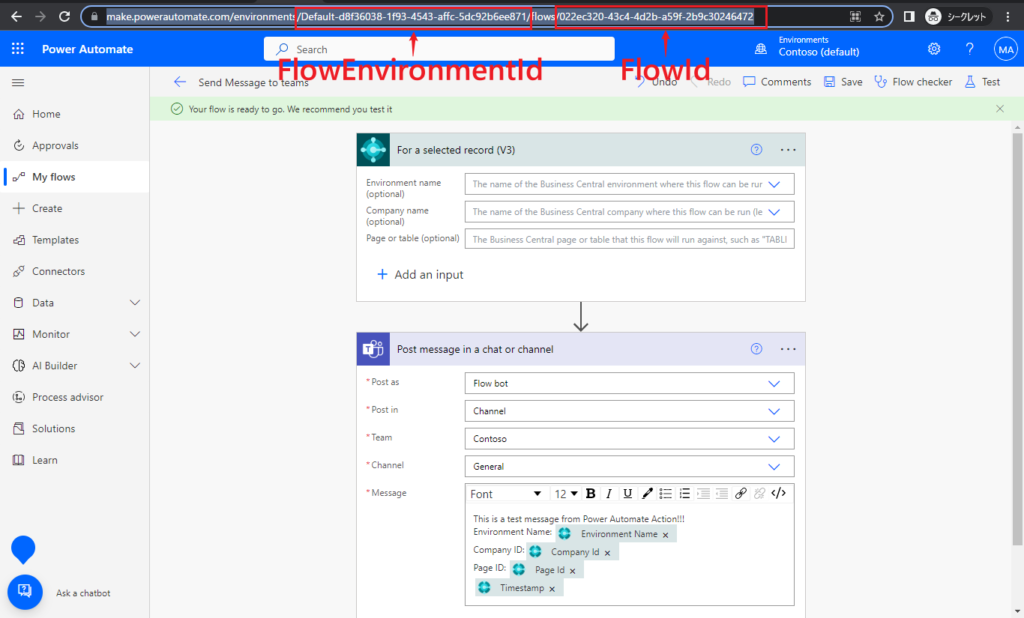
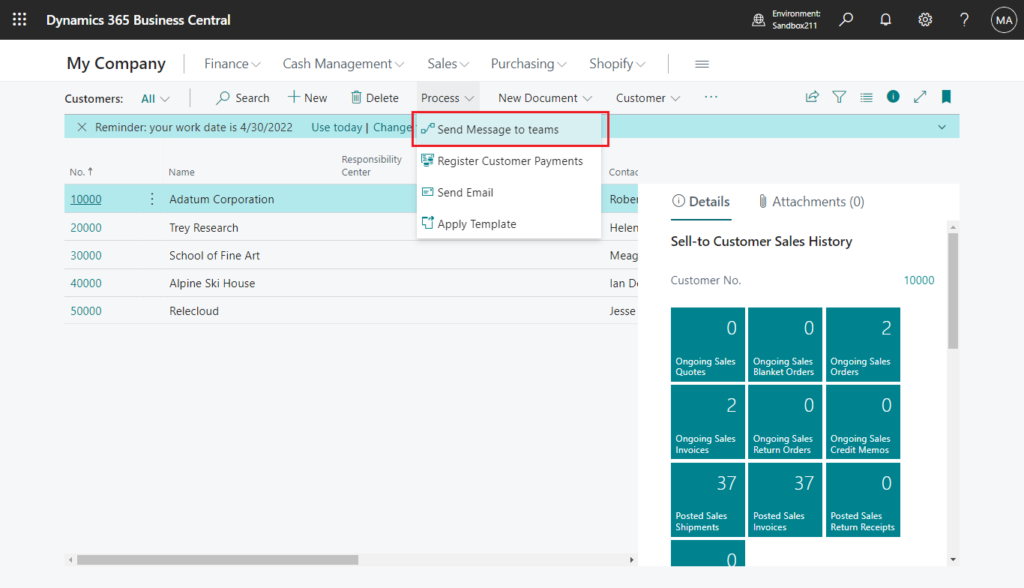
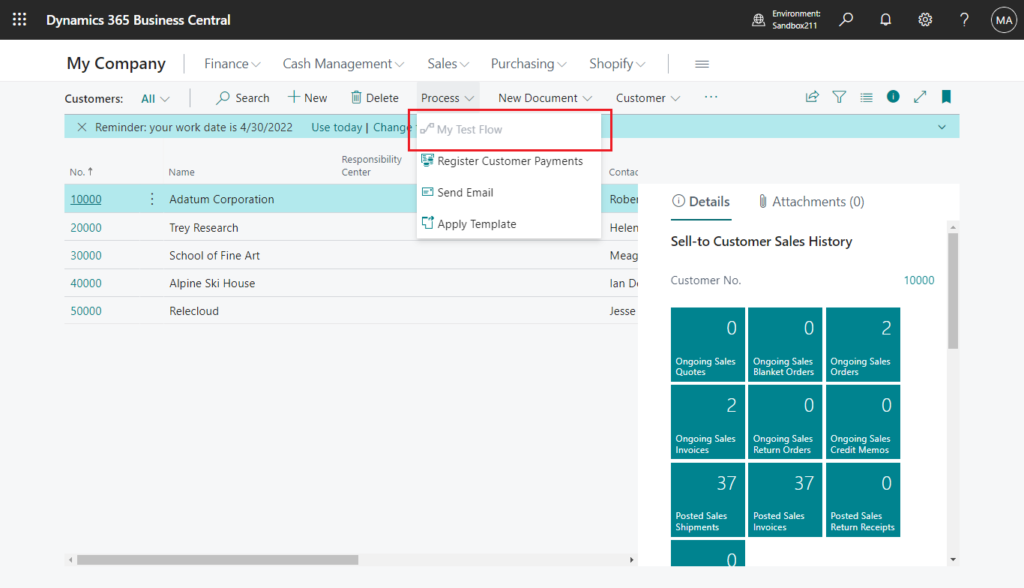
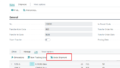
This action can be found on the page after publishing the extension.
We can run this flow directly.
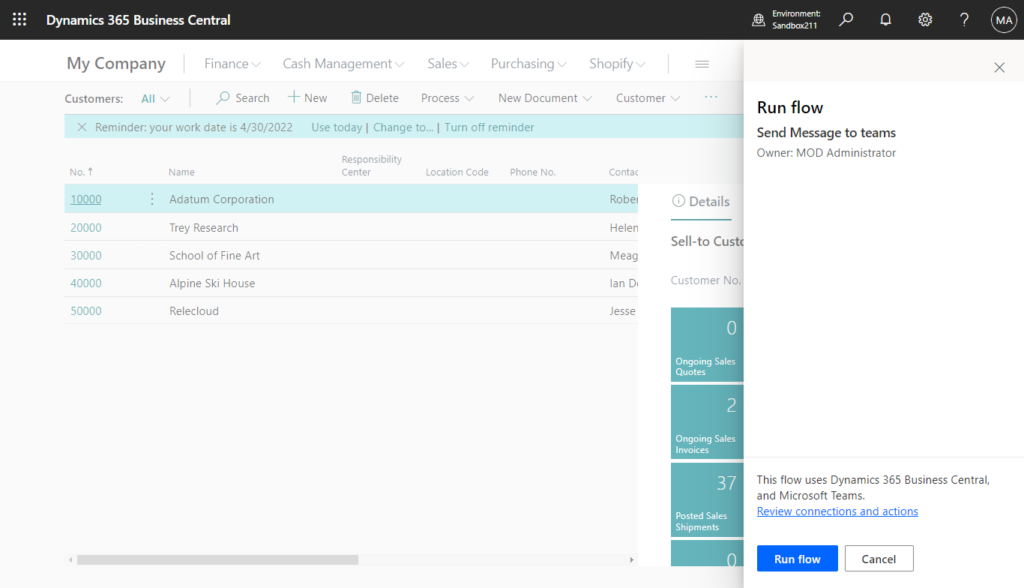
PS: Even if you set the Caption property in the code, the Flow Name will be displayed in Business Central.
Test Video:
Note: Finally, there is another key point. If the trigger of the flow is not For a selected record, although the action can be added to the page, it will be grayed out and cannot be used.
For example, change to Manually trigger a flow trigger:
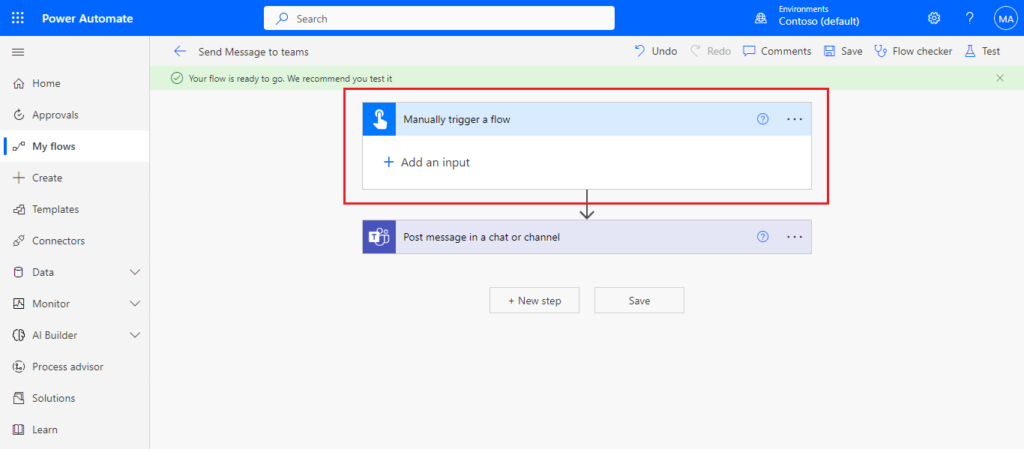
The action is grayed out, and at this time, because the the flow is invalid, the Caption set in the code will be displayed.
Update 2023.04.27: Business Central 2023 wave 1 (BC22): New customaction types: FlowTemplate and FlowTemplateGallery
END
Hope this will help.
Thanks for your reading.
ZHU
コメント