Hi, Readers.
Recently I was asked a very interesting question, is there any way to select a layout file when printing a report?
As you might know, we have powerful report management features in Business Central.
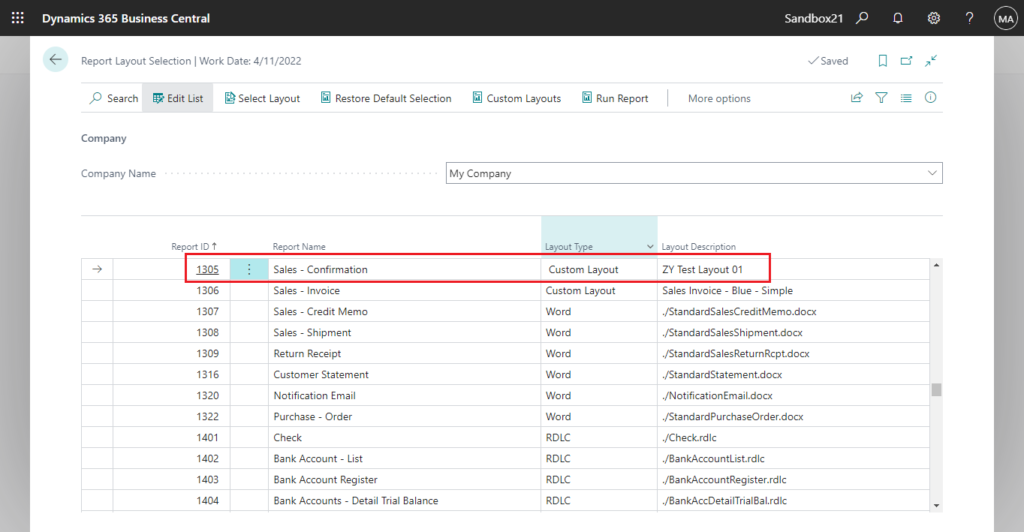
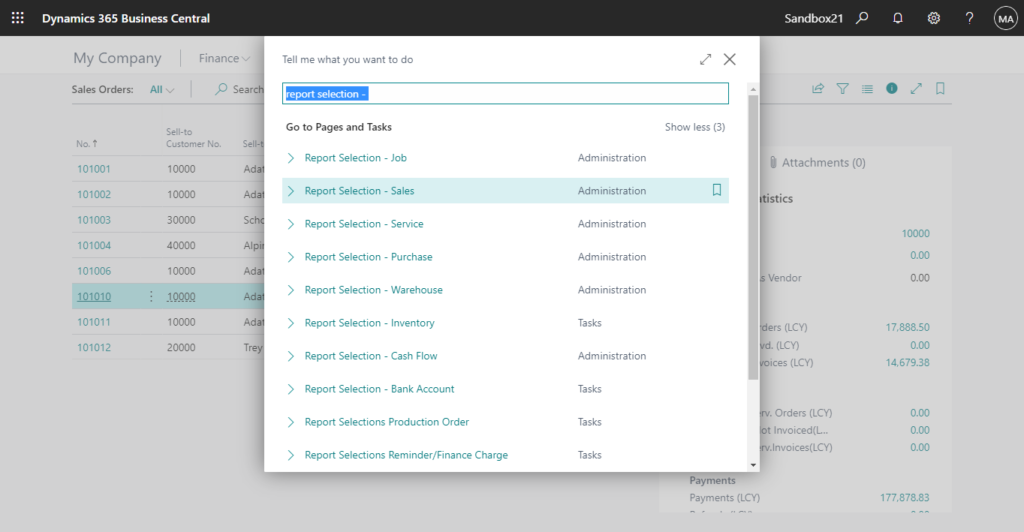
We can manage and select the default layout for the report in the Report Layout Selection page.
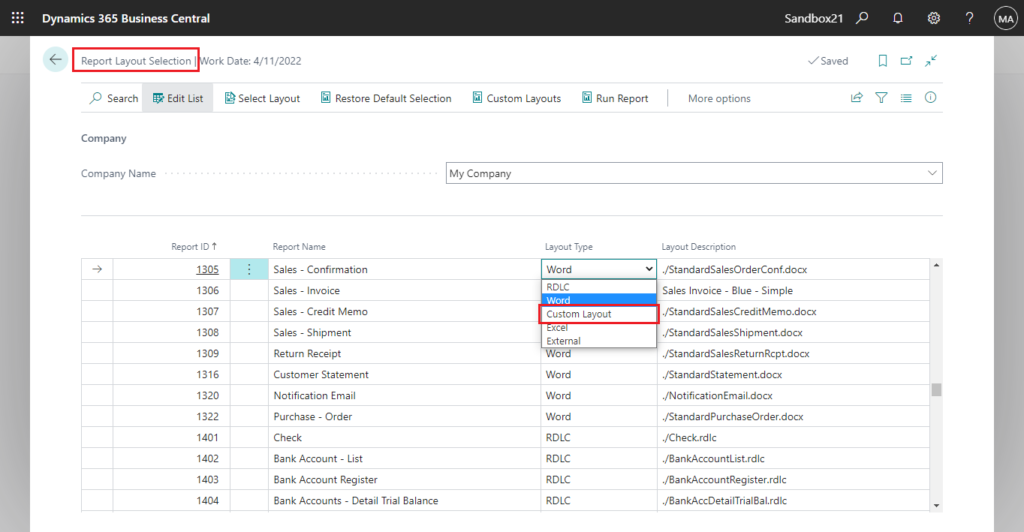
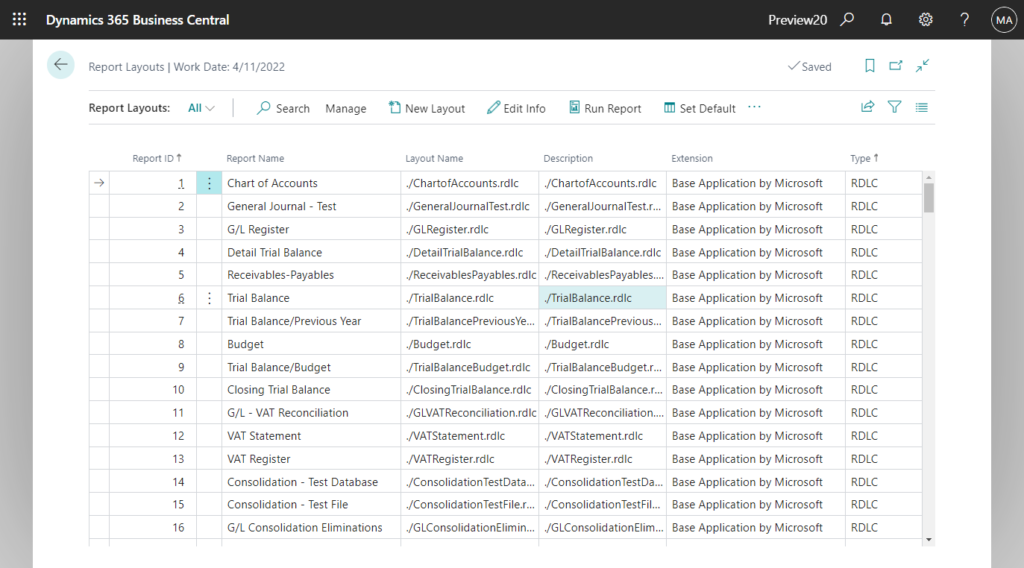
And from Business Central 2022 wave 1 (BC20), Microsoft has given us another user-friendly page for report layout administration (page 9660 “Report Layouts”) to manage report layouts.
In Report Selection – XXXX features, we can specify special reports and layout files according to Usage.
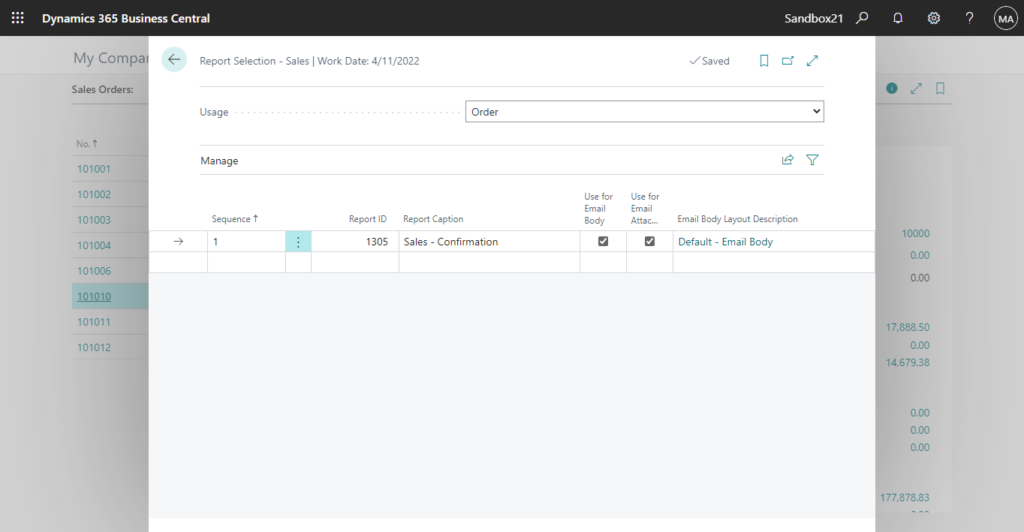
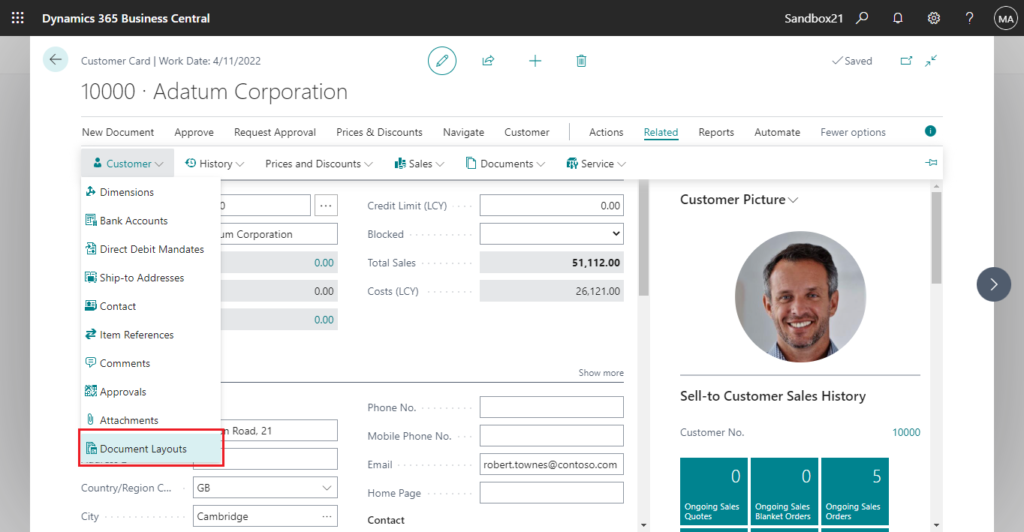
Finally, we can also set up different reports and layouts separately for customers or vendors.
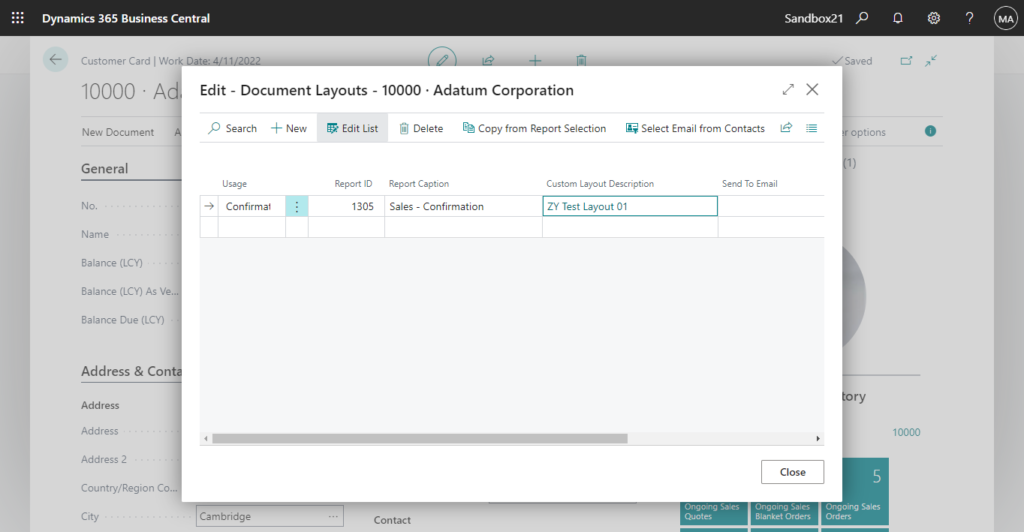
But this does not solve the problem if the same customer, the same report, needs to print different layouts according to different situation? What should we do?
In general, you might create two reports, each with a different layout, and then add two actions to the page to print different reports depending on the situation. But, if there are five, ten, or more layouts, do you have to add that many actions? The user might not be able to remember what each button is used for either. Developers also need to maintain a lot of report code.
In fact, there is an easy way to do this before the report is run (before the Request Page is opened).
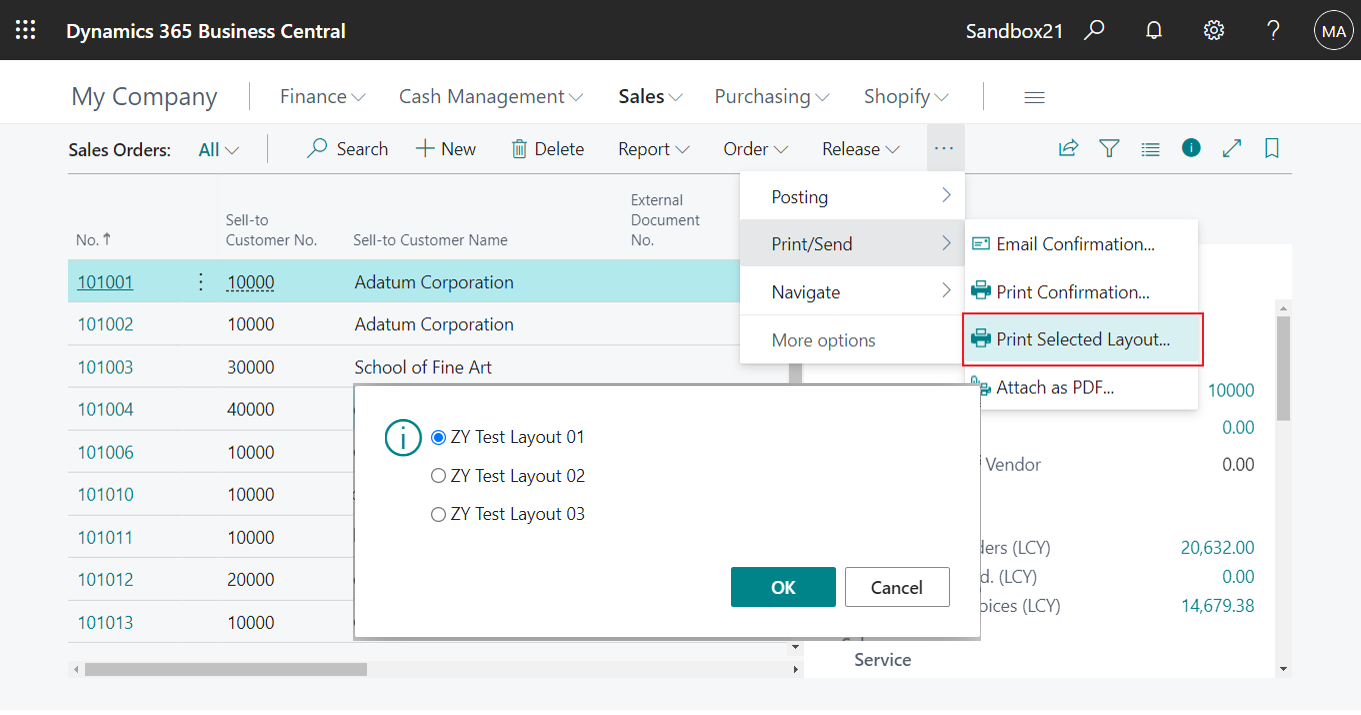
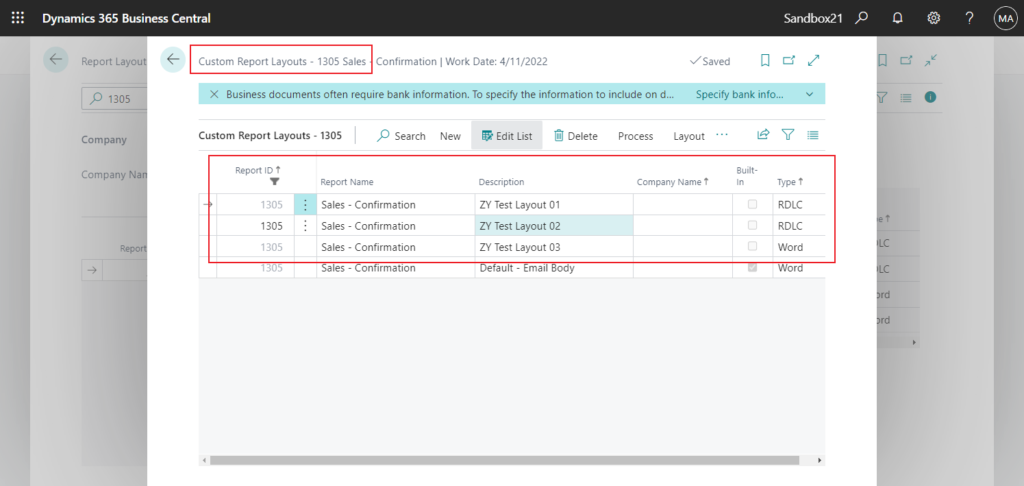
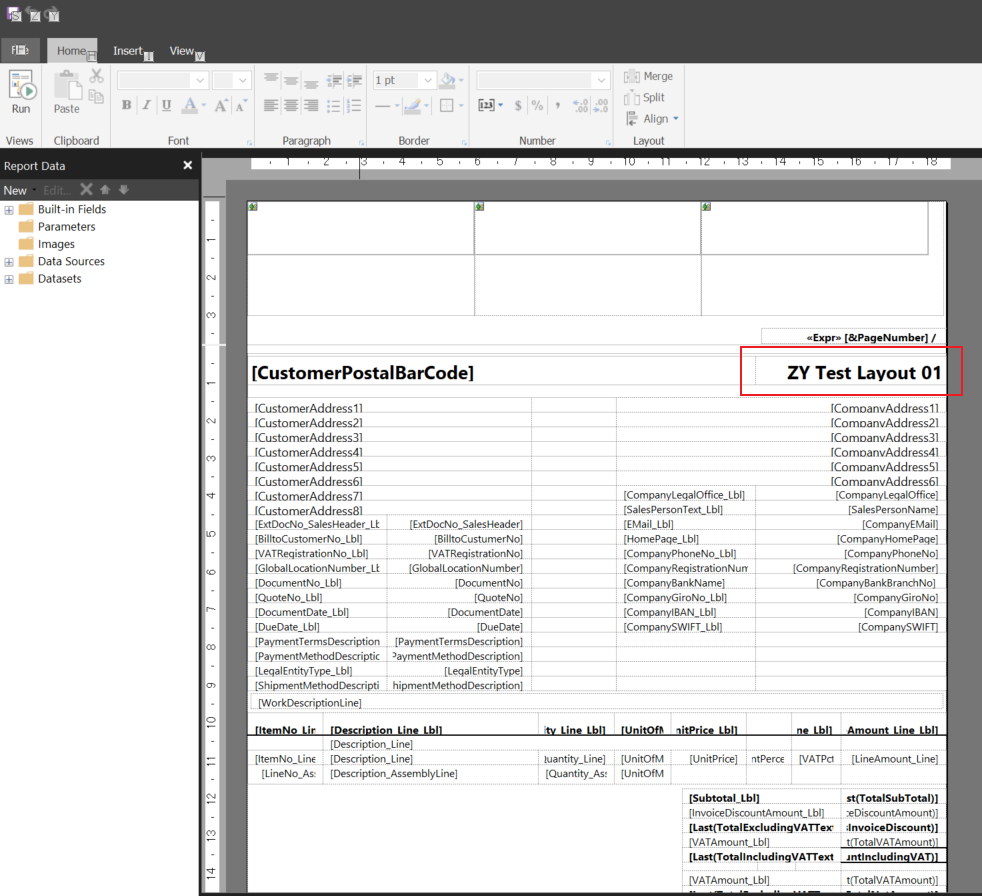
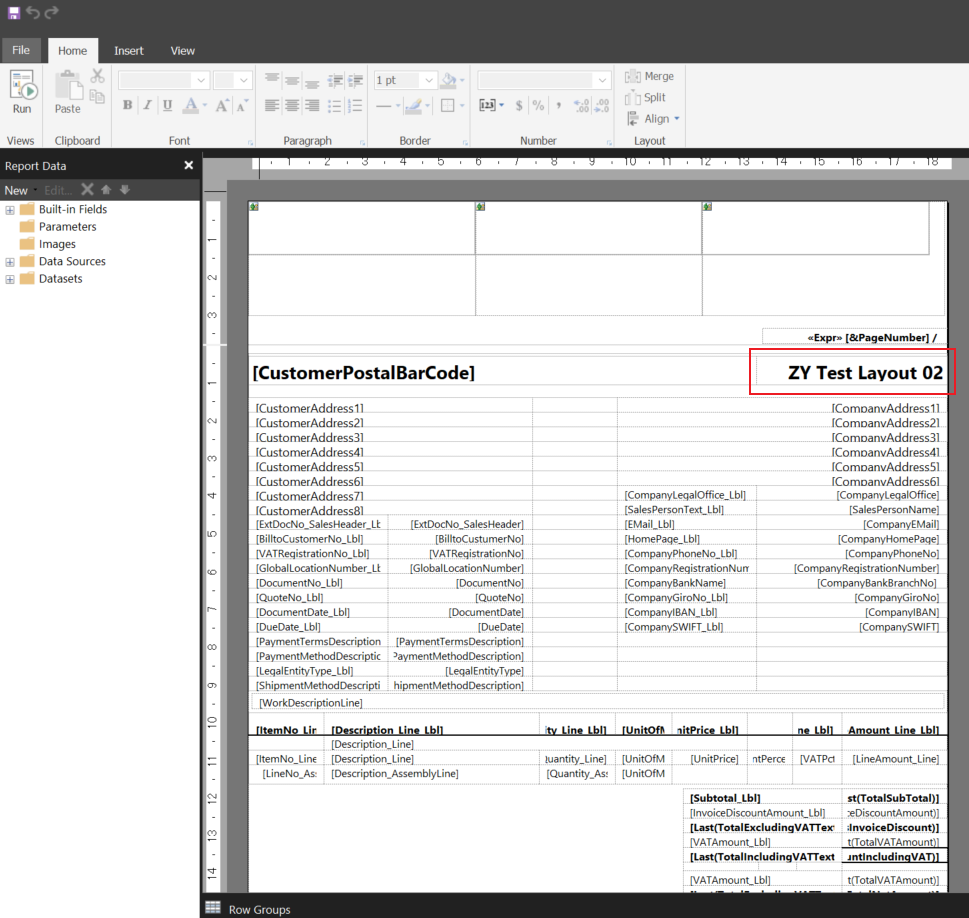
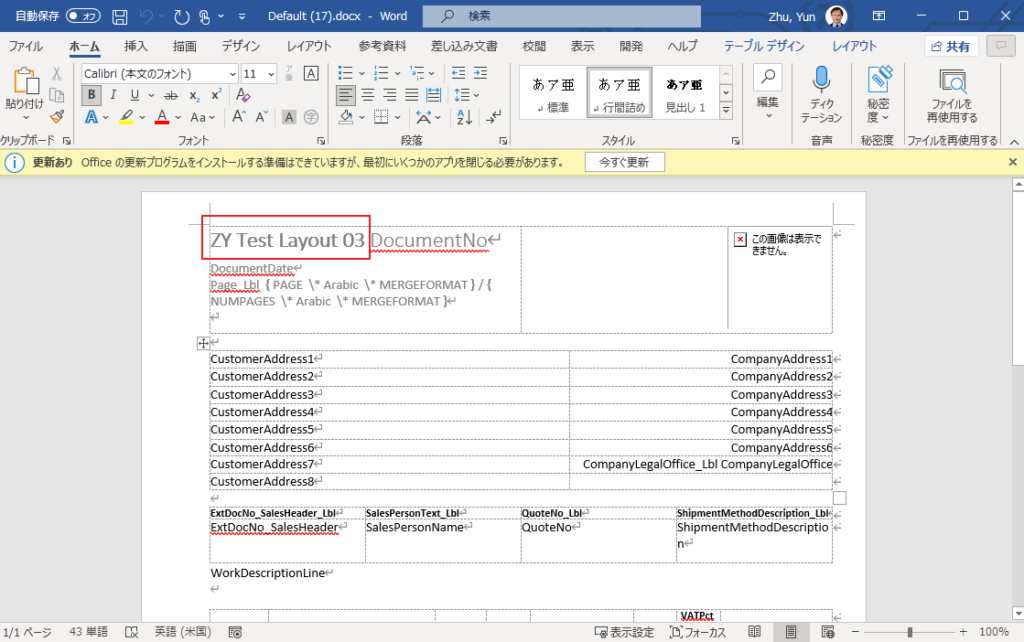
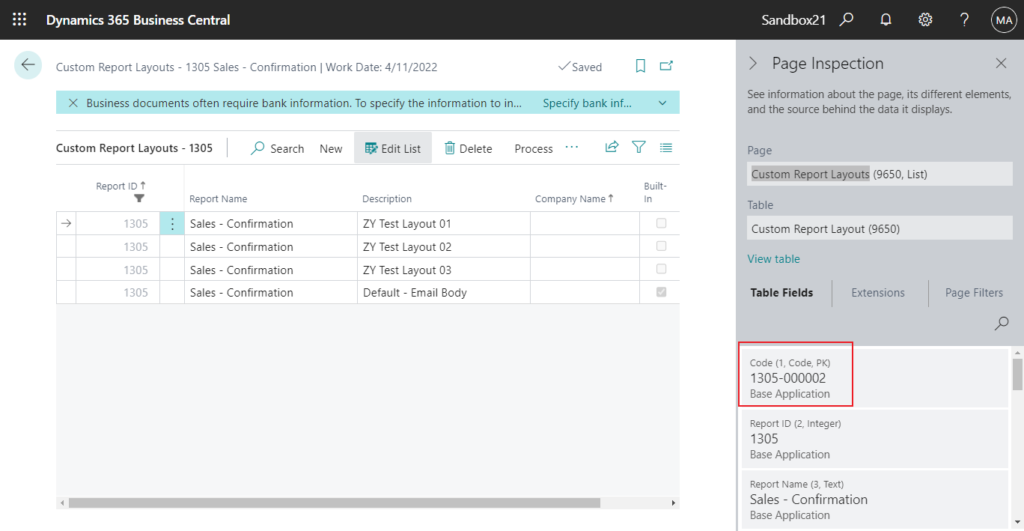
For example, I created three different layouts for Report 1305 Sales – Confirmation.
ZY Test Layout 01:
ZY Test Layout 02:
ZY Test Layout 03:
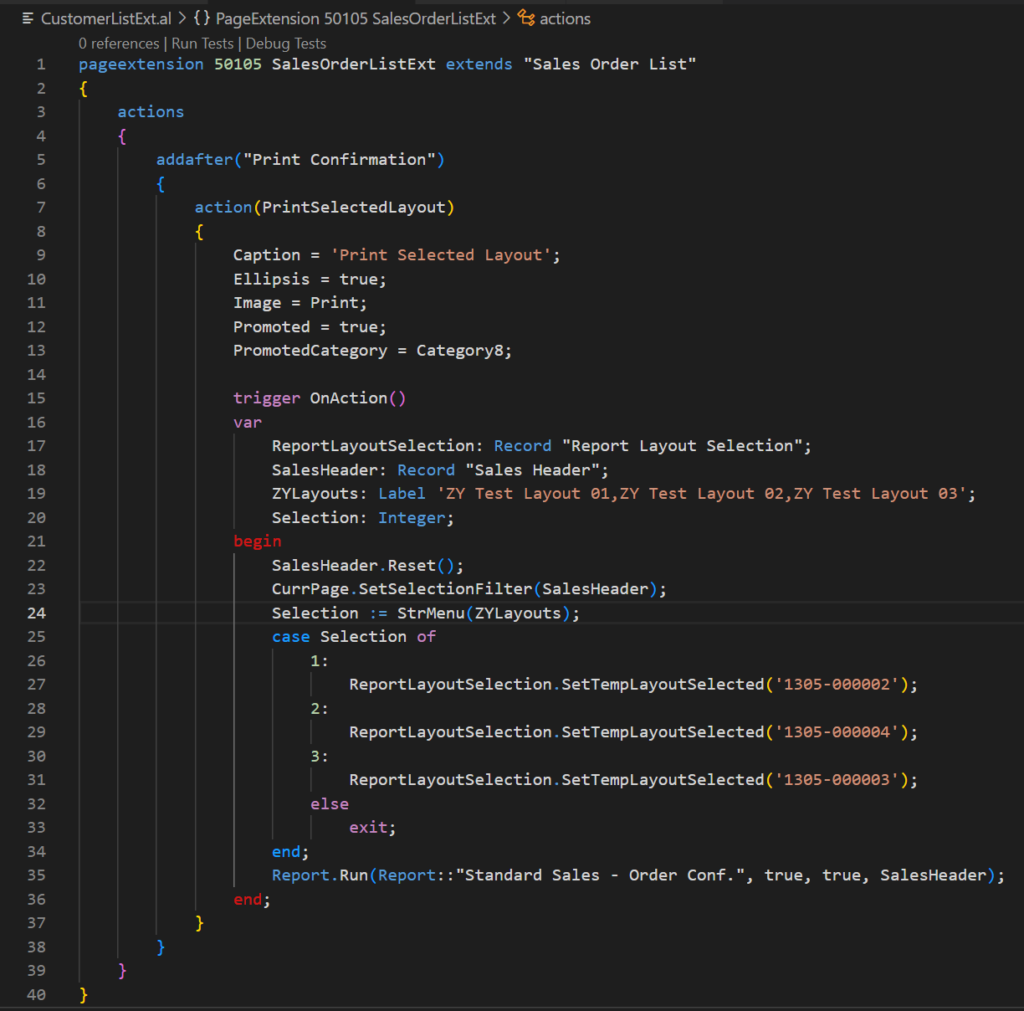
Then, create a new action in the Sales Order List and add the following code. (Just a simple example)
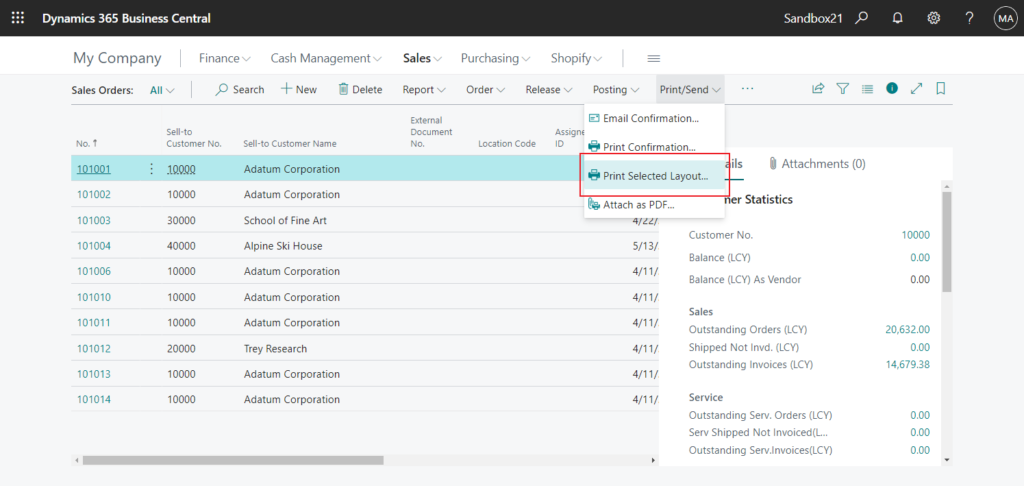
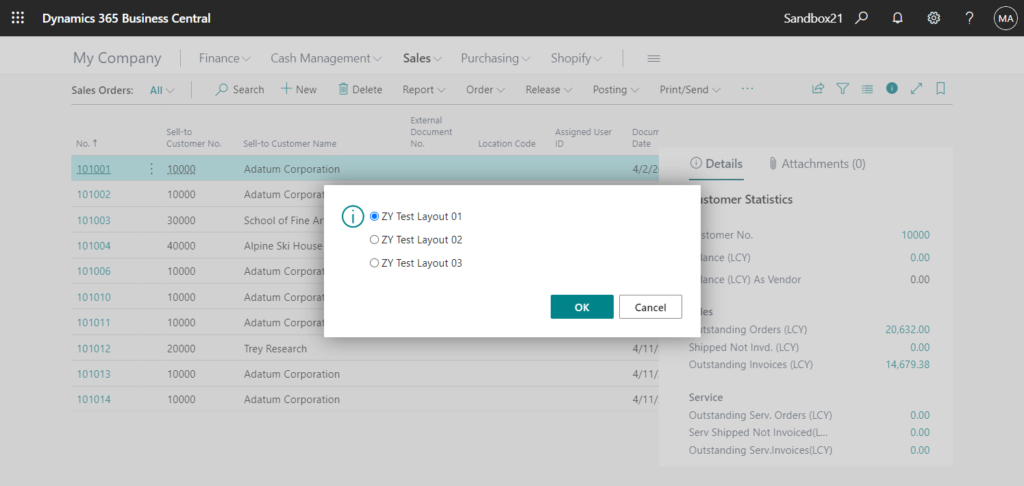
In BC UI:
Test Video:
Source Code:
pageextension 50105 SalesOrderListExt extends "Sales Order List"
{
    actions
    {
        addafter("Print Confirmation")
        {
            action(PrintSelectedLayout)
            {
                Caption = 'Print Selected Layout';
                Ellipsis = true;
                Image = Print;
                Promoted = true;
                PromotedCategory = Category8;

                trigger OnAction()
                var
                    ReportLayoutSelection: Record "Report Layout Selection";
                    SalesHeader: Record "Sales Header";
                    ZYLayouts: Label 'ZY Test Layout 01,ZY Test Layout 02,ZY Test Layout 03';
                    Selection: Integer;
                begin
                    SalesHeader.Reset();
                    CurrPage.SetSelectionFilter(SalesHeader);
                    Selection := StrMenu(ZYLayouts);
                    case Selection of
                        1:
                            ReportLayoutSelection.SetTempLayoutSelected('1305-000002');
                        2:
                            ReportLayoutSelection.SetTempLayoutSelected('1305-000004');
                        3:
                            ReportLayoutSelection.SetTempLayoutSelected('1305-000003');
                        else
                            exit;
                    end;
                    Report.Run(Report::"Standard Sales - Order Conf.", true, true, SalesHeader);
                end;
            }
        }
    }
}
How is this done?
You can find clues on page 9650 “Custom Report Layouts”. As you know, we can run different layout files directly on this page.
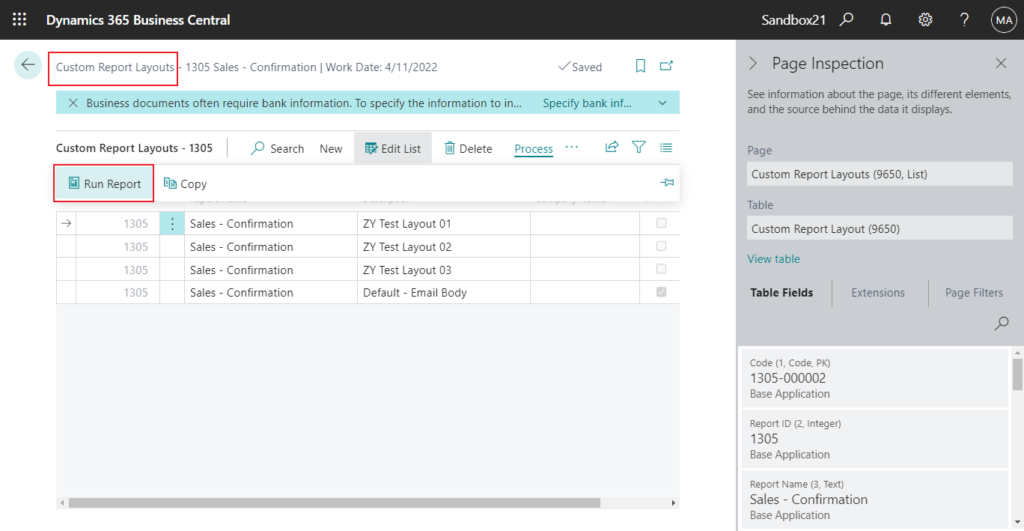
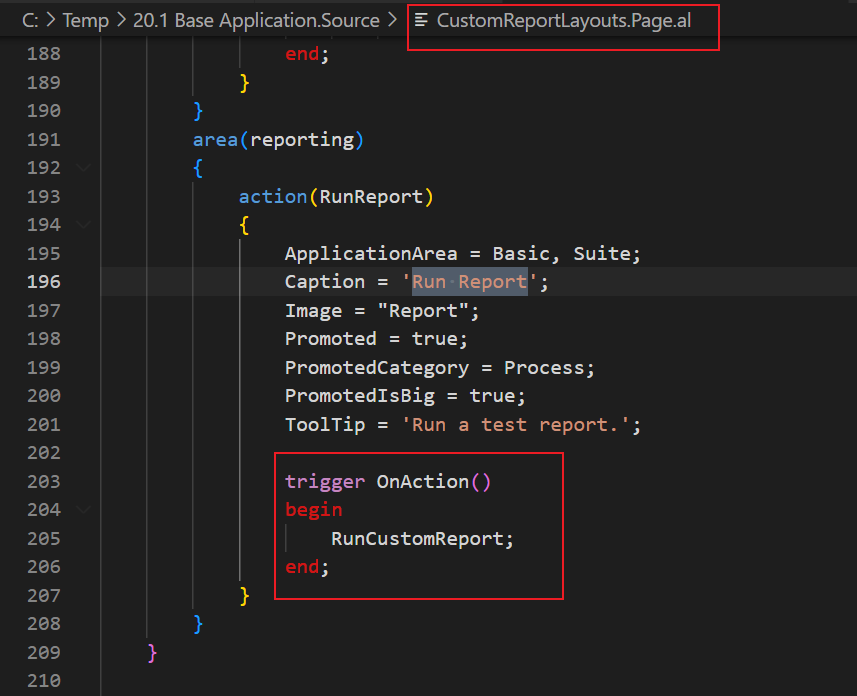
Key method: ReportLayoutSelection.SetTempLayoutSelected(Code);
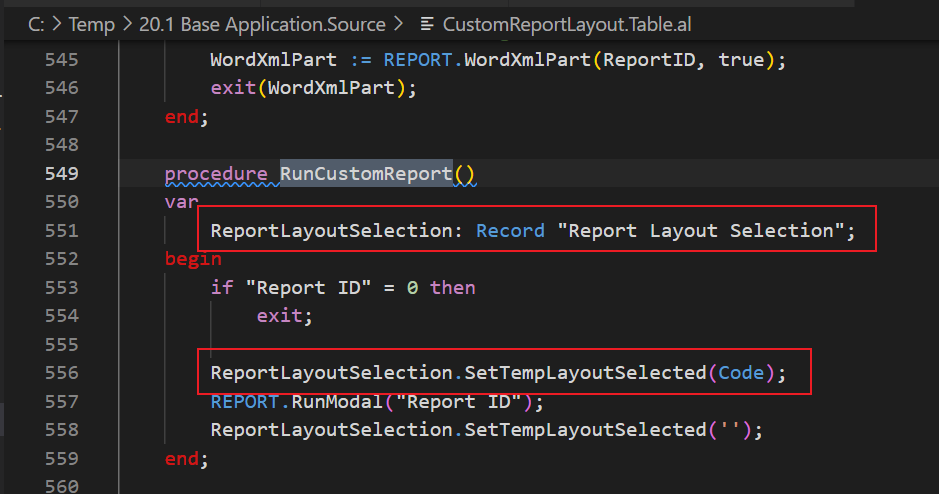
And the Code is the primary key in table 9650 “Custom Report Layout”.
Once you know this information, I think it should be easy to do. Give it a try!!!😁 Believe your solution will be better.
END
Hope this will help.
Thanks for reading.
ZHU

コメント