Hi, Readers.
Yesterday I saw a question in the Dynamics 365 Business Central Forum about how to install language packs for the On-Premises.
For Details: On-Premise language pack install
So in this post, I would like to summarize some information about Language Packs.
How to change the display language
The initial language is either determined by the administrator or by your browser settings when you sign up for Business Central. The language that you set will be used on all devices that you sign in from, such as a phone or tablet.
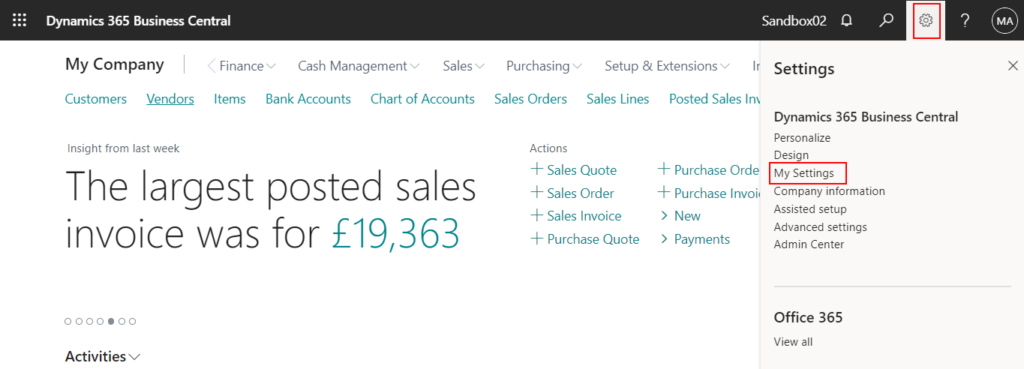
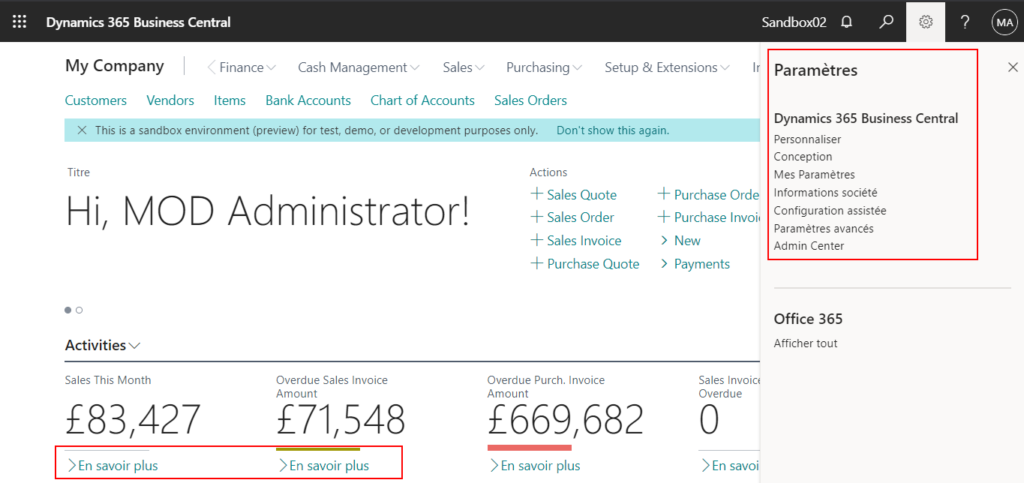
1. In the top right corner, choose the Settings icon ![]() , and then choose the My Settings action.
, and then choose the My Settings action.
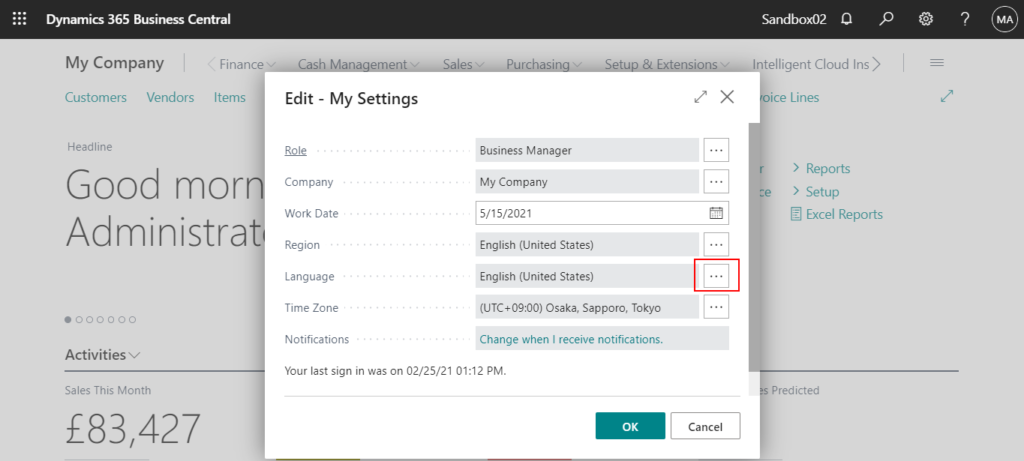
2. Click ‘…’ behind the Language field.
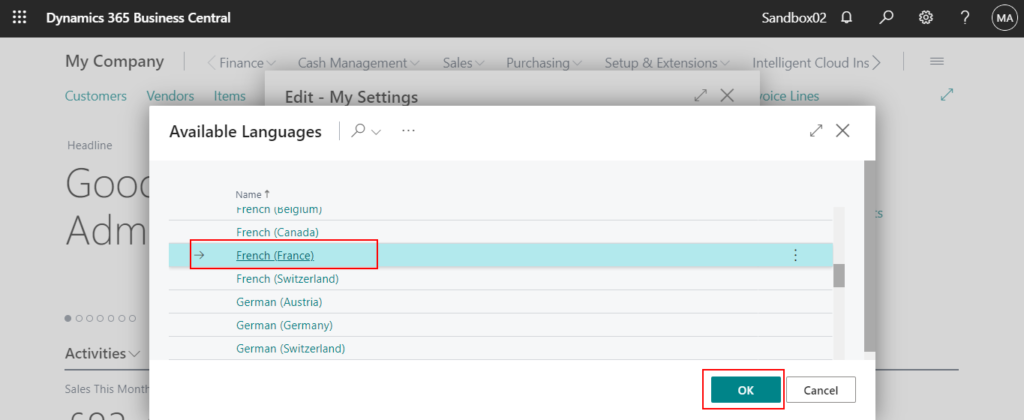
3. Select a language you want to display, then choose OK.
4. Choose the OK button.
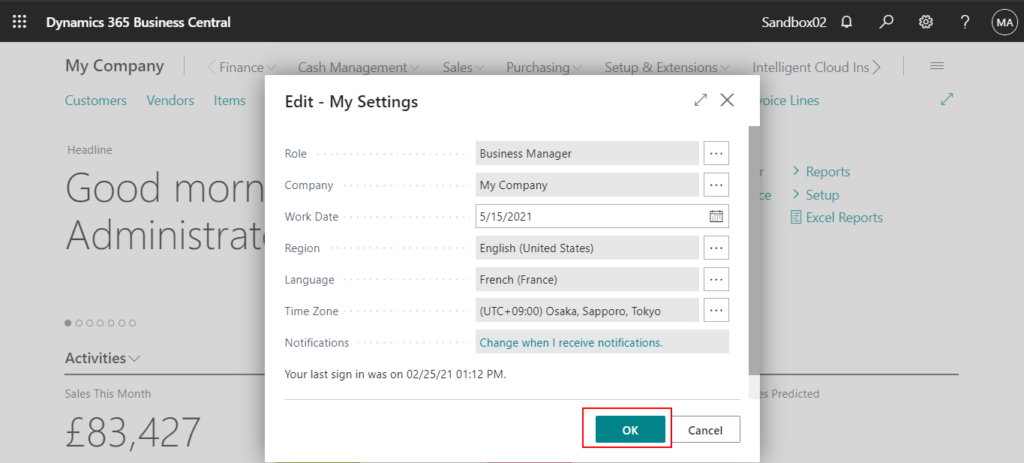
The display language will be changed.
PS:
1. Before 2020 release wave 1 (BC160), an environment could only choose English (United States) and one other local language. (Depending on the Region where the environment is created)

Fortunately, in 2020 release wave 1, languages are provided as apps that can be installed from AppSource to match the individual tenant’s needs. Different languages can be installed on the individual environments of the tenant. For on-premises, these language apps are part of the installation media and can be installed. This enables a customer from any country or region to use any supported language.
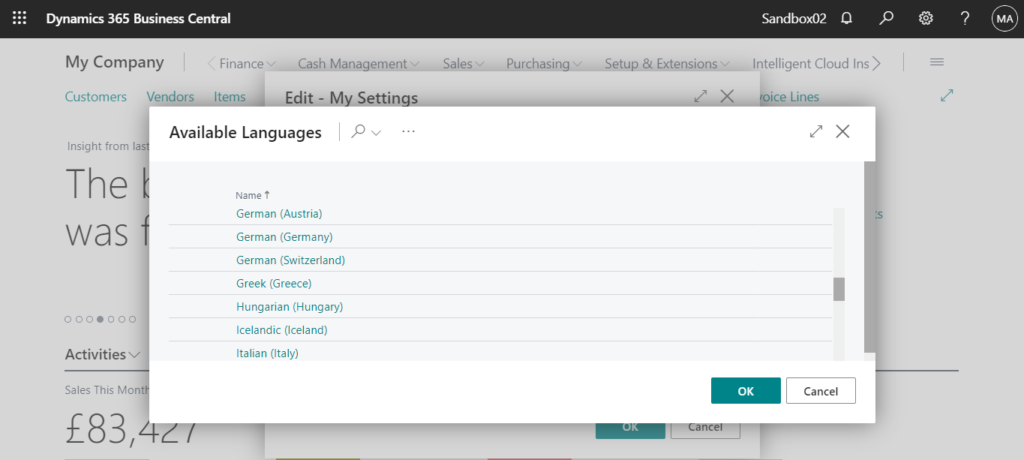
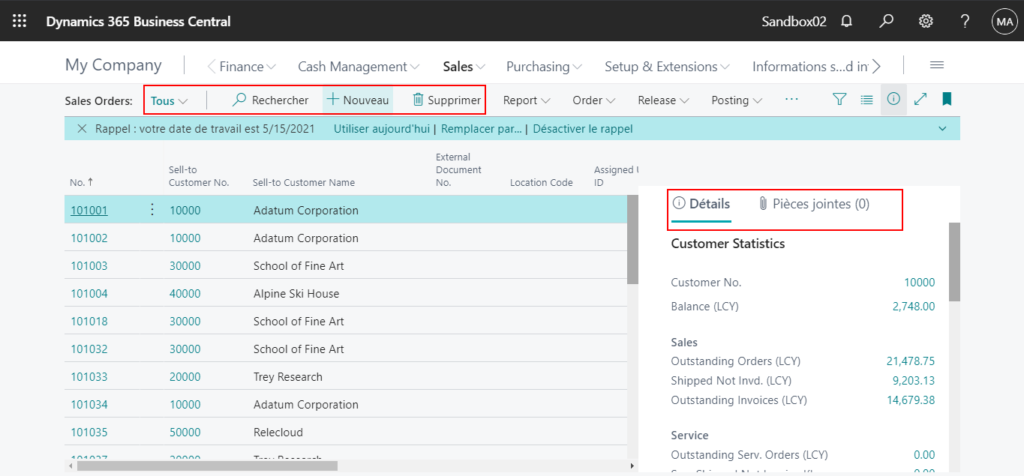
2. While all supported display languages are shown in the list, the administrator must install the relevant language app to the tenant before users can switch to the new language in Business Central. Otherwise, only the platform is translated.
Note: The translation of the Platform can only be done by Microsoft at the moment, Partner and individuals cannot add.

Microsoft will add languages supported for Business Central as needed.

Application languages delivered by Microsoft and Partners
Application languages delivered by Microsoft are provided as language apps, available on AppSource, that can be installed if needed.
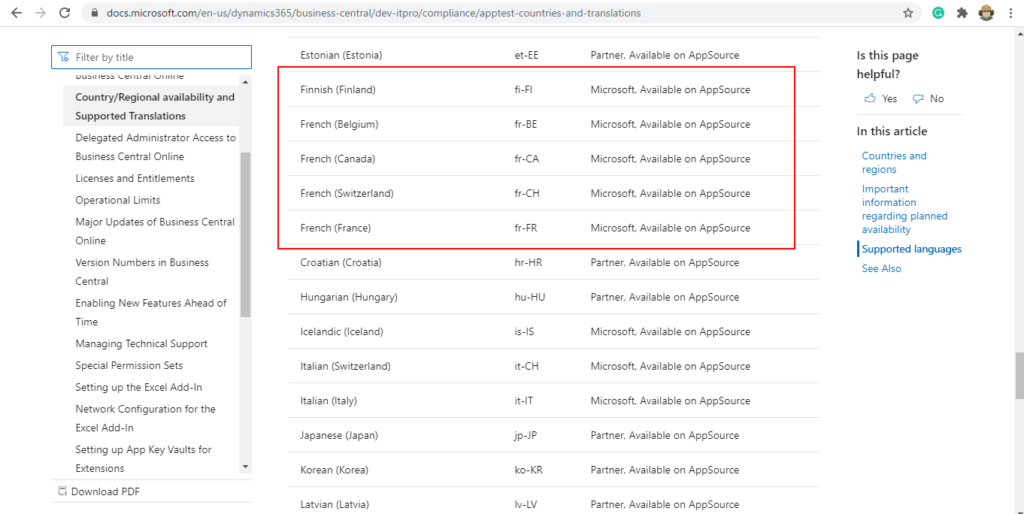
On AppSource:
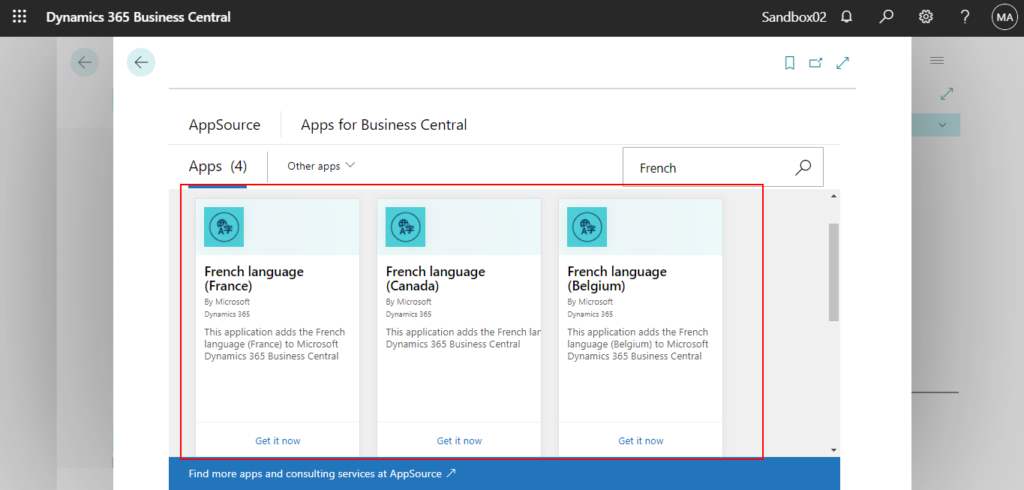
Partners can also provide application translation for any platform supported language. To use one of these languages the app publisher must be contacted through AppSource.
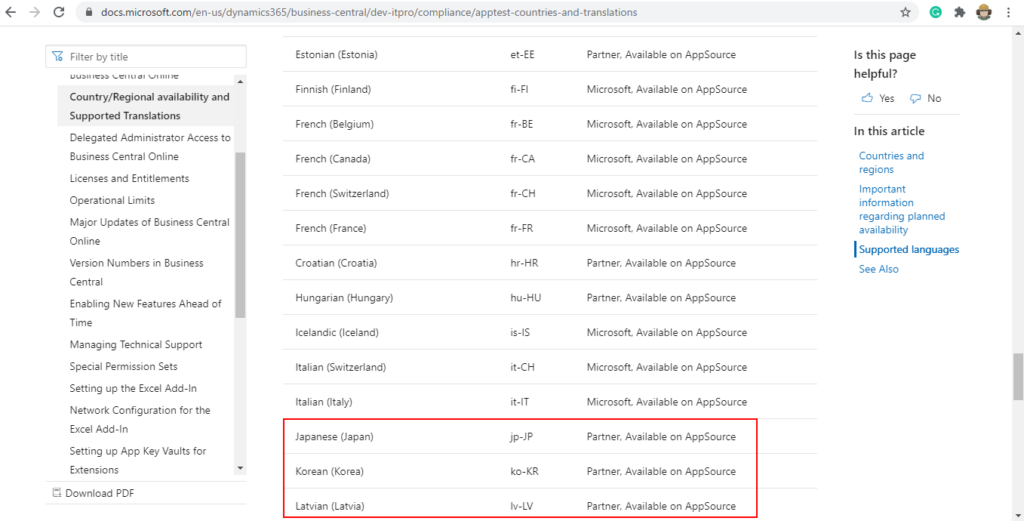
On AppSource:
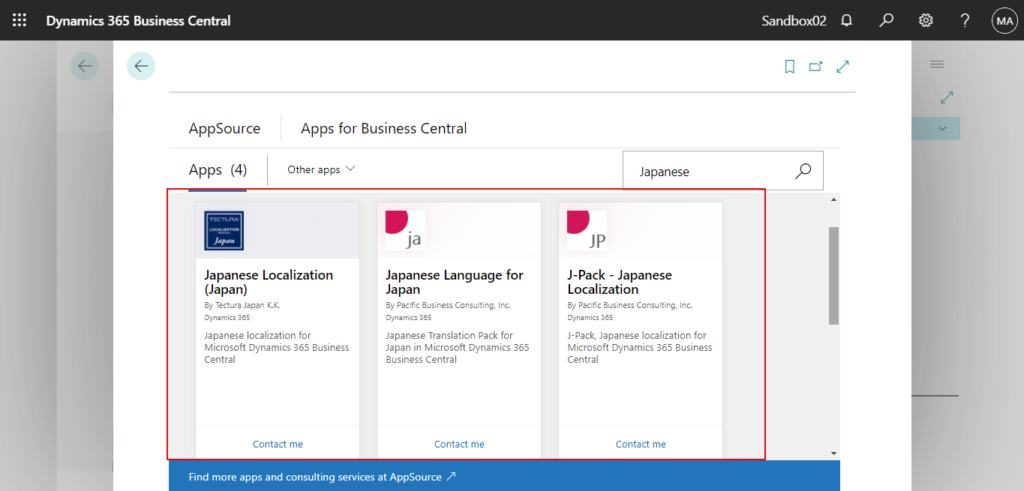
The biggest difference between these two is that the language packs provided by Microsoft are free and those provided by Partner are basically paid.

Japanese Language for Japan (Very perfect Japanese language package, personally highly recommended 👍)

Find out more about Country/regional availability and supported languages from Microsoft Docs.
Next, let’s continue to discuss how to install language packs in Business Central.
To install a language pack in SaaS
1. Enter Extension Management in Tell me, and then choose the related link.
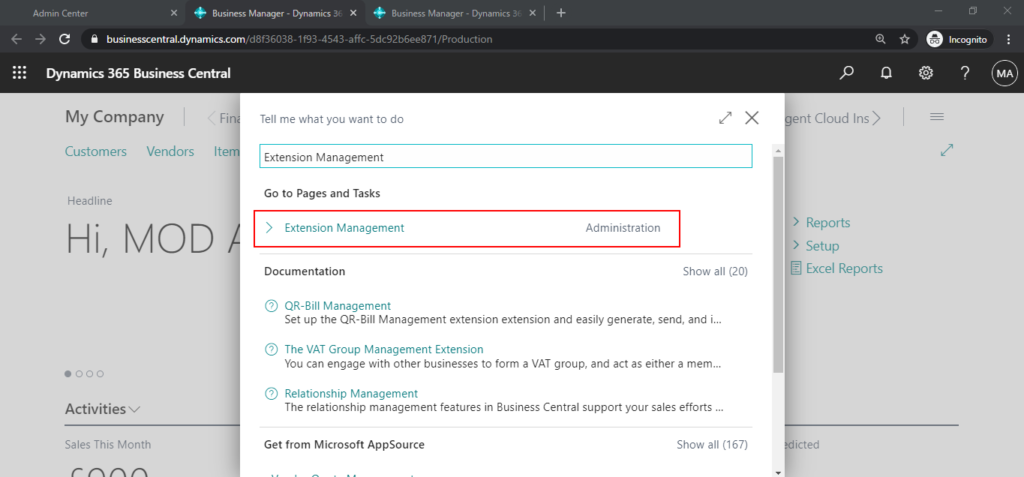
2. Choose Manage -> Extension Marketplace.

3. Search for the language you want to install, then choose Get it now. (Only for language pack provided by Microsoft)
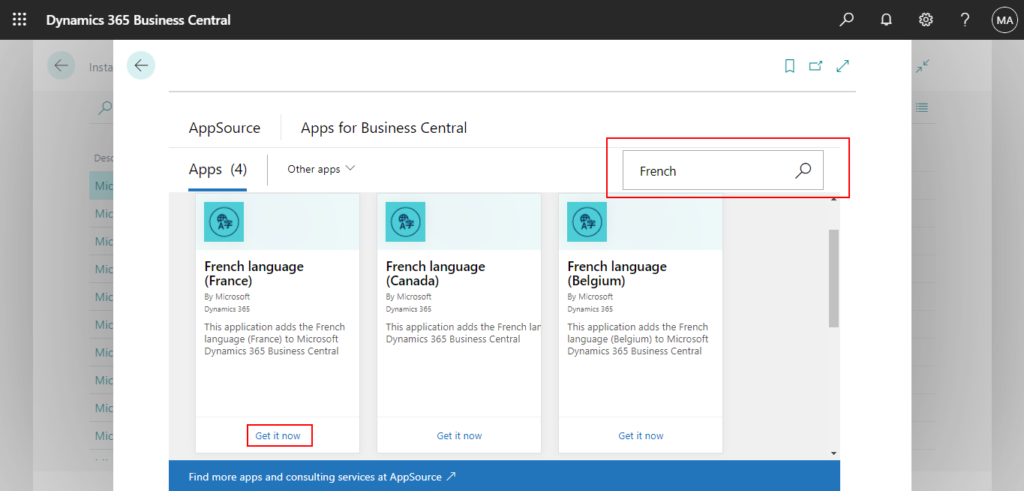
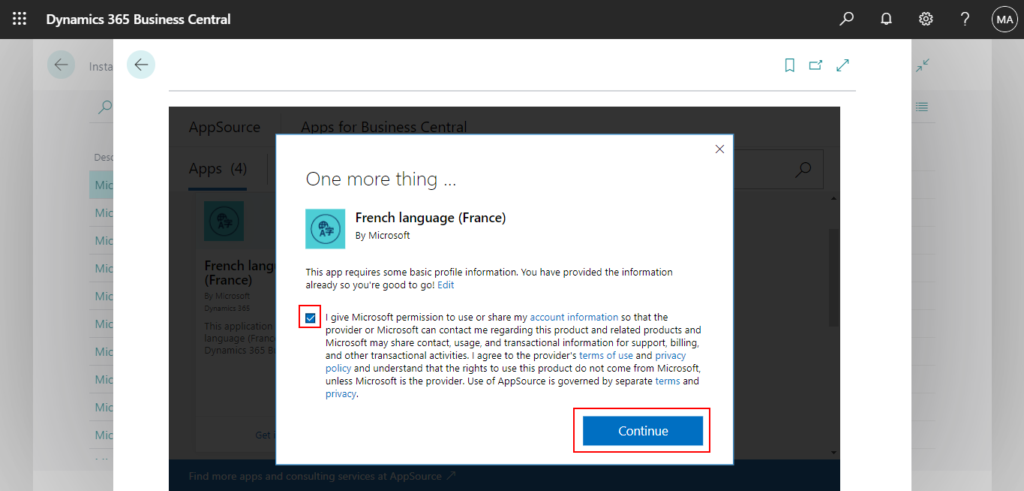
4. Select the teams of use and privacy policy, then choose Continue.
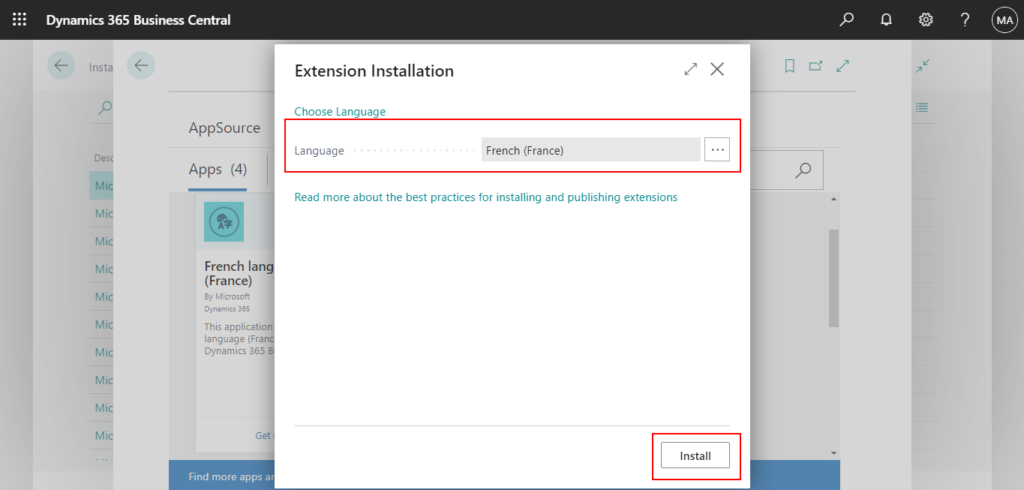
5. Choose Language, and then choose Install. (The language here is not important)
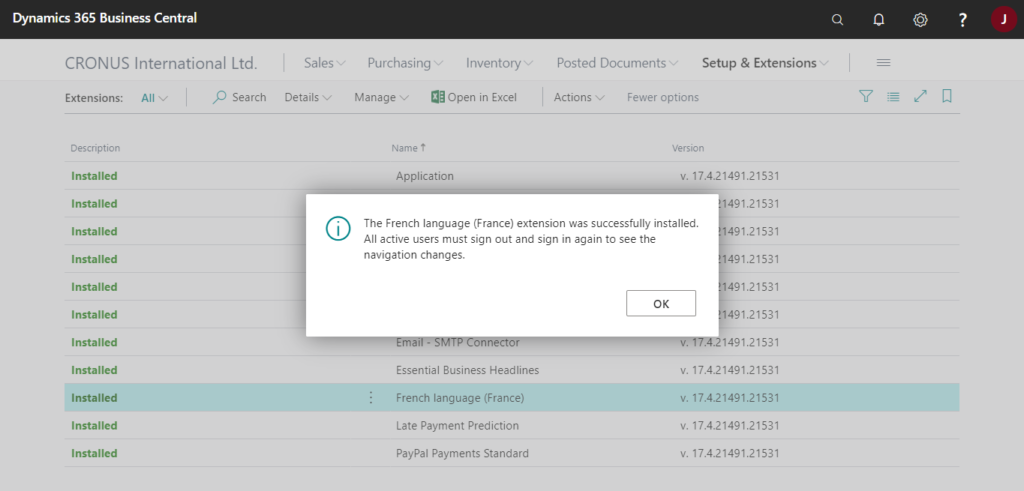
The French language (France) extension was successfully installed. All active users must sign out and sign in again to see the navigation changes.
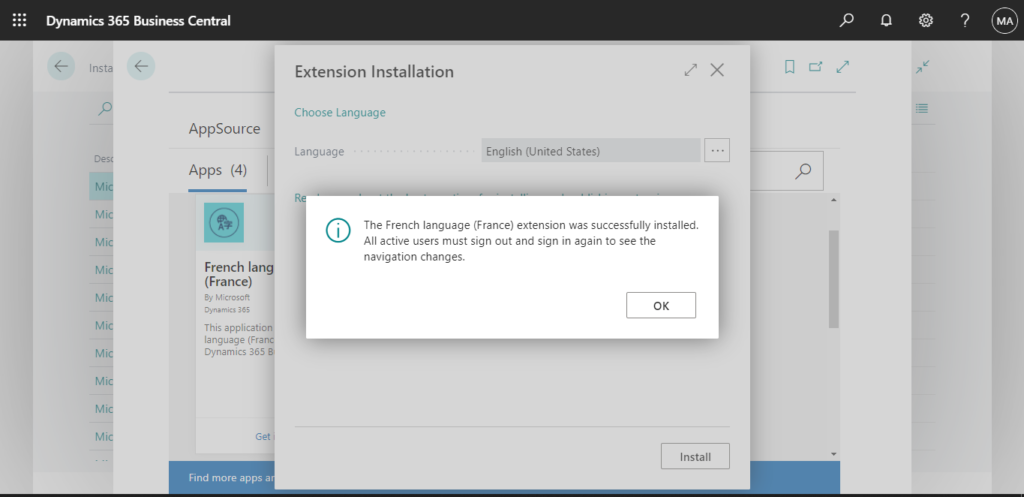
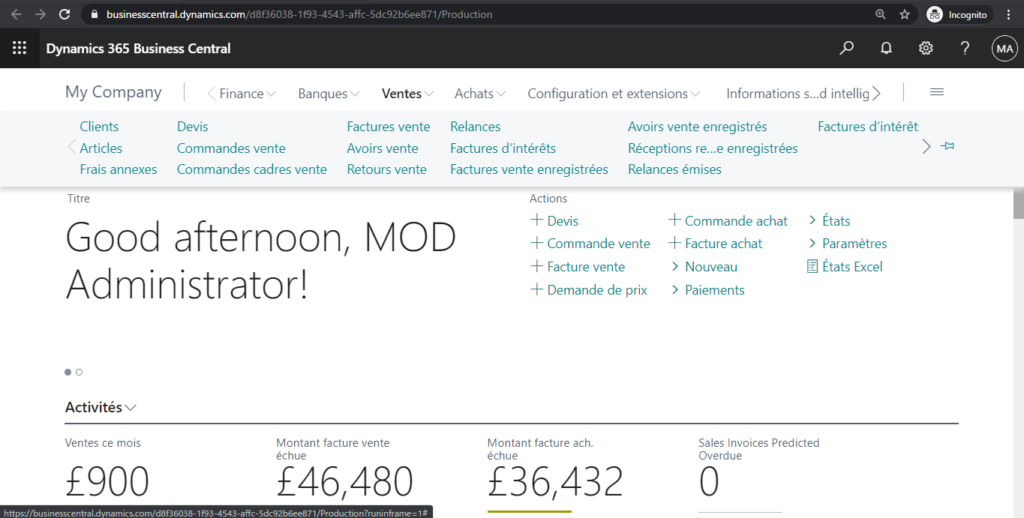
Then, you can see that the language has been successfully installed.
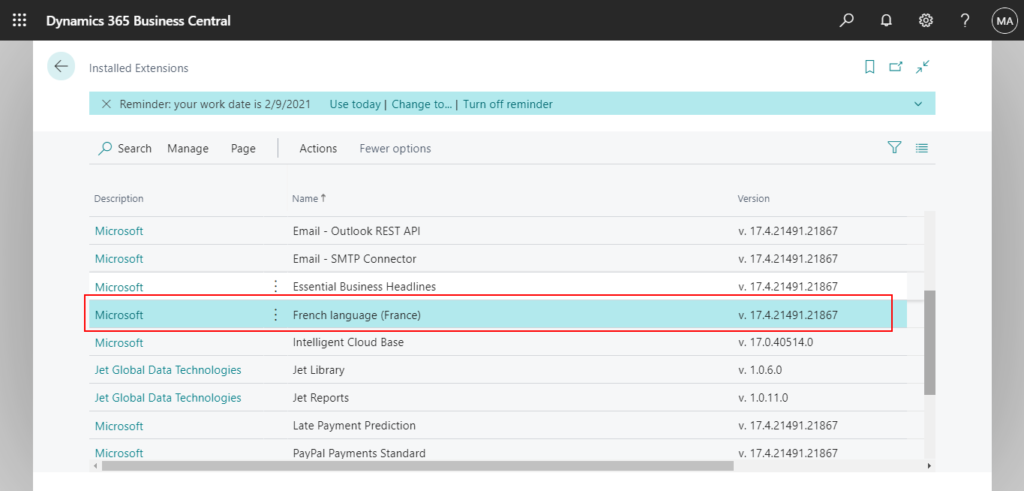
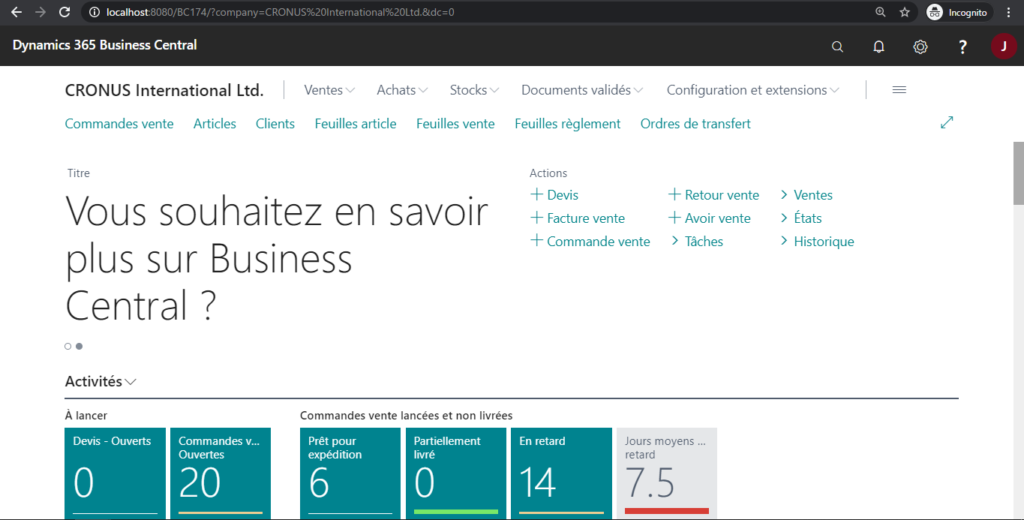
After changing the language, all page will be translated.
If you are interested in AppSource installation other than language packs, you can check the links below.
How to install AppSource Extension in Dynamics 365 Business Central SaaS
To install a language pack in On-Premises
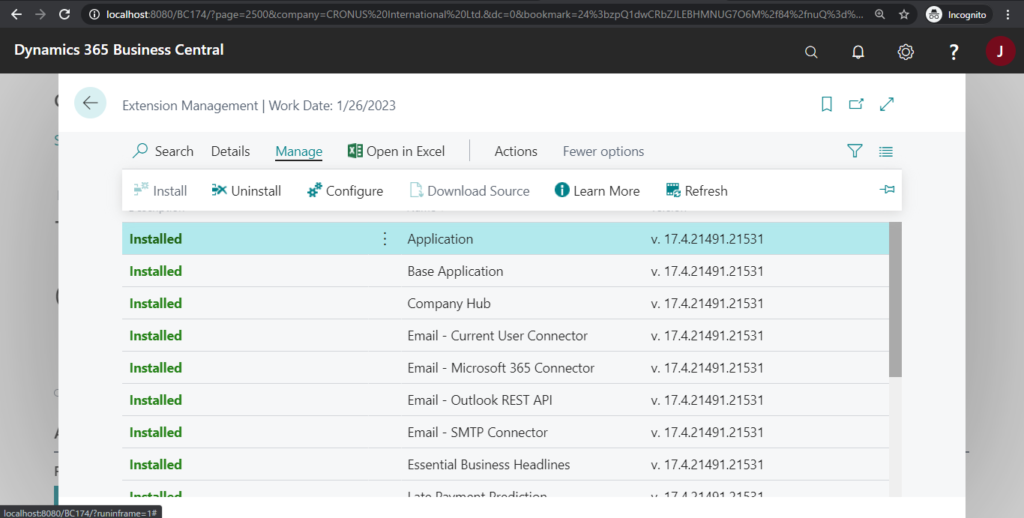
First of all, the language pack cannot be installed from AppSource in an On-Premises environment.
You can not find Manage -> Extension Marketplace action on the Extension Management page.
And if you open Extension Marketplace directly.

You can find the language packs.
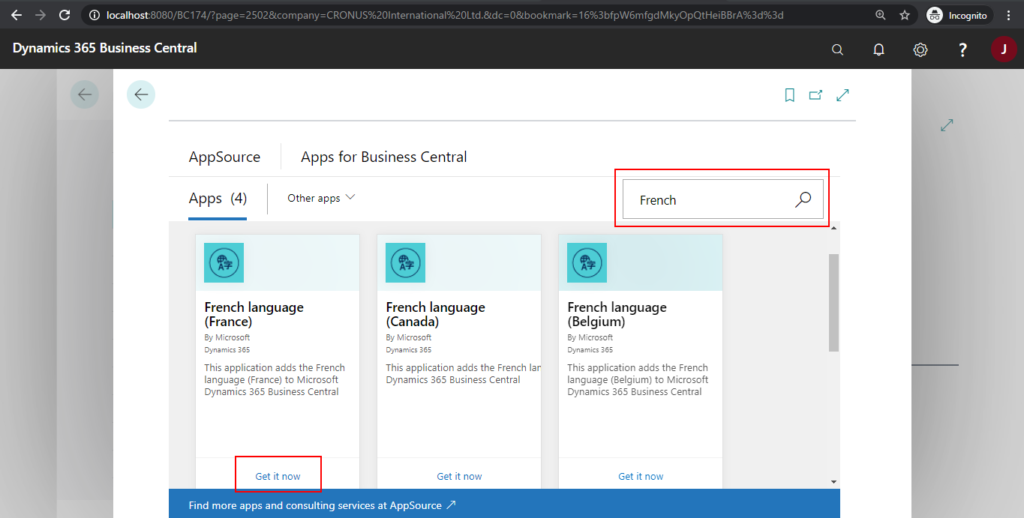
But when you start to install,
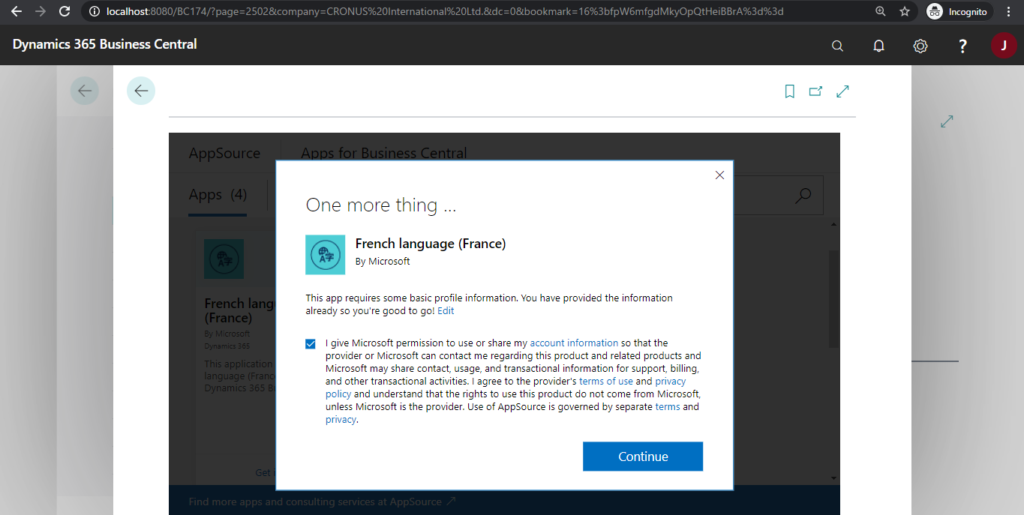
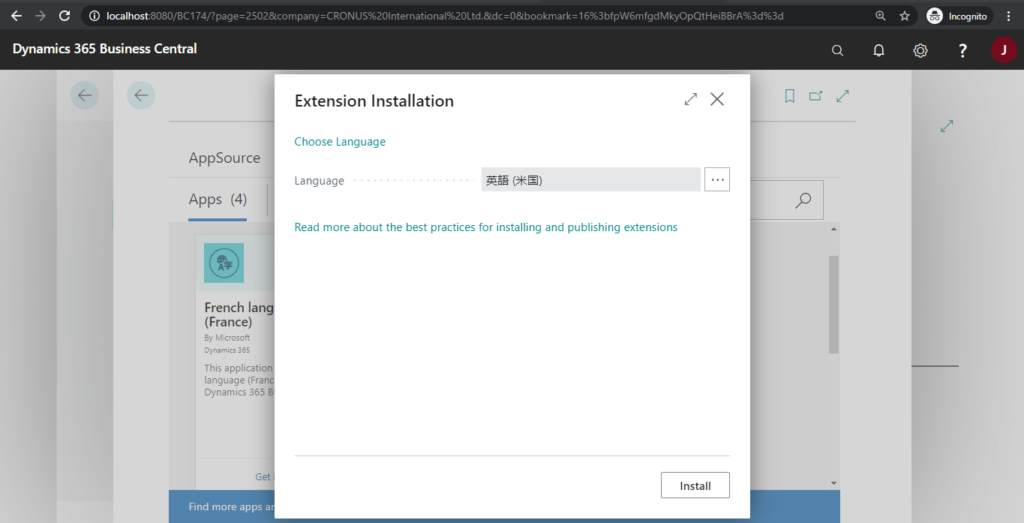
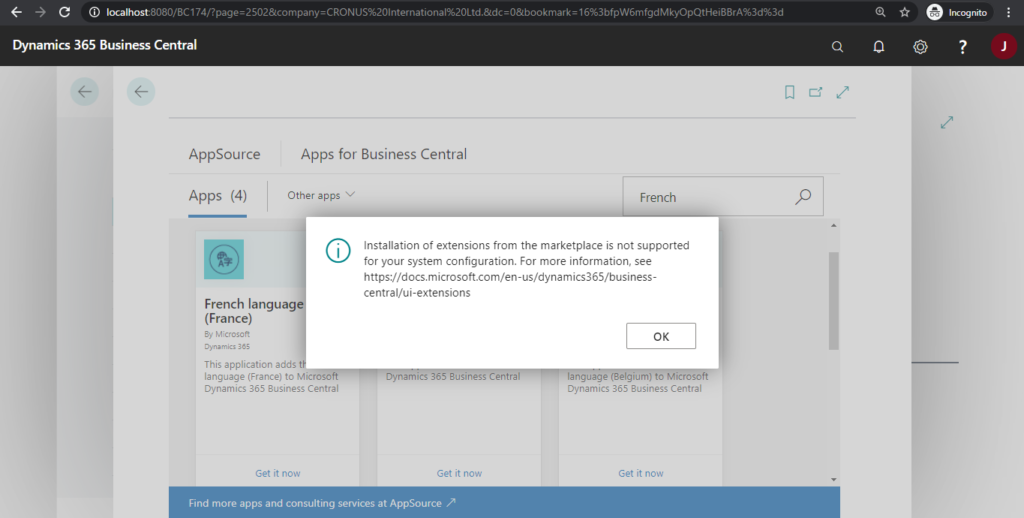
The following error will be displayed.
Installation of extensions from the marketplace is not supported for your system configuration. For more information, see https://docs.microsoft.com/en-us/dynamics365/business-central/ui-extensions
So, how to install it?
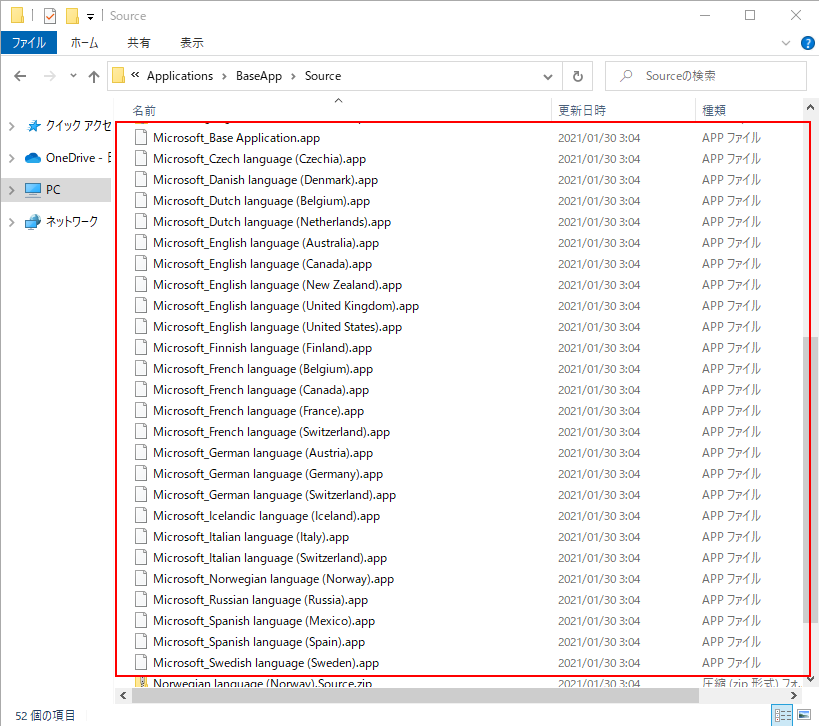
In fact, the language packs provided by Microsoft is already included in the installation package of Business Central.
For example: BC17.4 “~Dynamics.365.BC.21531.W1.DVD\Applications\BaseApp\Source”
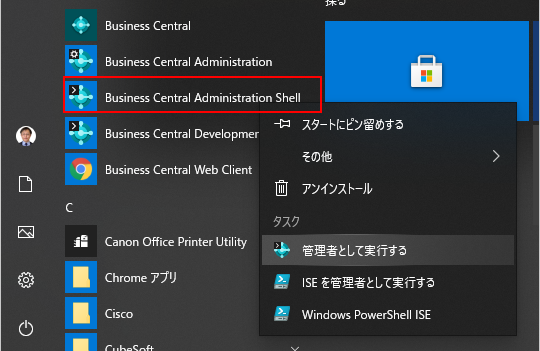
1. Run the Business Central Administration Shell by Administrator.

2. Execute the Publish command. (Please note to change the Instance Name and Path)
Publish-NAVApp -ServerInstance BC174 -Path "C:\Temp\Dynamics.365.BC.21531.W1.DVD\Applications\BaseApp\Source\Microsoft_French language (France).app" -SkipVerification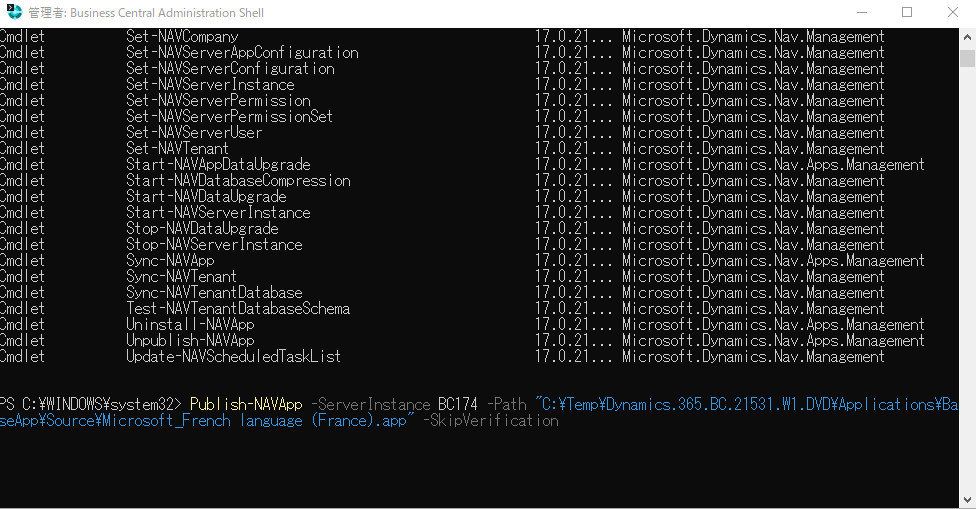
Completed.

PS: Since the language pack does not contain any AL files, no development license is required.

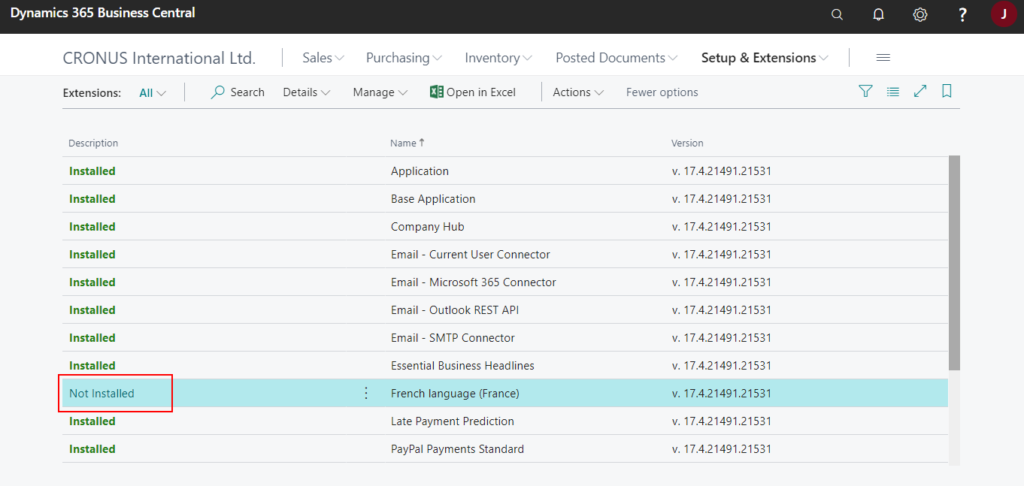
3. After successful publishing, you can find it on the Extension Management page.
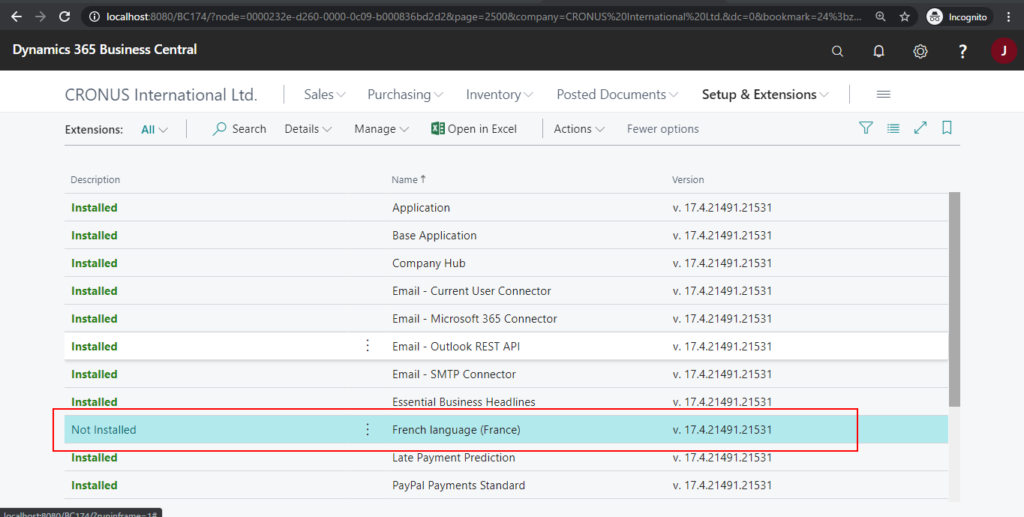
4. Click “Not Installed”.
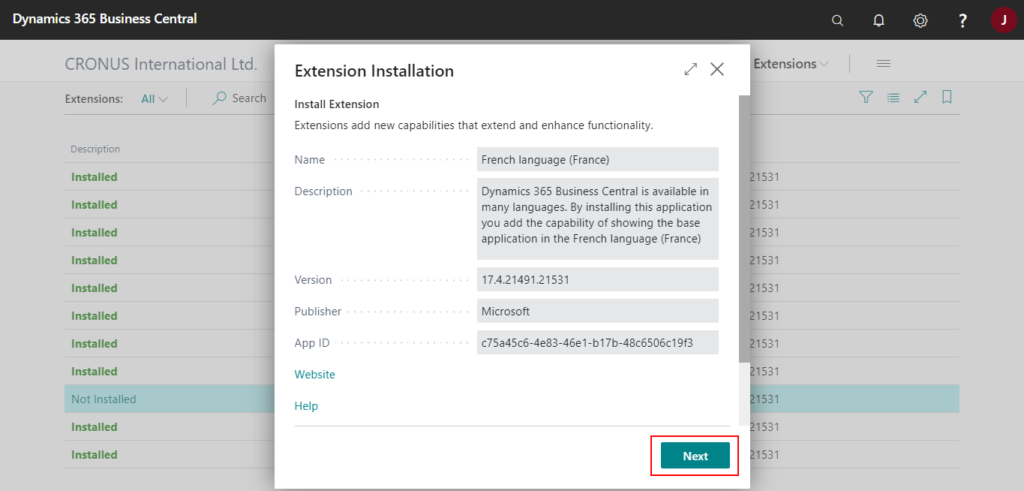
5. Choose Next.
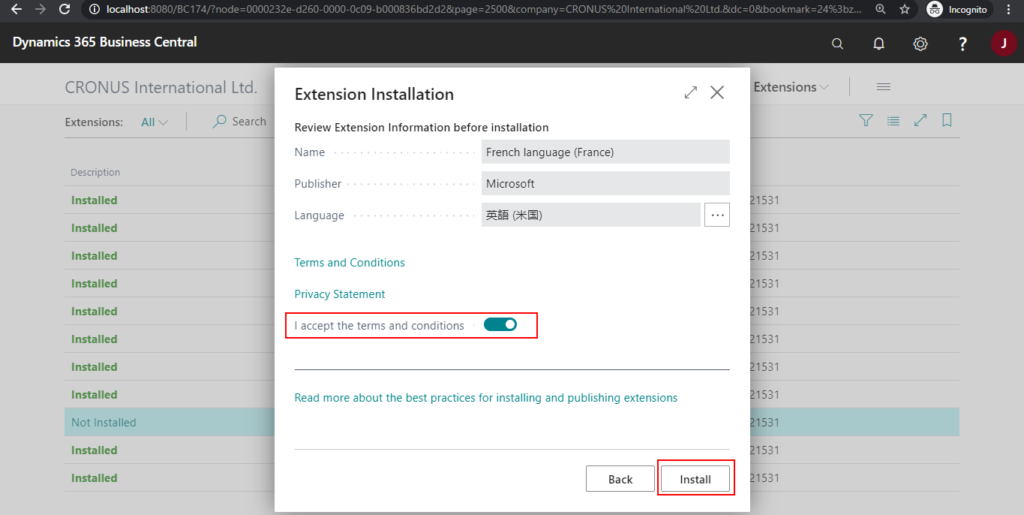
6. Select the terms and conditions, then choose Install.
Successfully installed.
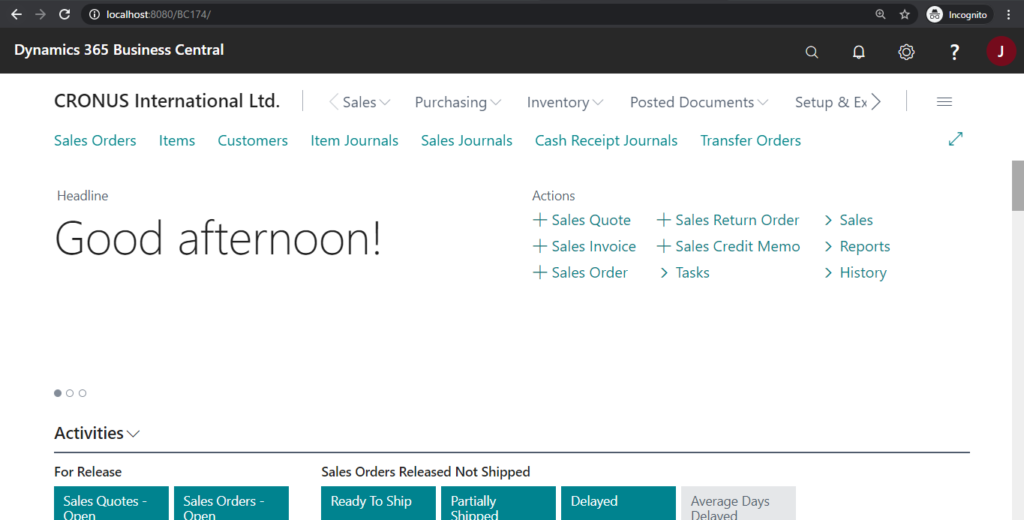
After changing the language, all page will be translated.
END
Hope this will help.
Thanks for reading.
ZHU



コメント