Hi readers.
Today I want to talk about how to create a Power App with Dynamics 365 Business Central and how to connect to your data source of customized extension.
PowerApps is Microsoft’s low-code development platform. As with other offerings in this category, the idea is to give business users a way to create simple applications through an interface that minimizes the need for custom code. PowerApps can also be used by professional developers to develop applications faster and easier than before.
Microsoft have added the Business Central connector in the previous version of Power Apps. So let’s first look at the preset connections.
Business Central Connector
1. In your browser, navigate to powerapps.microsoft.com, and then sign in.
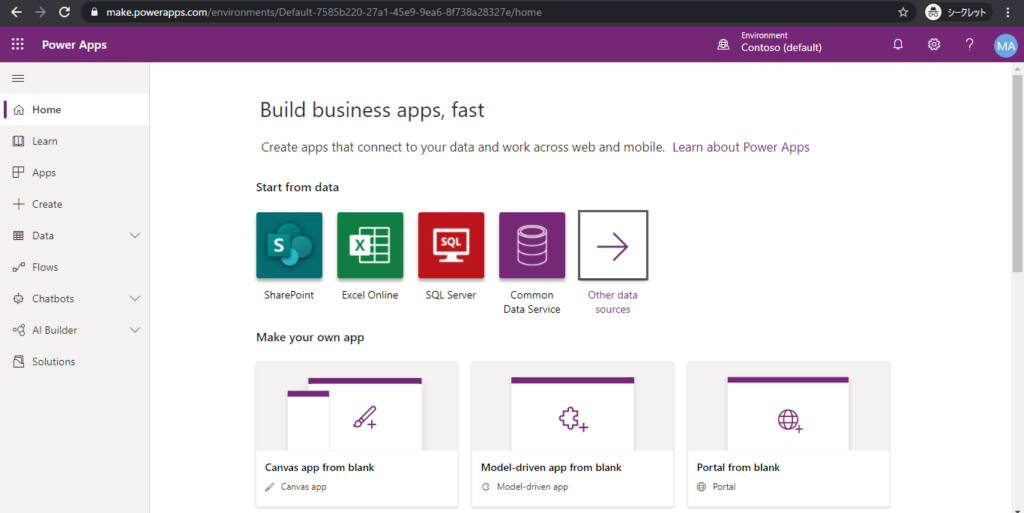
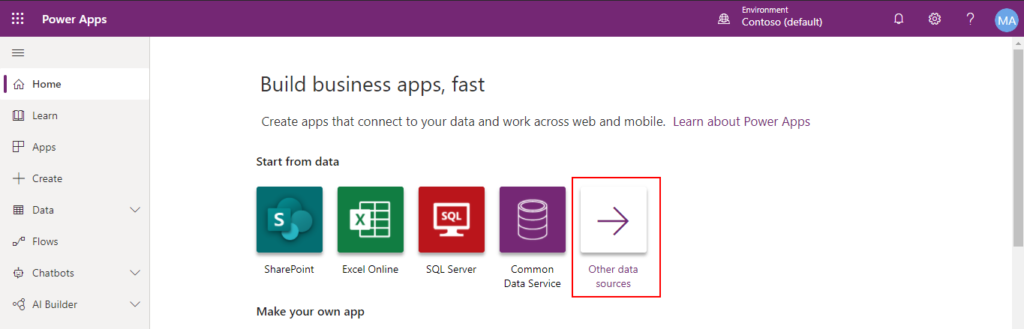
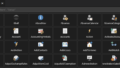
2. On the Home page, in the Start from data section, choose the Other data sources tile.
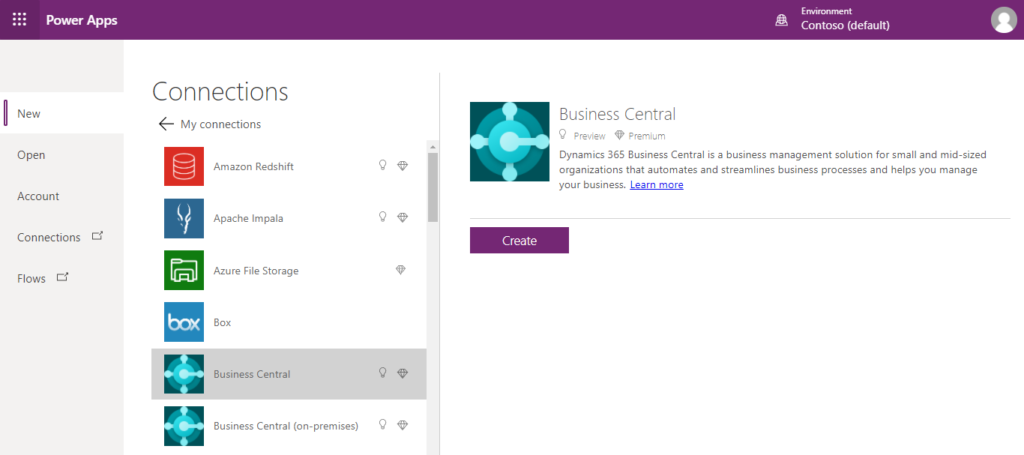
3. In the list of available connections, choose Business Central, and then choose the Create button.
Power Apps will connect to your Business Central using the credentials that you are signed in with. If you are not an administrator of your Business Central, you may have to sign in with another account.
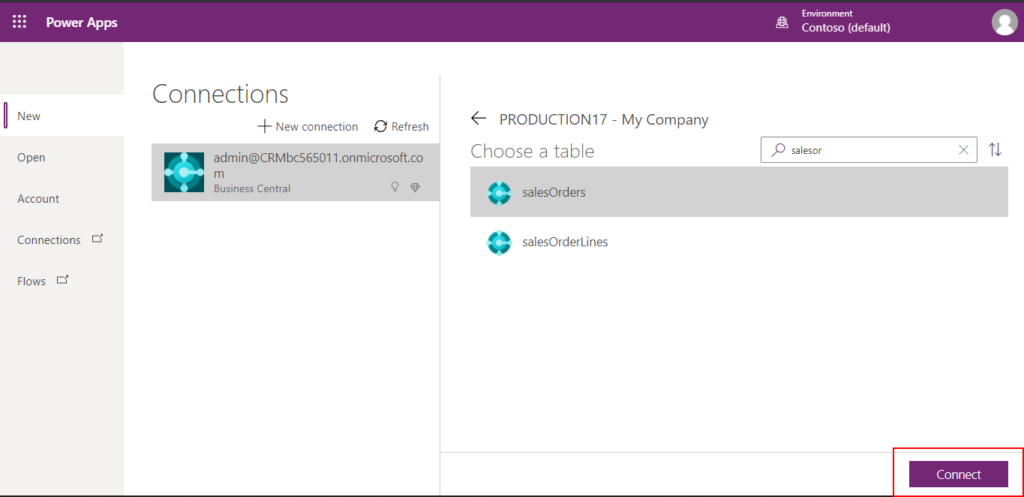
4. Power Apps will display a list of “Environments and companies” that are available from Business Central. Choose the environment and company that contains the data you want to connect to, such as “PRODUCTION17 – My Company”.

5. Next, you will be presented with a list of tables that are exposed as part of the API for your environment. Select the table that you want to connect to, and then choose Connect.
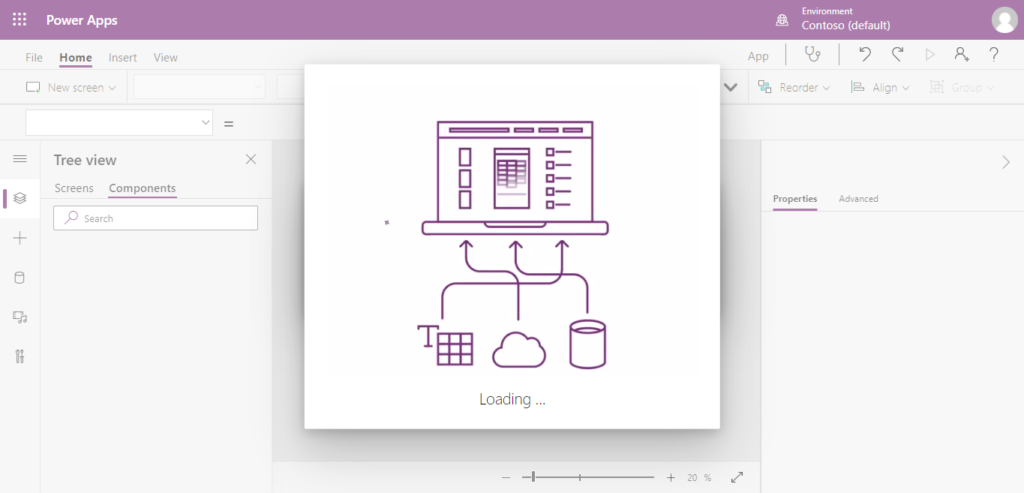
After loading.
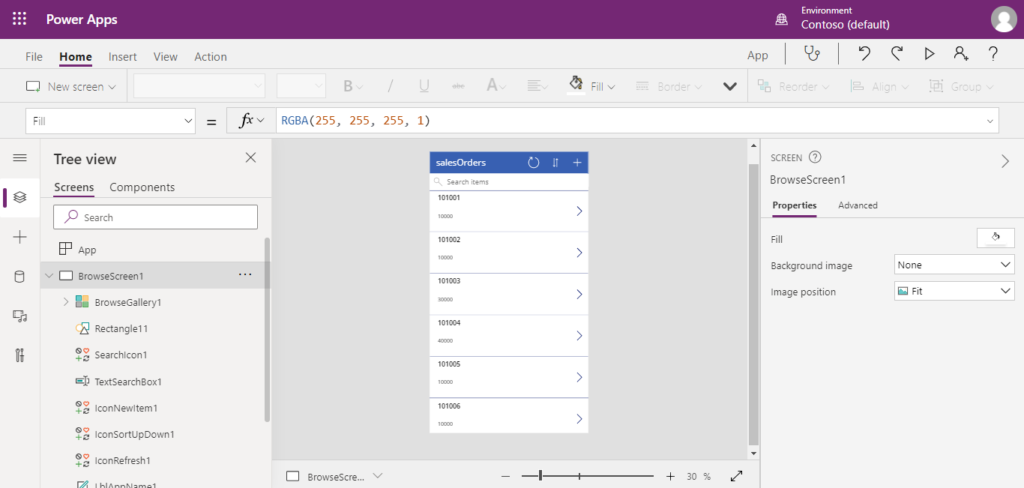
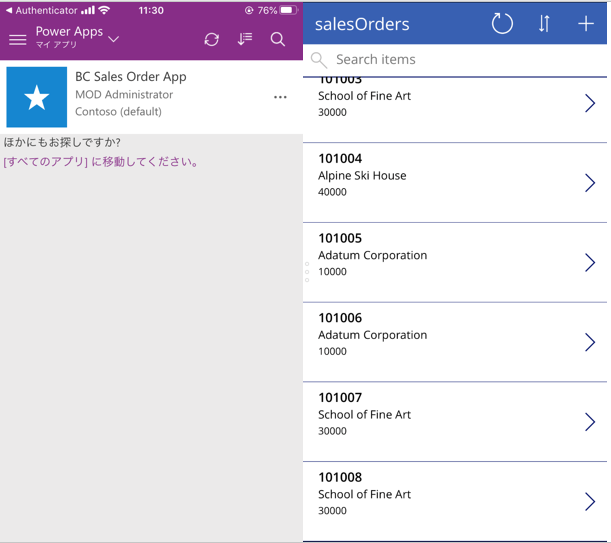
A new sales order app has been created. At this point, you have successfully connected to your Business Central data and are ready to begin building your PowerApp.
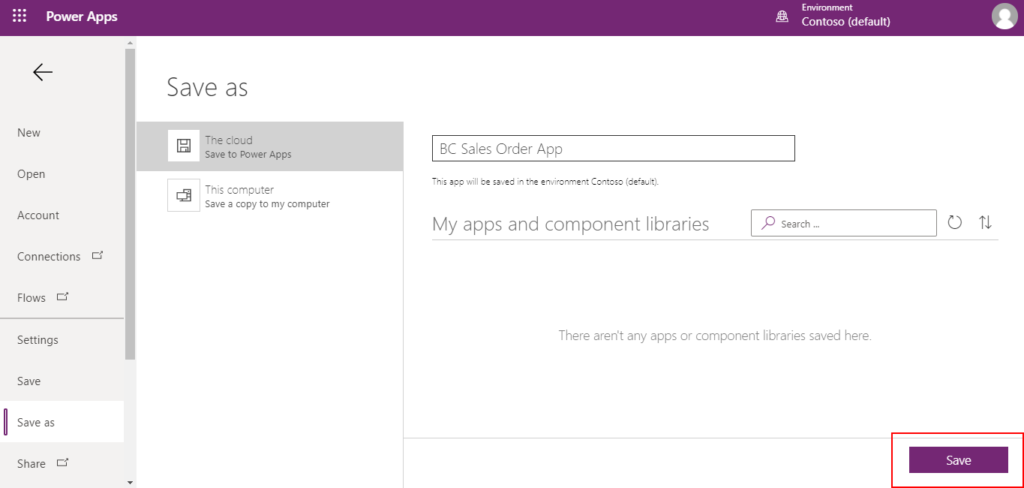
Save the app.
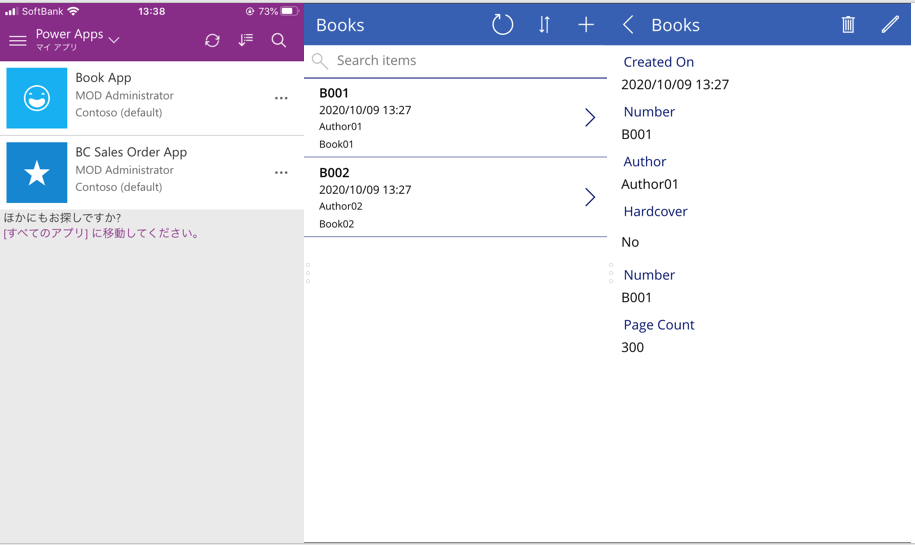
Now you can use the Power App connected to your Business Central data on your phone .
Using the default connector is very simple, right?
The next question is how to connect to your data source of customized extension.
For example:
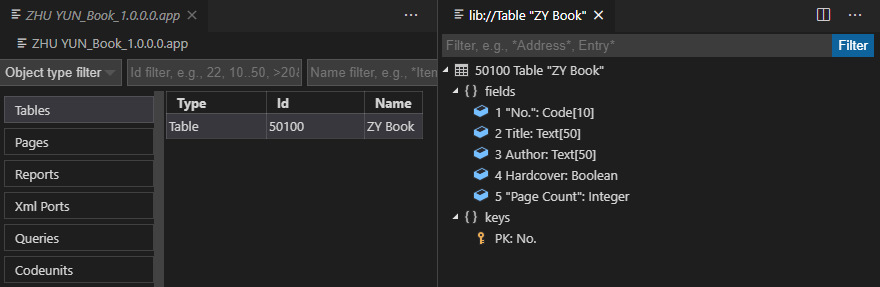
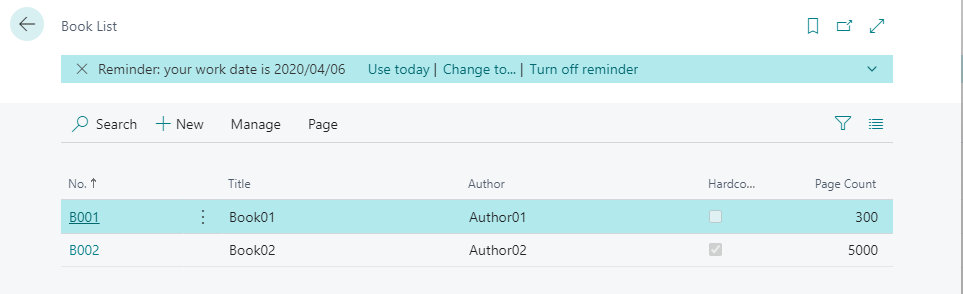
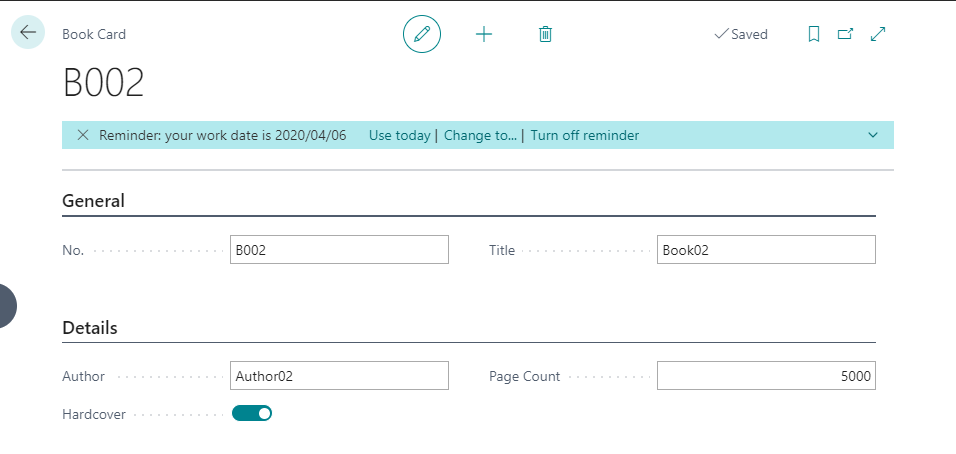
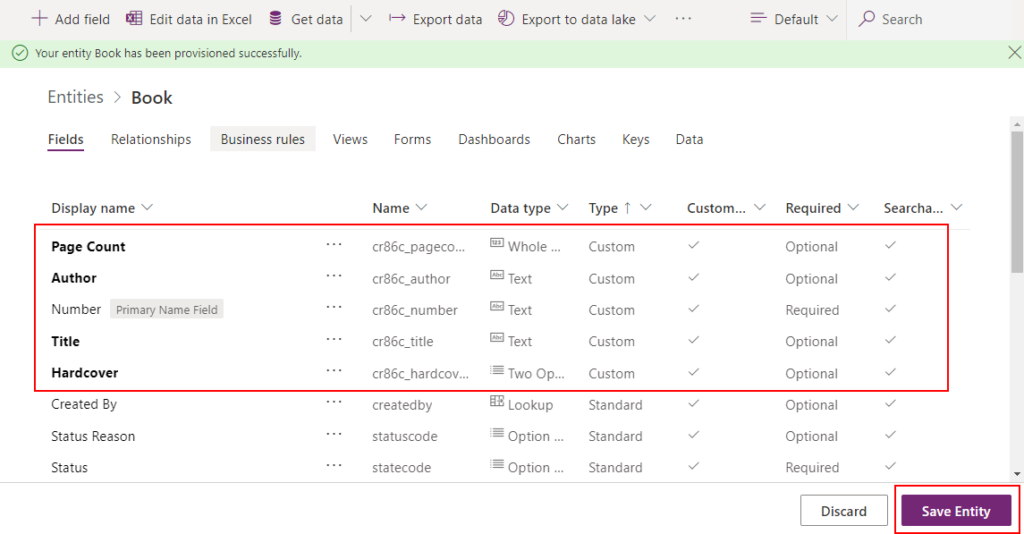
I created a new Book table.
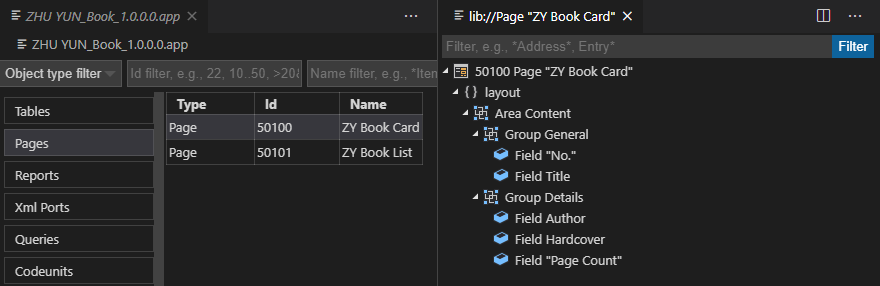
Card Page:
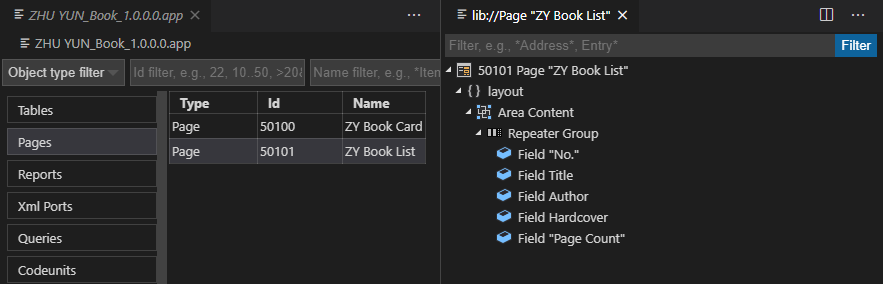
List Page:
After installation
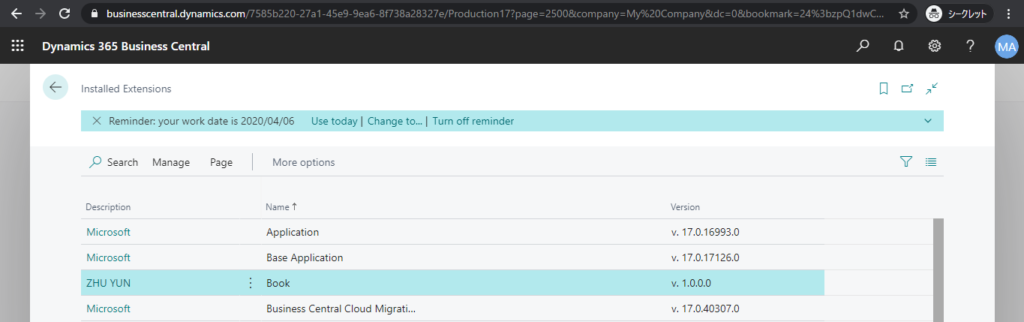
I can easily manage Book information in Business Central.
But when I back to the Connections of Power Apps, I can’t find the “Book”.
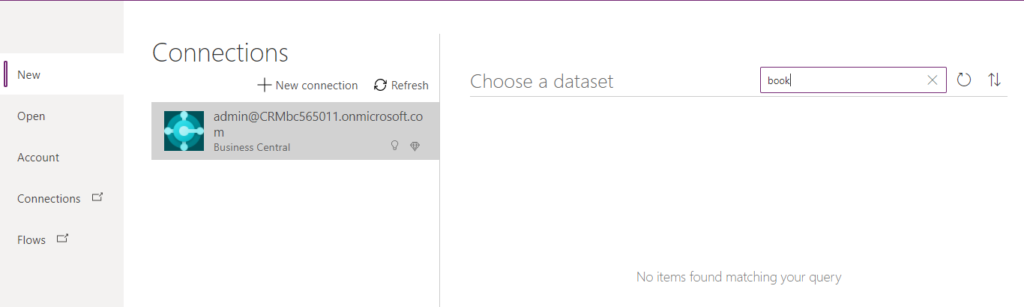
So How to do it.
The following way are not only one, for reference only.
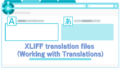
Using CDS and OData
1. Publish the custom table in Business Central as a Web Service.
I introduced web service in my previous blog. Hope that will help.
Dynamic 365 Business Central SaaSのウェブサービスについて (Web Services) – Japanese.
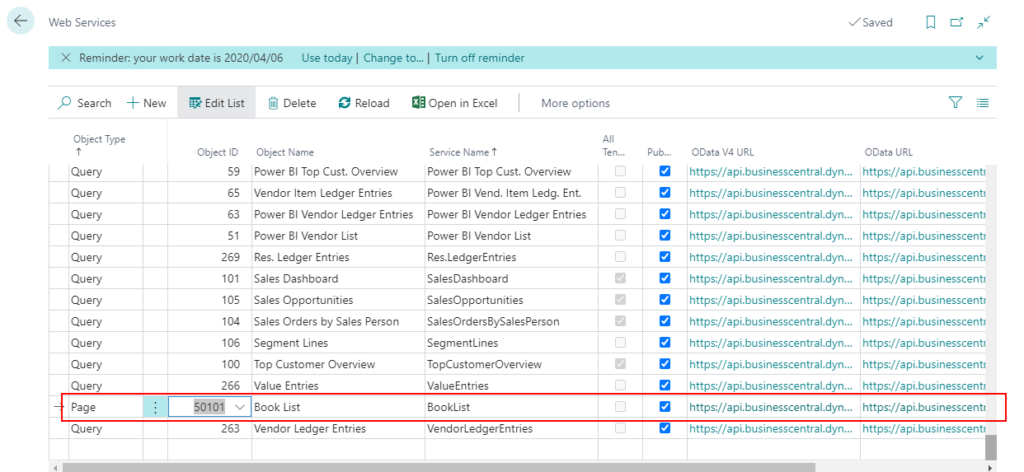
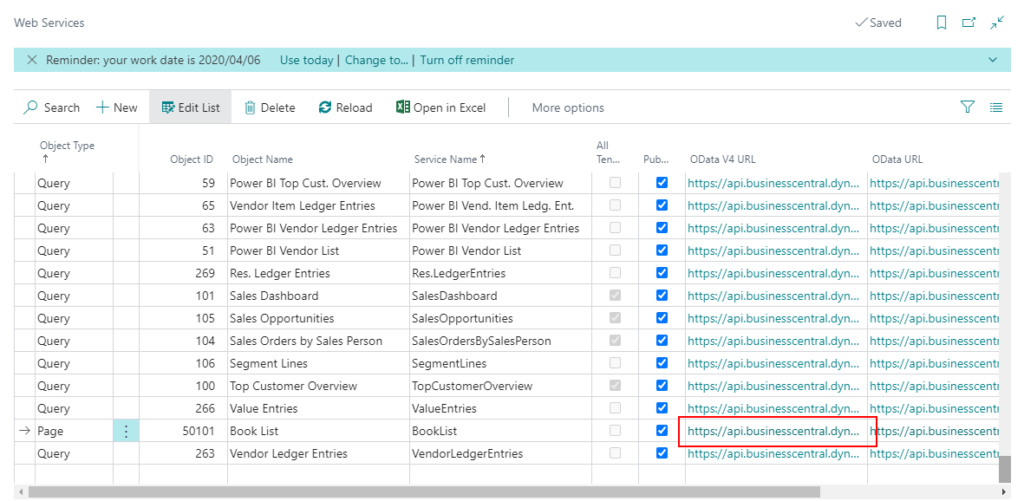
First, add the list page (Book List) on Web Services page.
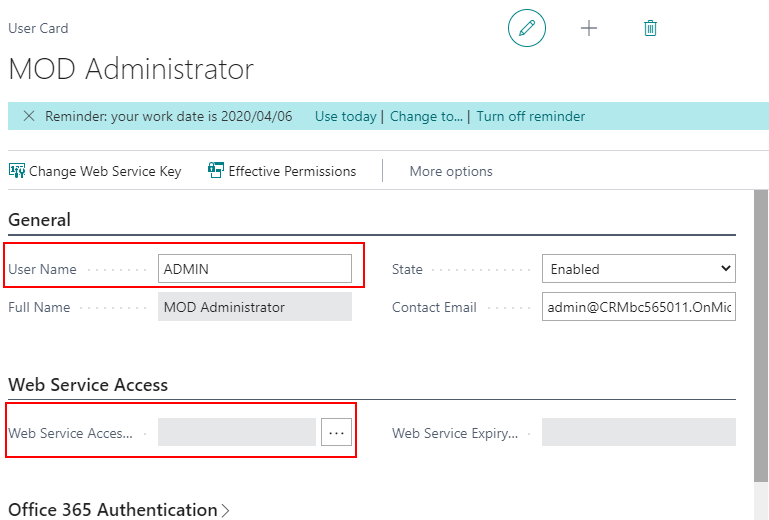
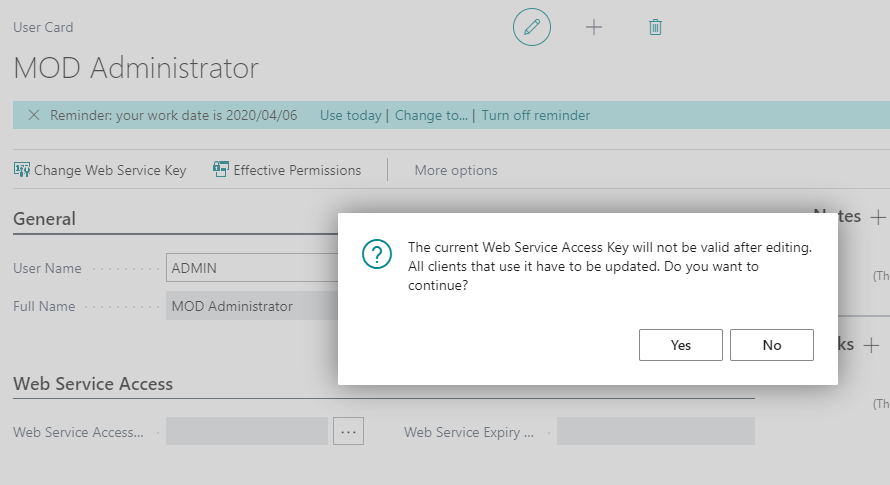
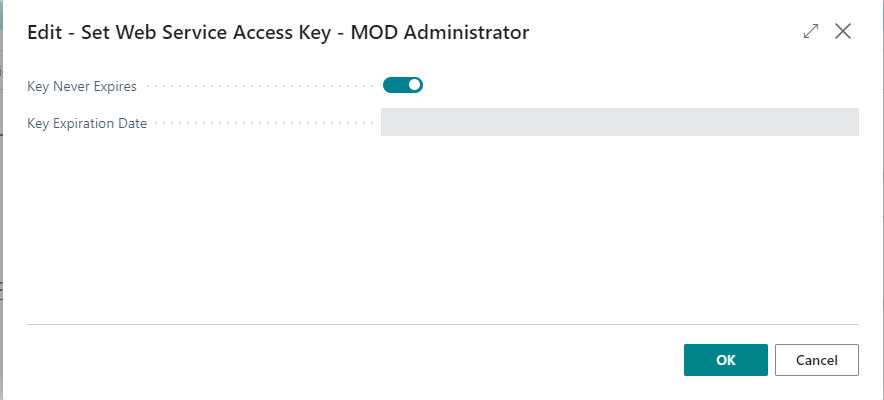
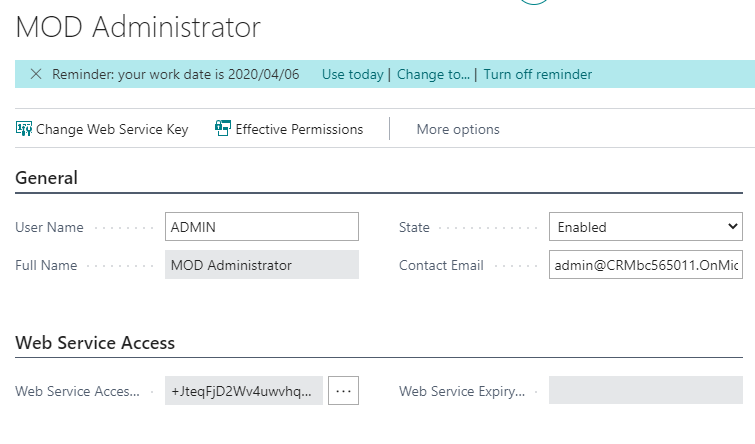
Then get User Name and Web Service Access Key on User Card page.
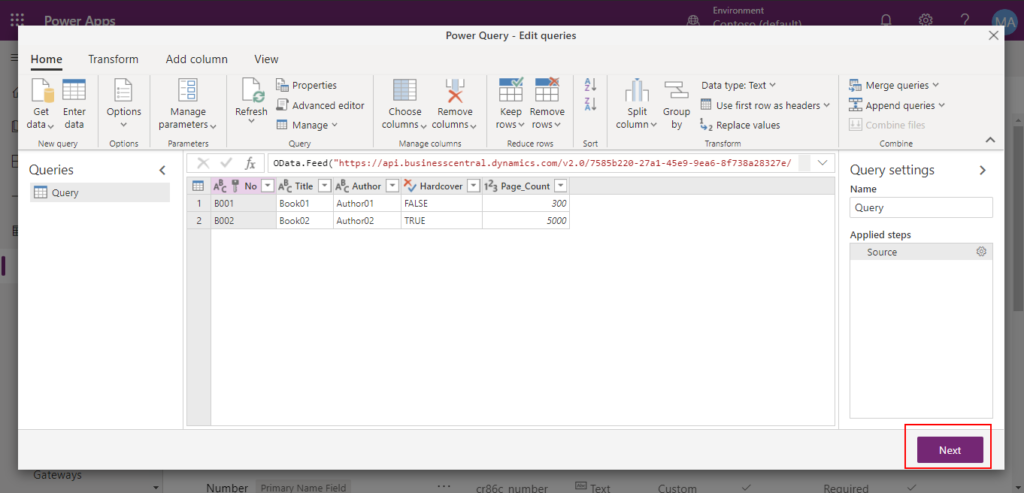
You can use the OData URL to check the data in the table in Business Central.
Enter User Name and Web Service Access Key on User Card page.
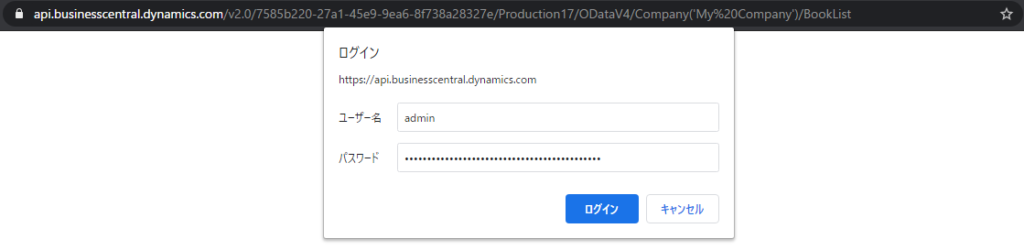
You can confirm the data.

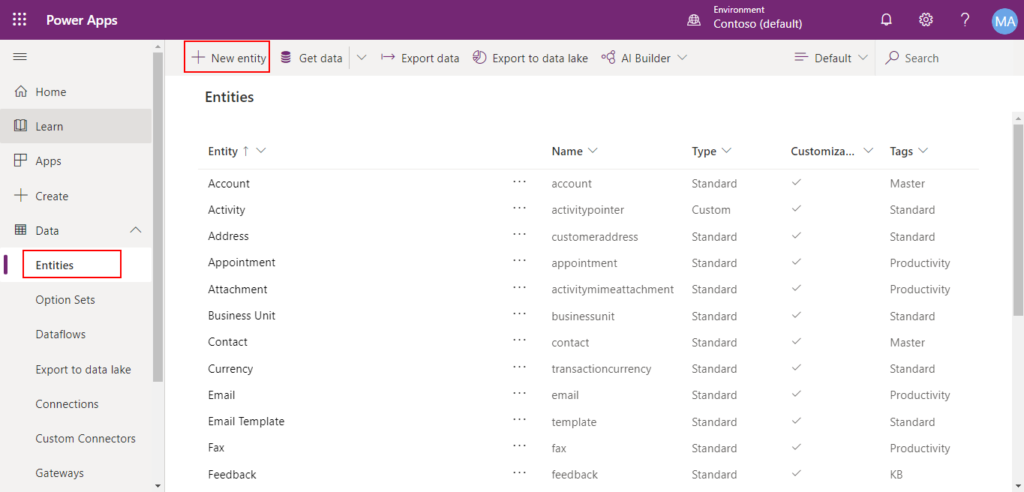
2. Create a custom entity within CDS on Power Apps.
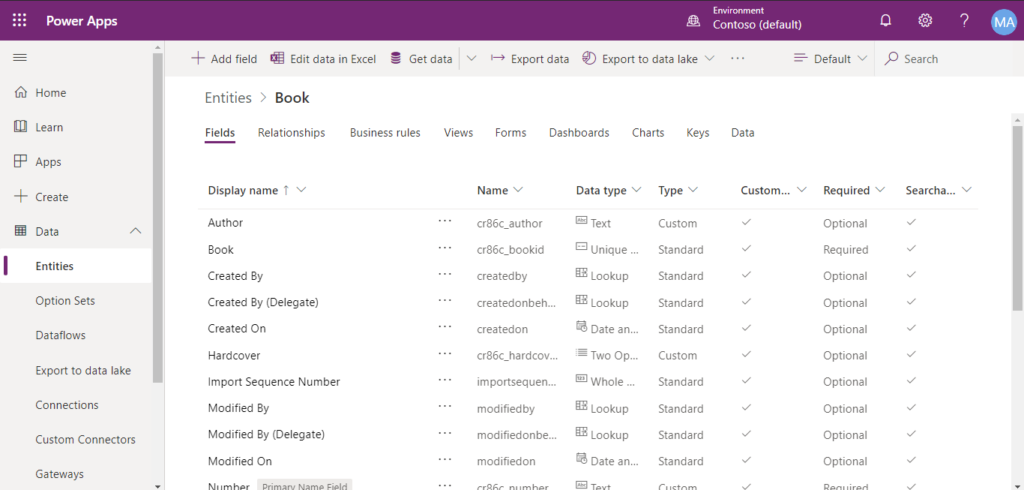
3.Add the fields required in the table along with their respective data types.
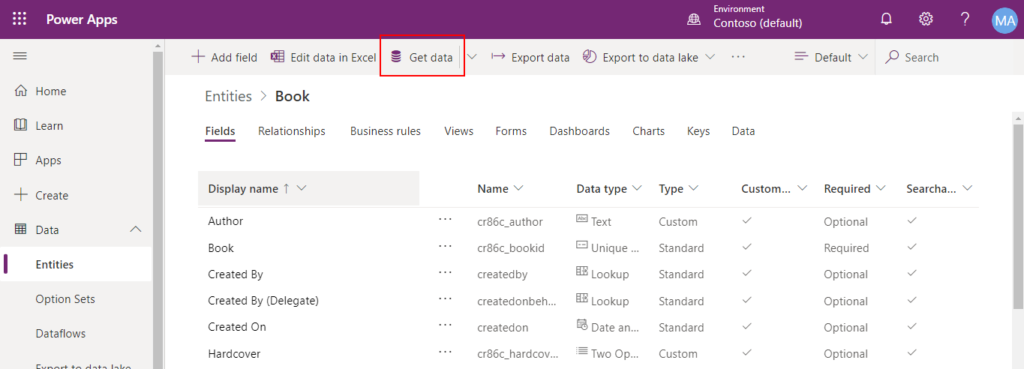
4. Click “Get data”.
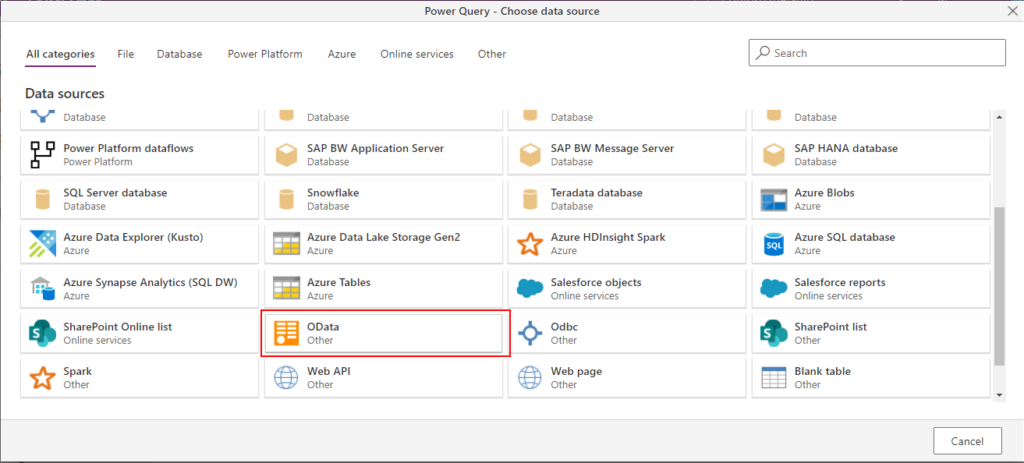
Choose “OData”.
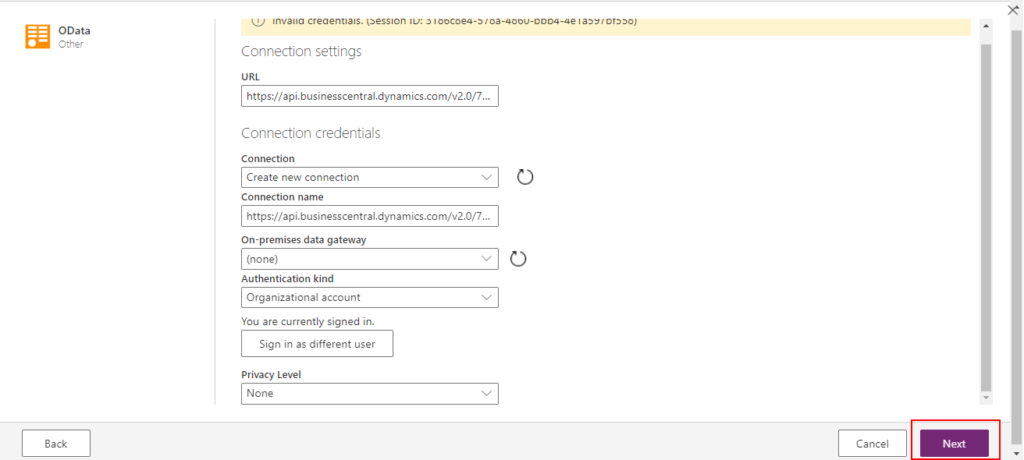
5. In this step please enter the OData URL of the custom table from Business Central, then click “Next”.
If the credentials are invalid, please select “Create new connection”, then sign in again.
5. You can confirm your data in Business Central. Click “Next”.
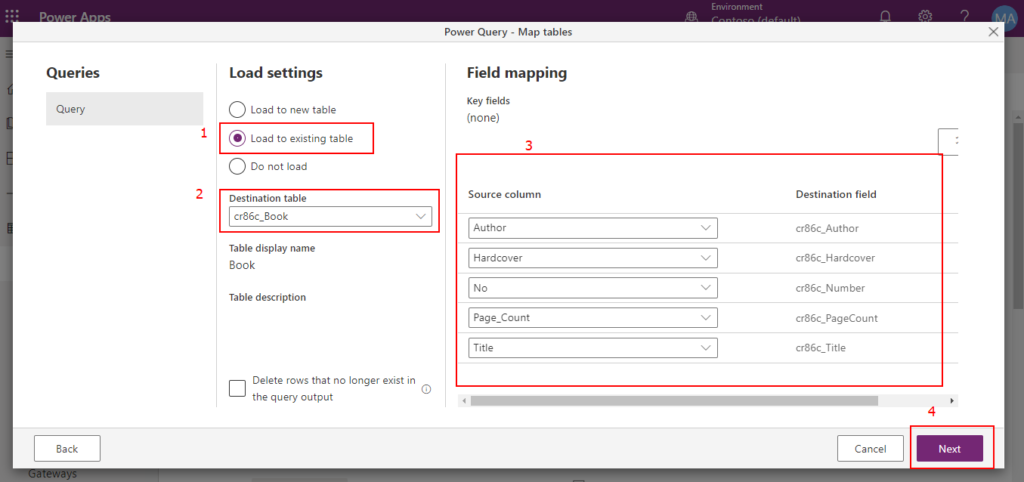
6. Select the destination entity and map the fields of that entity with those of the table in Business Central and click “Next”.
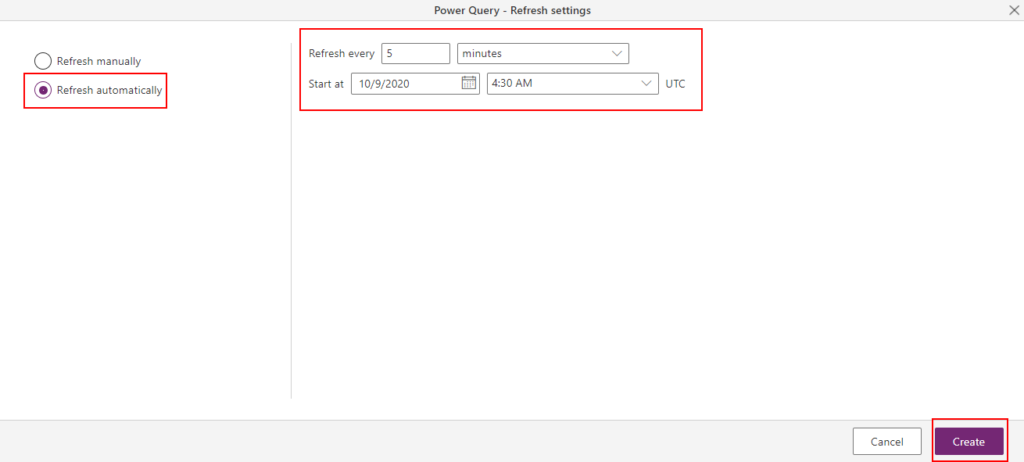
7. Refresh can be set as manual or automatic. If it is automatic, then select the time after which each refresh occurs and the time at which refresh starts and click on the create button.
Completed.
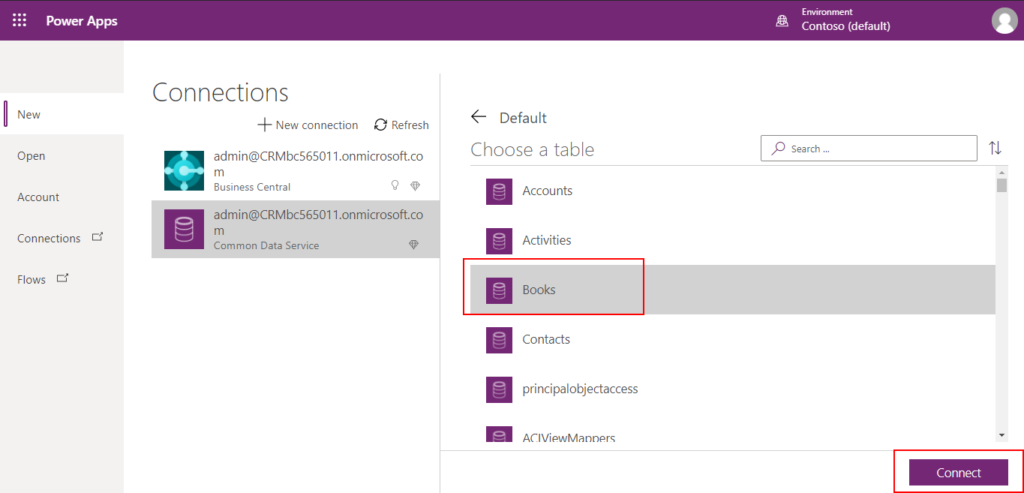
8. Now you can create Power App with the Entity you created. On the Home page, in the Start from data section, choose the Common Data Service tile.
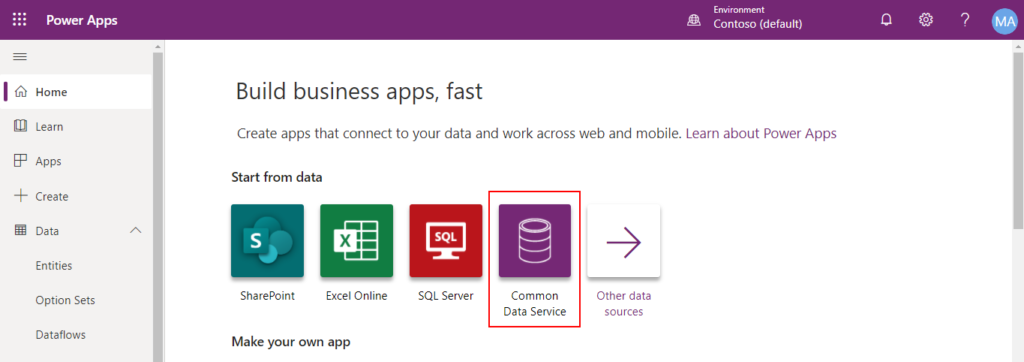
Select Books.

After you save it, you can use it on your phone.
MS Docs:
Connecting to Your Business Central Data to Build a Business App Using Power Apps
END.
PS:
If you still have more time, you can try to use API to connect Power Apps.
For Example:
Create a new API page.
page 50102 BookAPI
{
    PageType = API;
    Caption = 'ZYBookApi';
    APIPublisher = 'ZY';
    APIGroup = 'PowerApps';
    APIVersion = 'v2.0';
    EntityName = 'Book';
    EntitySetName = 'Books';
    ODataKeyFields = SystemId;
    SourceTable = "ZY Book";
    DelayedInsert = true;
    DeleteAllowed = true;
    ModifyAllowed = true;

    layout
    {
        area(Content)
        {
            repeater(GroupName)
            {
                field(SystemId; Rec.SystemId)
                {
                    ApplicationArea = All;
                }
                field(Number; Rec."No.")
                {
                    ApplicationArea = All;
                }
                field(Author; Rec.Author)
                {
                    ApplicationArea = All;
                }
                field(Hardcover; Rec.Hardcover)
                {
                    ApplicationArea = All;
                }
                field(PageCount; Rec."Page Count")
                {
                    ApplicationArea = All;
                }
                field(Title; Rec.Title)
                {
                    ApplicationArea = All;
                }
            }
        }
    }

    trigger OnInsertRecord(BelowxRec: Boolean): Boolean
    begin
        Rec.Insert(true);
        Rec.Modify(true);
        exit(false);
    end;

    trigger OnModifyRecord(): Boolean
    var
        Book: Record "ZY Book";
    begin
        Book.SetRange(SystemId, Rec.SystemId);
        Book.FindFirst();
        if Rec."No." <> Book."No." then begin
            Book.TransferFields(Rec, false);
            Book.Rename(Rec."No.");
            Rec.TransferFields(Book);
        end;
    end;

    trigger OnDeleteRecord(): Boolean
    begin
        Rec.Delete(true);
    end;
}
Publish it to Web Services page.

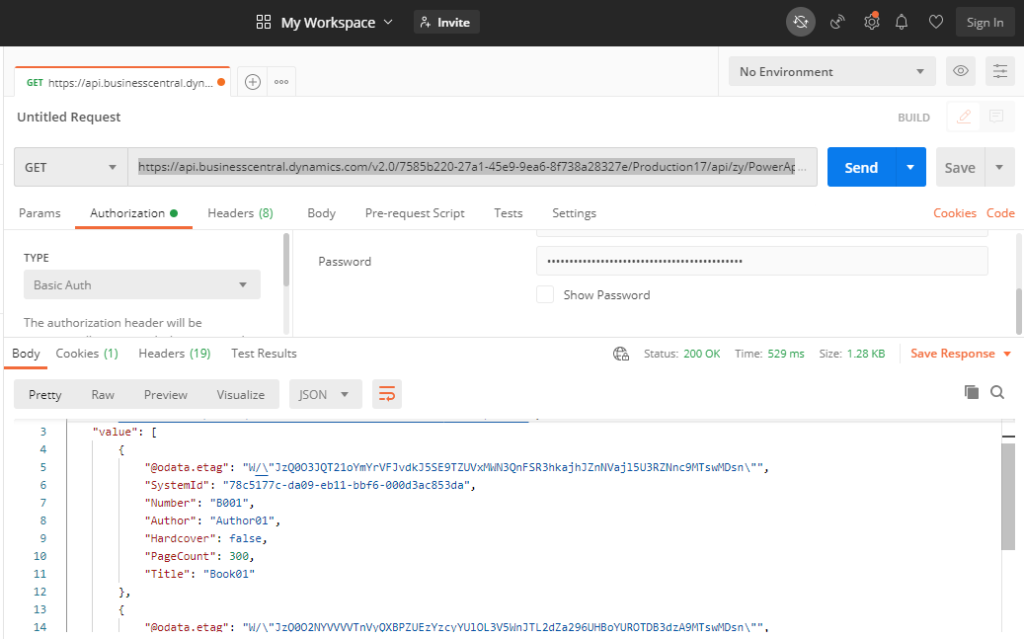
After confirming that you can access API.
Get: https://api.businesscentral.dynamics.com/v2.0/7585b220-27a1-45e9-9ea6-8f738a28327e/Production17/api/zy/PowerApps/v2.0/companies(0c61bd08-b6fd-ea11-bb4e-000d3a492f30)/Books
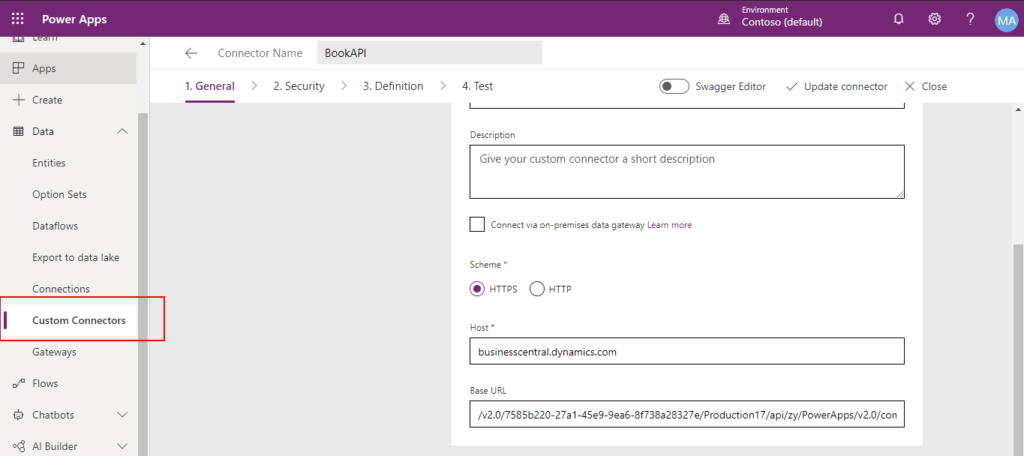
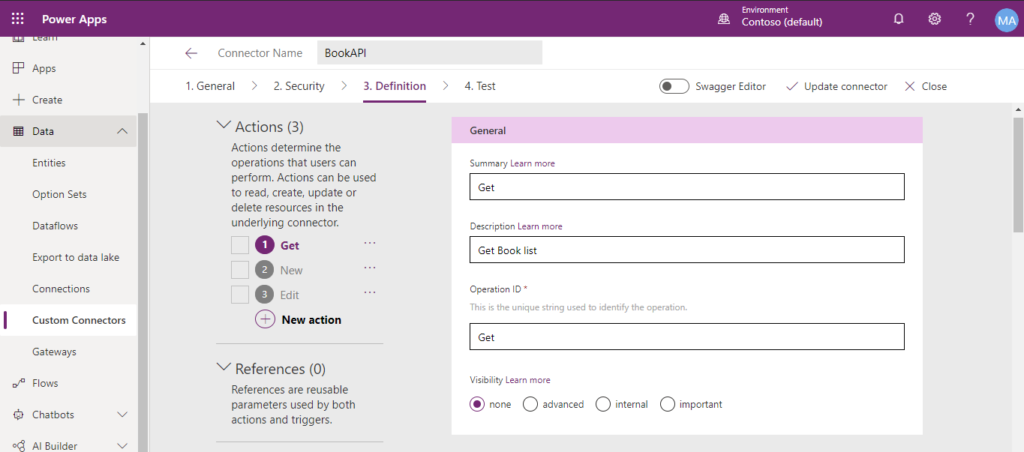
Try to Create new Custom Connector.
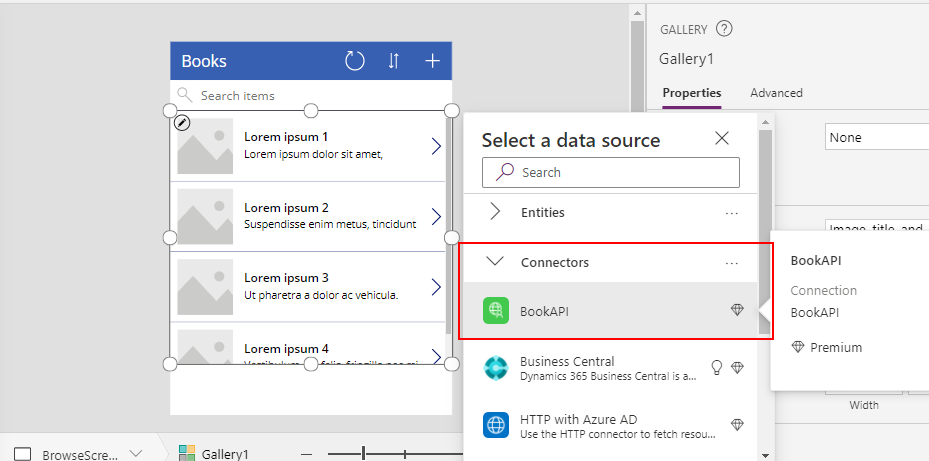
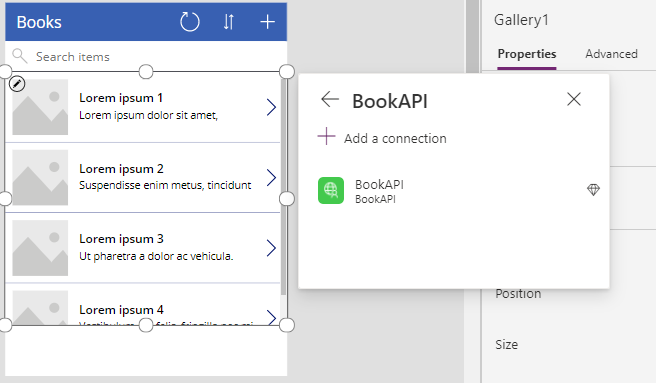
Then you can use it to show Business Central Data.

Hope this will help.
Thanks.
コメント