Hi, Readers.
As you might know, Dynamics 365 Business Central database capacity has changed last week (July 1, 2021). For more details, Announcing: Dynamics 365 Business Central database capacity changes as of July 1, 2021
In order to better manage environment capacity, Microsoft has brought us a new page (Data Administration page) starting from BC18.2.
Feature details:
In Dynamics 365 Business Central, administrators have different options for handling table and database sizes. Until now, these options have been available through several different pages and roles. With this new page, all processes are displayed in a single place. An in-product assistant can be used for guidance.
Let’s see some details.
To open Data Administration page
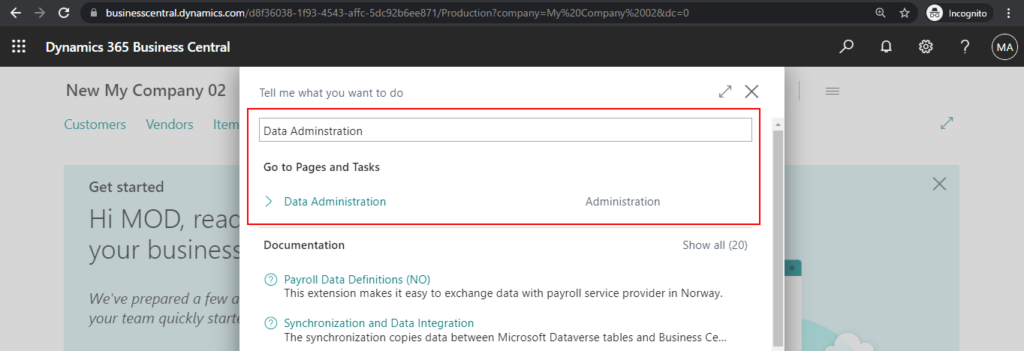
1. Choose the Tell Me icon, enter Data Administration, and then choose the related link.
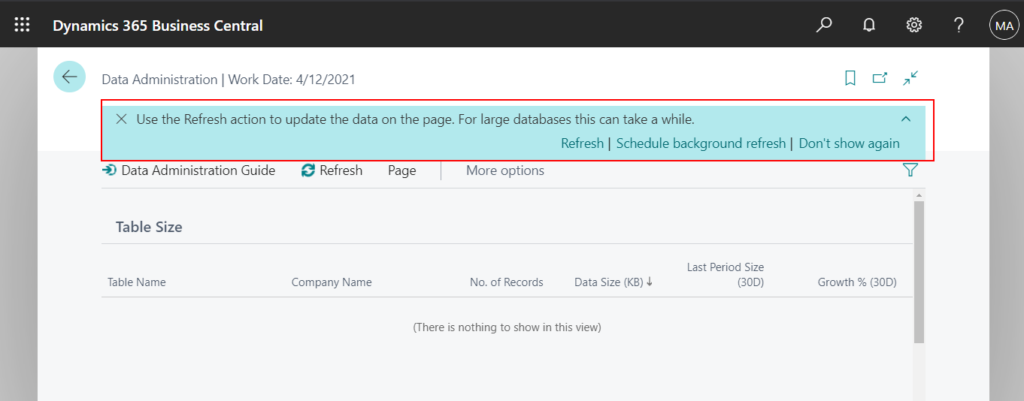
After opening the page, you will see a notification.
Use the Refresh action to update the data on the page. For large databases this can take a while.
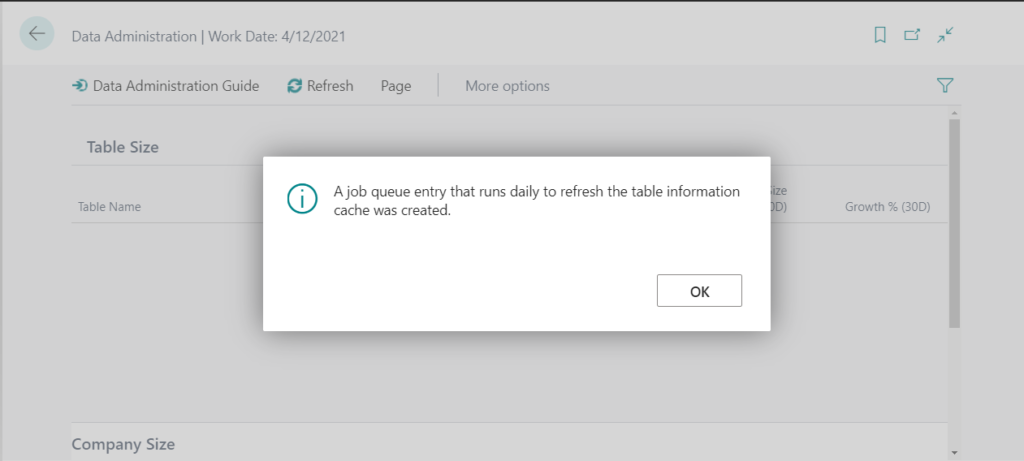
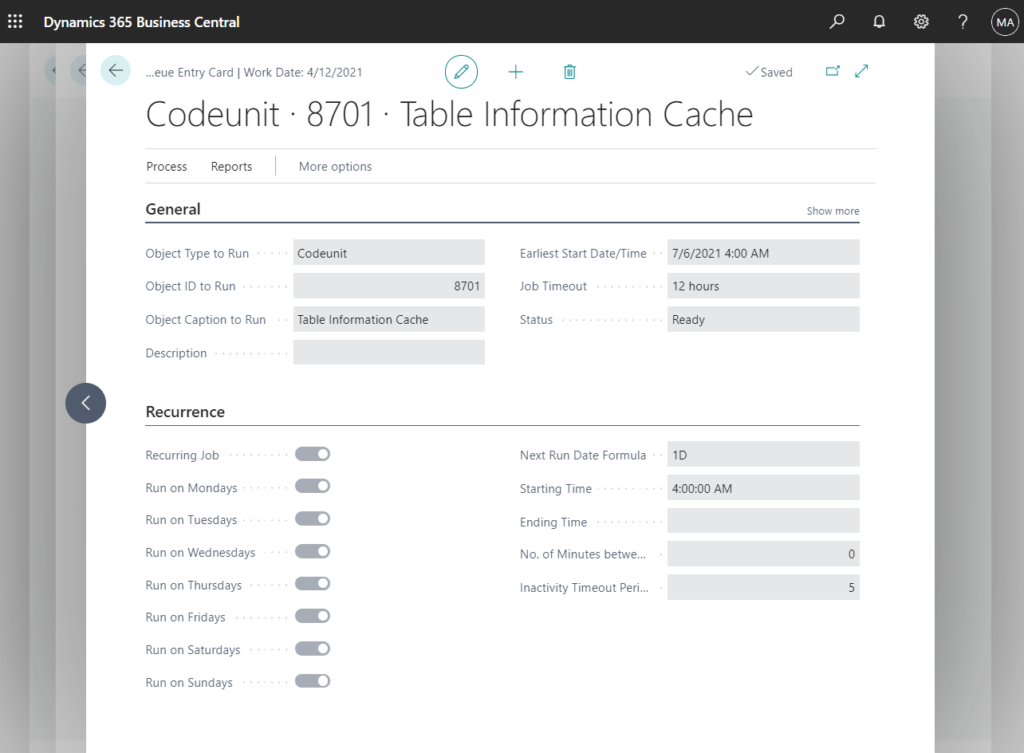
You can schedule background refresh by Job Queue.
2. Choose Refresh.
Refresh the information on the page. Depending on the amount of data, this might take a few minutes.

Working on it…
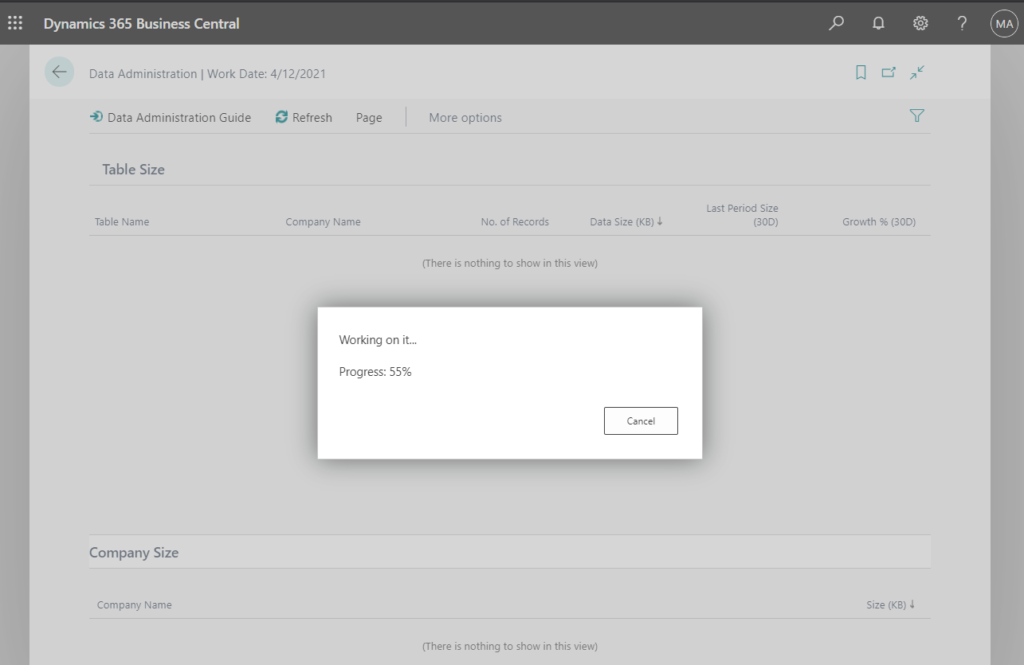
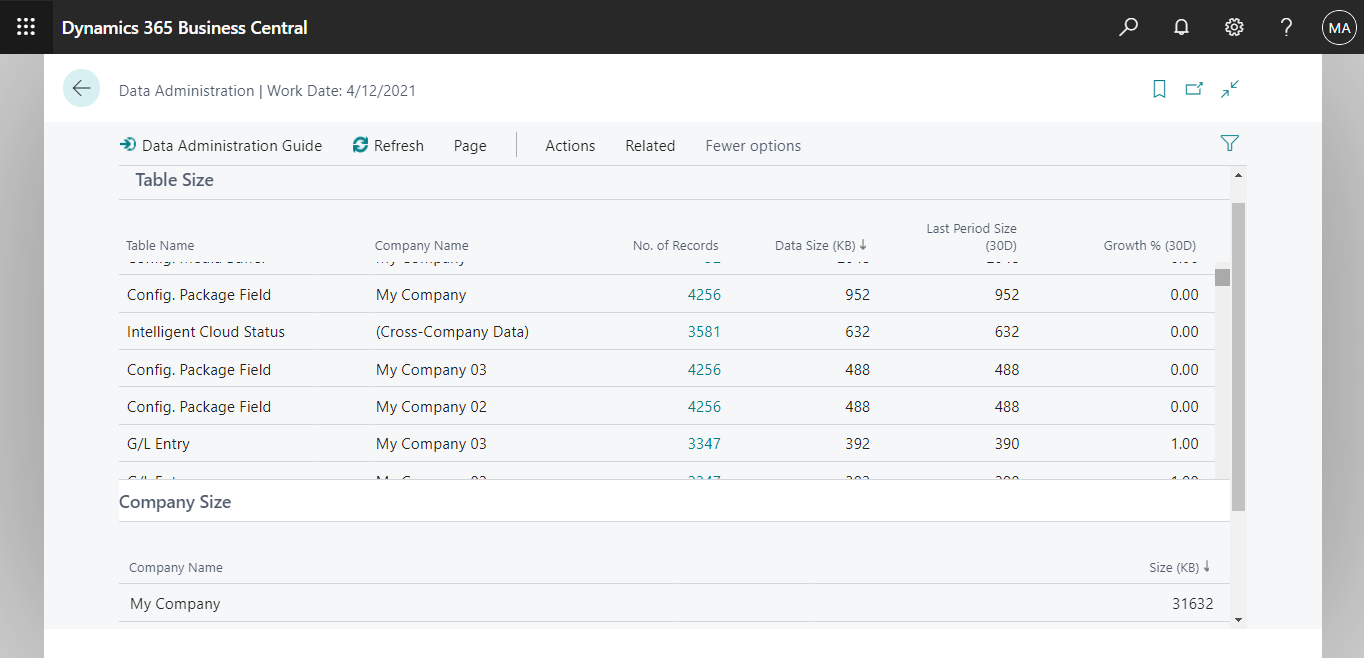
The Table Size and Company Size will be refreshed.
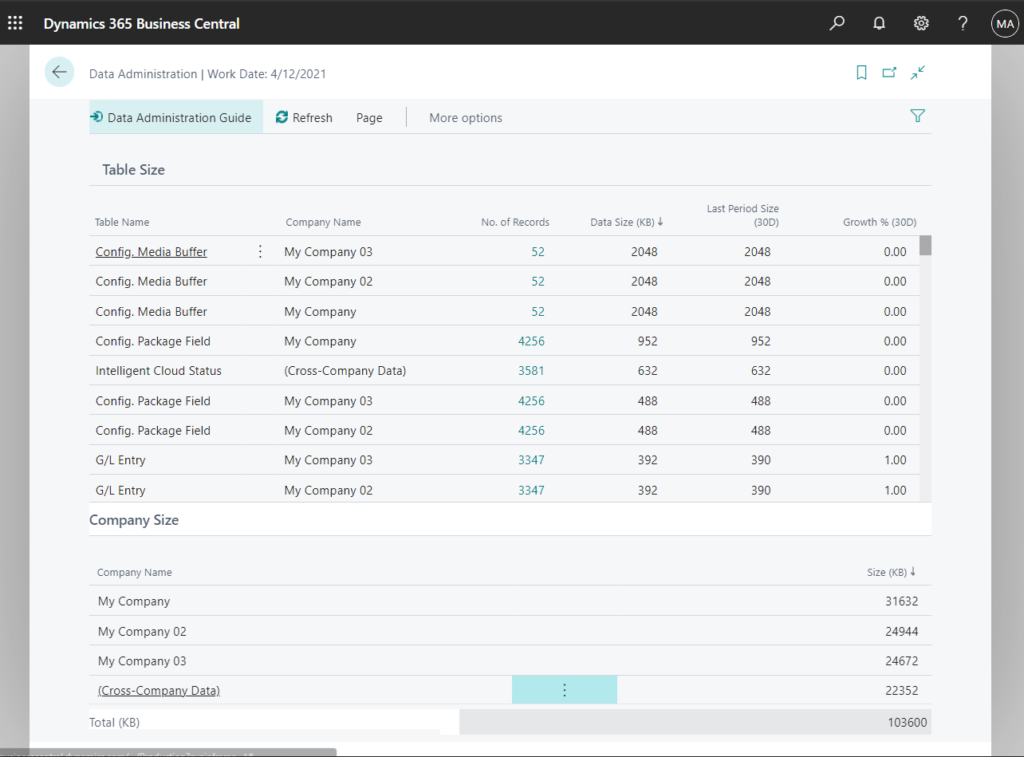
| Column | Description |
| Table Name | The name of the table. |
| Company Name | The name of the company the table belongs to. |
| No. of Records | The number of records in the table. |
| Data Size (KB) | How much space the table data occupies in the database (in kilobytes). |
| Last Period Size (30D) | How much space the table occupied in the database 30 days ago (in kilobytes). |
| Growth % (30D) | How much the table size grew in 30 daya (in percent). |
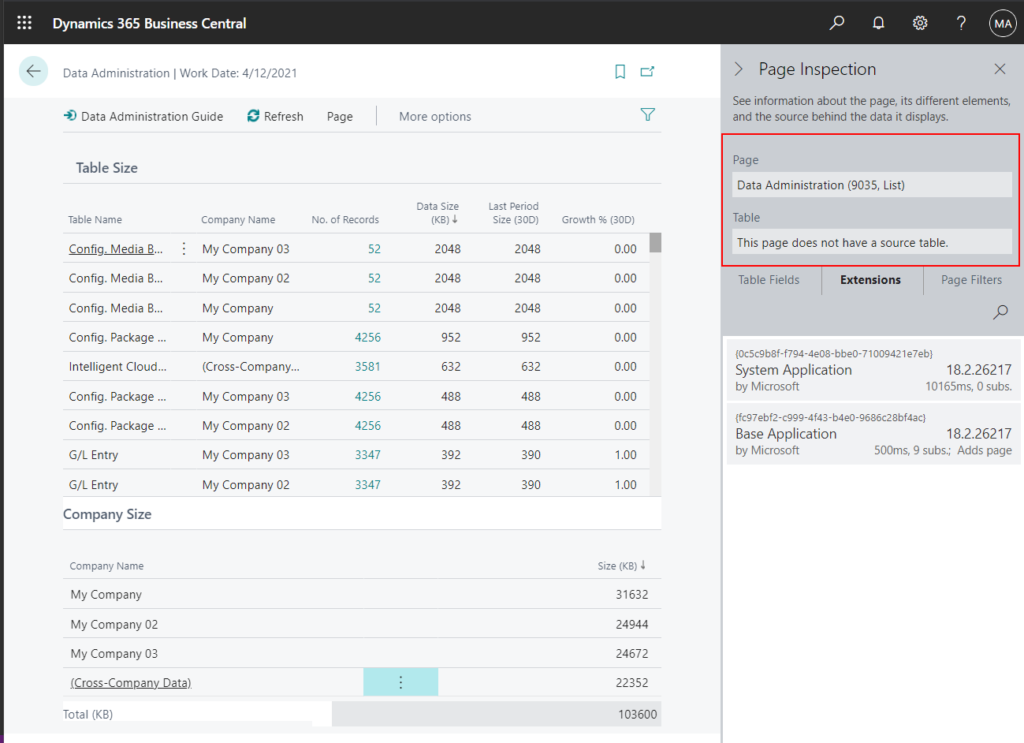
PS: Object Information
Data Administration (9035, List)

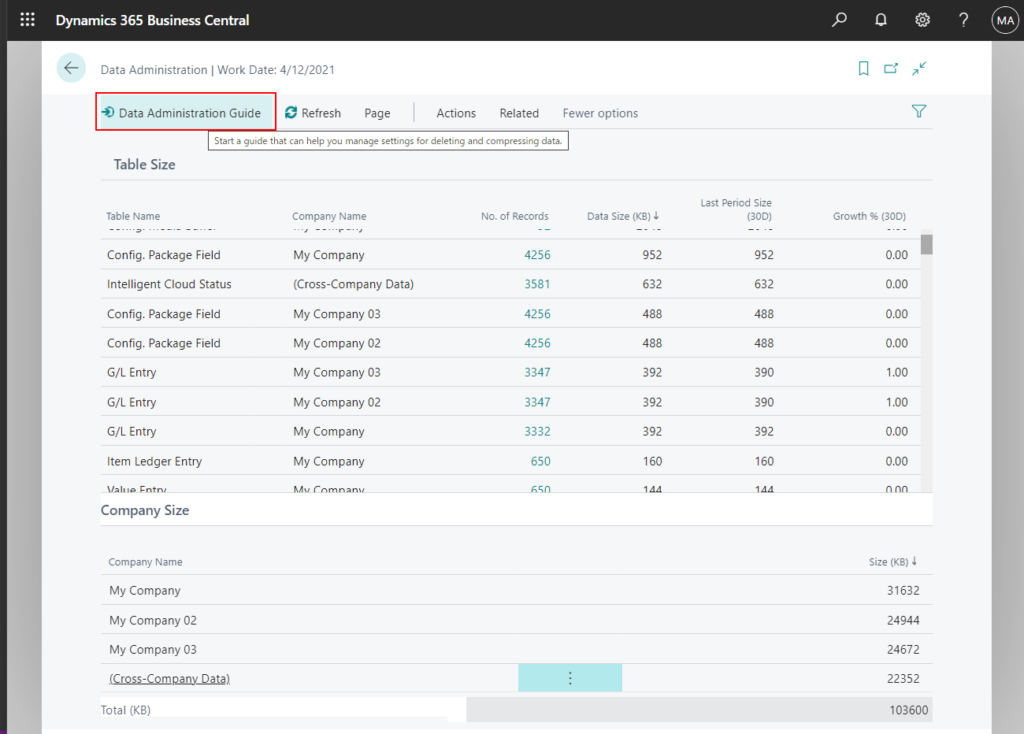
To run Data Administration Guide
You can run Data Administration Guide on this page.
Start a guide that can help you manage settings for deleting and compressing data.
Welcome page:

You can set up retention policies to automatically remove expired records.

Retention Policies: Define Retention Policies | MS Docs

Unused Companies.

Date Compression: Compress Data with Date Compression | MS Docs

If you did not skip Date Compression, you need to choose which entries you would like to date compress.

And select the options to be used to compress entries.

You must keep at least 5 years uncompressed.

Select the dimension information that you want to retain.

Date Compression: Run


Date Compression: Result

All done. You can always re-run this guide to clean up more records. Click Finish to close the guide.

Other Actions
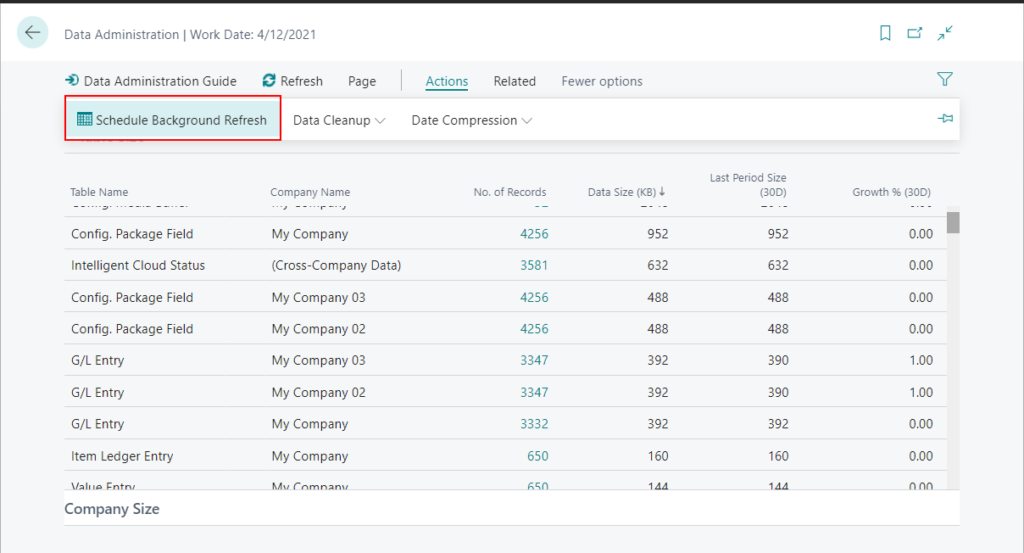
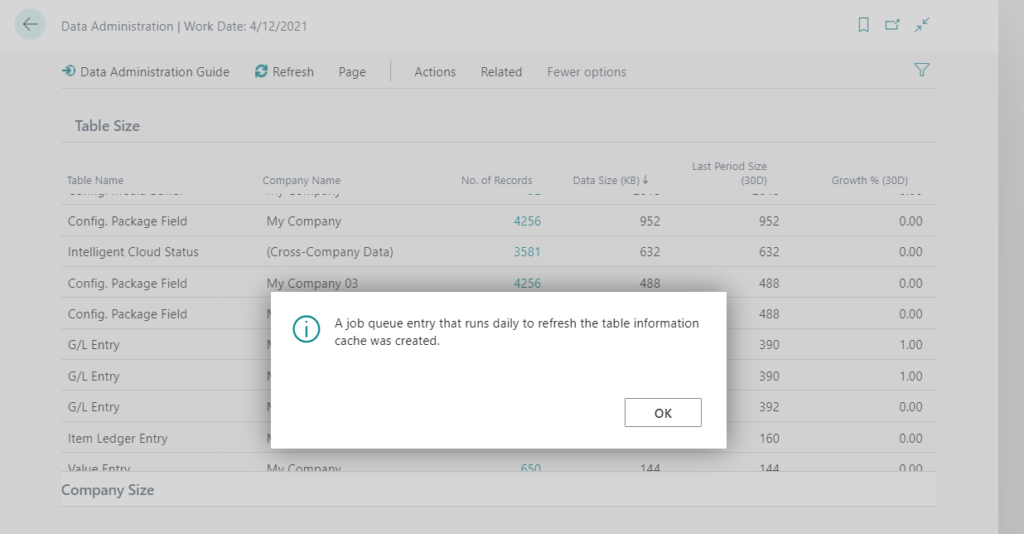
1. You can choose Schedule Background Refresh to schedule a job queue entry to refresh the data on this page for all companies.
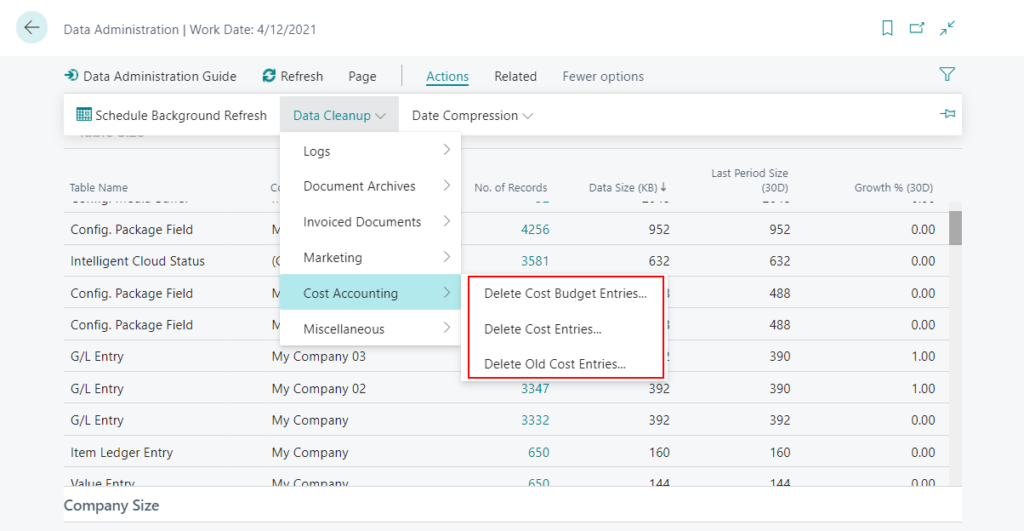
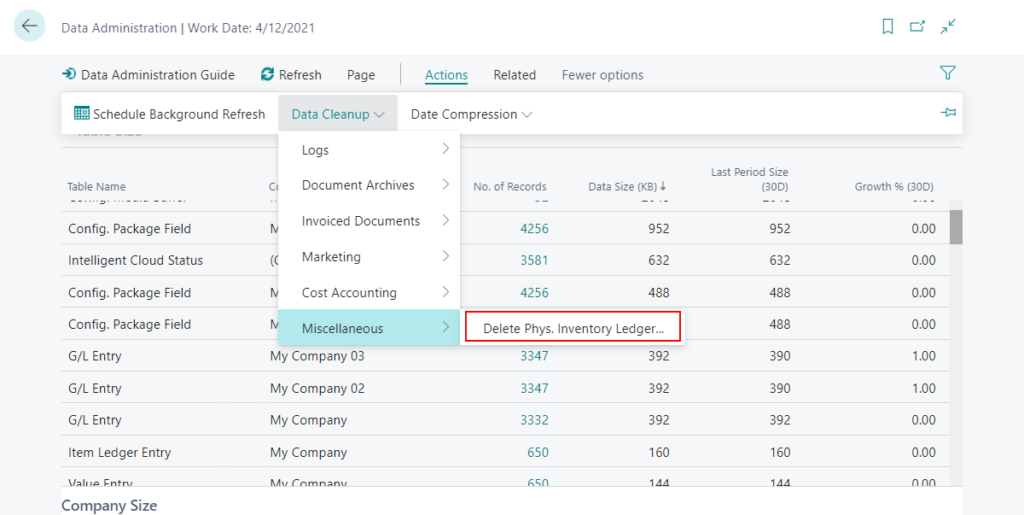
2. You can do a Data Cleanup for the following entities separately.
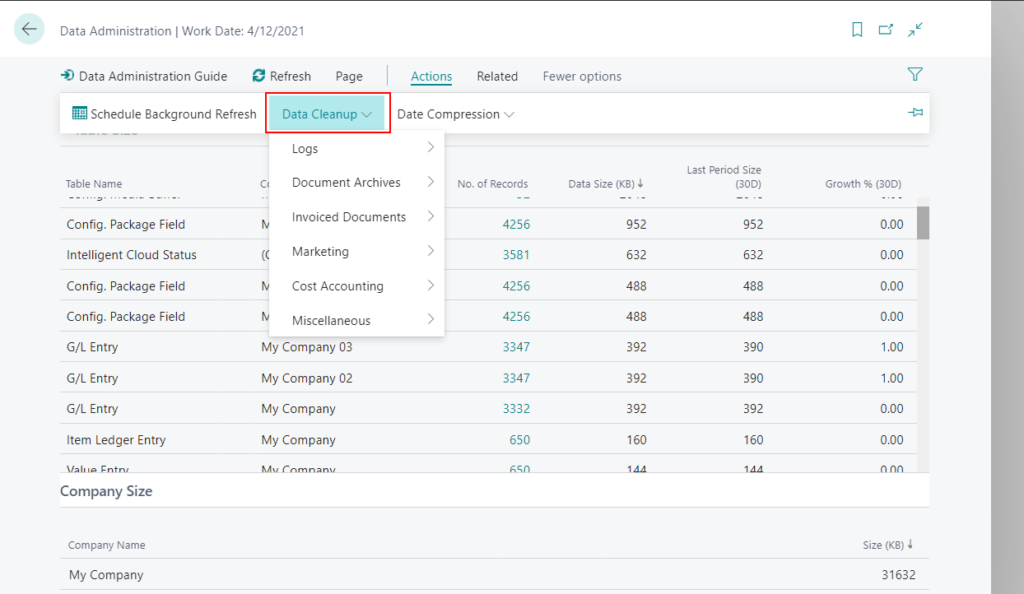
Logs:
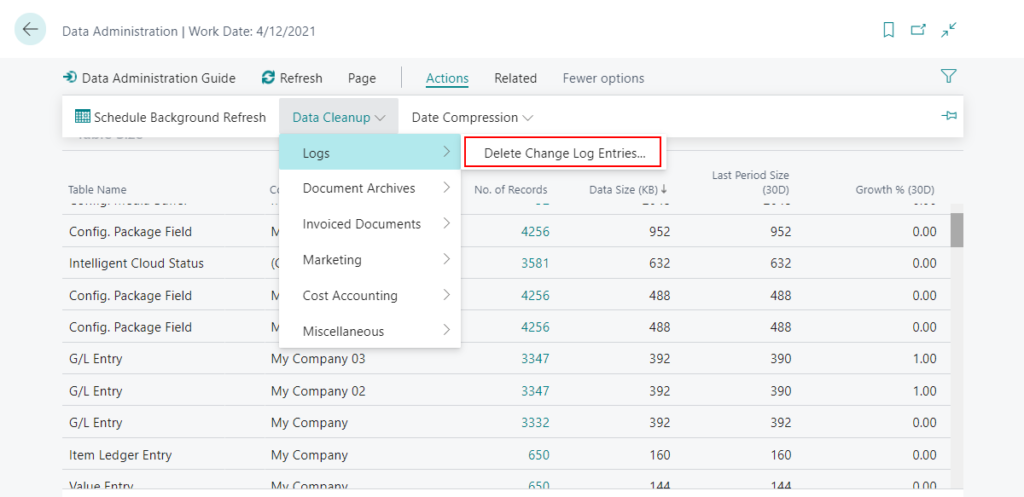
Note: The functionality has been replaced with the retention policy module in system application.
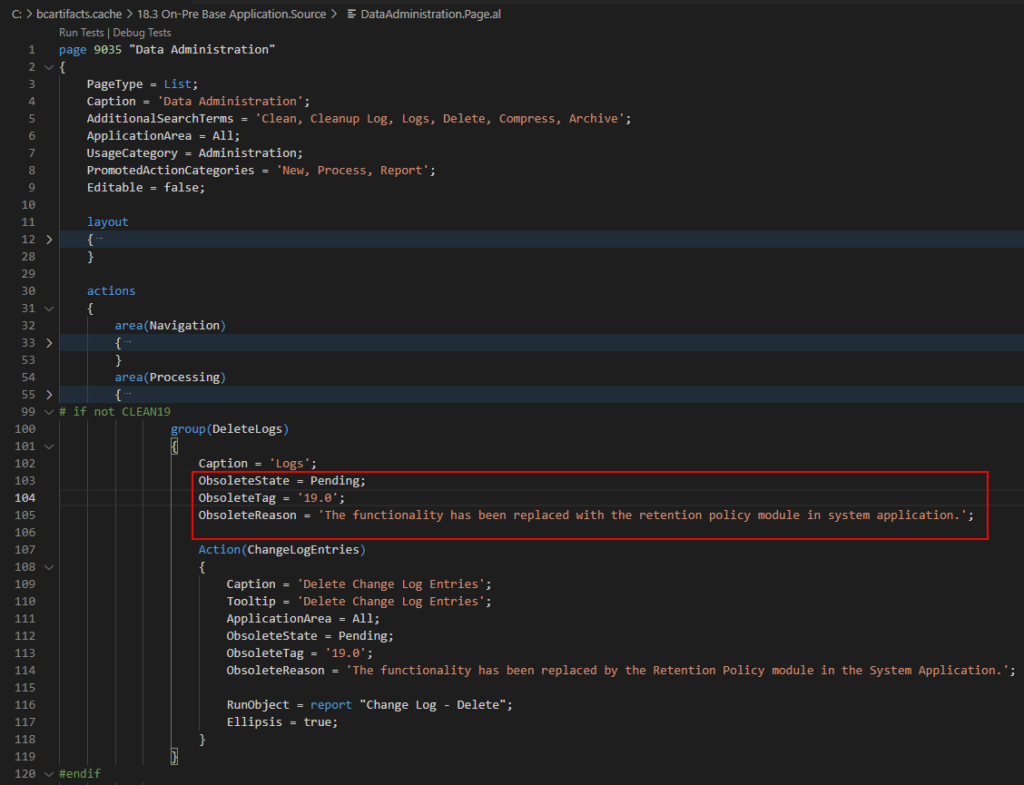
Document Archives:
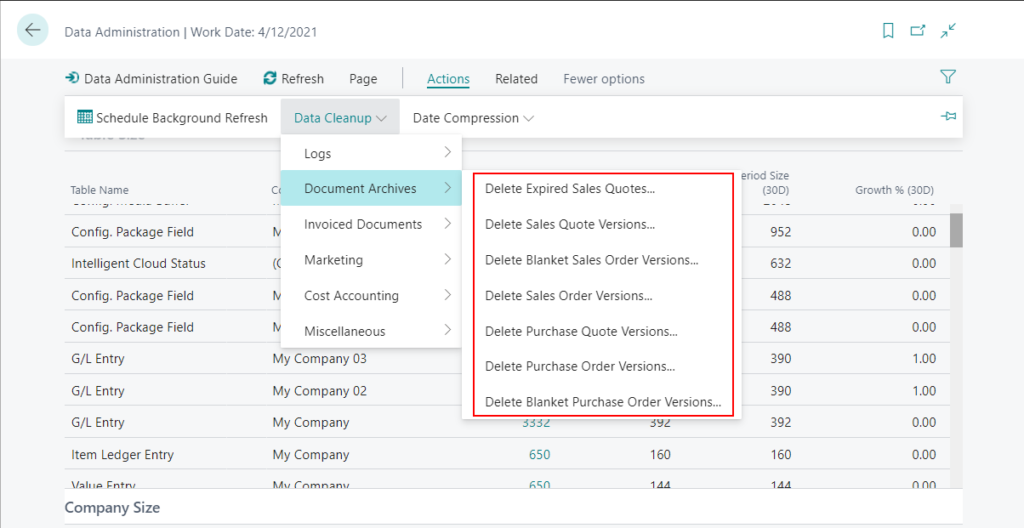
Invoiced Documents:
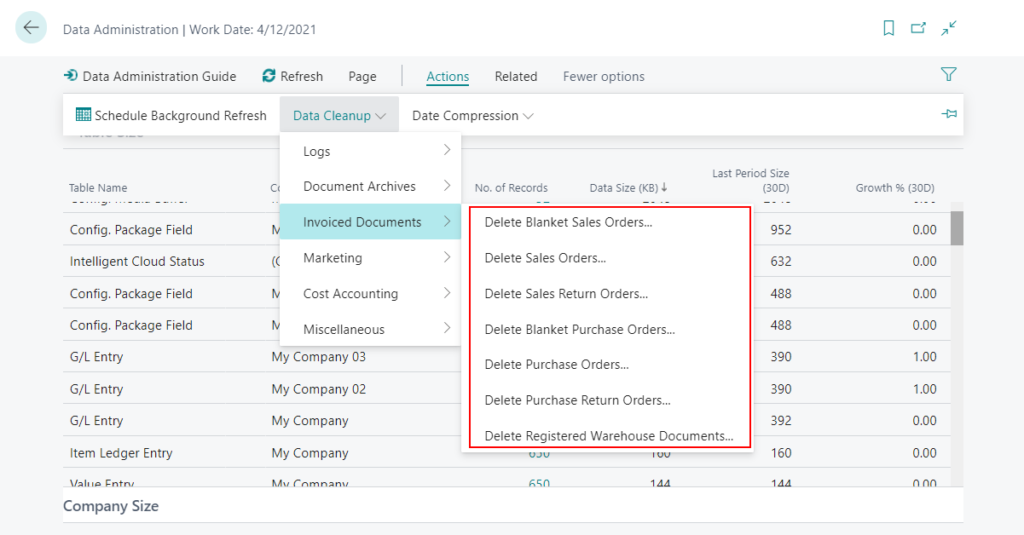
Marketing:
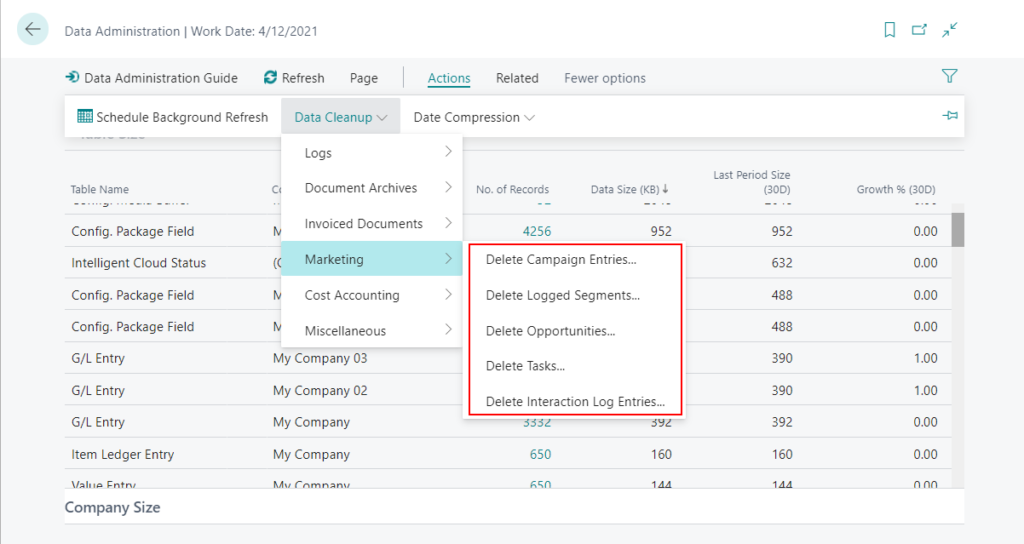
Cost Accounting:
Miscellaneous:
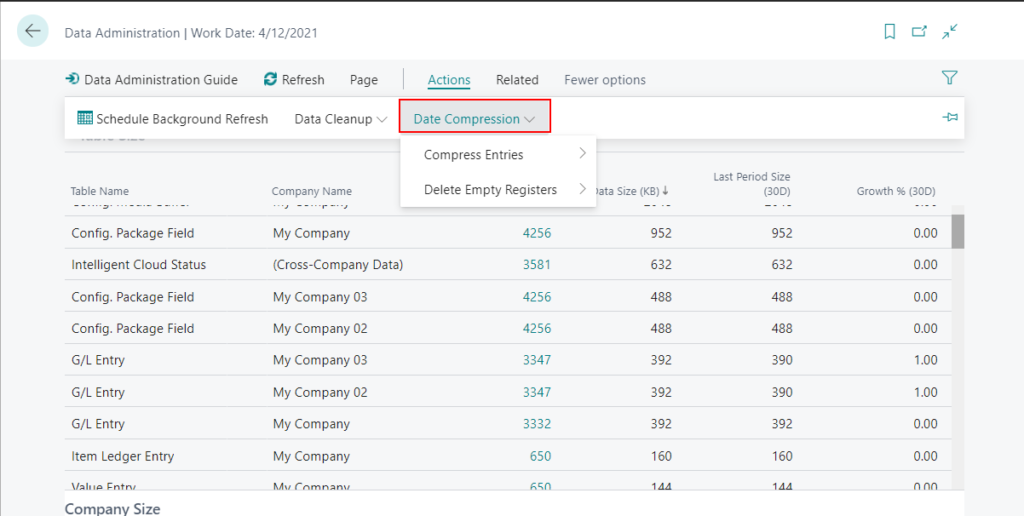
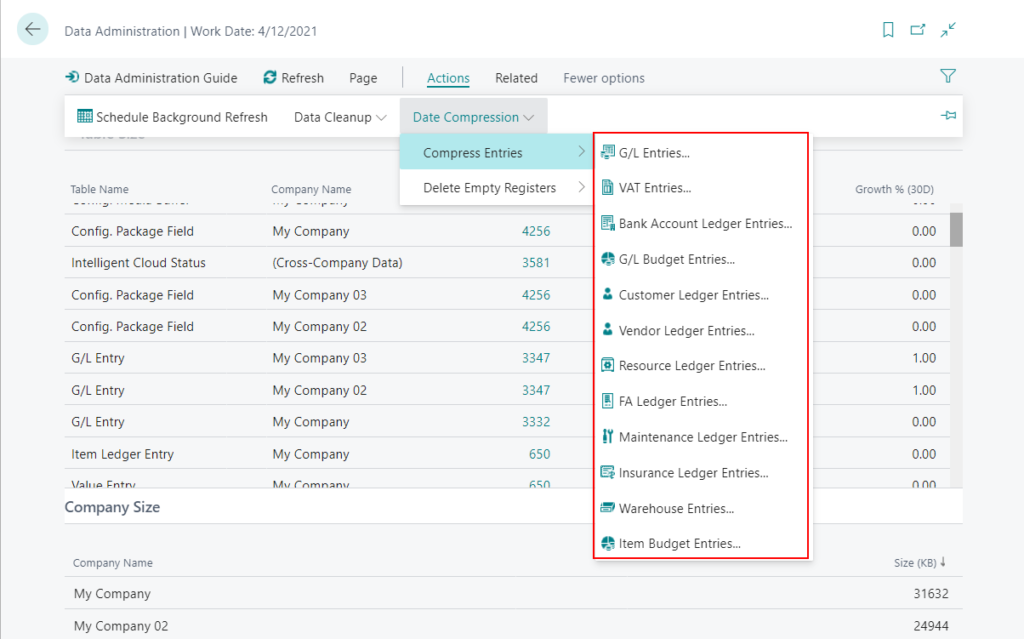
3. You can also do a Data Compression for the following entities separately like in Data Administration Guide.
Compress Entries:
Delete Empty Registers:
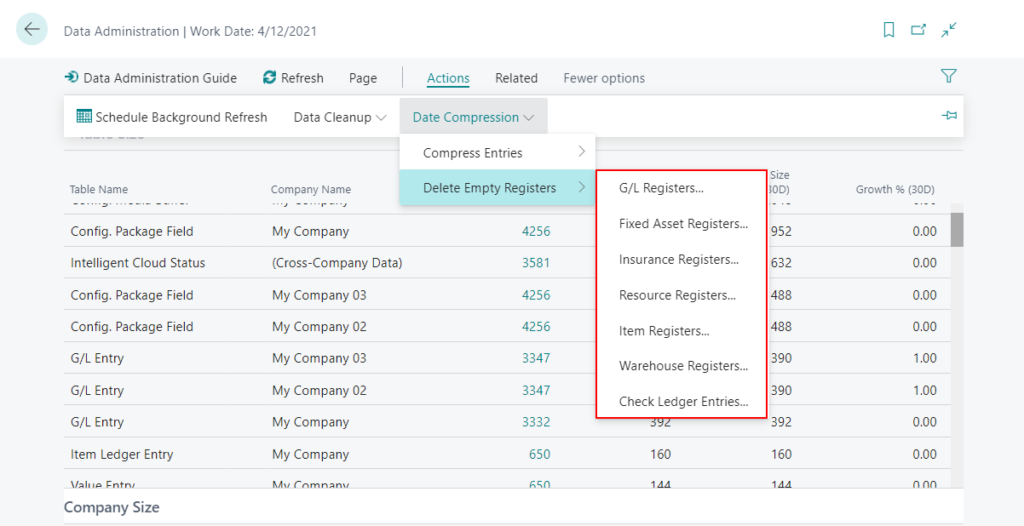
PS:
1. As an environment administrator, you can check for storage usage by the environment on Business Central admin center -> Capacity.
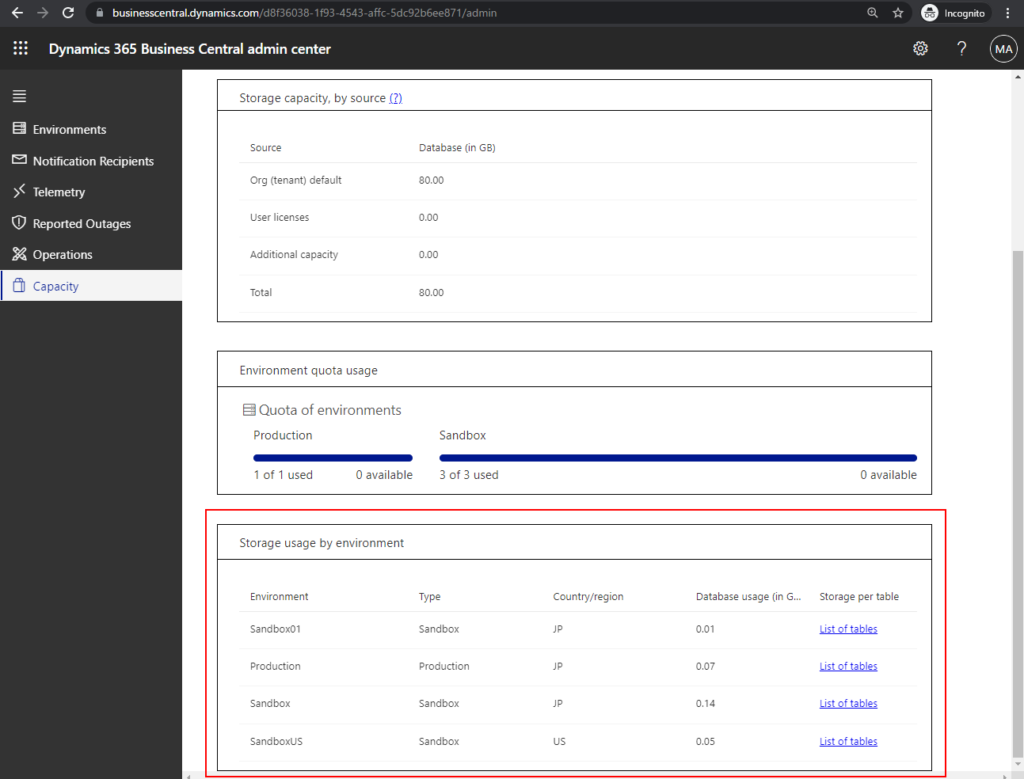
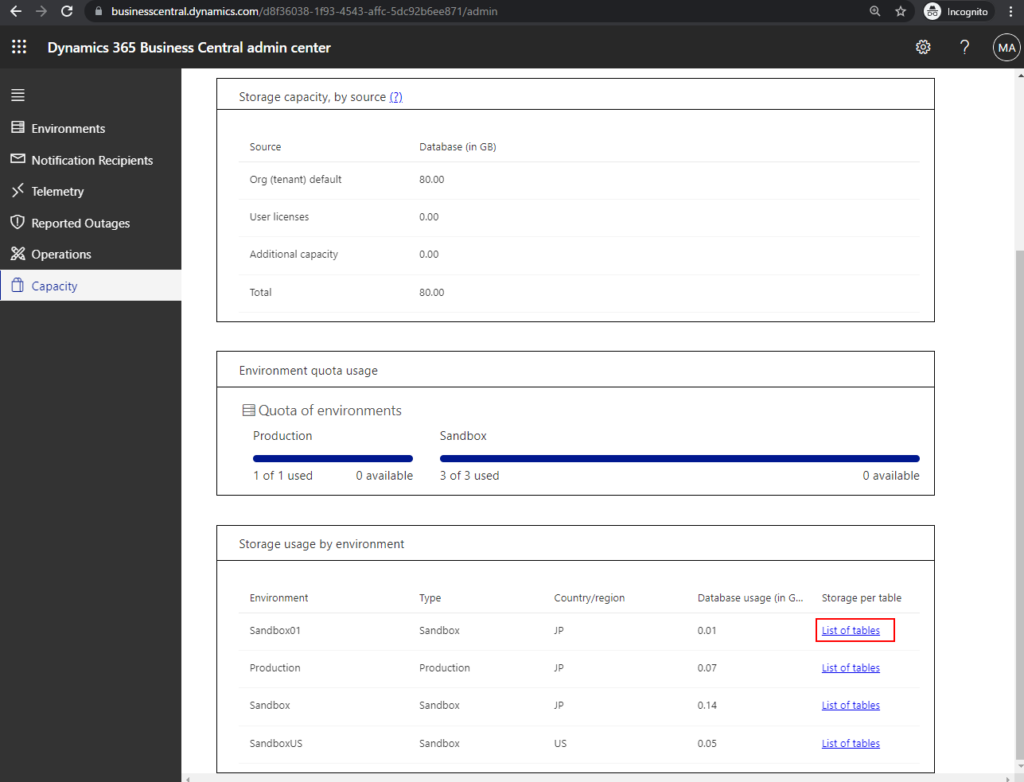
2. Choose List of tables in Admin center.
Alternatively, choose the Tell Me icon, enter Table Information in Business Central, and then choose the related link.
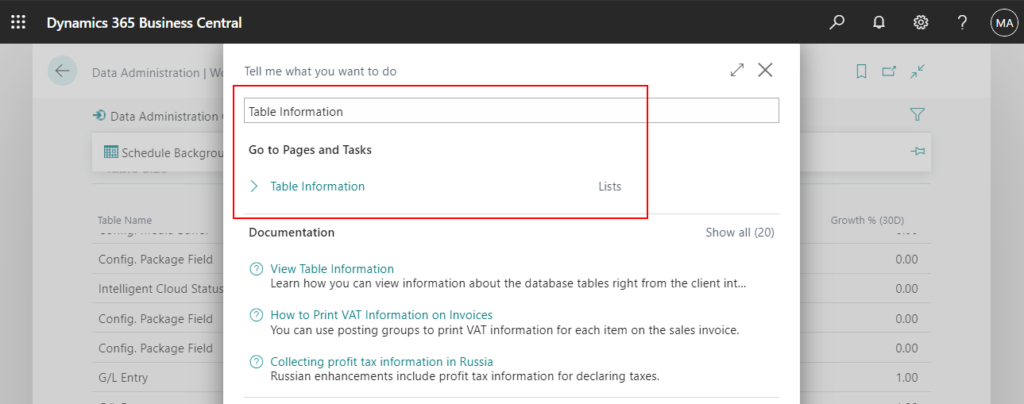
You can view Table Information.
For more details: Viewing Table Information | MS Docs
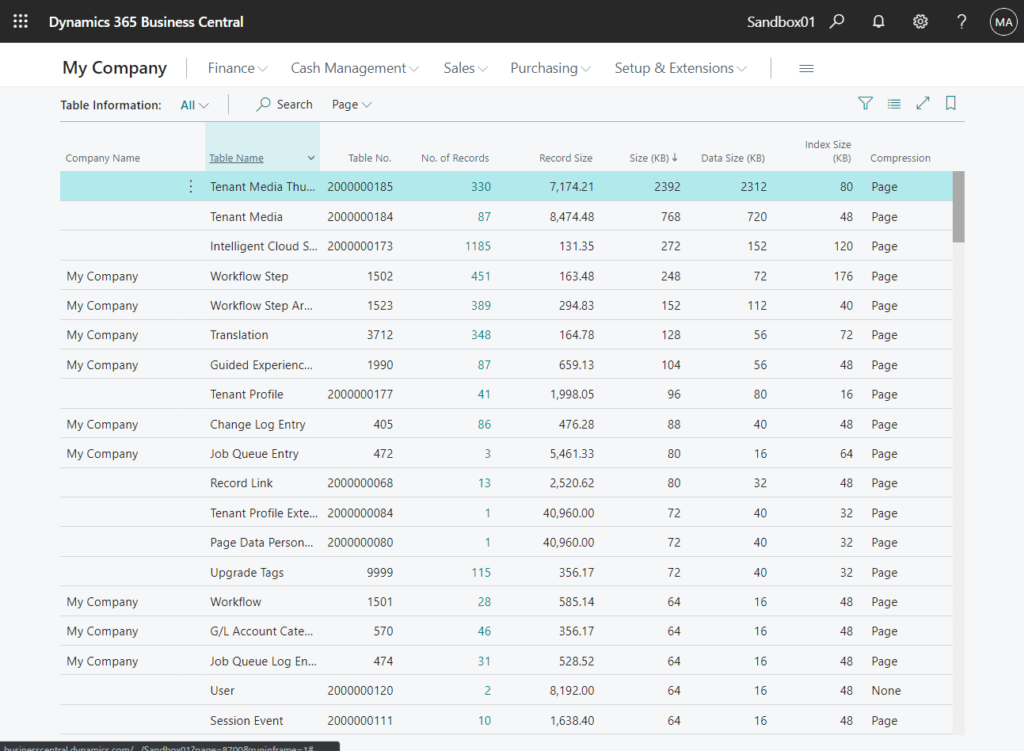
In conclusion, you can see the distribution of data size across tables on these out of the box data management functionalities, this information is very useful for troubleshooting performance problems. And on the new Data Administration page, Microsoft helped us unify the data deletion and compression functionalities in the Business Central. I think you can use these features if you want to reduce the system capacity after years of operation.
Give it a try.
END
Hope this will help.
Thanks for reading.
ZHU



コメント