
Hi, Readers.
Today I would like to discuss how to add external users to your Business Central.
As you might have known, any business must do its books and sign off on the accounting. Some businesses employ an external accountant, and others have an accountant on staff. Another example is that the employees of the head office want to log in to your system, but since you are in different countries, you may be in different Domains.
Of course, you can recreate a new account for them, whether it is an external or internal employee. However, for convenience, can we add these external users to our Business Central directly?
Yes, let’s look at two ways next.
Adding an external user in the Azure portal
To add an external user as a guest user
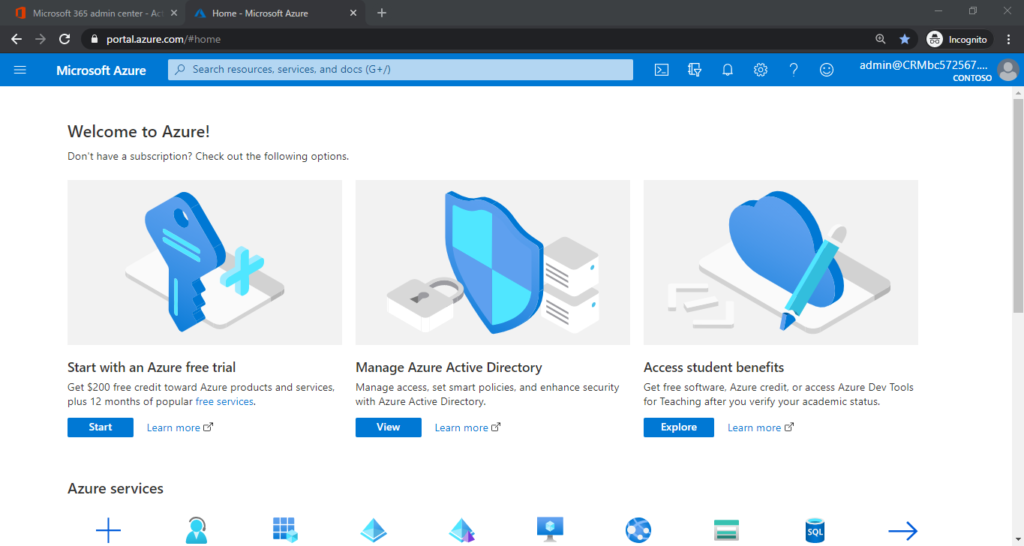
1. Open the Azure portal and sign in.
2. Enter Azure Active Directory in the search box, then choose the related link.
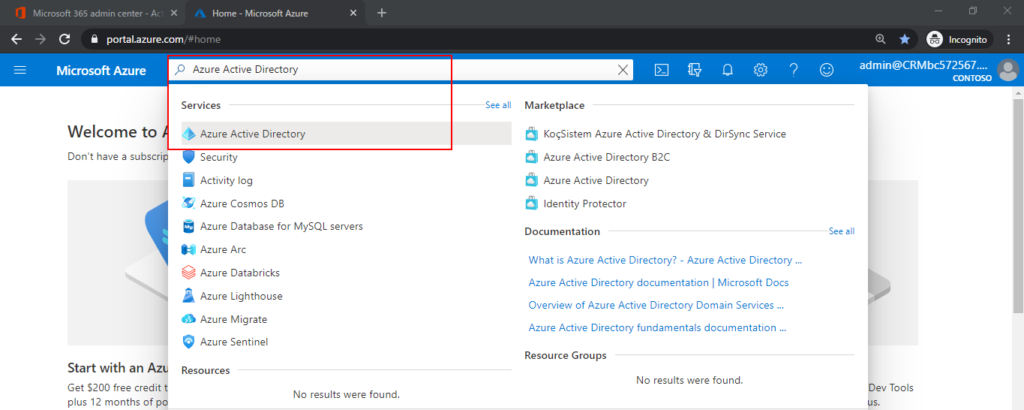
Or select Azure Active Directory in the left pane.

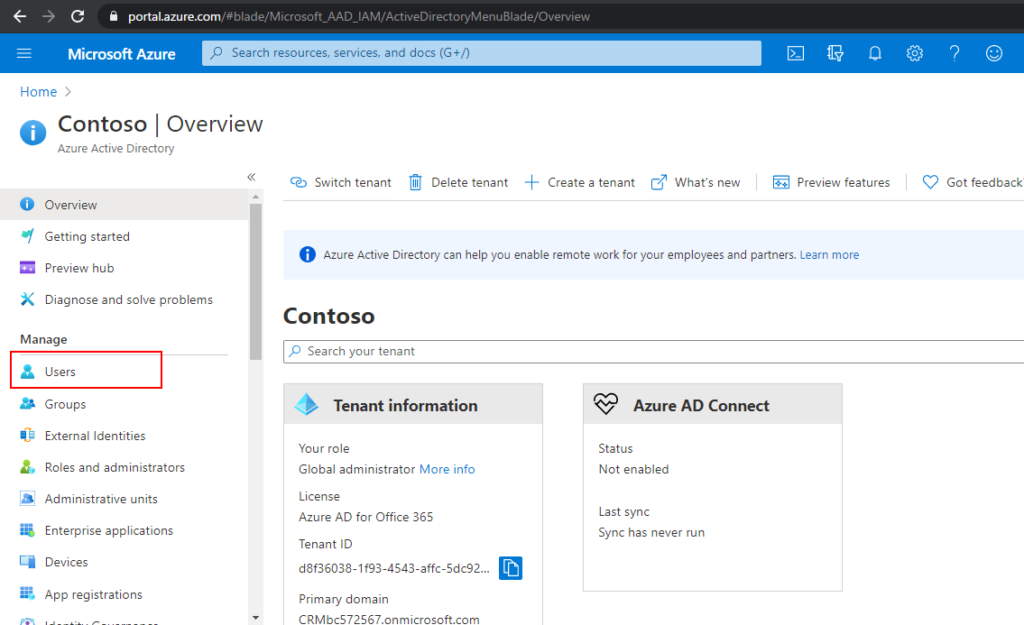
3. Select Manage -> Users.
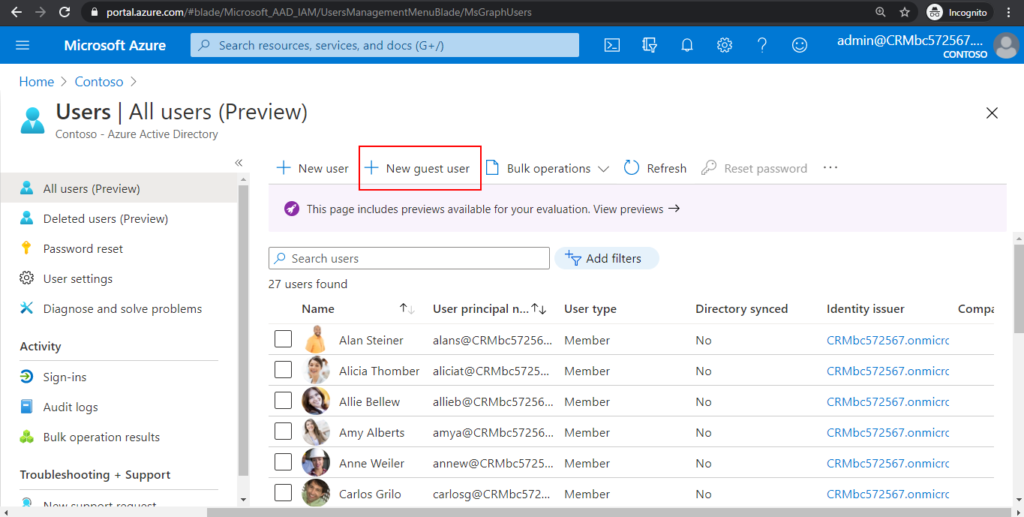
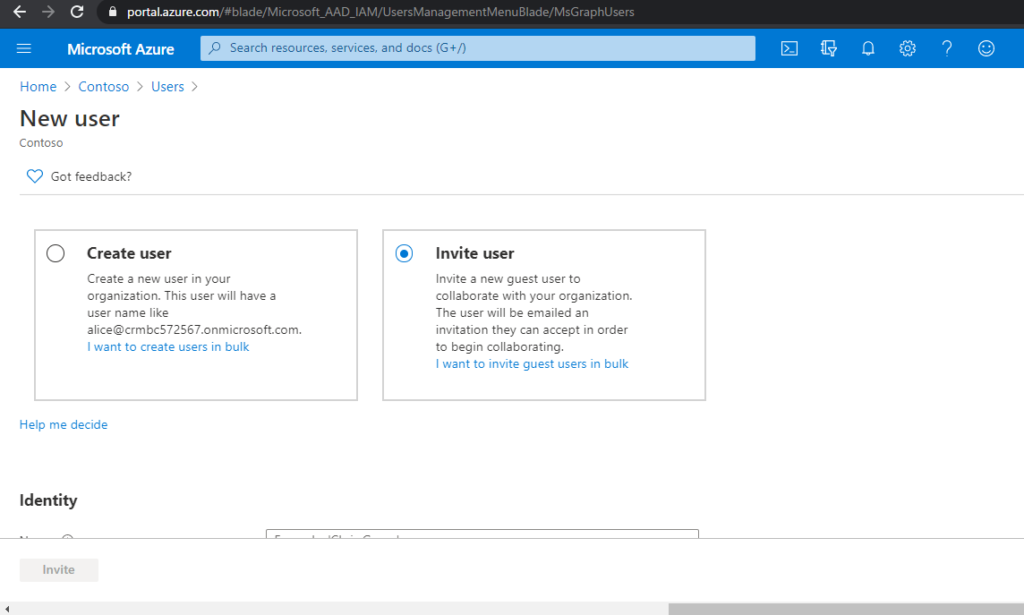
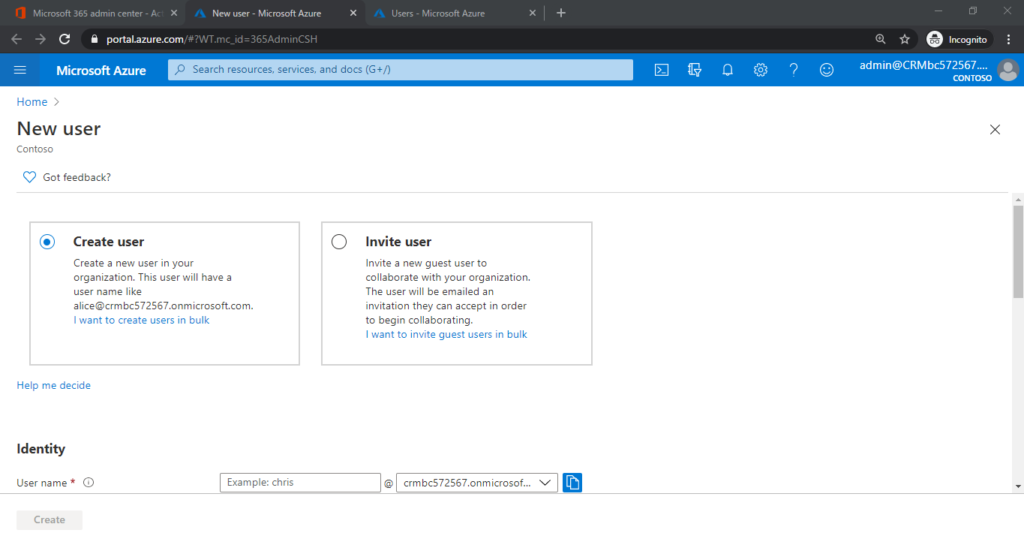
4. Choose New guest user.
5. Select Invite user and then add information about your external accountant.
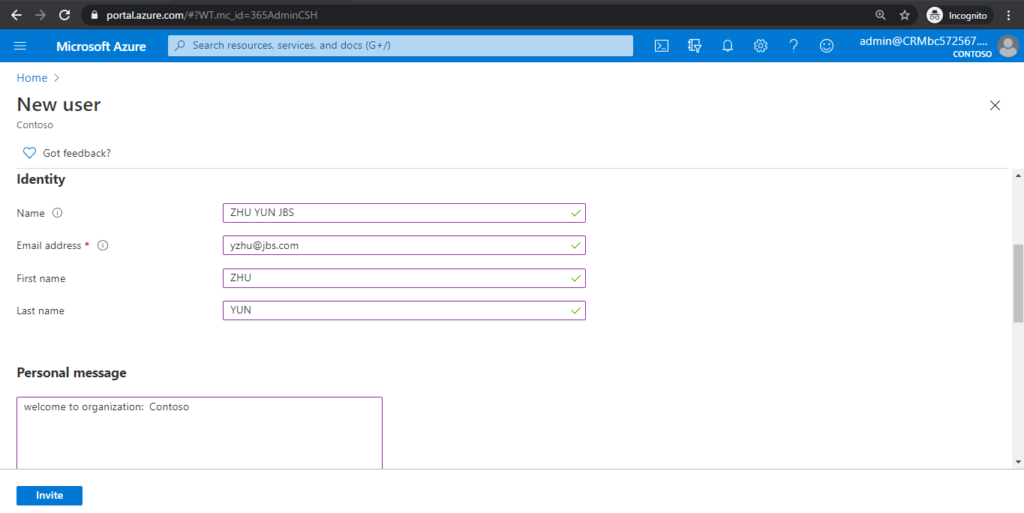
6. Select Invite to automatically send the invitation.
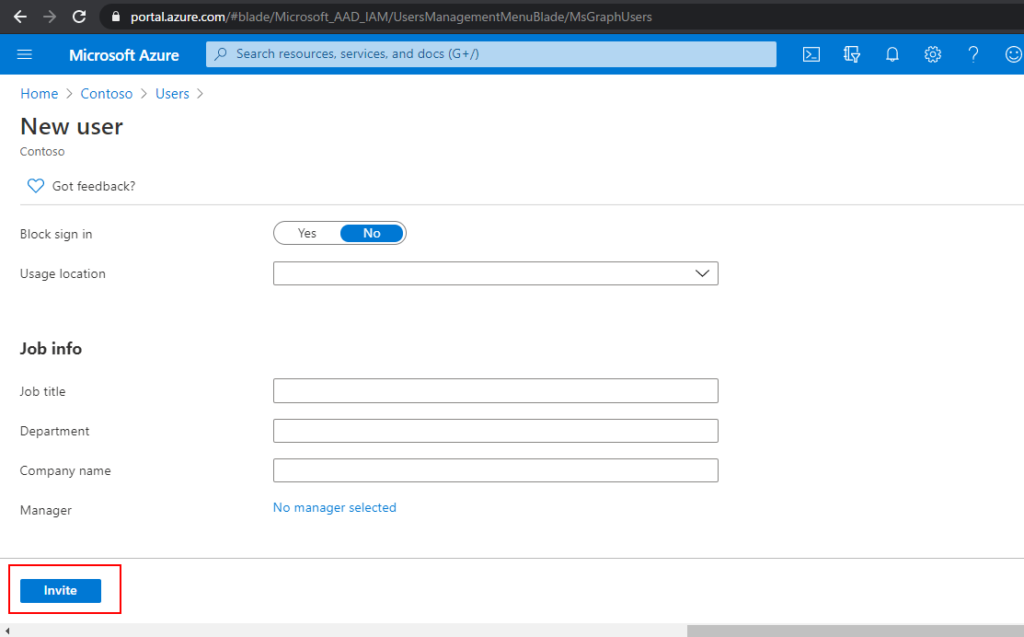
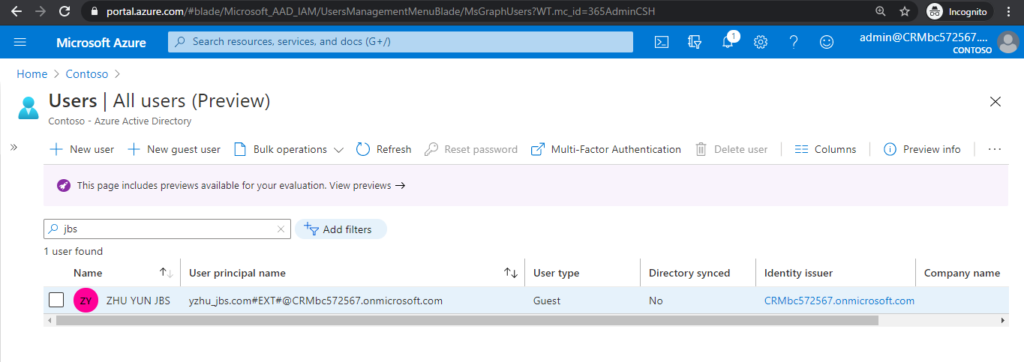
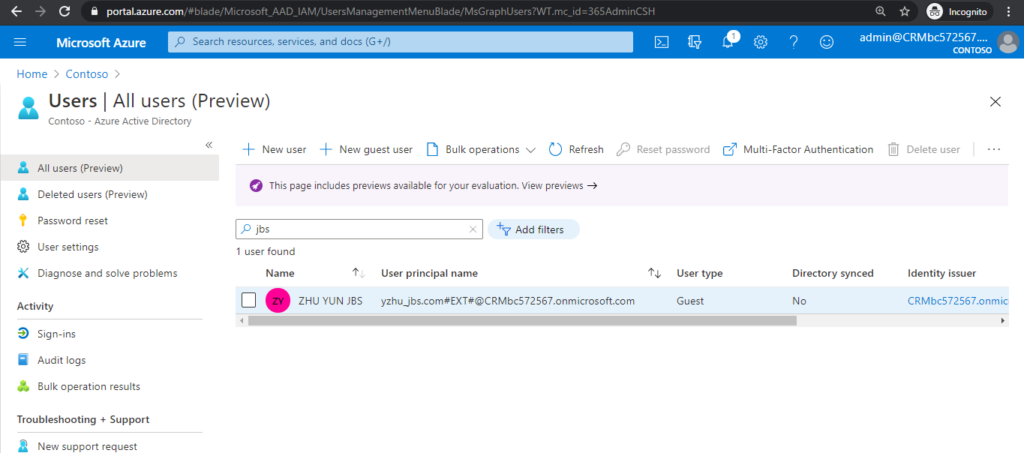
7. After you send the invitation, the user account is automatically added to the directory as a guest.

PS:
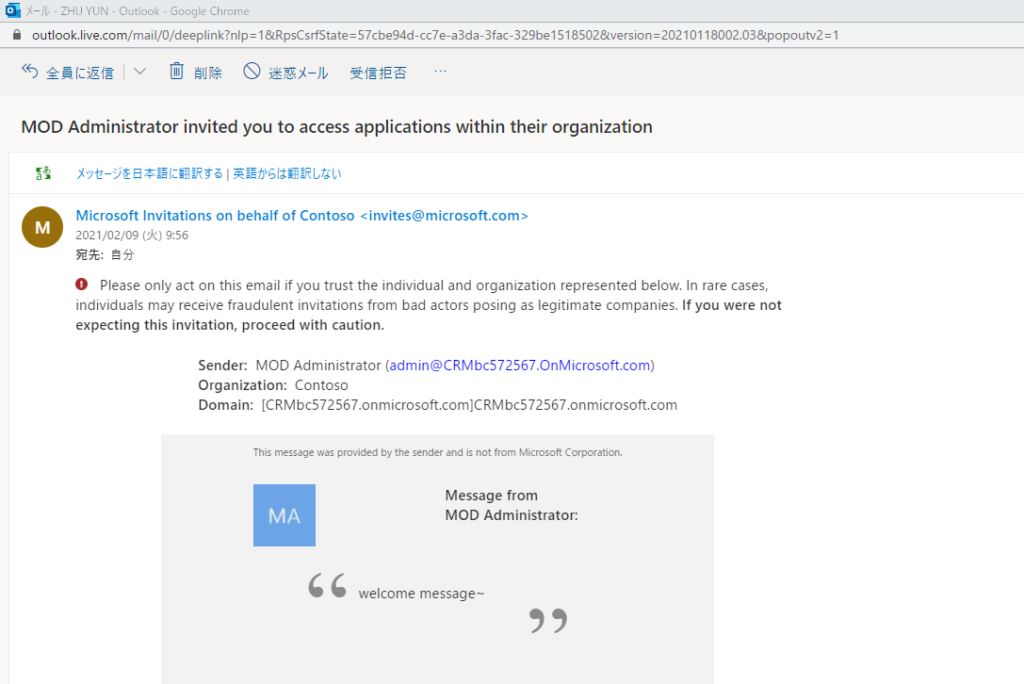
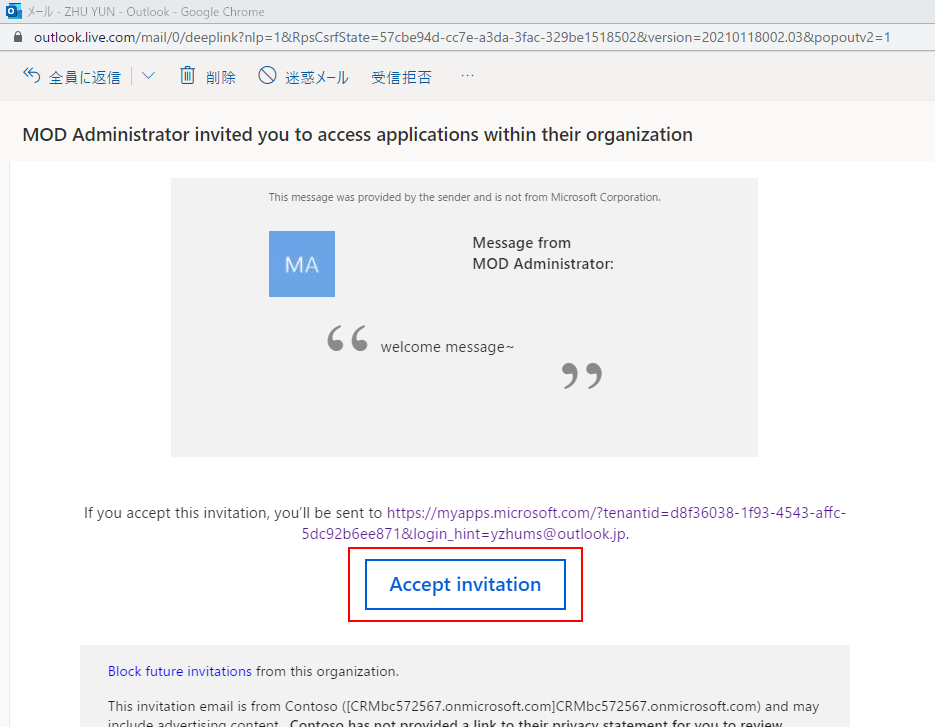
1. The invited users will receive a notification email. And if you accept this invitation, choose Accept Invitation.
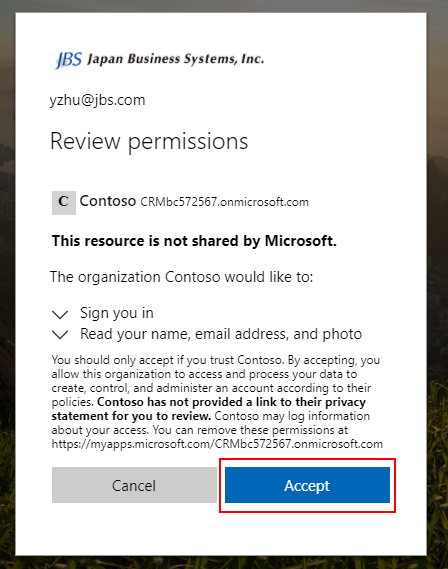
Then choose Accept.
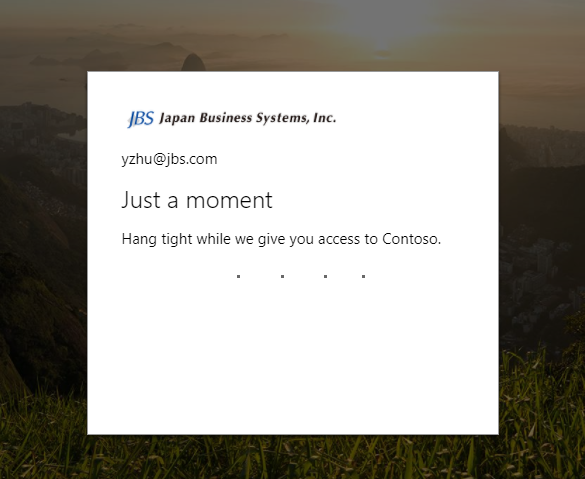
Succeeded.
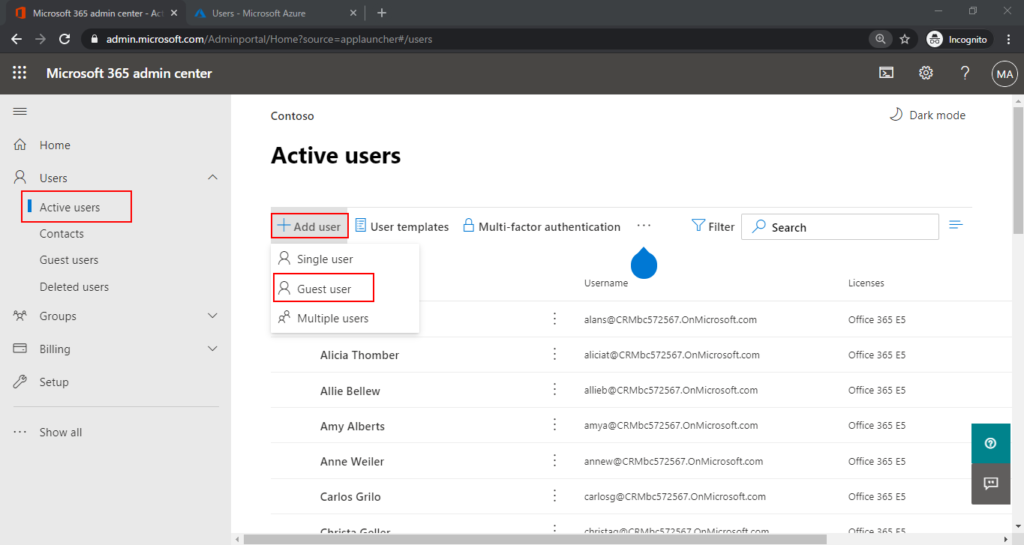
2. You can choose Active users -> Add user -> Guest user in Microsoft 365 admin center to jump directly to the New user page in Azure Portal.
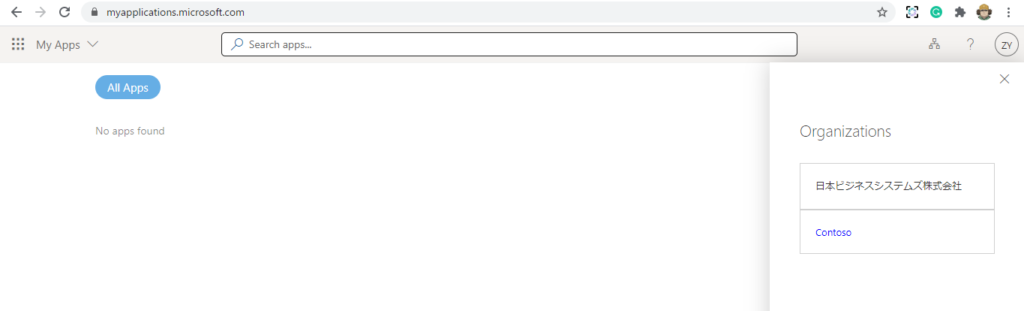
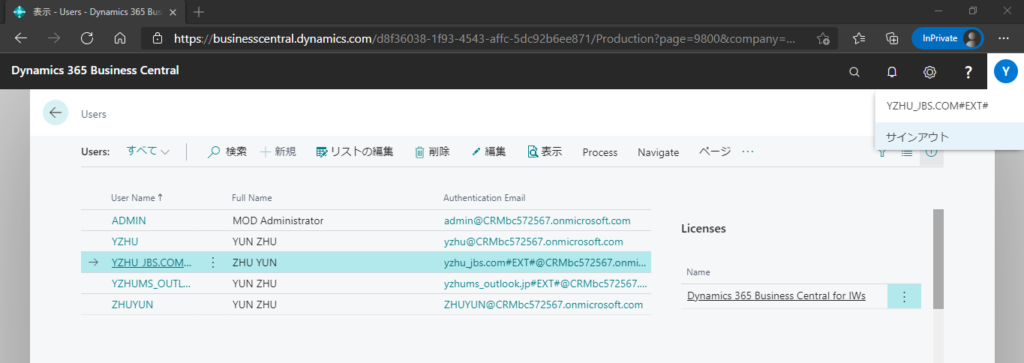
3. After inviting, the users can be found in Microsoft 365 admin center.

To assign the new guest user a license
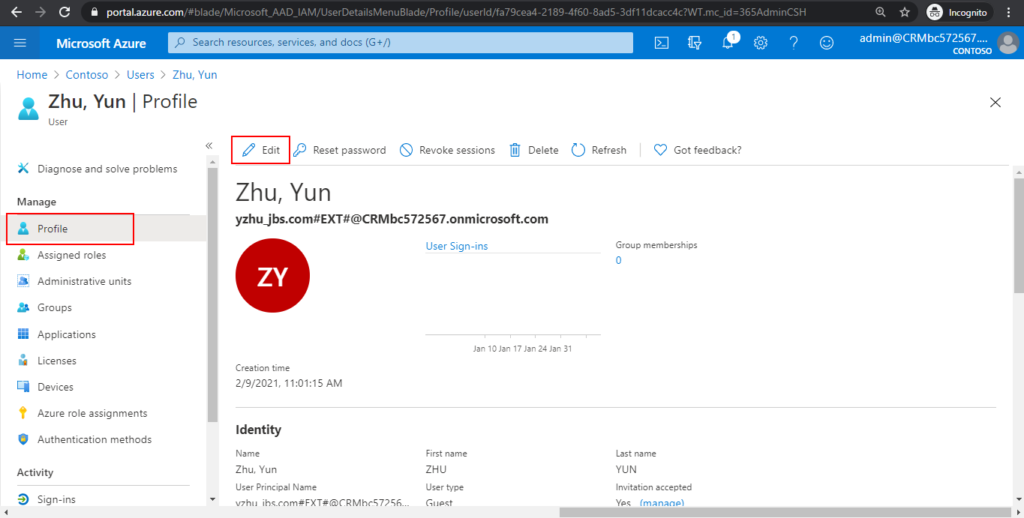
1. In the Azure portal, select newly added user.
2. Choose Profile, and then choose Edit.
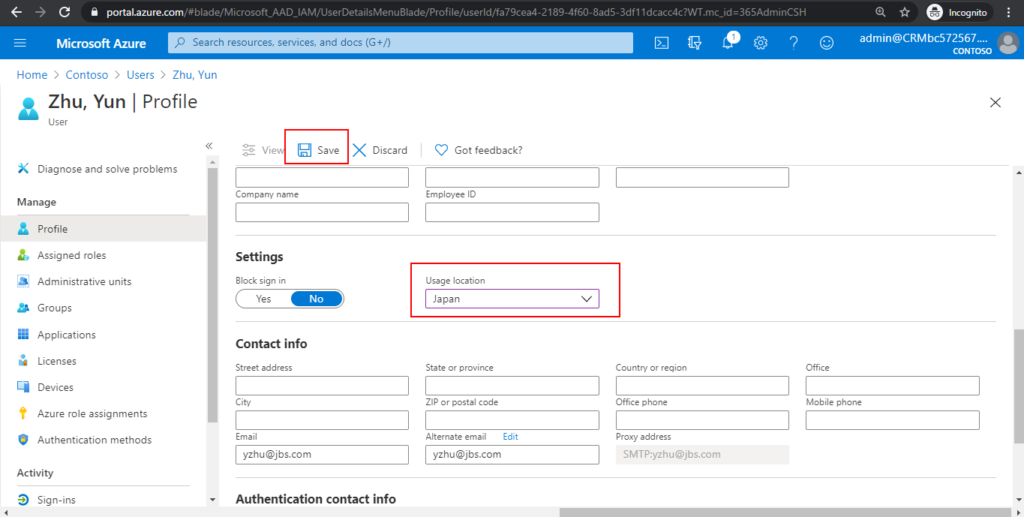
3. Update the Usage Location field to the relevant country, and then choose Save.

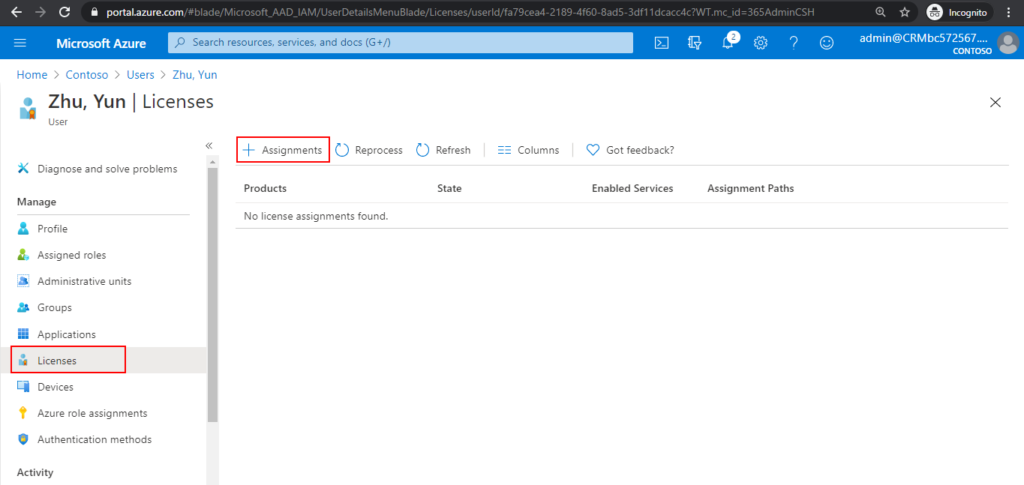
4. Choose Licenses, and then choose Assignments.
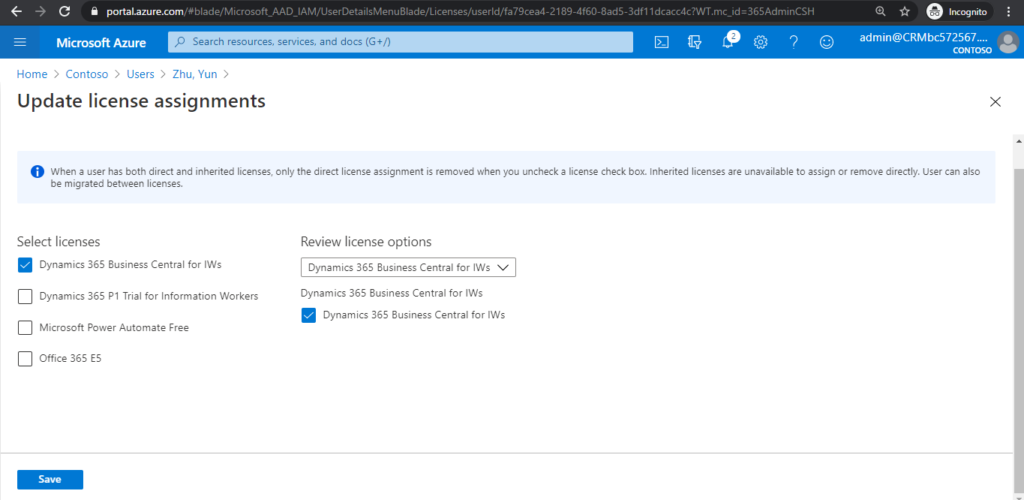
5. Select the license you want to assign, and then choose Save.
Choose the Dynamics 365 Business Central External Accountant license.
If this license is not available, contact your reselling partner to add the license to your subscription.
Specifically for evaluation purposes in a trial tenant, you can use an available Dynamics 365 Business Central for IWs license instead. However, you cannot use this type of license if you have already purchased Business Central.
License assignments succeeded.

PS: You can also assign licenses directly in Microsoft 365 admin center, but a little trick is needed.
If you open an internal user, you can see the licenses and apps tab, and then you can assign licenses here.
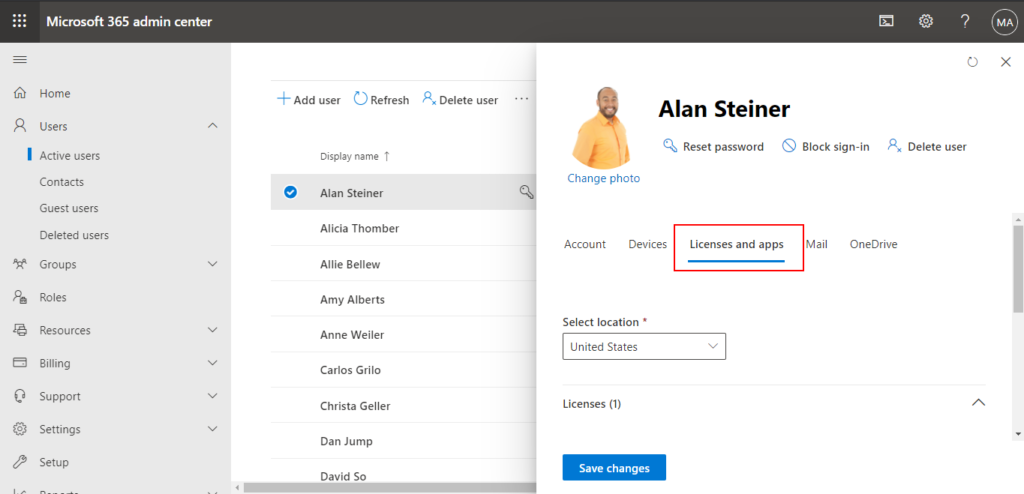
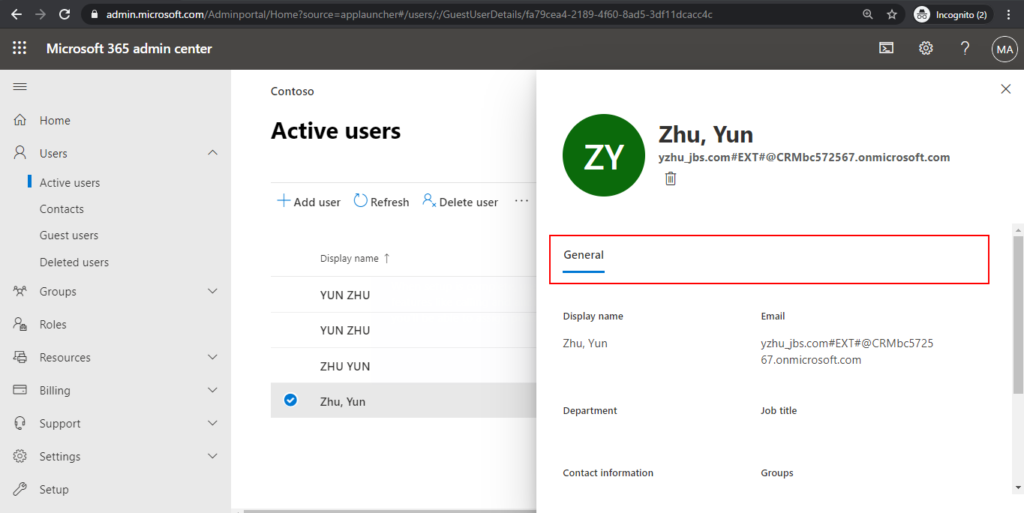
But, for external users, there is only General here. So, how to do it.
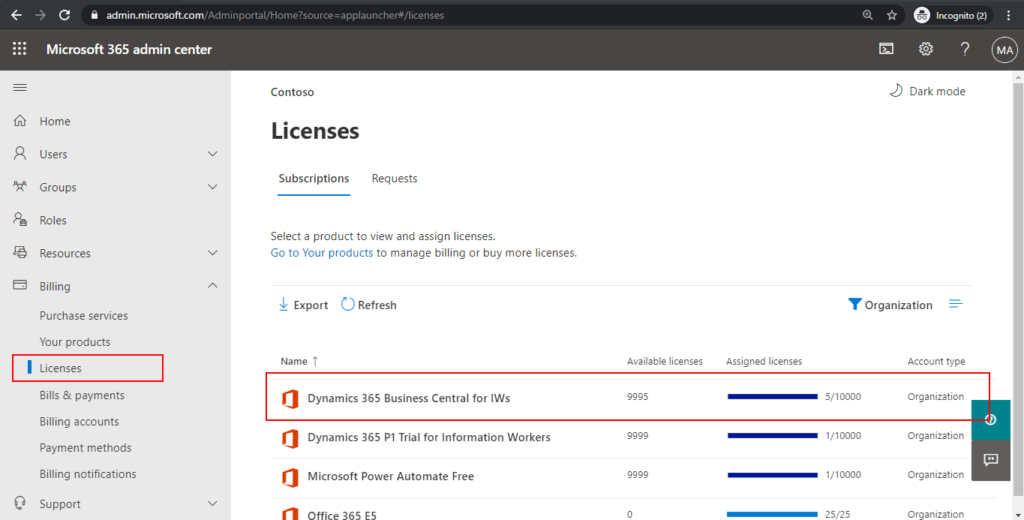
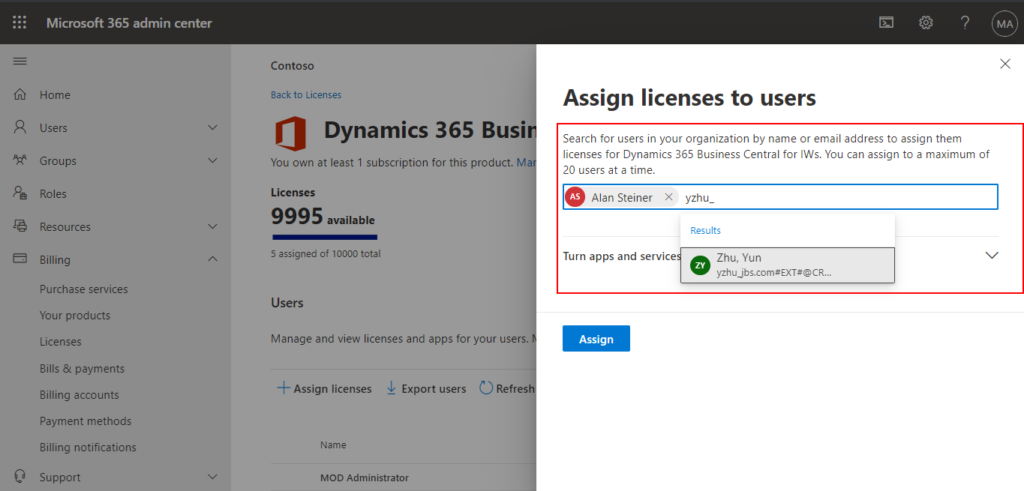
1. Choose Billing -> Licenses, and then select the license you want to assign.
2. Choose Assign licenses.
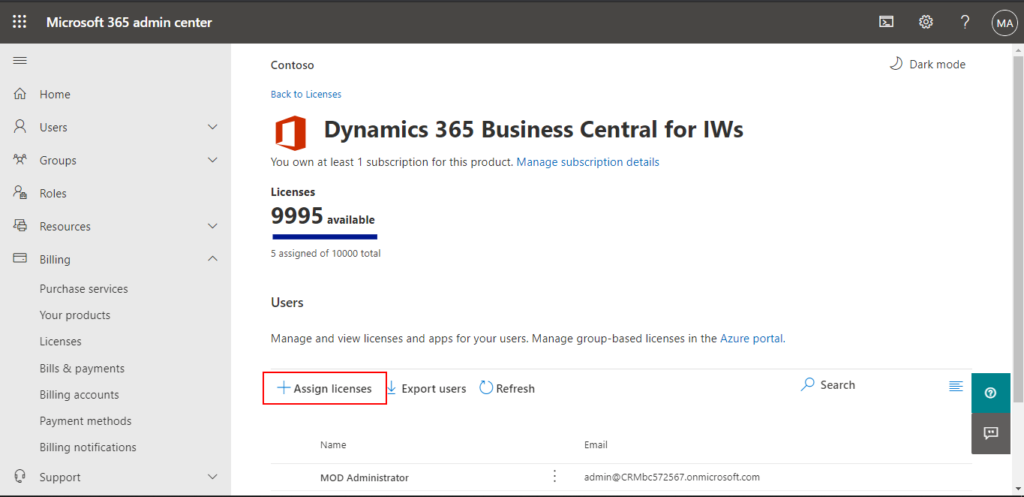
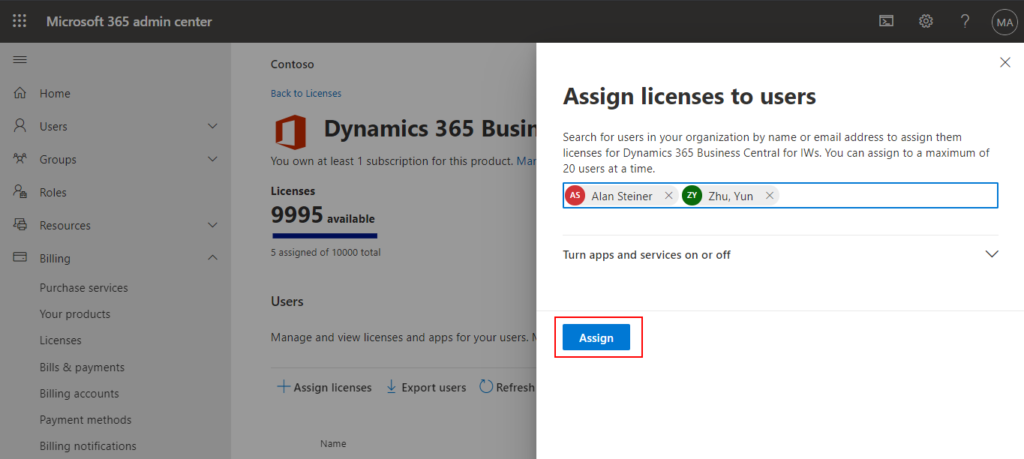
3. You can add both internal and external users here.
4. Then choose Assign.
Importing the new user into Business Central
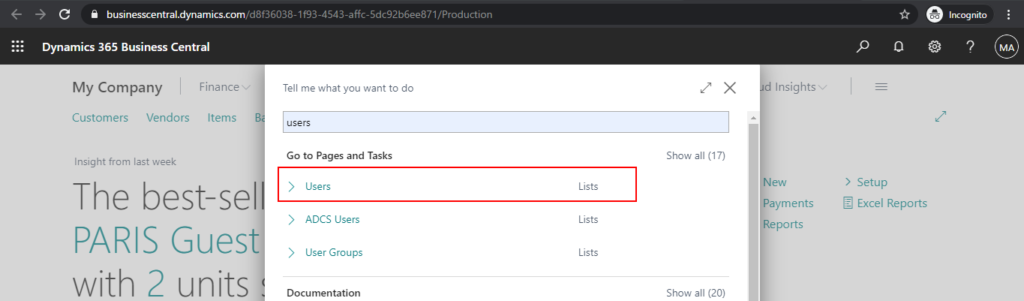
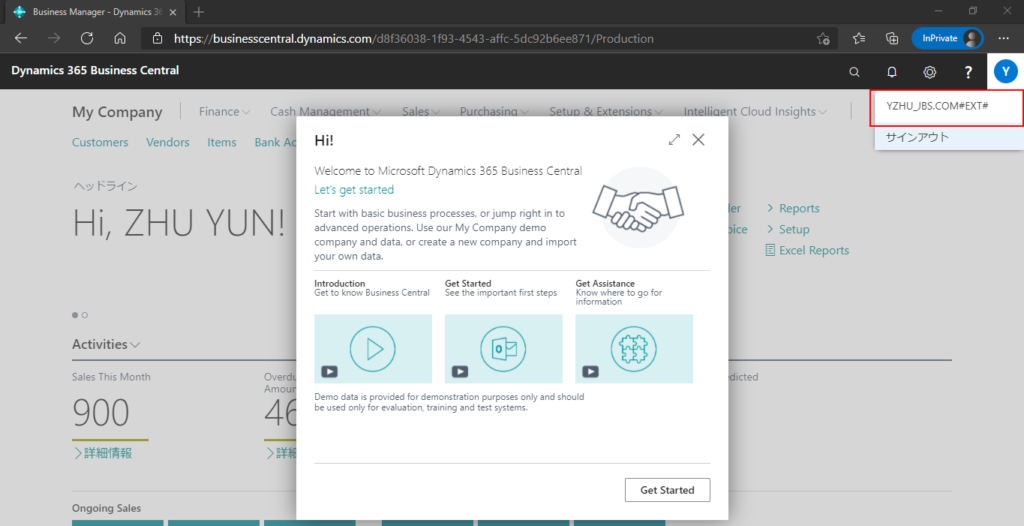
1. Open the Business Central, enter Users in Tell me, and then chose the related link.
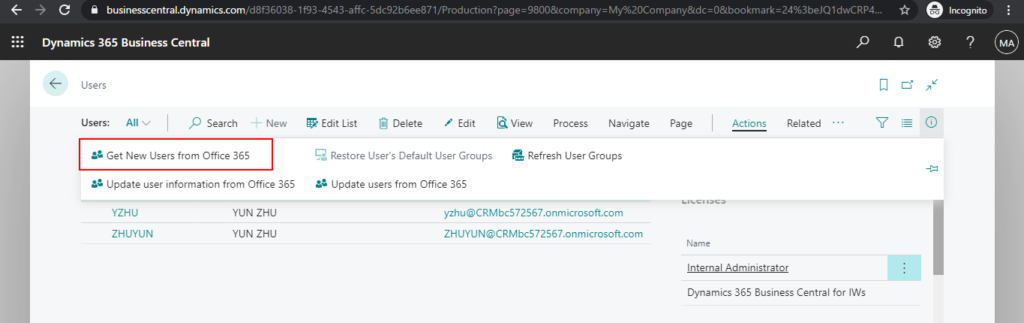
2. Choose the Get New Users from Office 365 action.
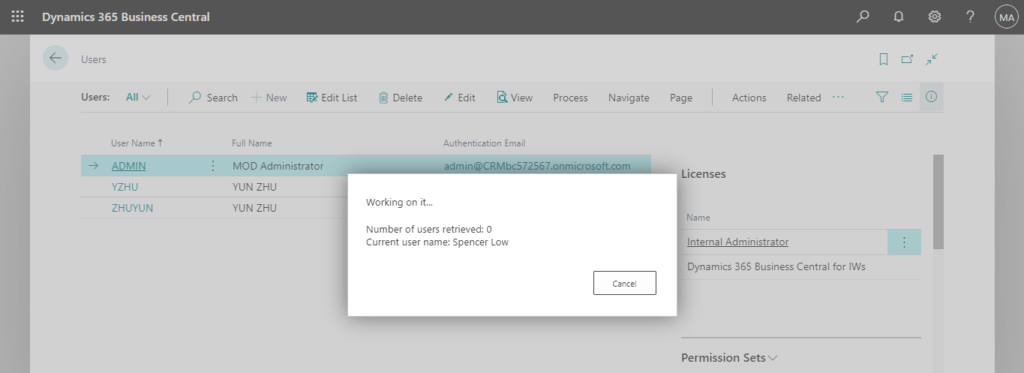
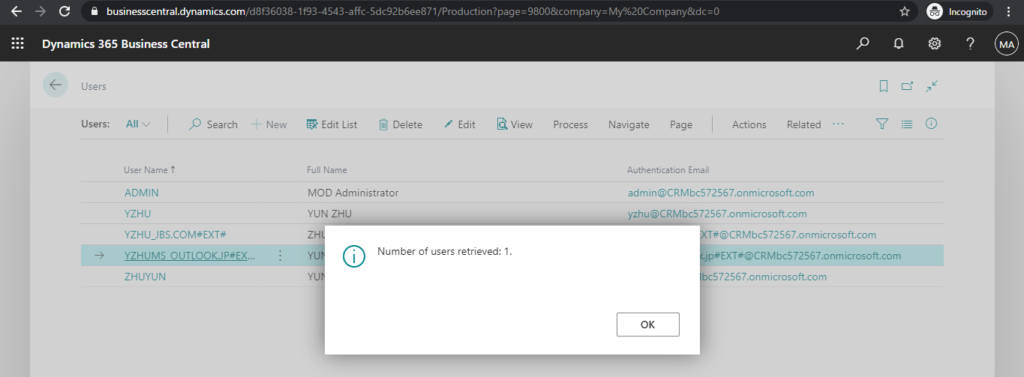
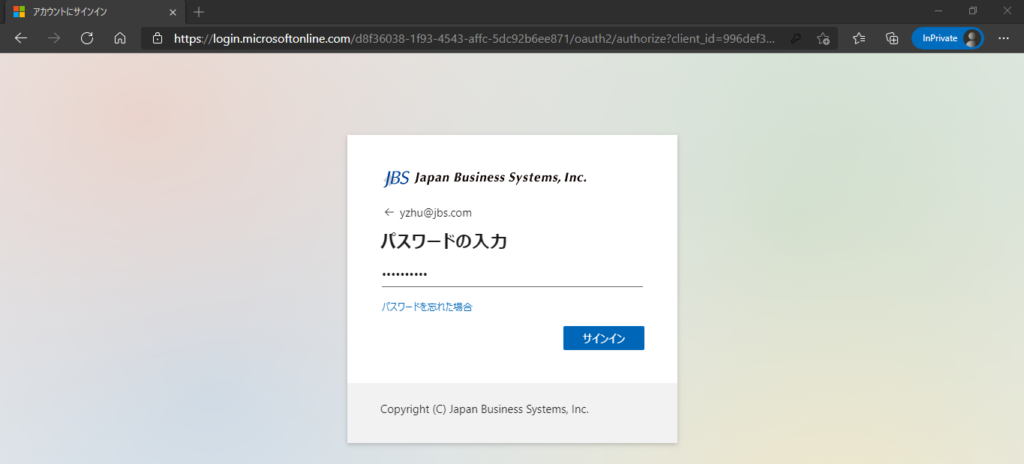
Log in with an external account.
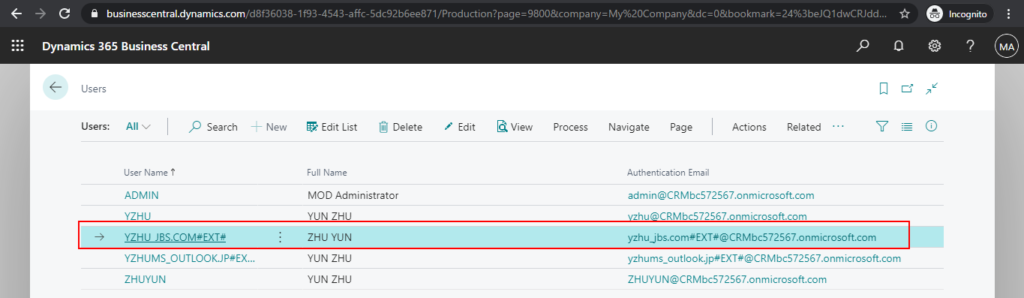
Good.
Inviting your external accountant in Business Central
Business Central have made it easy for you to invite your external accountant.
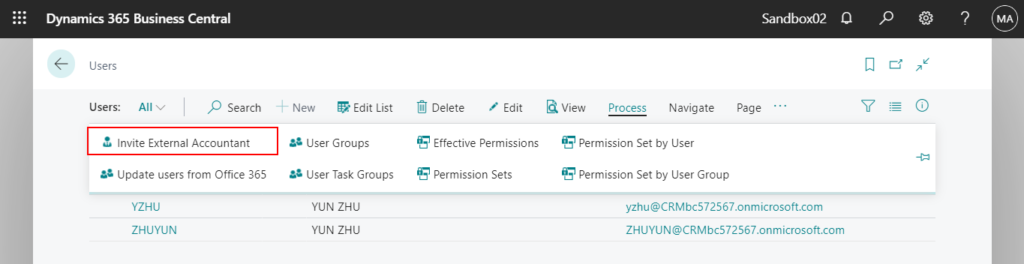
1. Open the Business Central, enter Users in Tell me, and then chose the related link.
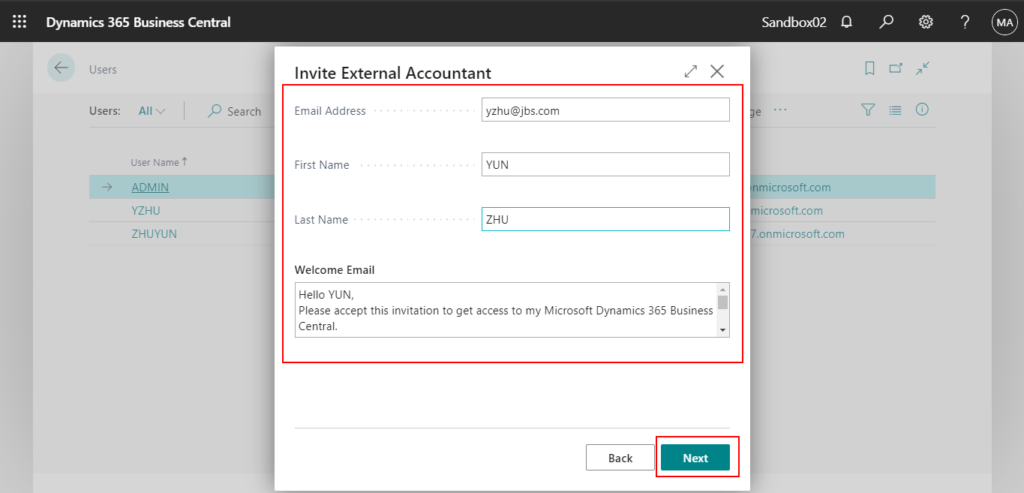
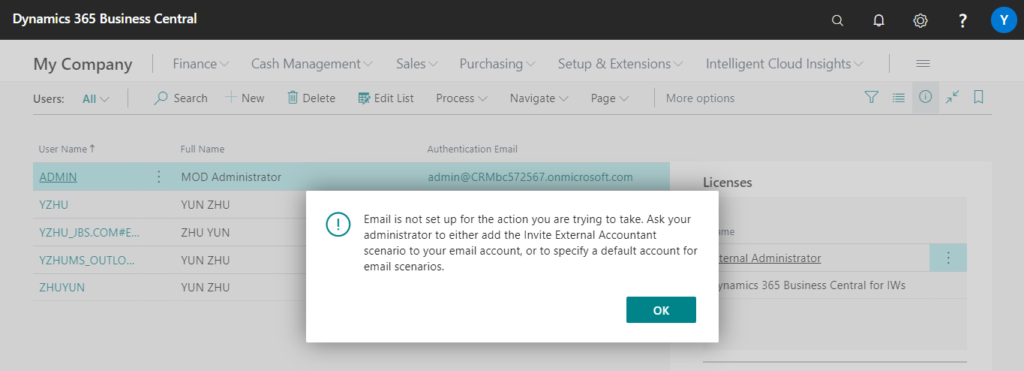
2. Choose the Invite External Accountant action.
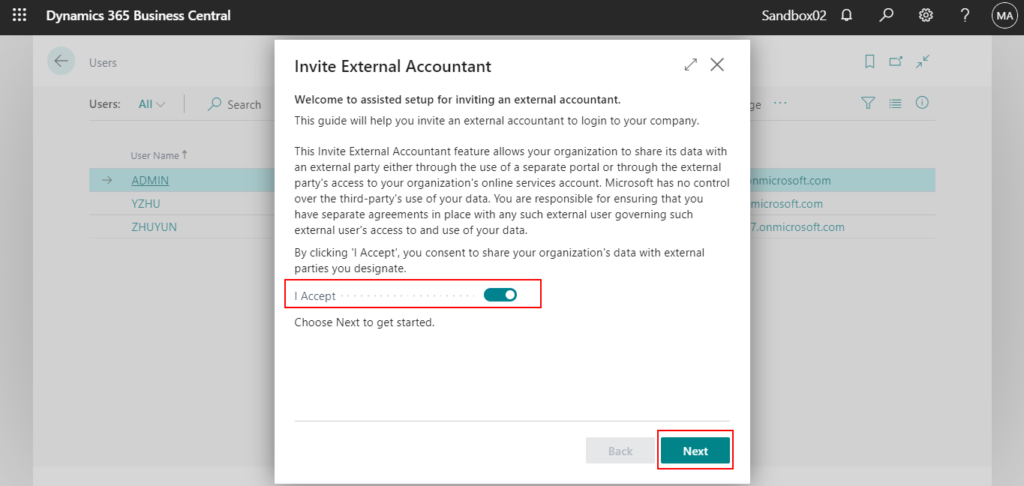
3. On the Invite External Accountant wizard page, accept the agreement and choose Next.
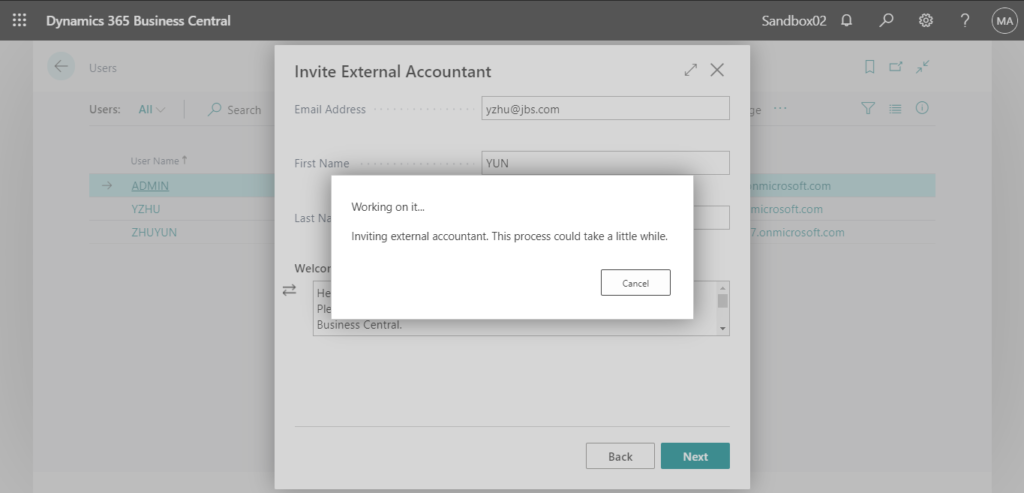
4. Add information about your external accountant, then choose Next.
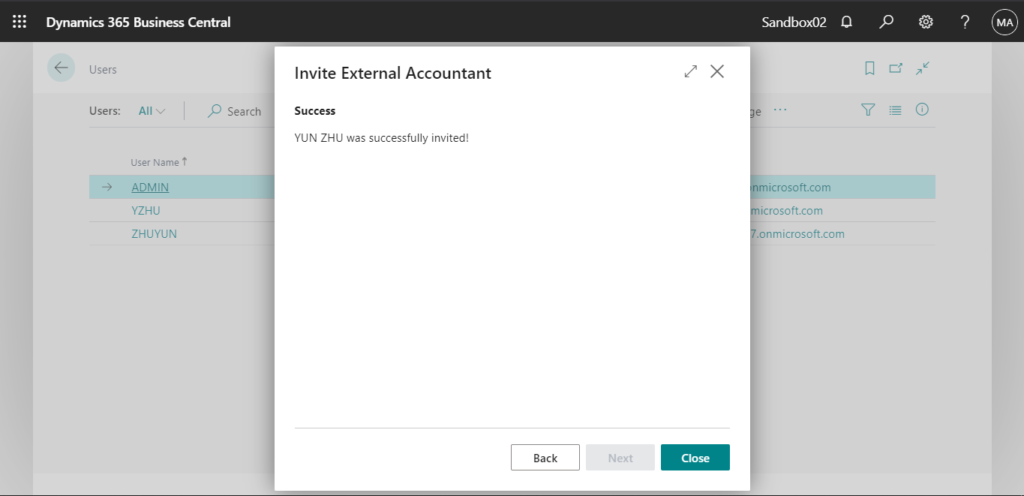
5. After a while, you will see a successful invitation message.
Choose Close to open the wizard page.
As with adding guest users in Azure, invited users will receive a notification email.
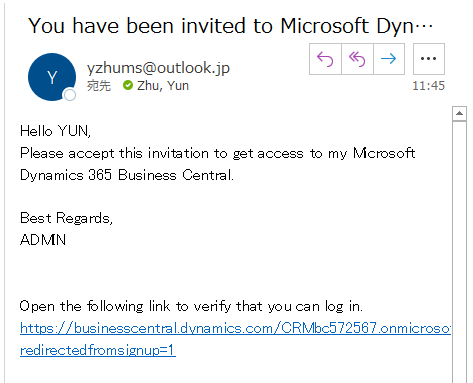
This requires that you have set up email account in Business Central.
Note:
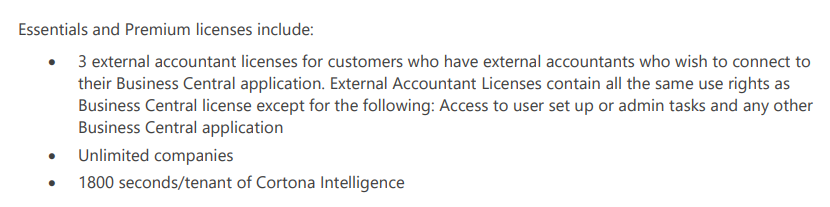
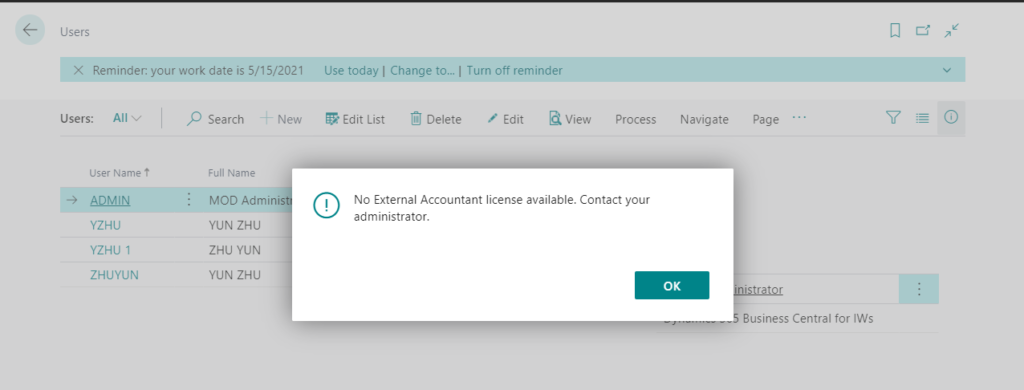
1. Business Central includes three licenses of type External Accountant.
For more information about licensing, see the Dynamics 365 Business Central Licensing Guide (SaaS/Cloud and On-Premises)
2. The accountant’s email address must be a work address that is based on Azure Active Directory.
If you use a personal address, there is no problem when adding it.
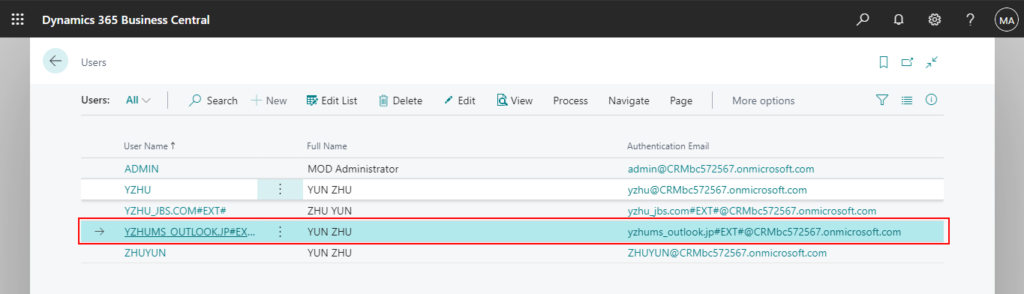
However, the following two errors may occur when logging in.
This username may be incorrect. Make sure you typed it correctly. Otherwise, contact your admin.
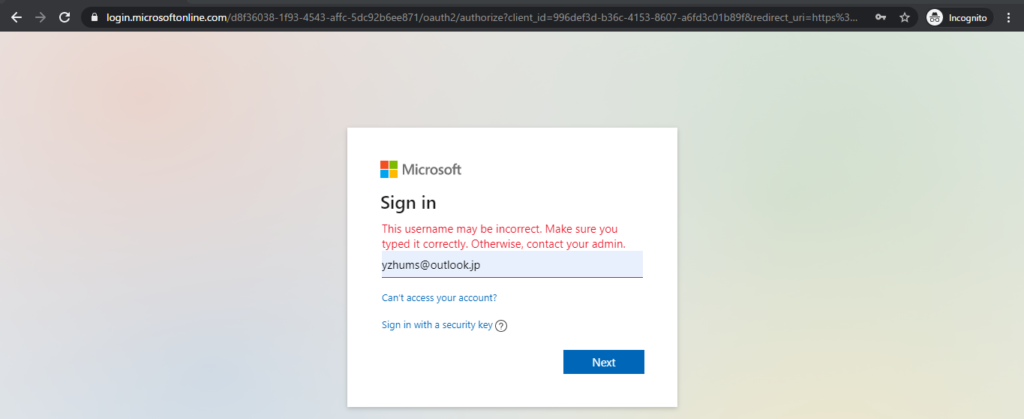
You can’t sign in here with a personal account. Use your work or school account instead.

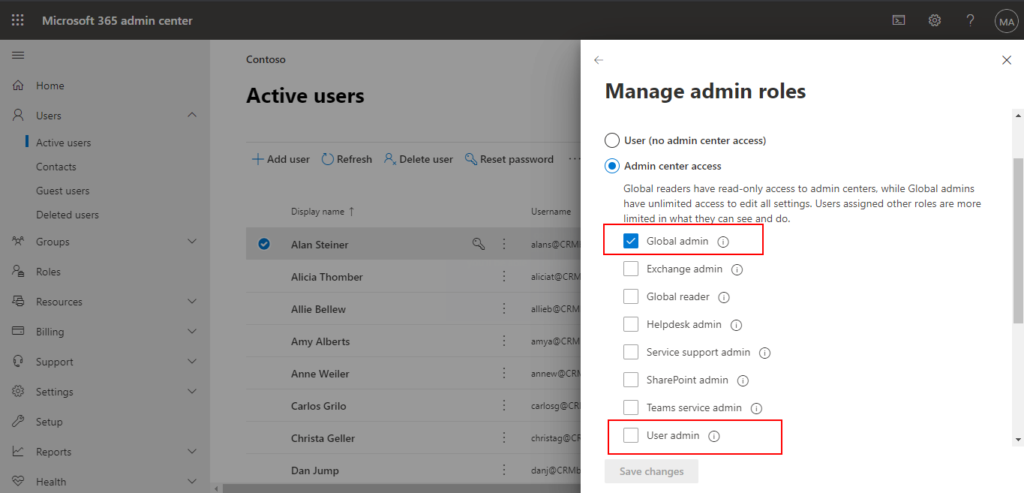
3. Invite External Accountant requires access to managing users and licenses in Azure Active Directory. The user who sends this invitation must be assigned the Global admin role or User admin role in the Microsoft 365 admin center.
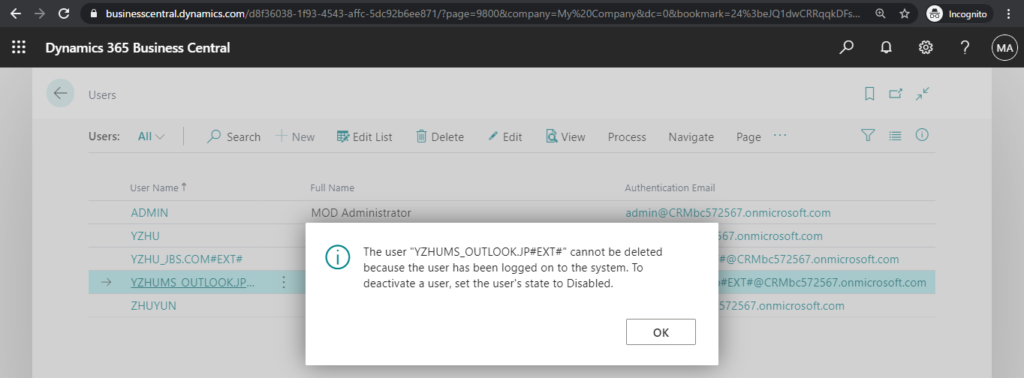
4. Please note that for Business Central Cloud (SaaS), users once added cannot be deleted from the environment. Unless the entire environment is rebuilt. But you can disable users.
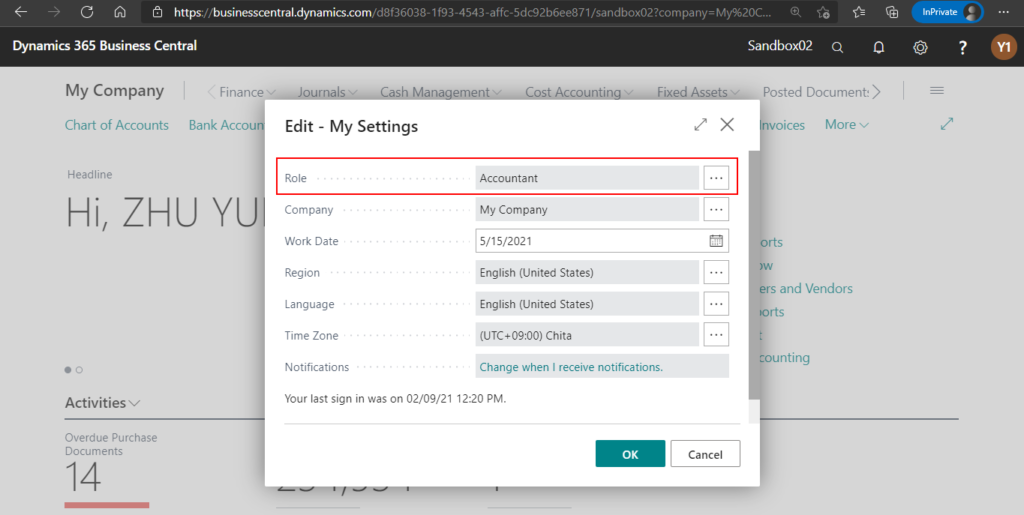
5. Once your accountant has gained access to your Business Central, they can use the Accountant Role Center that gives easy access to the most relevant pages for their work. They can also use the company hub in their own Business Central to manage their work.
END
Hope this will help.
Thanks for reading.
ZHU


コメント