
Hi, Readers.
Last year, I posted a blog about how to send SMTP mail from Dynamics 365 Business Central.
How to send SMTP mail from Dynamics 365 Business Central
But I believe many experts have noticed that since BC17.0, if you use the same method, the following warning will appear.
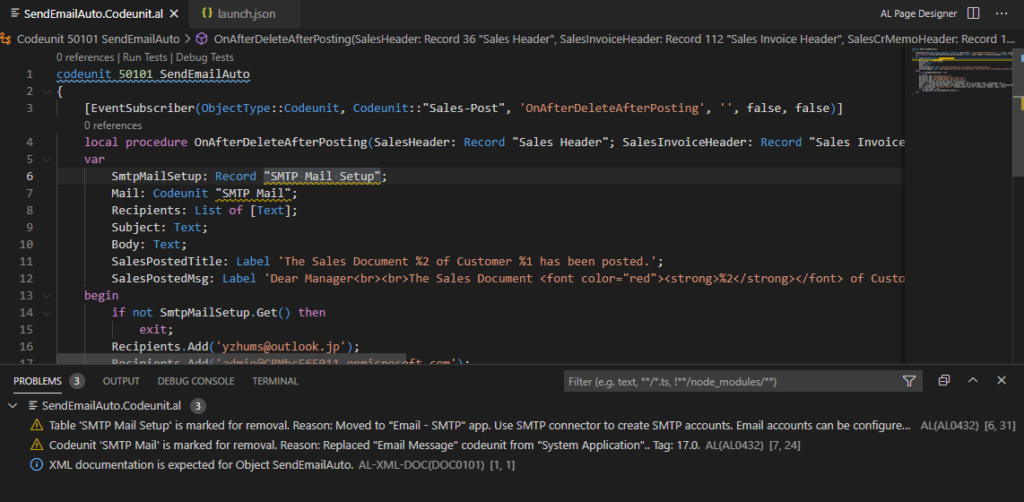
Table ‘SMTP Mail Setup’ is marked for removal. Reason: Moved to “Email – SMTP” app. Use SMTP connector to create SMTP accounts. Email accounts can be configured from “Email Accouts” page from “System Application”.. Tag: 17.0.
Codeunit ‘SMTP Mail’ is marked for removal. Reason: Replaced “Email Message” codeunit from “System Application”.. Tag: 17.0.
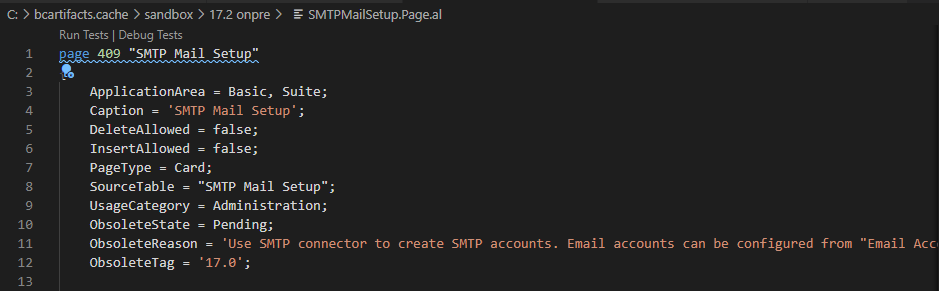
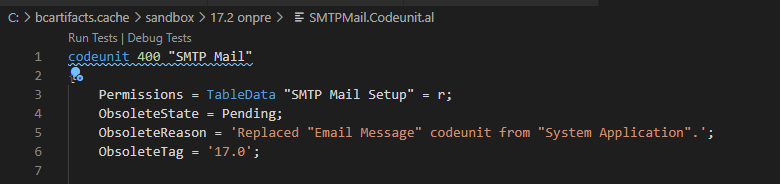
Source code in BC17:
table 409 “SMTP Mail Setup”

page 409 “SMTP Mail Setup”
codeunit 400 “SMTP Mail”
This is because the Enhanced email capabilities function has been available from BC17.1 onwards.
For Details: Dynamics 365 Business Central: Enhanced email capabilities and Field Monitoring Setup
So, for the same scenario.
“After the sales order processor posts the sales order, the business manager needs to automatically receive the notification email from Business Central. Some order information must be included in the email.”
You have to use codeunit 8904 “Email Message” and codeunit 8901 “Email” from BC 17.0.
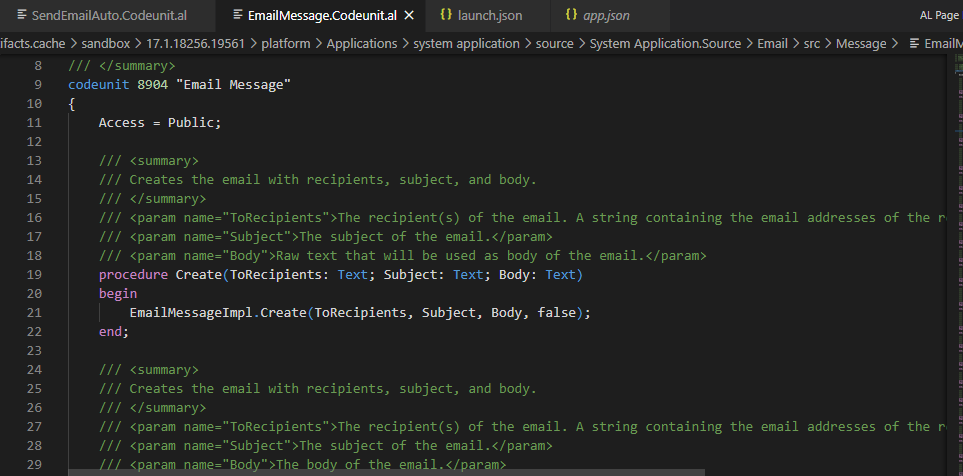
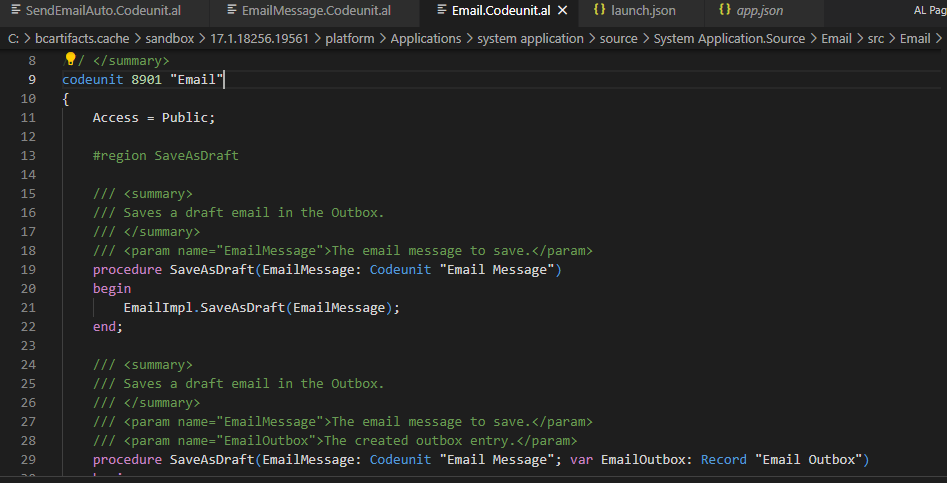
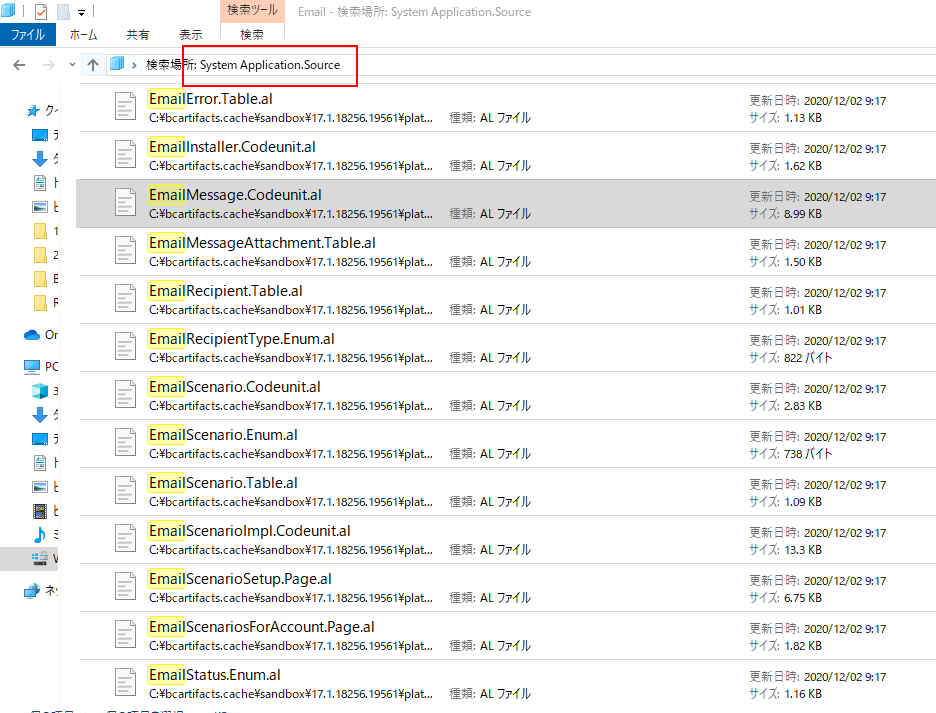
Note: These two Codeunits are stored in the System Application.
Let’s update the code.
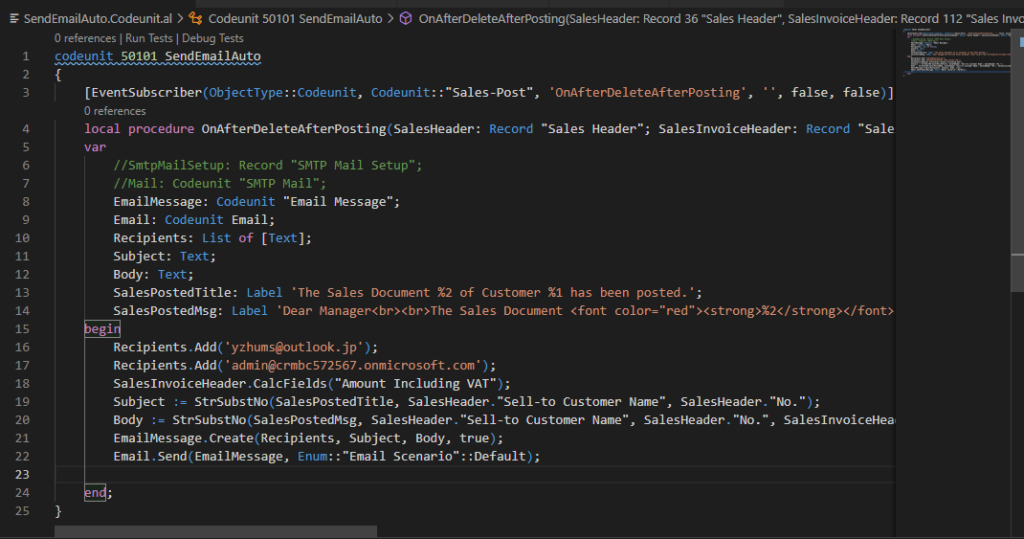
codeunit 50101 SendEmailAuto
{
    [EventSubscriber(ObjectType::Codeunit, Codeunit::"Sales-Post", 'OnAfterDeleteAfterPosting', '', false, false)]
    local procedure OnAfterDeleteAfterPosting(SalesHeader: Record "Sales Header"; SalesInvoiceHeader: Record "Sales Invoice Header"; SalesCrMemoHeader: Record "Sales Cr.Memo Header"; CommitIsSuppressed: Boolean)
    var
        //SmtpMailSetup: Record "SMTP Mail Setup";
        //Mail: Codeunit "SMTP Mail";
        EmailMessage: Codeunit "Email Message";
        Email: Codeunit Email;
        Recipients: List of [Text];
        Subject: Text;
        Body: Text;
        SalesPostedTitle: Label 'The Sales Document %2 of Customer %1 has been posted.';
        SalesPostedMsg: Label 'Dear Manager<br><br>The Sales Document <font color="red"><strong>%2</strong></font> of Customer <strong>%1</strong> has been posted.<br> The total amount is <strong>%3</strong>. <br>The Posted Invoice Number is <strong>%4</strong>. <br> User ID <strong>%5</strong>';
    begin
        Recipients.Add('yzhums@outlook.jp');
        Recipients.Add('admin@crmbc572567.onmicrosoft.com');
        SalesInvoiceHeader.CalcFields("Amount Including VAT");
        Subject := StrSubstNo(SalesPostedTitle, SalesHeader."Sell-to Customer Name", SalesHeader."No.");
        Body := StrSubstNo(SalesPostedMsg, SalesHeader."Sell-to Customer Name", SalesHeader."No.", SalesInvoiceHeader."Amount Including VAT", SalesInvoiceHeader."No.", UserId);
        EmailMessage.Create(Recipients, Subject, Body, true);
        Email.Send(EmailMessage, Enum::"Email Scenario"::Default);
    end;
}
Test Video:
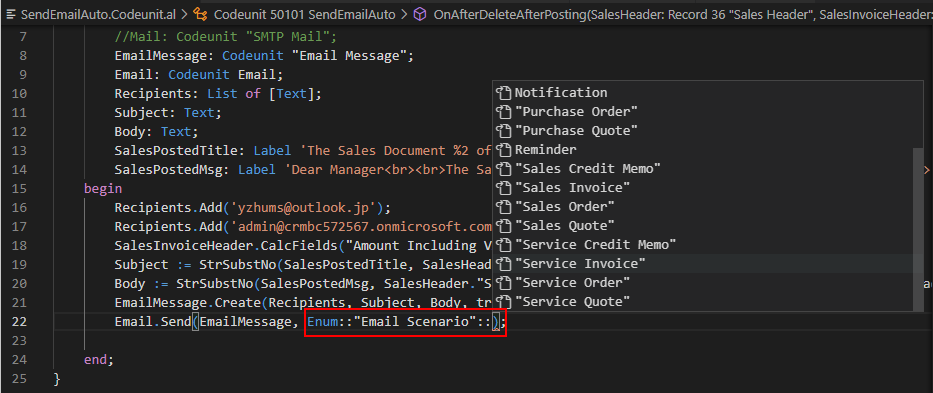
PS: When you send an email from AL, you can specify which Email Scenario will be used.
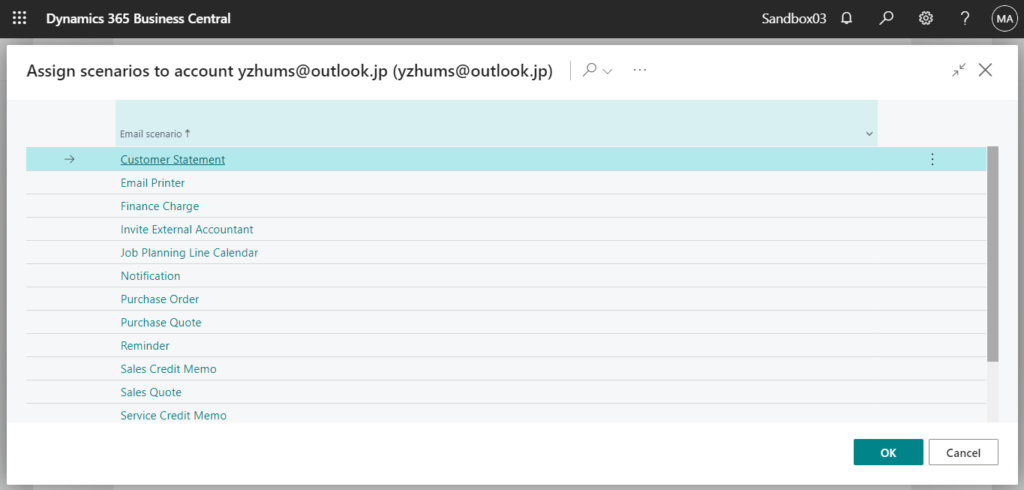
And on the Email Accounts page, you can choose Navigate -> Email Scenarios to assign Scenarios to your email account.
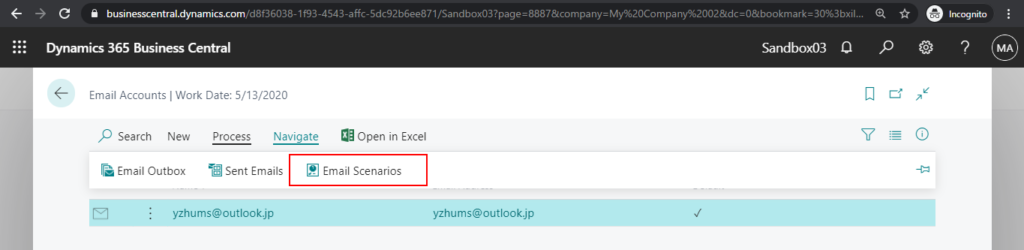
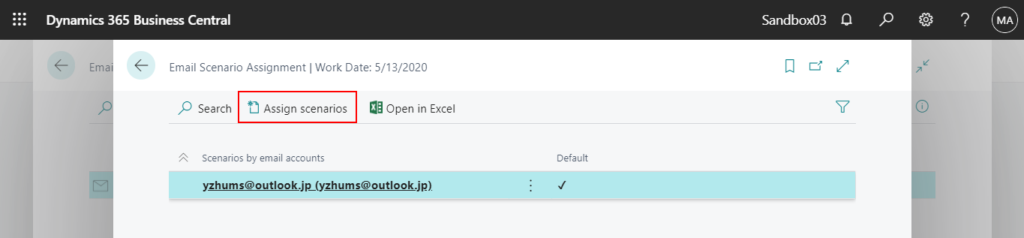

If an email account is associated with the scenario set in AL, it will be selected for use. If no email account is assigned to the scenario, the default email account will be used.
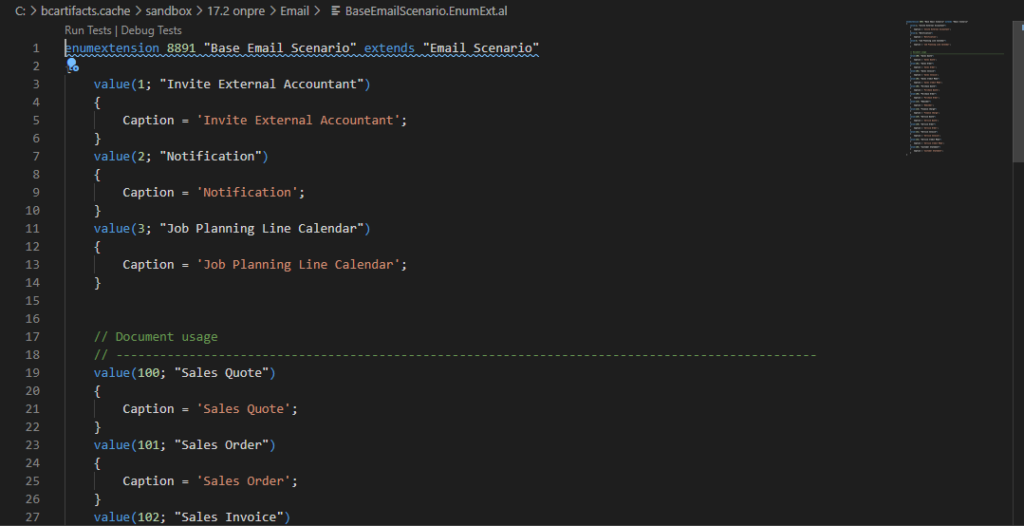
You can also use enumextension to add new scenarios to the list.
enum 8890 “Email Scenario” in System Application
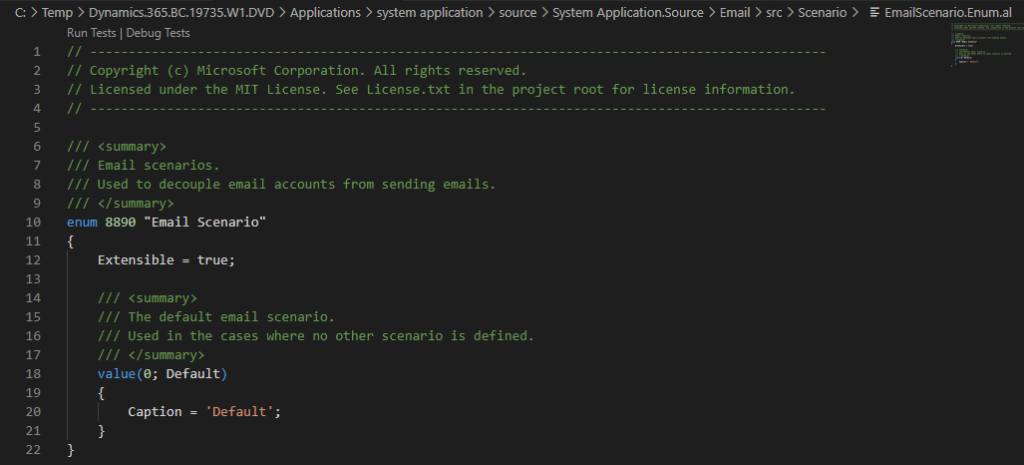
enumextension 8891 “Base Email Scenario” extends “Email Scenario” in Base Application
END
Hope this will help.
Thanks for your reading.
ZHU
コメント