Hi, Readers.
Today I would like to talk about how to set up multifactor authentication (MFA) for Dynamics 365 Business Central. This isn’t actually a topic for Business Central, it’s a topic for Azure and Microsoft 365.
As you might know, passwords are the most common method of authenticating a sign-in to a computer or online service, such as Business Central, but they’re also the most vulnerable.
When choosing authenticating methods that will be used in your tenant consider the security and usability of these methods:
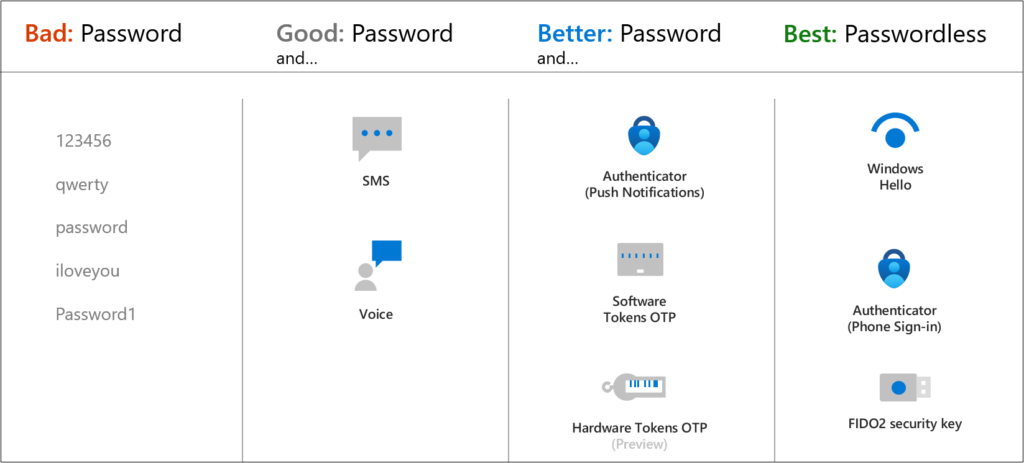
Multifactor authentication means you and your employees must provide more than one way to sign in to Microsoft 365 is one of the easiest ways to secure your business.
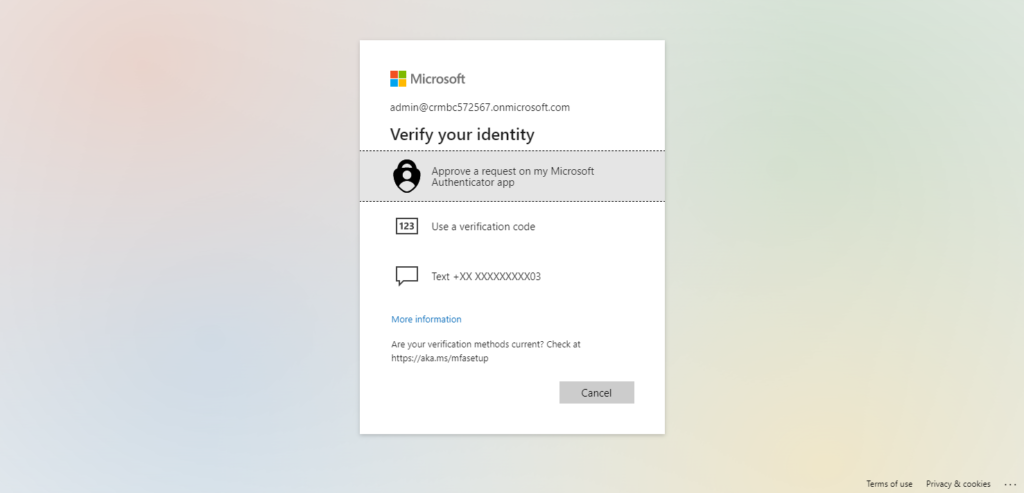
The following additional forms of verification can be used with Azure AD Multi-Factor Authentication: Available verification methods
- Microsoft Authenticator app
- Windows Hello for Business
- FIDO2 security key
- OATH hardware token (preview)
- OATH software token
- SMS
- Voice call
Next, let’s try turning on multi-factor authentication. (You must be a Global admin to manage MFA. For more information, see About admin roles)
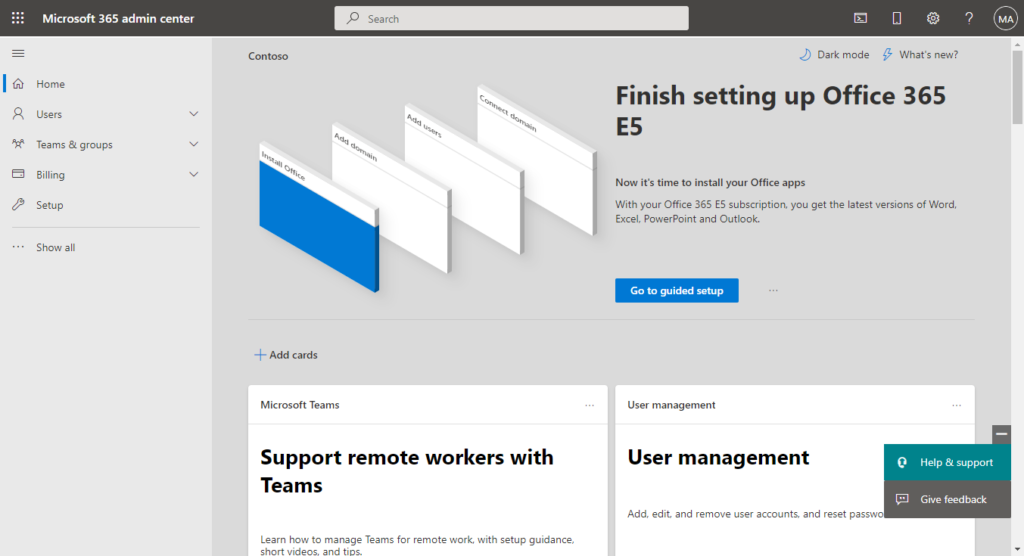
1. Go to the Microsoft 365 admin center at https://admin.microsoft.com.
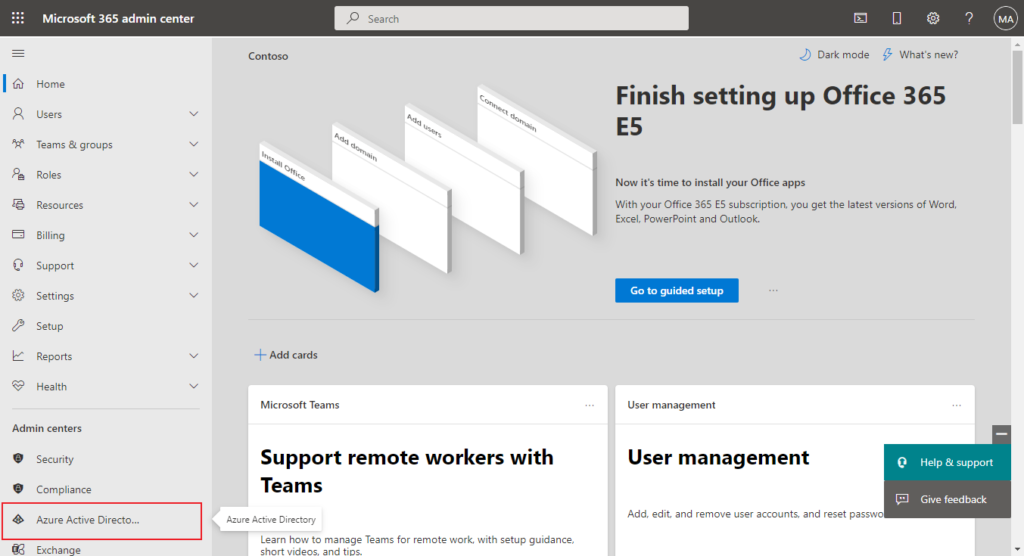
2. Select Show All, then choose the Azure Active Directory Admin Center.
3. Select Azure Active Directory, Properties, Manage Security defaults.
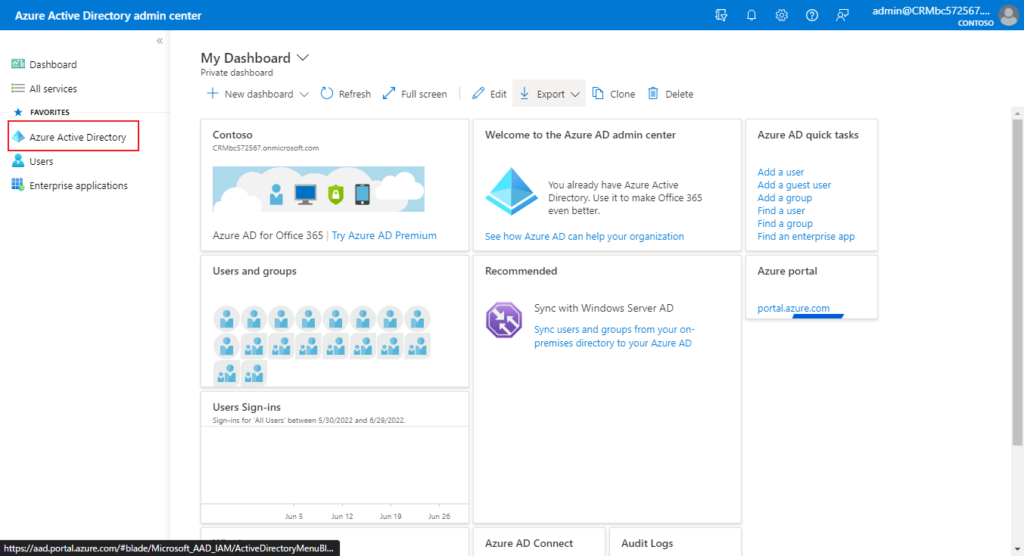
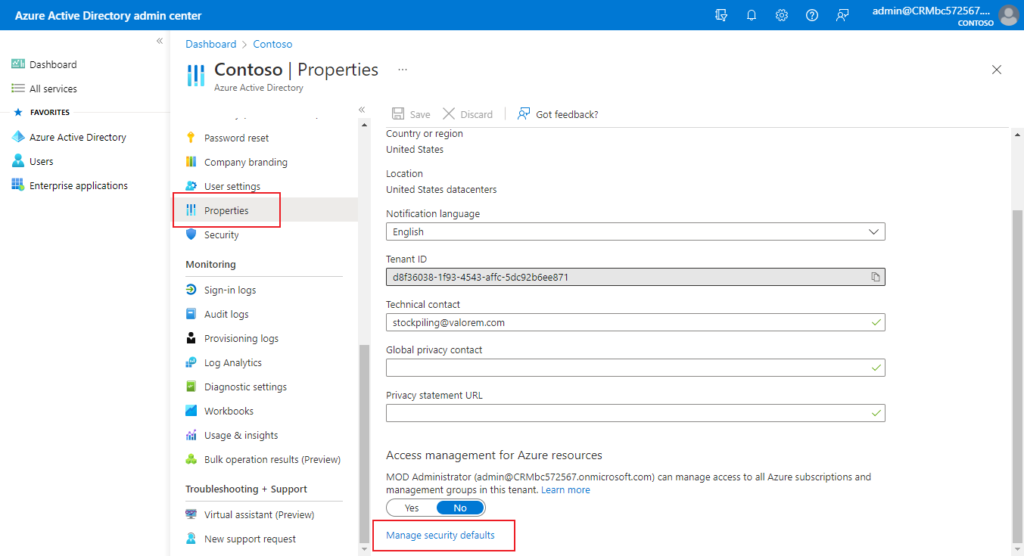
4. Under Enable Security defaults, select Yes and then Save.
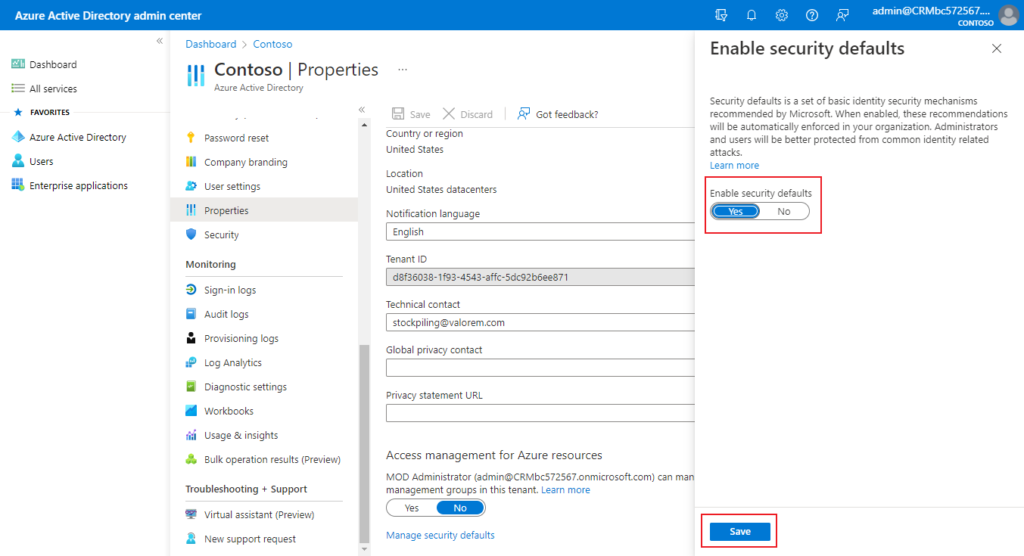
Looks good.
An easy to follow video from Microsoft: Watch: Turn on multifactor authentication
If you purchased your subscription or trial after October 21, 2019, and you’re prompted for MFA when you sign in, security defaults have been automatically enabled for your subscription.
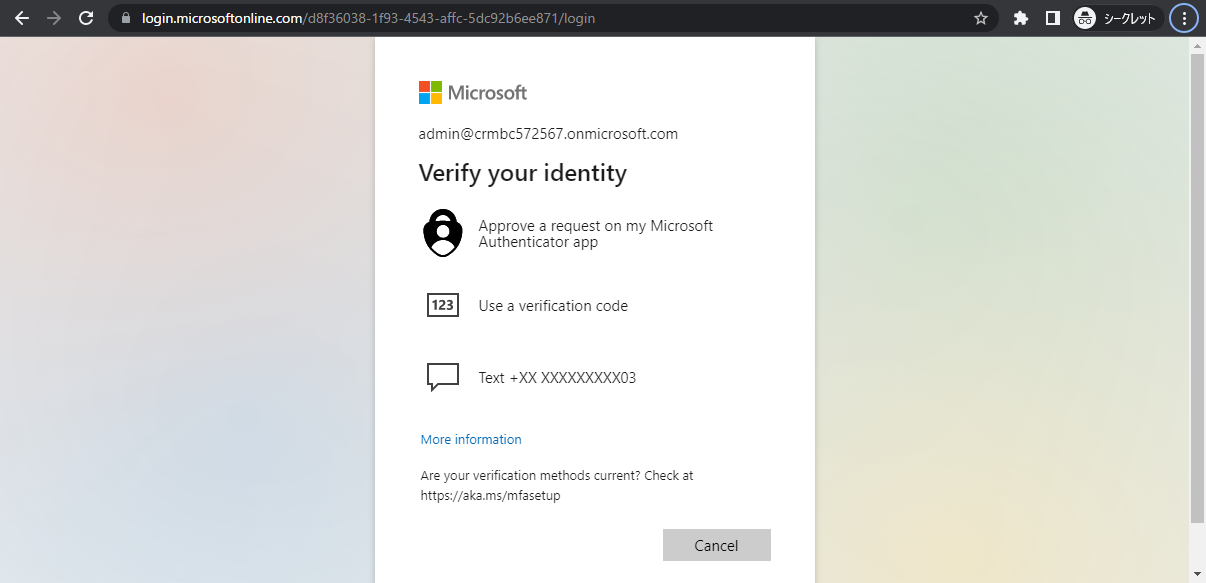
Let’s take a look at the difference before and after security defaults is turned on.
PS:
1. If you’ve previously turned on per-user MFA, you must turn it off before enabling Security defaults.
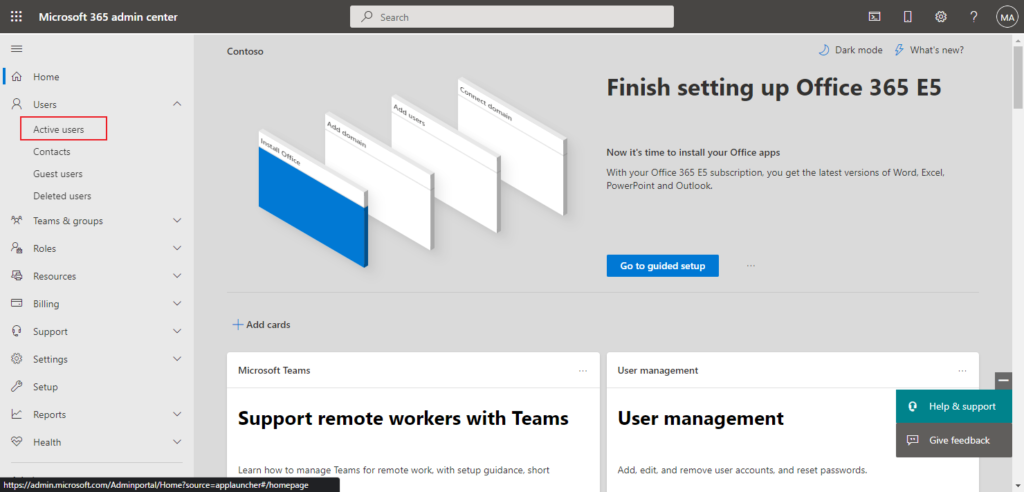
In the Microsoft 365 admin center, in the left nav choose Users > Active users.
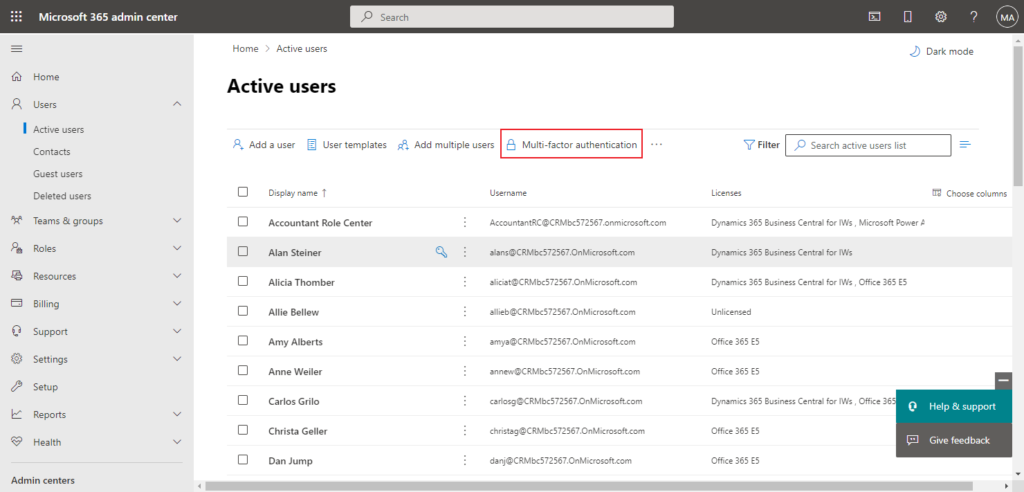
On the Active users page, choose Multi-factor authentication.
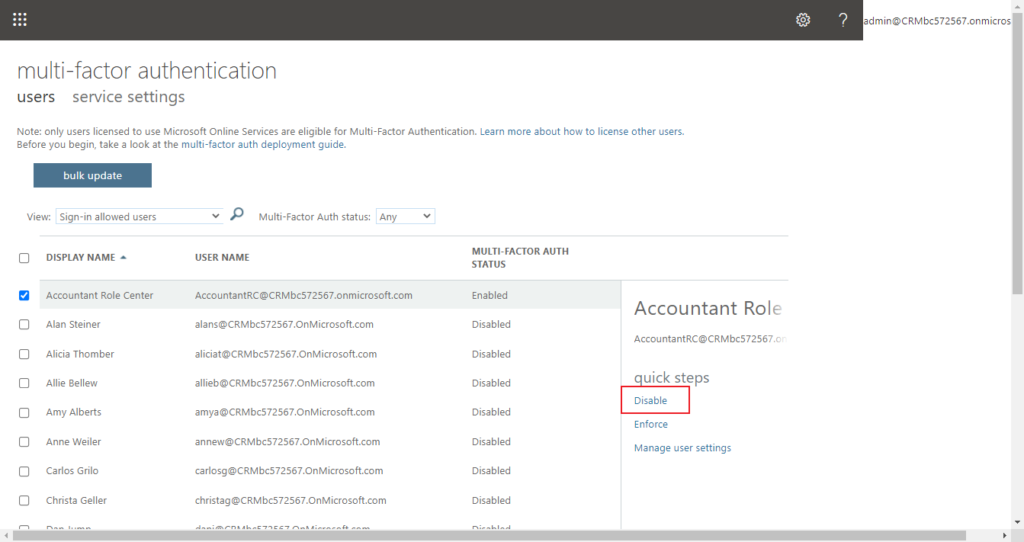
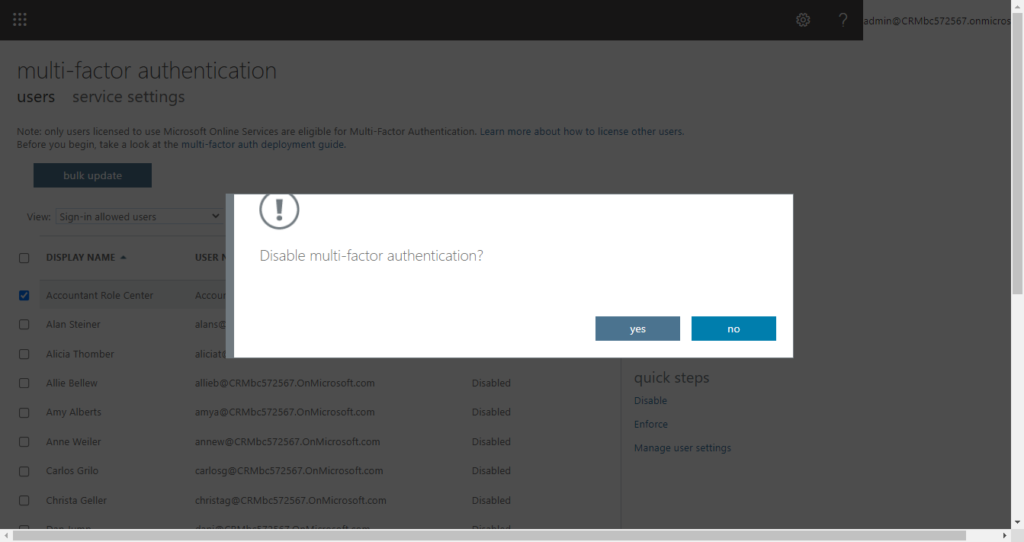
On the multi-factor authentication page, select each user and set their Multi-Factor auth status to Disabled.
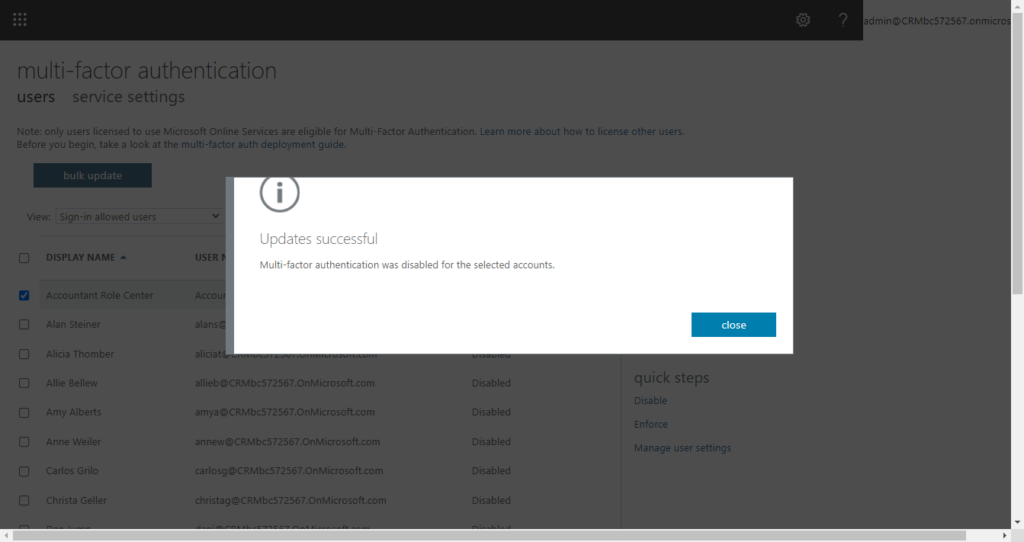
2. You can control the authentication methods available in your tenant. For example, you may want to block some of the least secure methods, such as SMS.
| Authentication method | Manage from | Scoping |
|---|---|---|
| Microsoft Authenticator (Push notification and passwordless phone sign in) | MFA settings or Authentication methods policy | Authenticator passwordless phone sign in can be scoped to users and groups |
| FIDO2 security key | Authentication methods policy | Can be scoped to users and groups |
| Software or Hardware OATH tokens | MFA settings | |
| SMS verification | MFA settings Manage SMS sign in for primary authentication in authentication policy | SMS sign in can be scoped to users and groups. |
| Voice calls | Authentication methods policy |
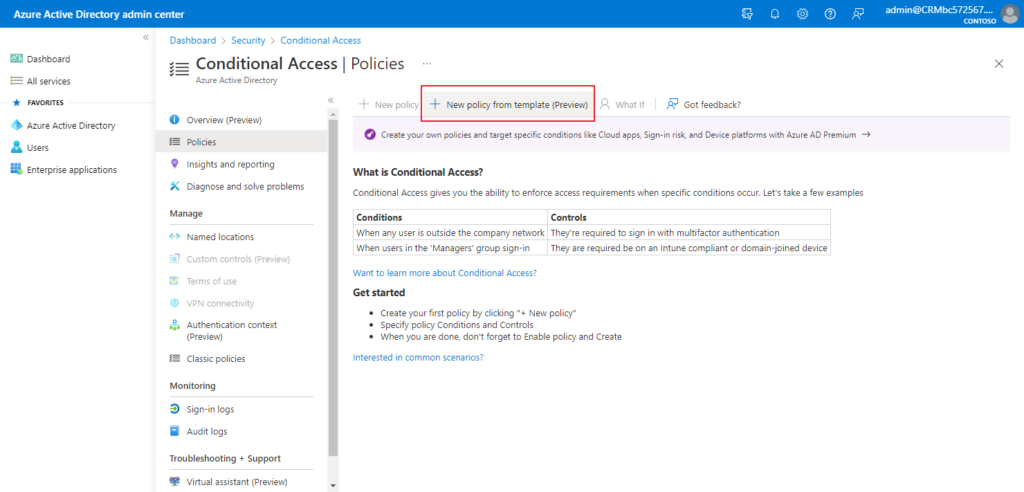
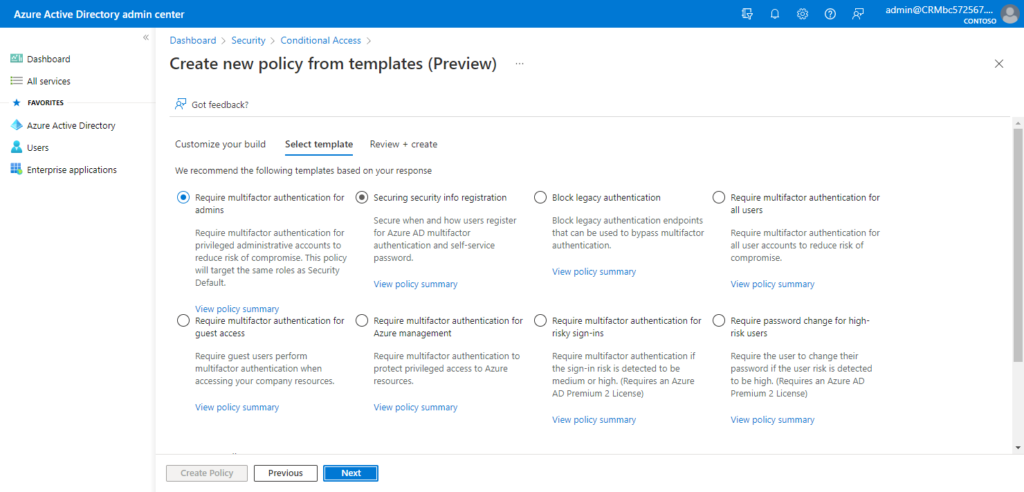
3. If your organization has more granular sign-in security needs, Conditional Access policies can offer you more control. Conditional Access lets you create and define policies that react to sign in events and request additional actions before a user is granted access to an application or service.
Important:
Turn off both per-user MFA and Security defaults before you enable Conditional Access policies.
In the Azure portal, you configure Conditional Access policies under Azure Active Directory > Security > Conditional Access.
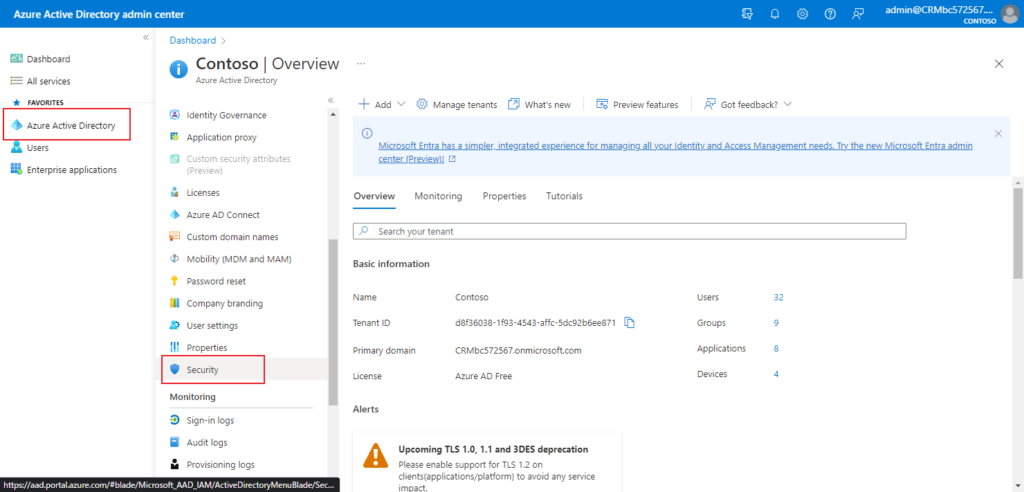
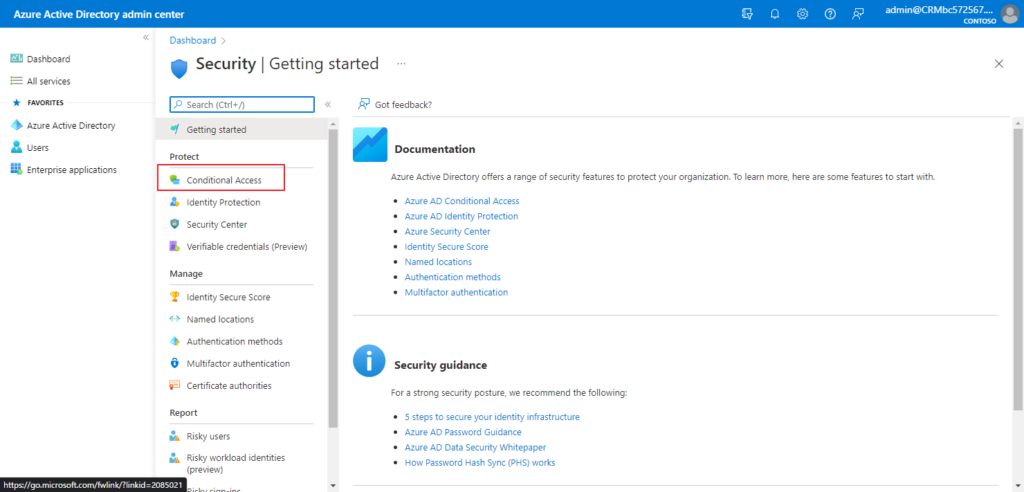
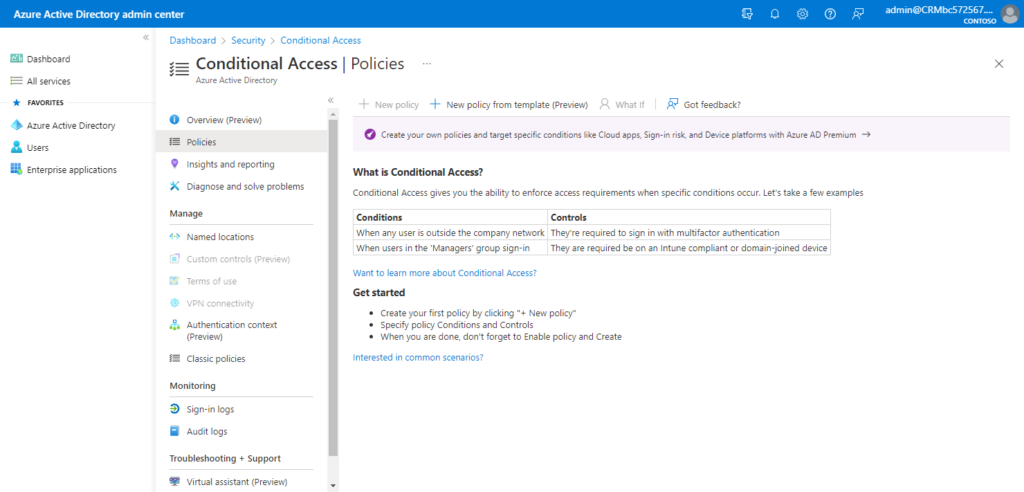
For example,
More details about Conditional Access
4. This table shows the results of enabling MFA with security defaults, Conditional Access policies, and per-user account settings.
| Item | Enabled | Disabled | Secondary authentication method |
|---|---|---|---|
| Security defaults | Can’t use Conditional Access policies | Can use Conditional Access policies | Microsoft Authenticator app |
| Conditional Access policies | If any are enabled, you can’t enable security defaults | If all are disabled, you can enable security defaults | User-specified during MFA registration |
| Legacy per-user MFA (not recommended) | Overrides security defaults and Conditional Access policies requiring MFA at each sign-in | Overridden by security defaults and Conditional Access policies | User-specified during MFA registration |
5. All users in your tenant must register for multi-factor authentication (MFA) in the form of the Azure AD Multi-Factor Authentication. Users have 14 days to register for Azure AD Multi-Factor Authentication by using the Microsoft Authenticator app. After the 14 days have passed, the user can’t sign in until registration is completed. A user’s 14-day period begins after their first successful interactive sign-in after enabling security defaults.
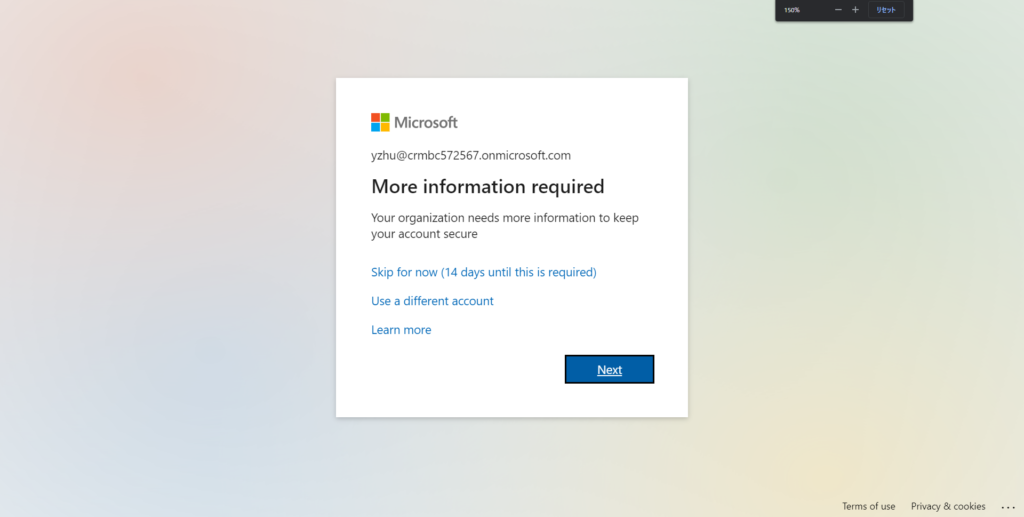
6. After registration with Azure AD Multi-Factor Authentication is finished, the following Azure AD administrator roles will be required to do extra authentication every time they sign in:
- Global administrator
- Application administrator
- Authentication administrator
- Billing administrator
- Cloud application administrator
- Conditional Access administrator
- Exchange administrator
- Helpdesk administrator
- Password administrator
- Privileged authentication administrator
- Security administrator
- SharePoint administrator
- User administrator
You can find more about MFA from MS Docs.
Overview of Azure AD Multi-Factor Authentication for your organization
Set up multifactor authentication for Microsoft 365
Multifactor authentication for Microsoft 365
Plan an Azure Active Directory Multi-Factor Authentication deployment
Security defaults in Azure AD
END
Hope this will help.
Thanks for reading.
ZHU



コメント