
皆様、こんにちは!朱でございます。
本日は、Dynamics 365 Business Central と Jet Reports との連携設定についてご紹介したいと思います。
Jet Reports は、Excel の中で完全に動作するレポーティングソリューションです。詳細については下記にご参照ください。
Advanced Operational and Financial Reporting Inside of Excel.
Jet Reports delivers a fast, accurate business reporting solution built for Microsoft Dynamics 365 Business Central that gives you the flexibility to create any report you need directly inside of Excel. Drag and drop data from any table to quickly build everything from simple financials to advanced operational reports that can be refreshed real-time, on-demand, with the click of a button. Access, share, and organize reports on the web to have the accurate answers you need from anywhere.
https://appsource.microsoft.com/en/product/dynamics-365-business-central/PUBID.jetreports%7CAID.jetreports%7CPAPPID.bec4ca36-c7fb-4110-9db5-29559cc1f84c?tab=Overview
Business Central に Jet Reports エクステンションのインストール
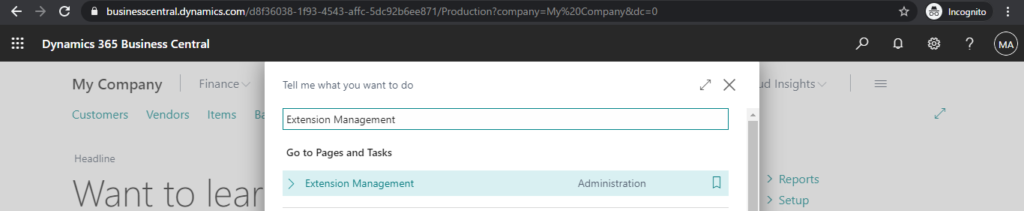
1. Business Central にログインして、Tell meに Extension Management と入力し、関連リンクを選択します。
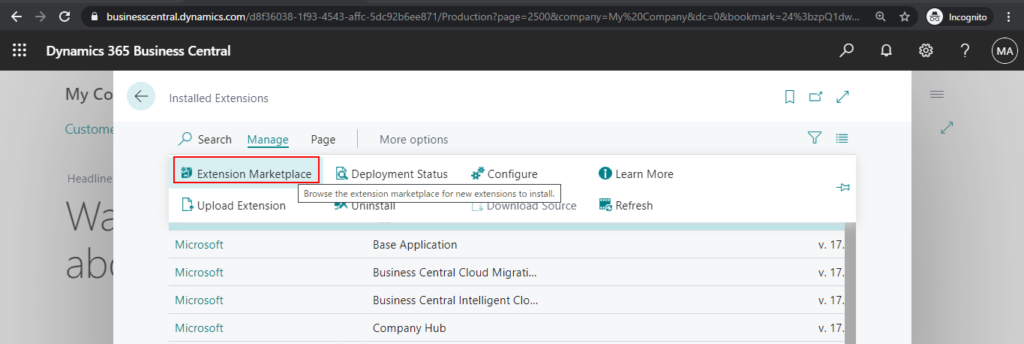
2. Extensions ページで Manage -> Extension Marketplace を選択します.
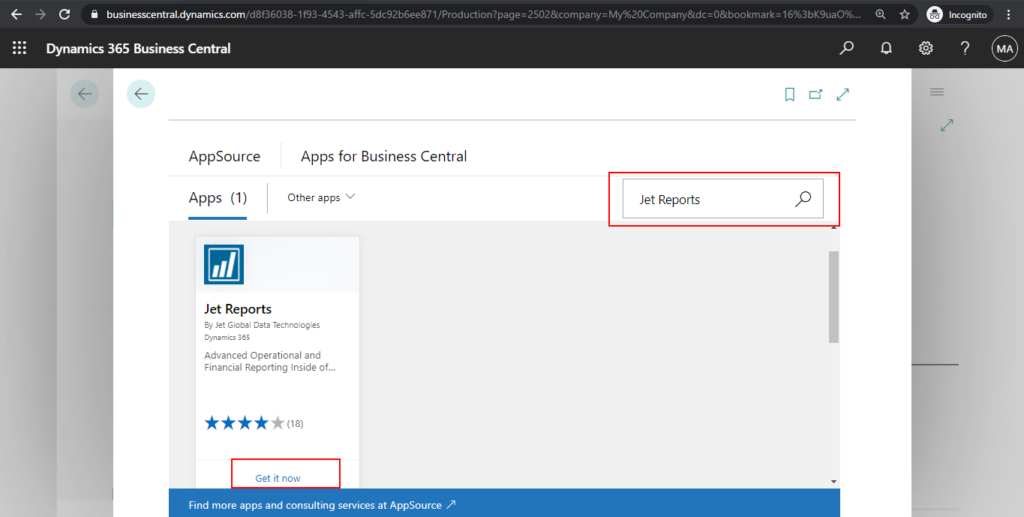
3. Jet Reports を検索し、Get it now をクリックします。
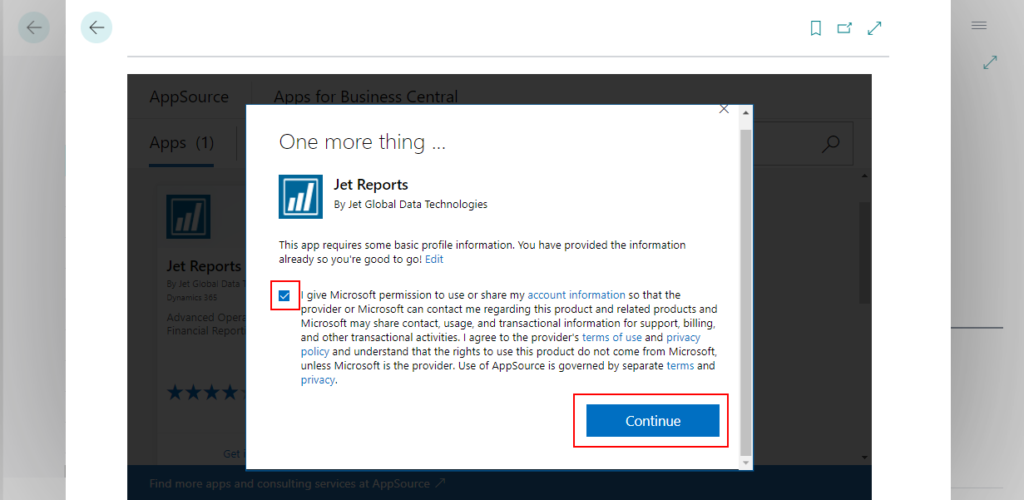
4. 利用規約とプライバシーポリシーに同意し、Continue をクリックします。
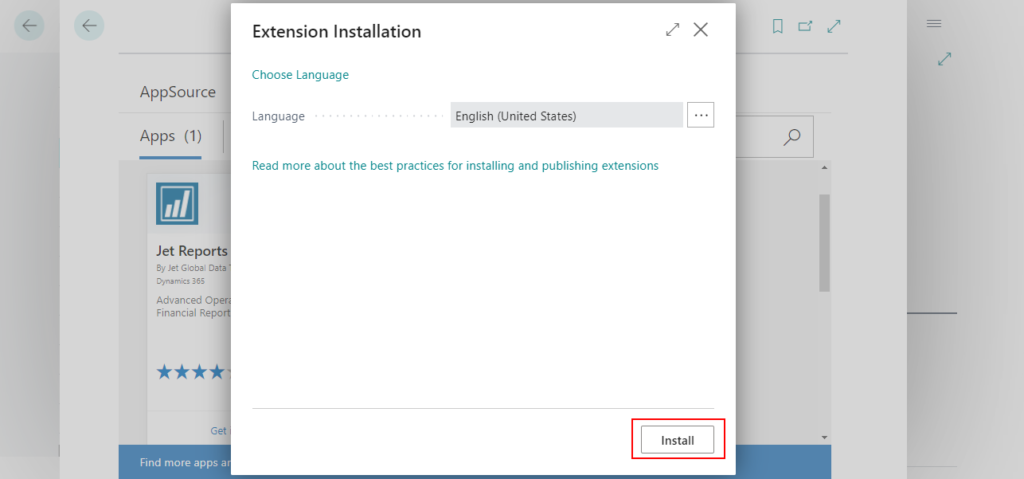
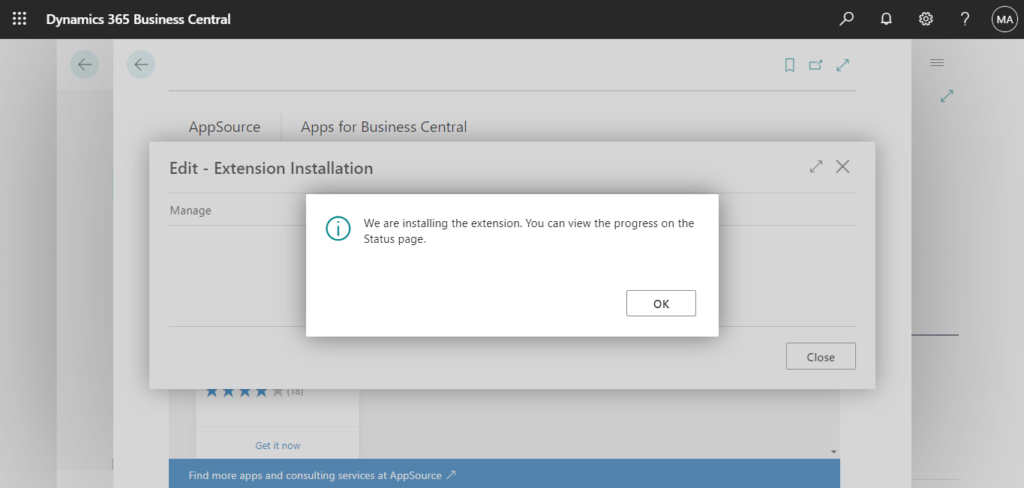
5. 言語を選択し、Install をクリックします。
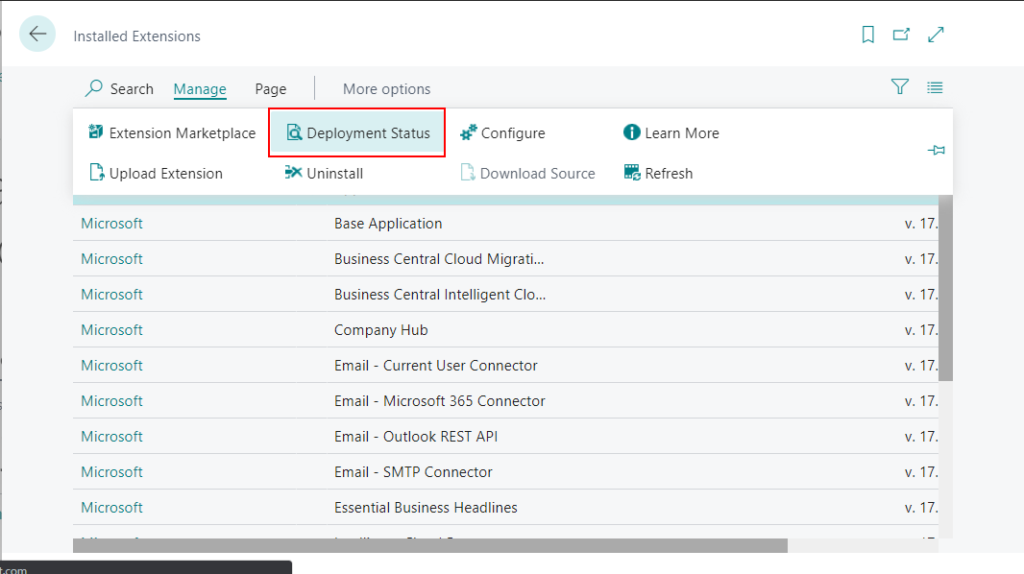
6. Manage -> Deployment Status を選択すると、Jet Reports エクステンションのデプロイ状況を確認することができます。

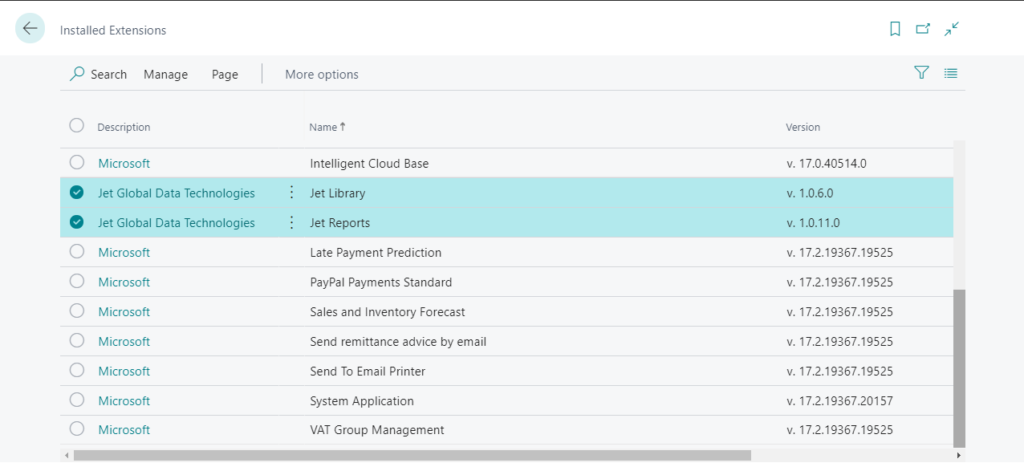
7. インストールが完了したら、Extension のページを更新して、Jet Reports と Jet Library のエクステンションを確認できます。
Jet Reports アドインのインストール
1. Jet Reports と Business Central 間の接続を確立するには、Jet Reports アプリケーションをダウンロードしてインストールする必要があります。
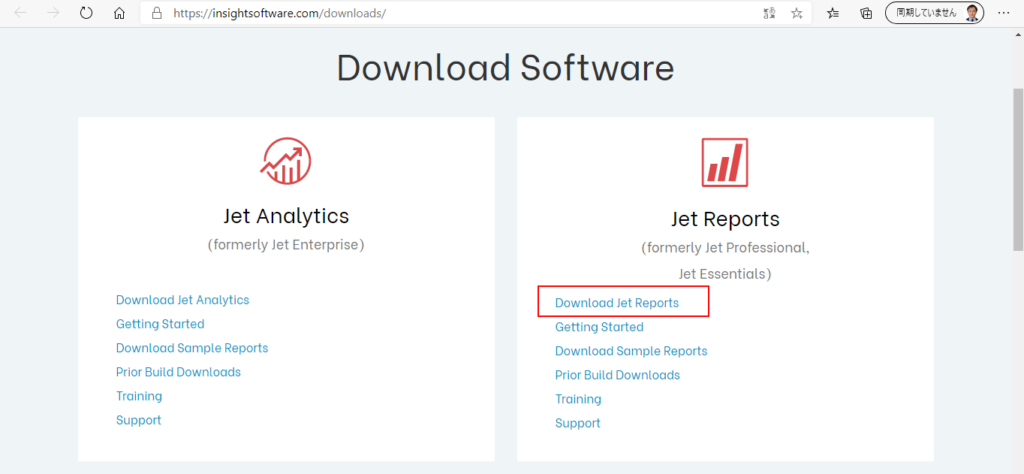
ダウンロードリンク: Jet Global Download site
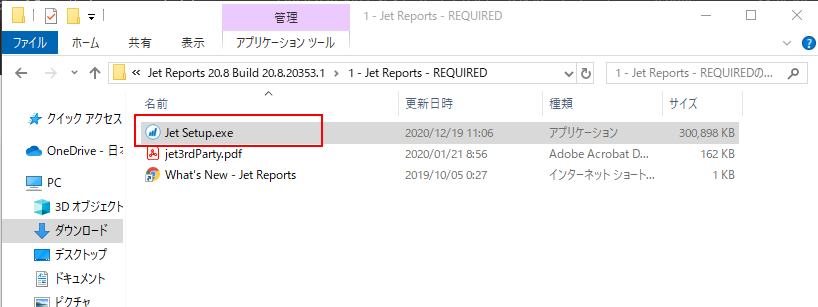
2. ファイルを解凍し、Jet Setup.exe を実行します。
Path: ~\Jet Reports 20.8 Build 20.8.20353.1\1 – Jet Reports – REQUIRED
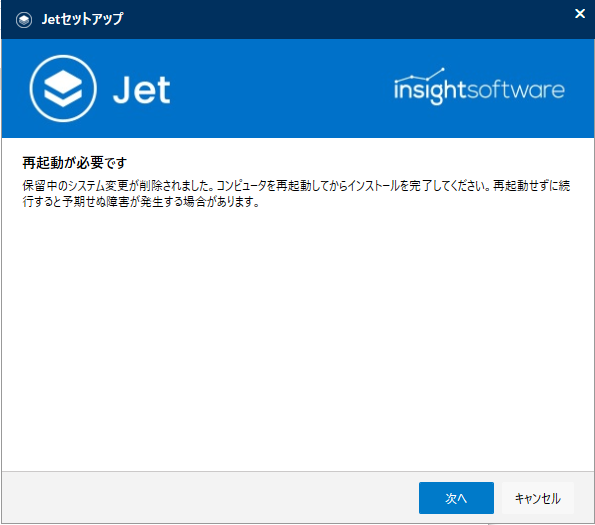
コンピュータの再起動を要求されることがあります。
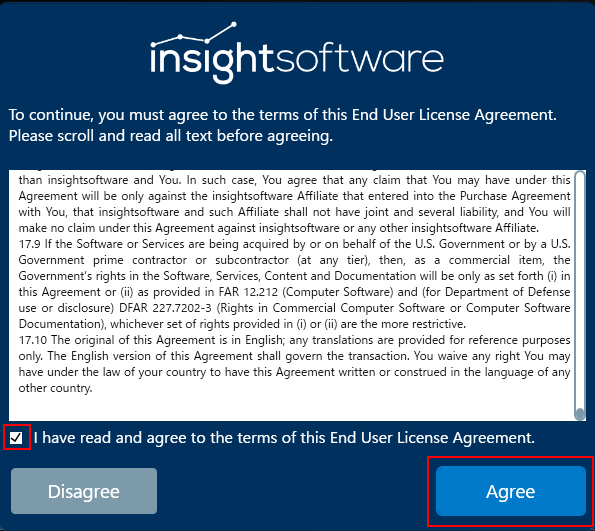
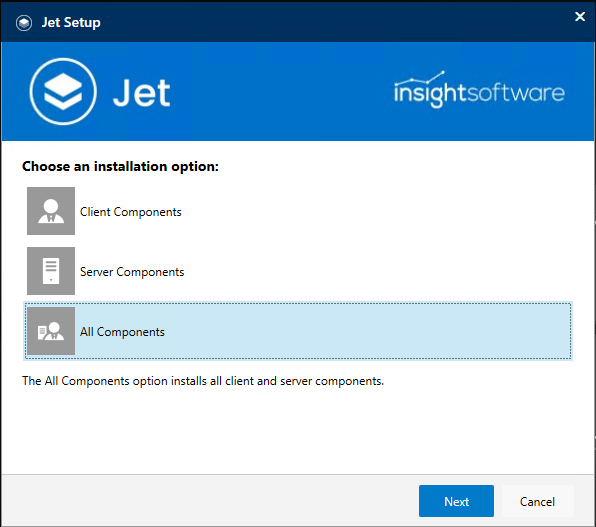
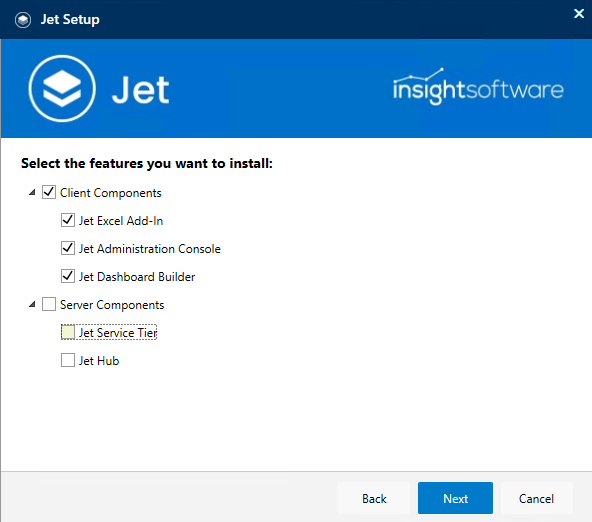
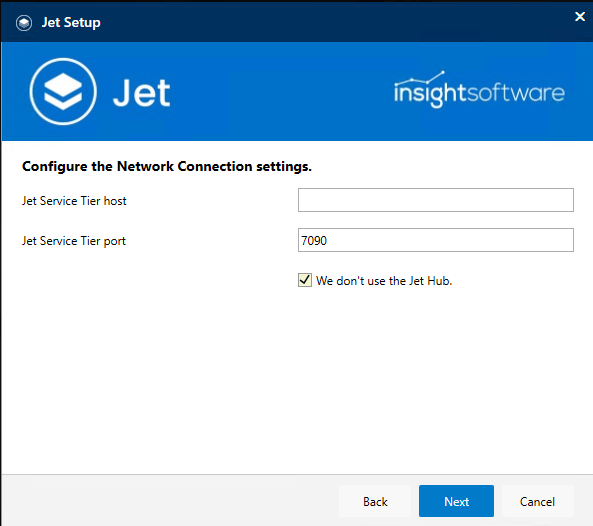
3. 自分のニーズに合わせて Jet Reports をインストールします。

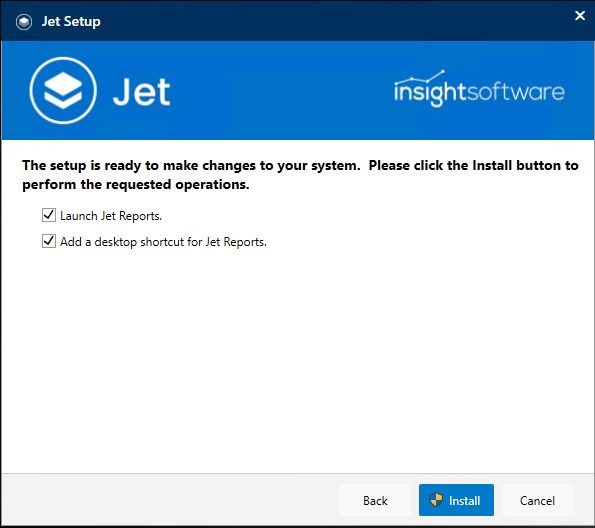
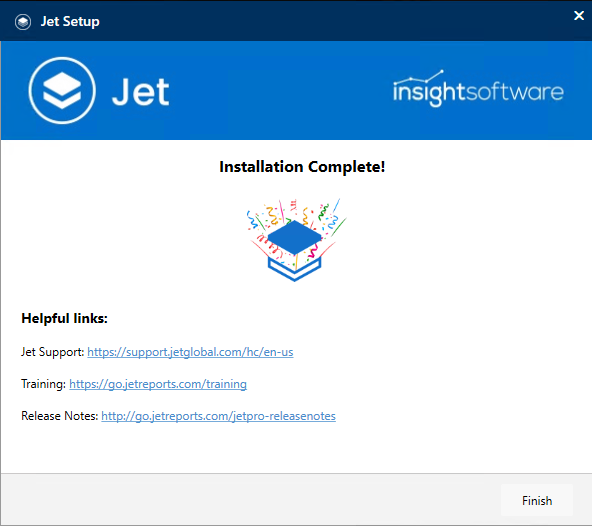
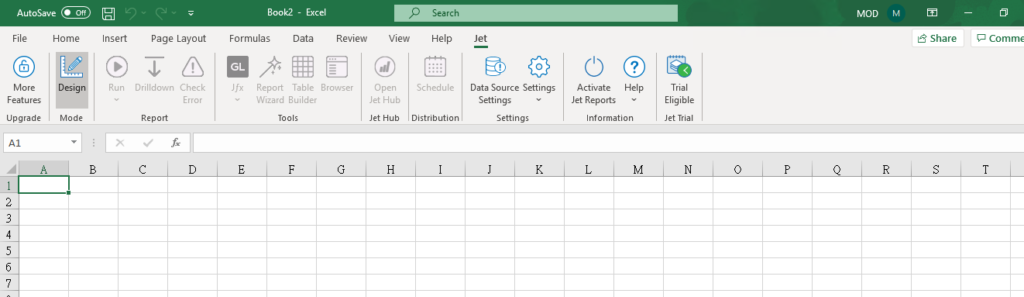
4. インストールが完了後、Excel で Jet のリボンが表示されるようになります。
Note: このアドインは Jet Reports と Dynamics 365 Business Central を接続するもので、すでにJet Reportsのライセンスをお持ちである必要があります。このアドインを利用するためのライセンスのお問い合わせは、Jet Report までご連絡ください。
Business Central のデータソースの作成 (Public Cloud Web Services)
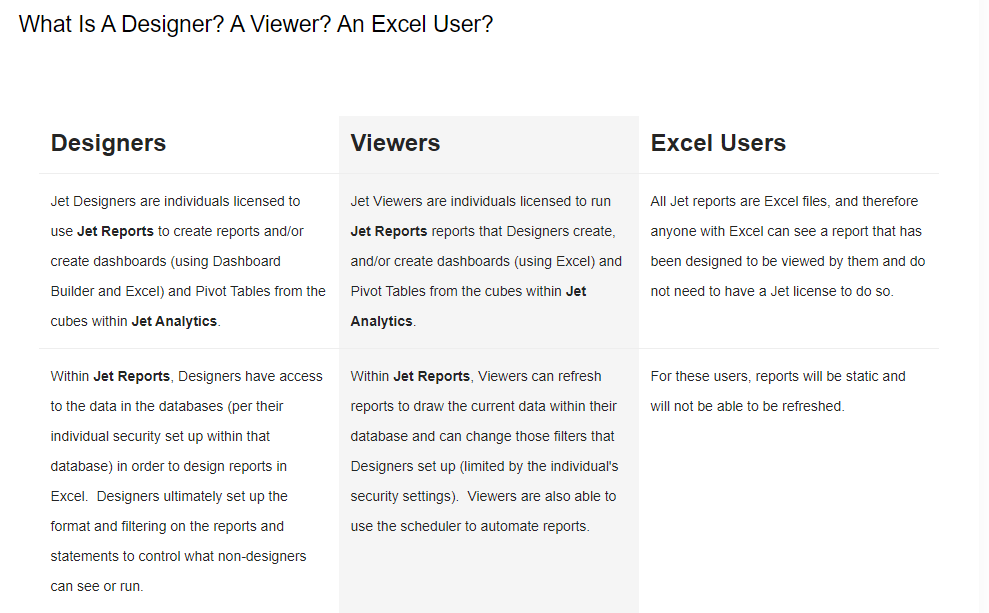
Designersライセンスをお持ちの方
現在私は Designers ライセンスを持っていないので、以下のステップは Jet Global から抜粋したものです。ご参考になりましたら幸いです。
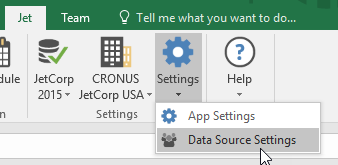
1. Excel から Jet リボンに移動し、Data Source Settings をクリックします。
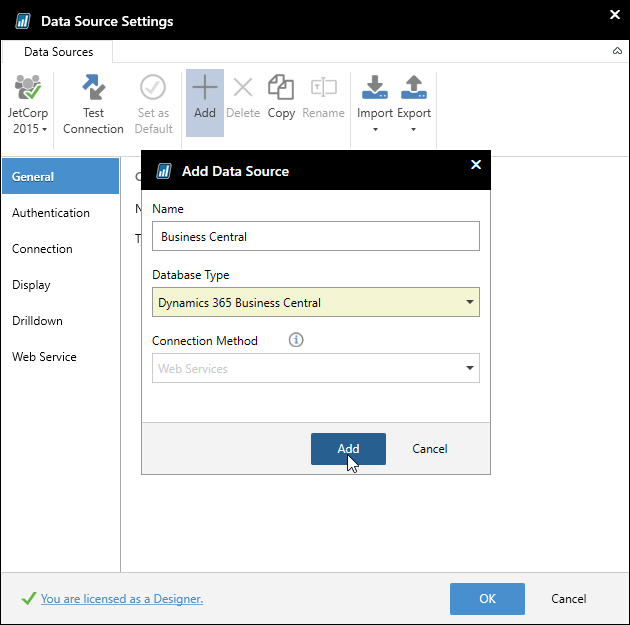
2. Data Source Settings のツールバーで Add をクリックします。
Add Data Source ダイアログでは、データソースの名前を入力し、Database Type のプルダウンリストから Dynamics 365 Business Central を選択します。
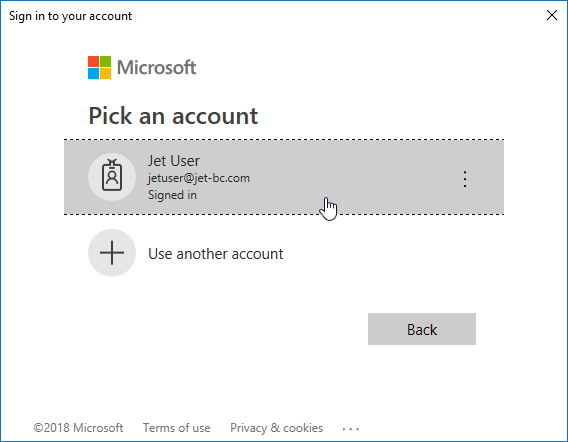
3. Microsoftのログイン画面が表示されたら、Business Central データへの接続に使用するアカウントを選択し、パスワードを入力します。
4. 接続が完了すると、指定したユーザー名が Authentication タブに表示されます。
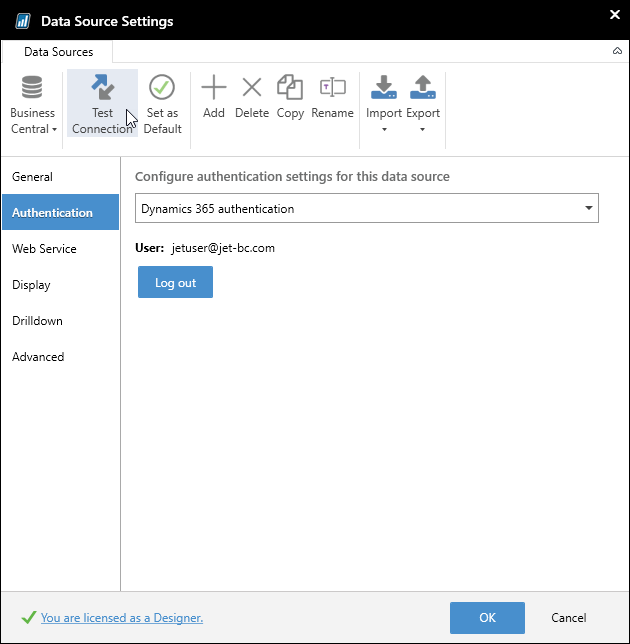
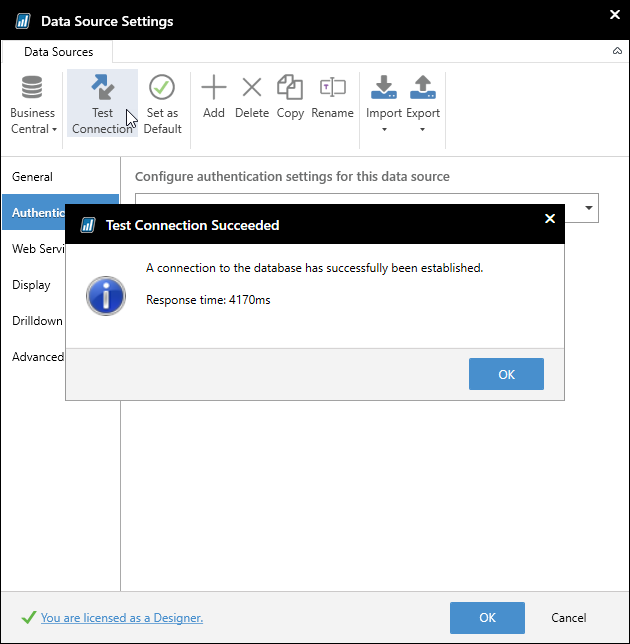
5. Test Connection をクリックして、データベースへの接続をテストできます。
6. ツールバーの Set as Default をクリックして、Business Central のデータソースをディフォルトに設定することができます。
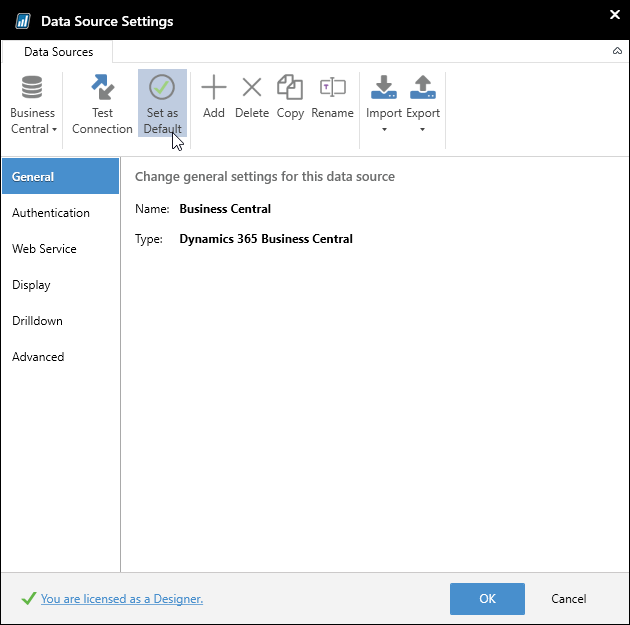
7. 最後に OK をクリックすると、Dynamics 365 Business Central のデータソースが Jet Reports で使用できるようになります。
トライアルライセンスのみをお持ちの方
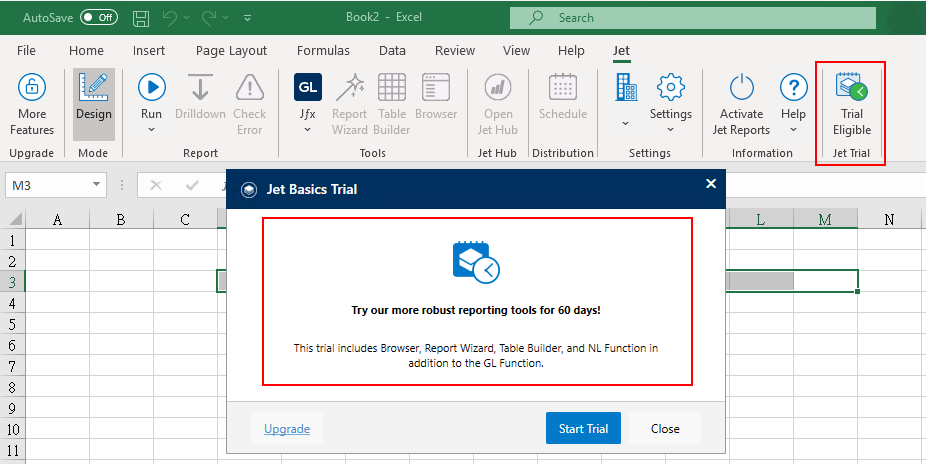
1. Excel から Jet リボンに移動し、Data Source Settings をクリックします。
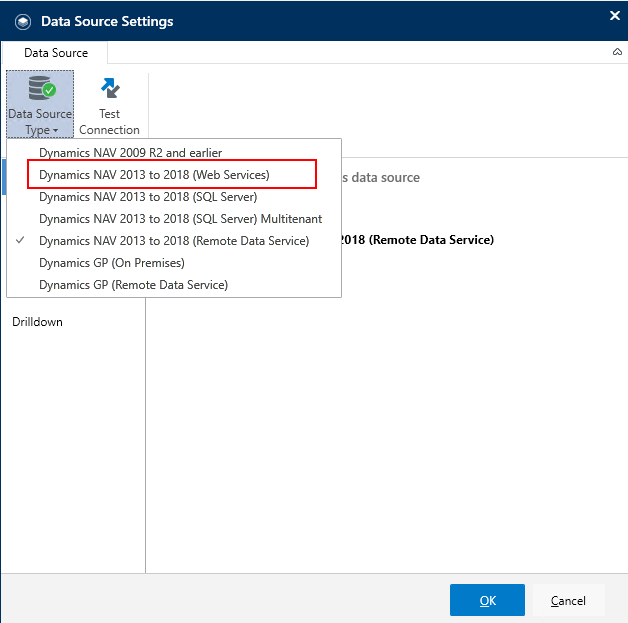
2. Designers ライセンスを持っていない場合、Data Source Settings ツールバーに Add が表示されません。そこで、Webサービスを利用して Business Central にアクセスすることもできます。Data Source Type -> Dynamics NAV 2013 to 2018 (Web Services) をクリックします。
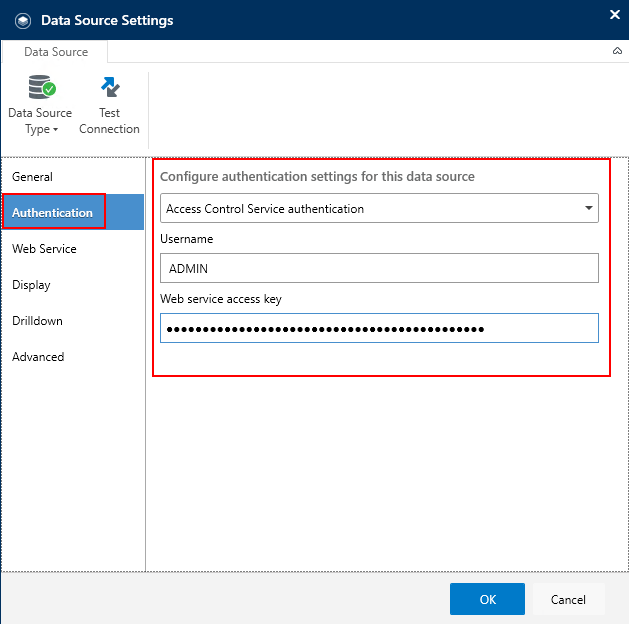
3. Access Control Service authentication を選択し、UserName と Web service access key を入力します。
Business Central:
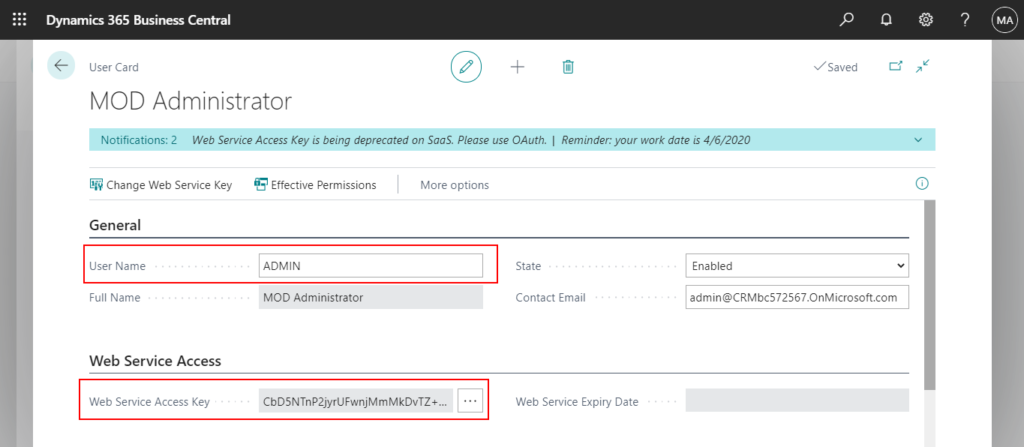
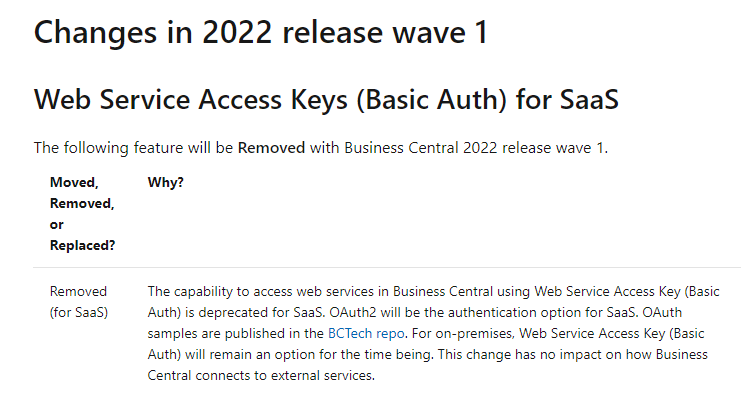
Note: Web Service Access Keys (Basic Auth) が Business Central 2022 release wave 1 から廃棄される予定です。
詳細について: Link
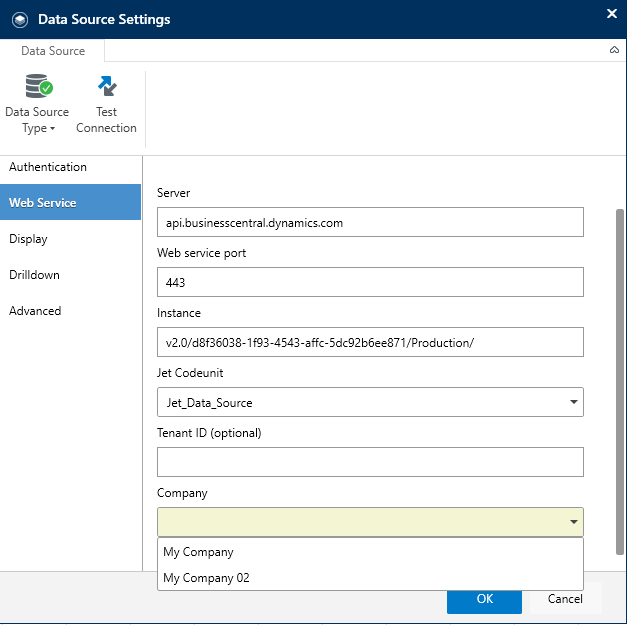
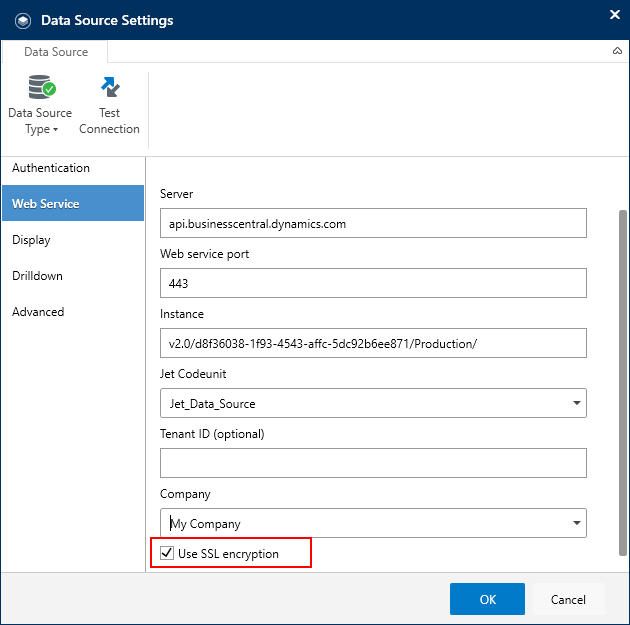
4. Webサービスの情報を入力します。
ブラウザ上で任意のWebサービスを開いて情報を取得することができます。

Server: api.businesscentral.dynamics.com
Web service port: 443
Instance: v2.0/TenantID/EnvironmentName
For example: v2.0/d8f36038-1f93-4543-affc-5dc92b6ee871/Production/
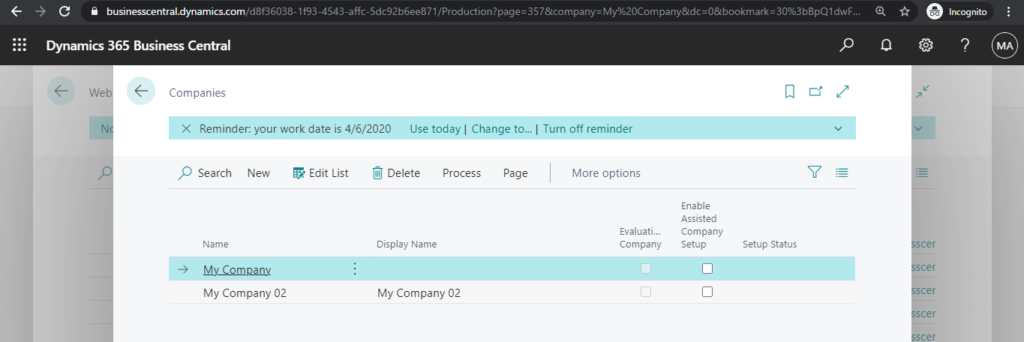
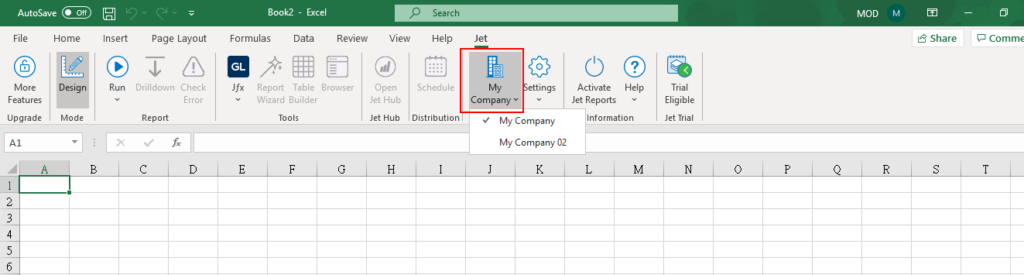
Company: My Company
例: 会社を選択することができます
Business Central:
Use SSL encryption: True
5. OK をクリックすると、Dynamics 365 Business Central のデータソースが Jet Reports で使用できるようになります。
以上
お読みいただきありがとうございました。


コメント