
皆様、こんにちは!
今日は前職で未解決の問題を研究し直した結果を共有したいと思います。およそ半年前あるコンサルタントからの質問で、Dynamics 365 Business Centralの受注(発注)画面で転記ボタンを押した後のダイアログ (Ship, Invoice, Ship and Invoice) をカスタマイズできますか。
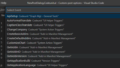
これのことですね。
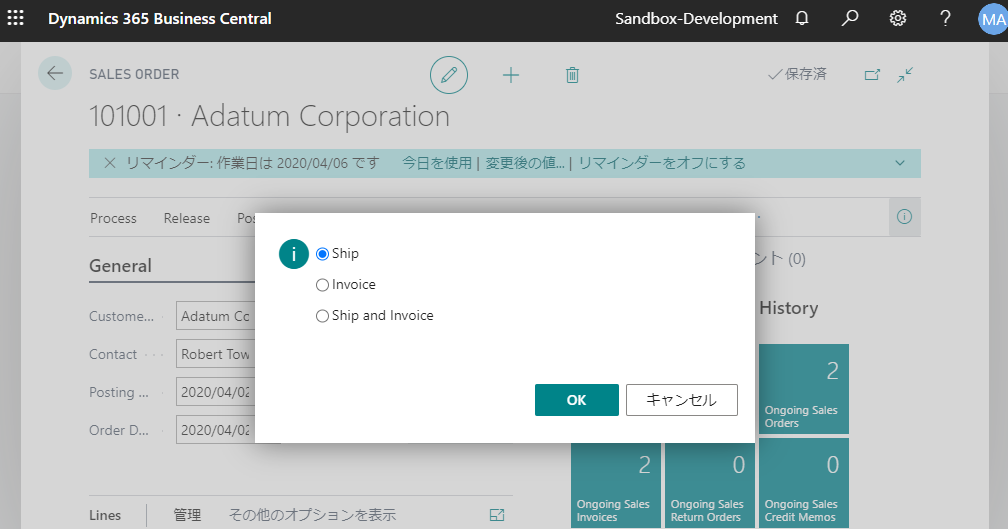
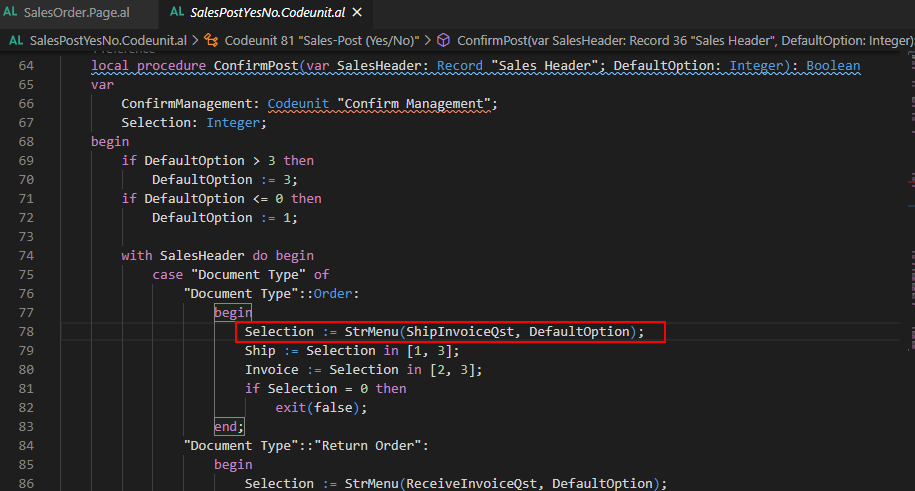
標準のソースコード (codeunit 81 “Sales-Post (Yes/No)”)を見ればわかると思いますが、StrMenu関数が使わていますので、標準のソースコードを変更しない限り、このカスタマイズ無理ではないかはその時の結論でした。
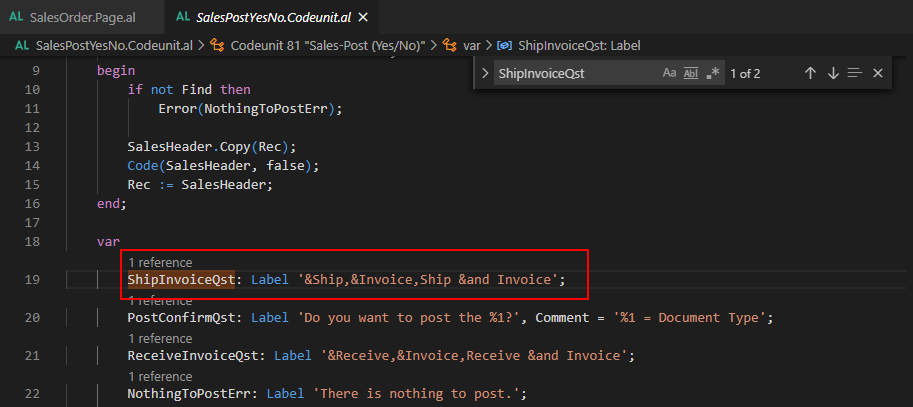
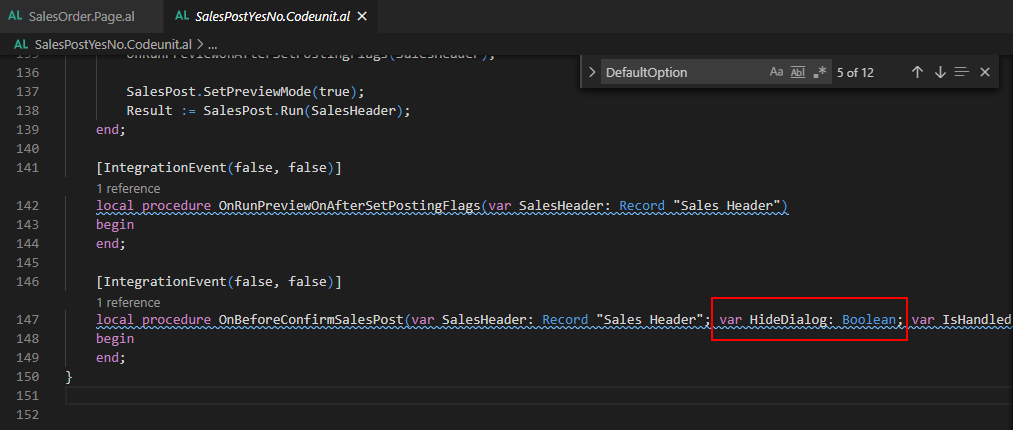
今日考え直して、もう一度調べました。そこでOnBeforeConfirmSalesPostイベントのHideDialog変数を気づきました。実現可能になるかもしれません。
早速試してみましょう。
概要設計書:Sales Orderカードをカスタマイズ
ディフォルトの転記処理のDialogを隠す
新しいDialogを追加する
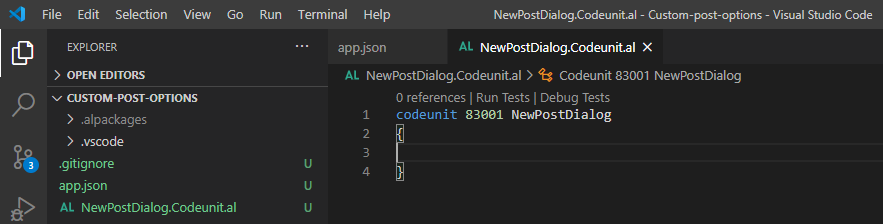
新しいプロジェクトを作成して、Codeunitを追加します。
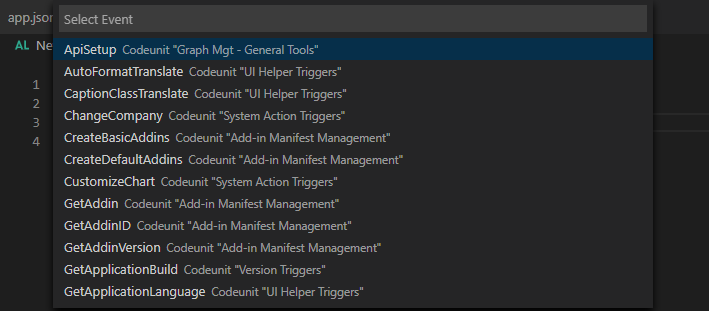
ショットカットキー「Shift + Alt + E」を押してイベント検索画面を呼び出します。
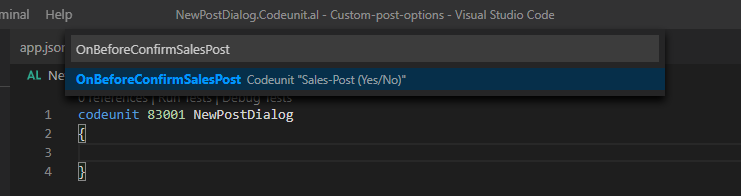
OnBeforeConfirmSalesPostイベントを検索して、クリックします。
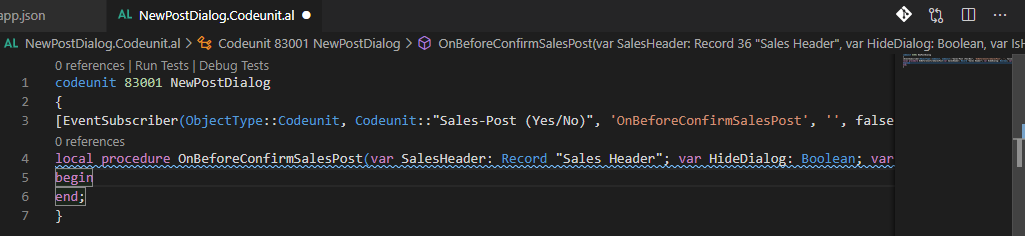
codeunit 81 “Sales-Post (Yes/No)”のConfirmPost関数を参照してコーディングを始めましょう。
試しにShip -> Ship New, Invoice -> Invoice New, Ship and Invoice -> Ship and Invoice Newを変更してみます。
    [EventSubscriber(ObjectType::Codeunit, Codeunit::"Sales-Post (Yes/No)", 'OnBeforeConfirmSalesPost', '', false, false)]
    local procedure NewConfirm(var SalesHeader: Record "Sales Header"; var HideDialog: Boolean)
    begin
        HideDialog := true;
        NewConfirmPost(SalesHeader)
;
    end;

    local procedure NewConfirmPost(var SalesHeader: Record "Sales Header"): Boolean
    var
        Selection: Integer;
        ConfirmManagement: Codeunit "Confirm Management";
        ShipInvoiceQst: Label '&Ship New,&Invoice New,Ship &and Invoice New';
        PostConfirmQst: Label 'Do you want to post the %1?', Comment = '%1 = Document Type';
        ReceiveInvoiceQst: Label '&Receive,&Invoice,Receive &and Invoice';
        NothingToPostErr: Label 'There is nothing to post.';
    begin
        case SalesHeader."Document Type" of
            SalesHeader."Document Type"::Order:
                begin
                    Selection := StrMenu(ShipInvoiceQst, 1);
                    SalesHeader.Ship := Selection in [1, 3];
                    SalesHeader.Invoice := Selection in [2, 3];
                    if Selection = 0 then
                        exit(false);
                end;
            SalesHeader."Document Type"::"Return Order":
                begin
                    Selection := StrMenu(ReceiveInvoiceQst, 1);
                    if Selection = 0 then
                        exit(false);
                    SalesHeader.Receive := Selection in [1, 3];
                    SalesHeader.Invoice := Selection in [2, 3];
                end
            else
                if not ConfirmManagement.GetResponseOrDefault(
                     StrSubstNo(PostConfirmQst, LowerCase(Format(SalesHeader."Document Type"))), true)
                then
                    exit(false);
        end;
        SalesHeader."Print Posted Documents" := false;
        exit(true);
    end;
パブリッシュして、確認します。やはり実現できました。

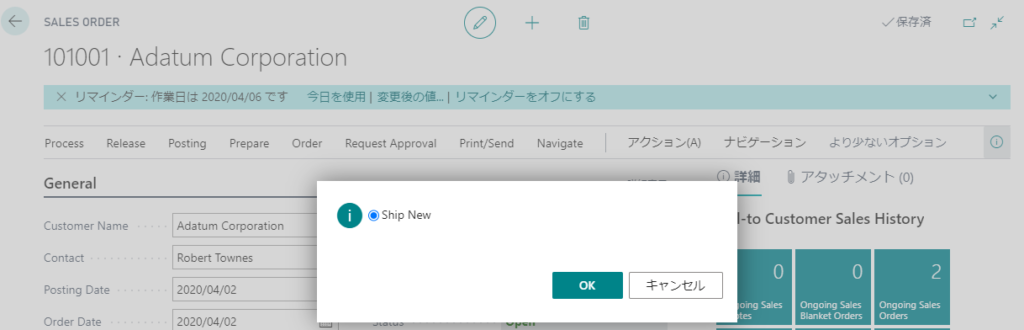
次はShipだけを残って、Invoiceに関連する項目を削除します。
上記のソースコードを読んだら、受注の場合は下記の三行でコントロールすることが明白です。Labelの内容をShipだけを残して、SalesHeader.Shipの範囲も絞ります。
ShipInvoiceQst: Label '&Ship New,&Invoice New,Ship &and Invoice New';
                    SalesHeader.Ship := Selection in [1, 3];
                    SalesHeader.Invoice := Selection in [2, 3];
下記のように変更します。
ShipInvoiceQst: Label '&Ship New';
                    SalesHeader.Ship := Selection in [1, 1];
結果確認、成功しました。
最後にSales and Invoiceだけを残してみましょう。
ShipInvoiceQst: Label 'Ship &and Invoice New';
                    SalesHeader.Ship := Selection in [1, 1];
                    SalesHeader.Invoice := Selection in [1, 1];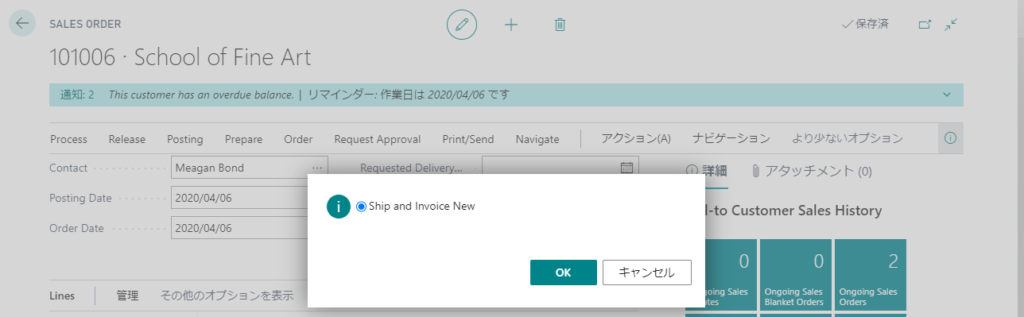
転記を実行してみます。
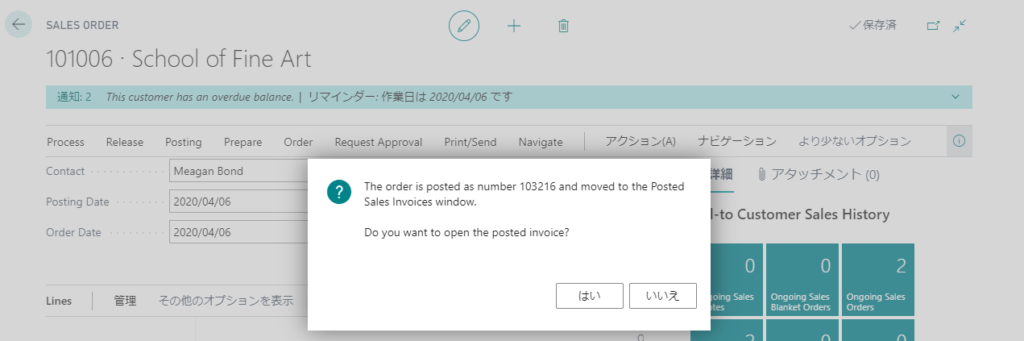
問題なく転記できました。
今回の内容は他の機能でも活用できると思います、皆様時間があるときにぜひお試しください。
ソースコード:
https://github.com/yzhums/Custom-post-options
以上
コメント