Hi, Readers.
Last month we discussed how to export data from Business Central to a csv file with Power Automate (No customization) – JSON to csv. Afterwards, I received some feedback, for example, since the customer does not have a Microsoft 365 license, whether it can be integrated with products other than OneDrive/SharePoint, such as Google Drive. So today I would like to talk about how to export data from Business Central to Google Sheets/Google Drive with Power Automate.
Power Automate is a service that helps you create automated workflows (or flows) between apps and services, like Business Central. With Business Central, you’re given a license to Microsoft Power Automate. This license lets you use your Business Central data as part of a workflow in Microsoft Power Automate. You create flows and connect to your data from internal and external sources through the Business Central connector.
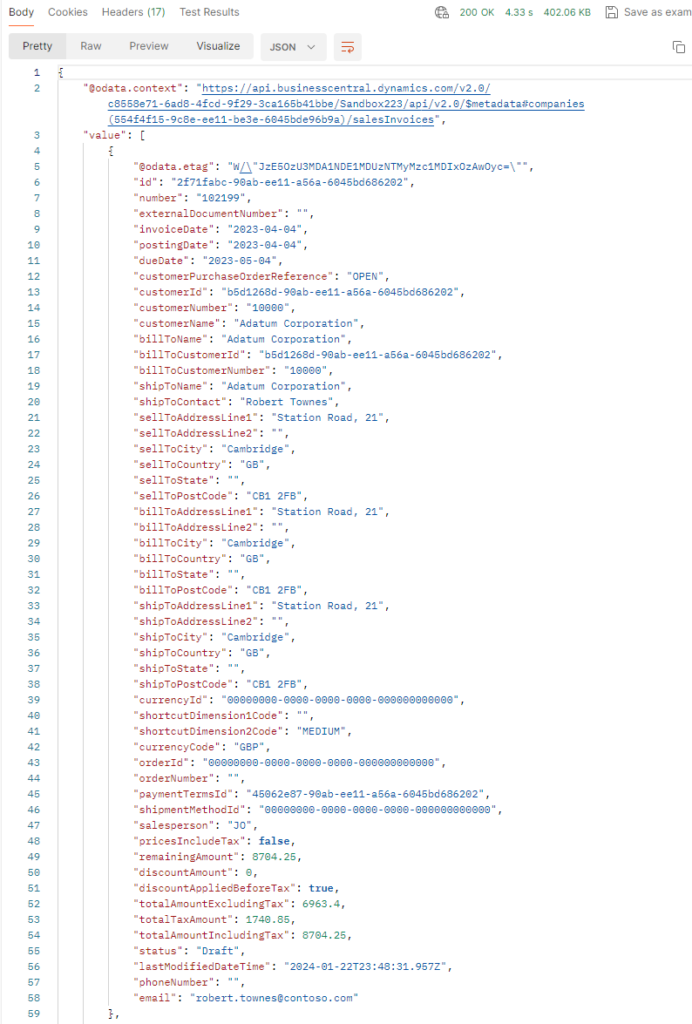
This time we use the standard salesInvoice API, export posted sales invoices to Google Sheets.
Here is an example of the response:
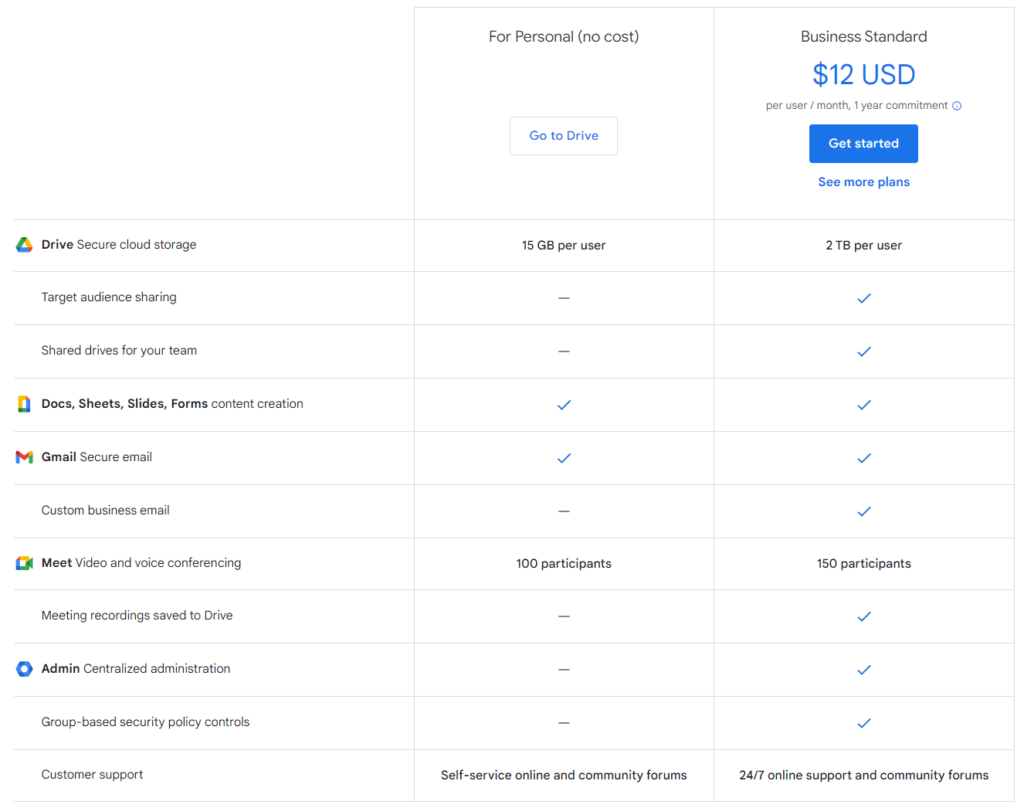
A prerequisite is that you need to register a Google account. Make sure you can open Google Drive normally.
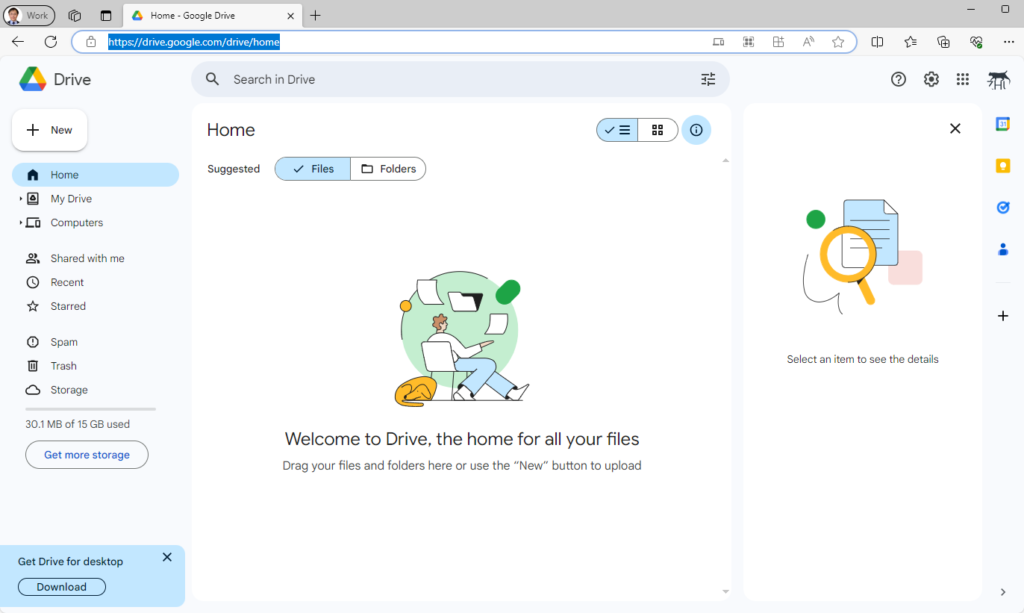
PS: It’s free for For Personal, although there are capacity limits.
Let’s look at a simplest example, which only requires two steps in Power Automate.
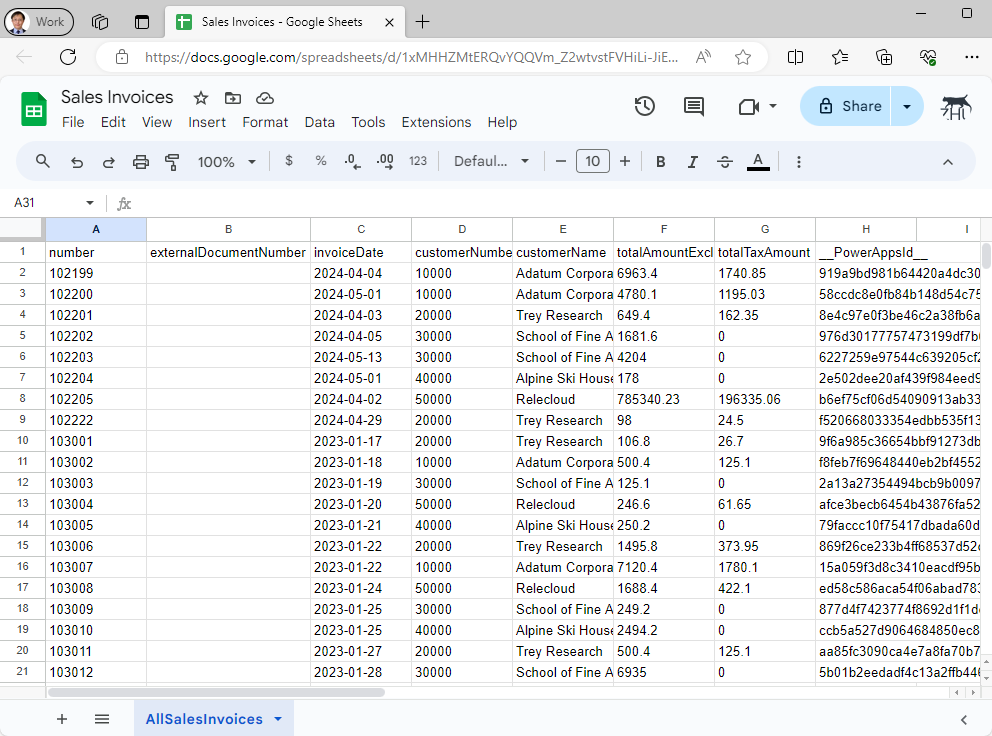
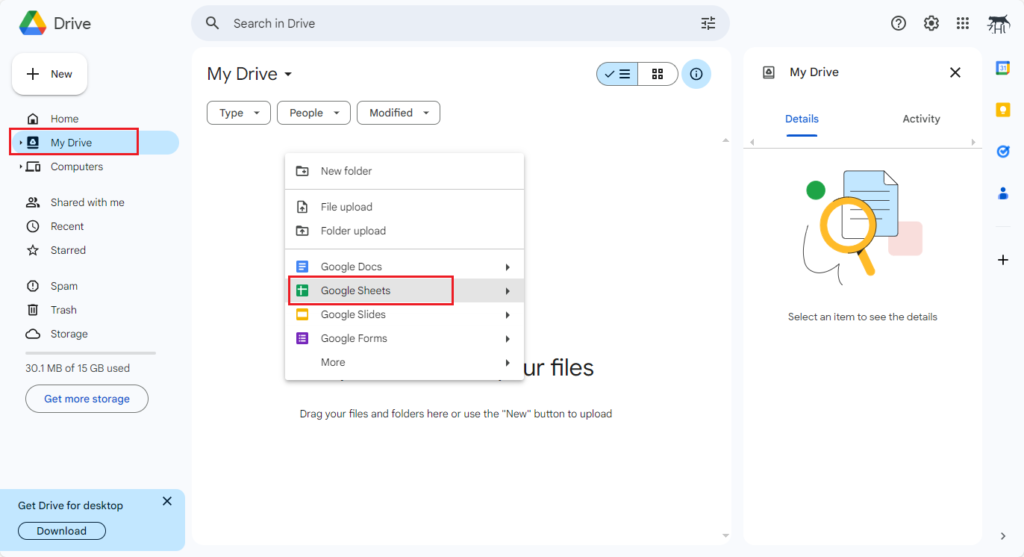
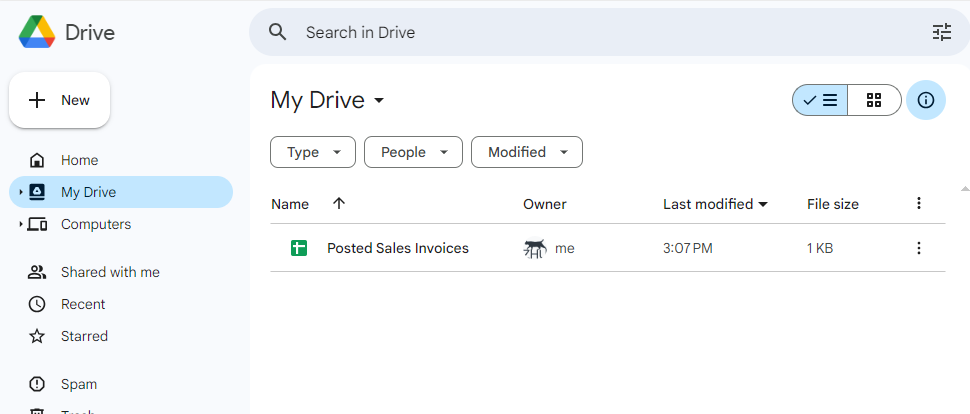
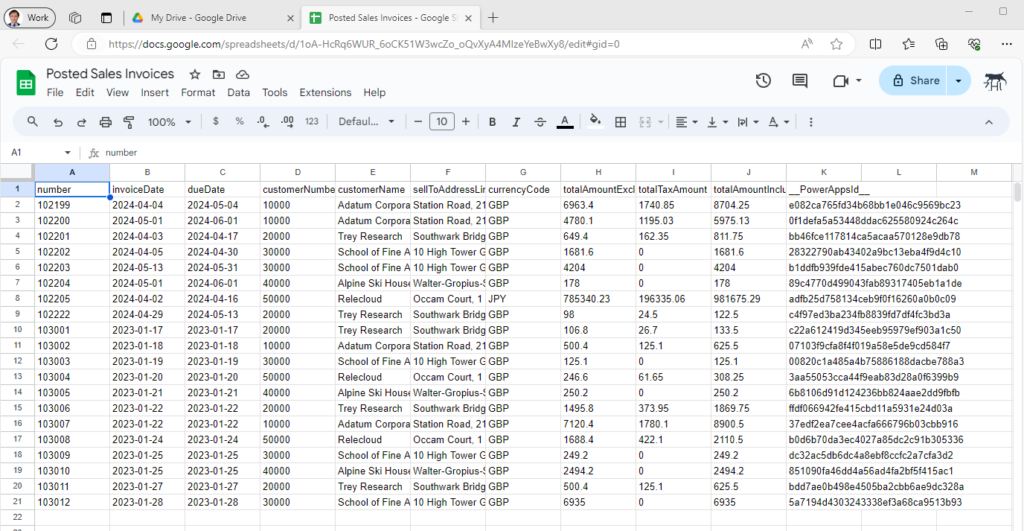
First click My Drive in Google Drive, right-click on the blank space to create a new Google Sheets.
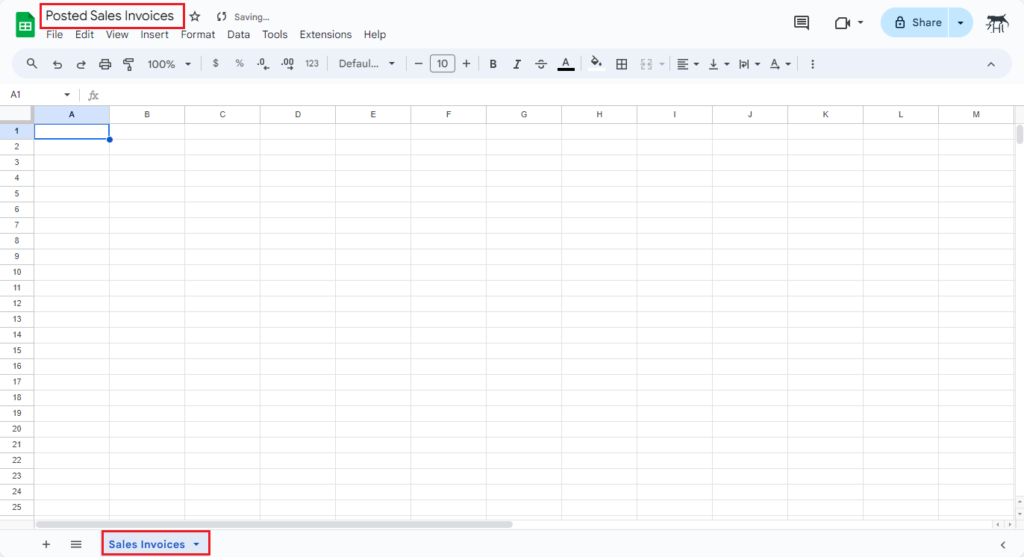
Change the file name and worksheet name. For example,
File name: Posted Sales Invoices
Worksheet name: Sales Invoices
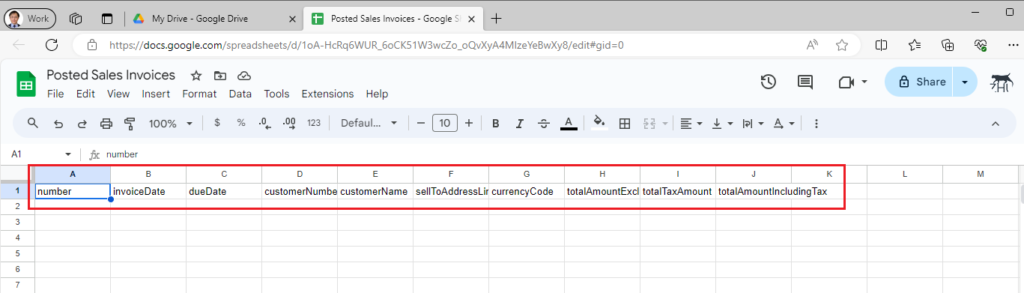
Manually enter the column names you need, I copied the field names from the salesInvoice API.
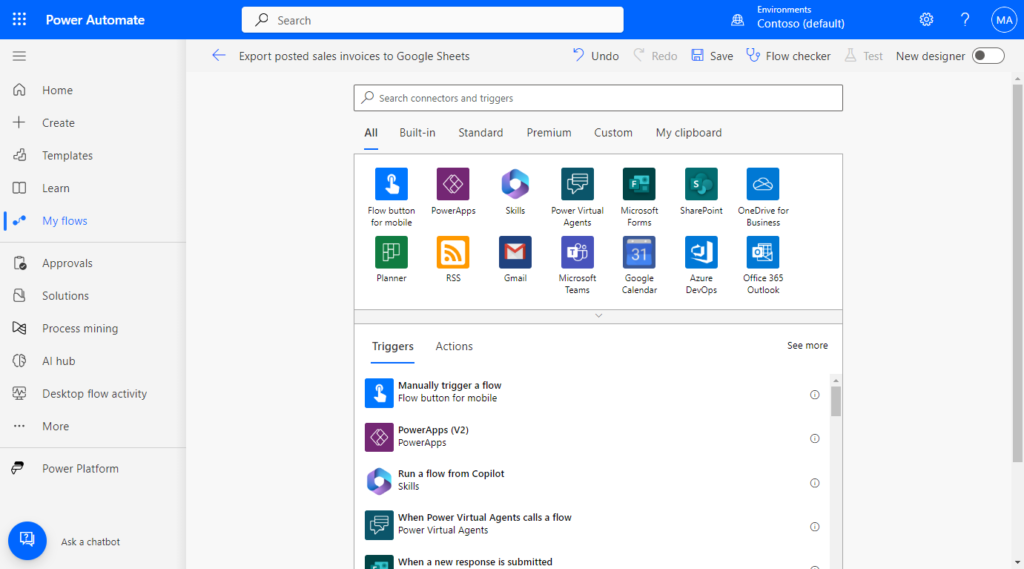
Sign in to Power Automate, and create a new Automated cloud flow.
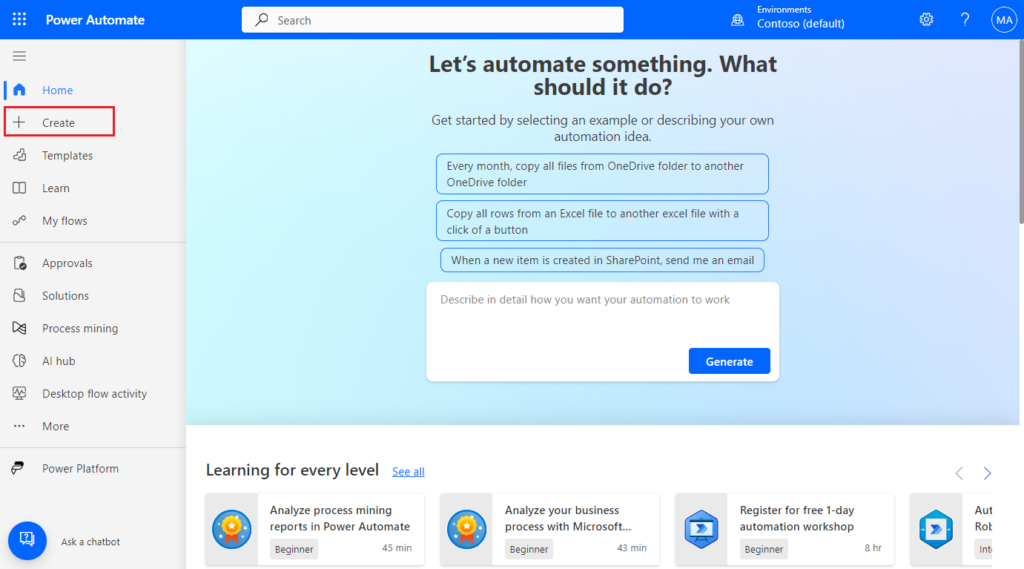
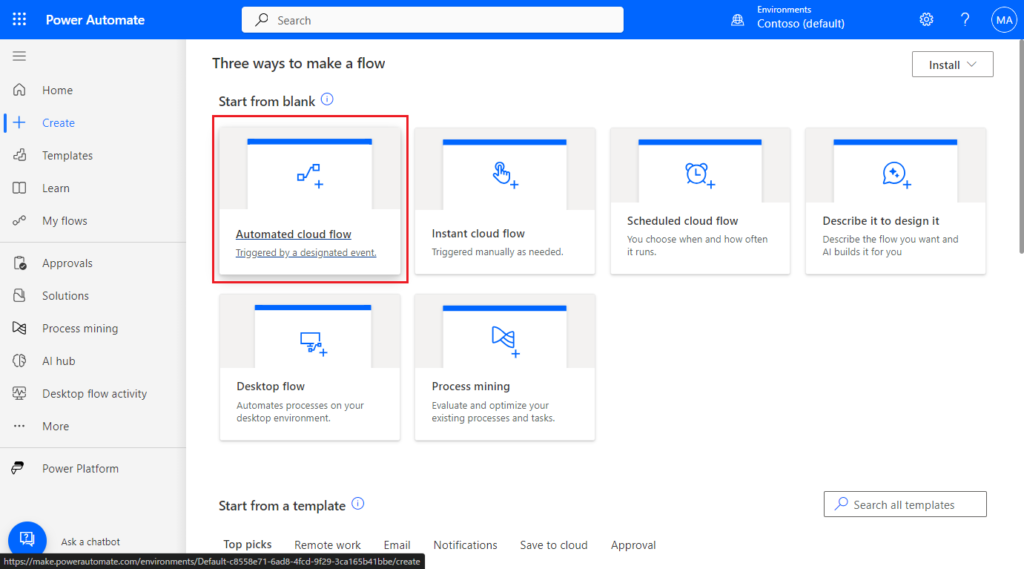
Choose Skip. (You can also set the flow name and flow’s trigger here)
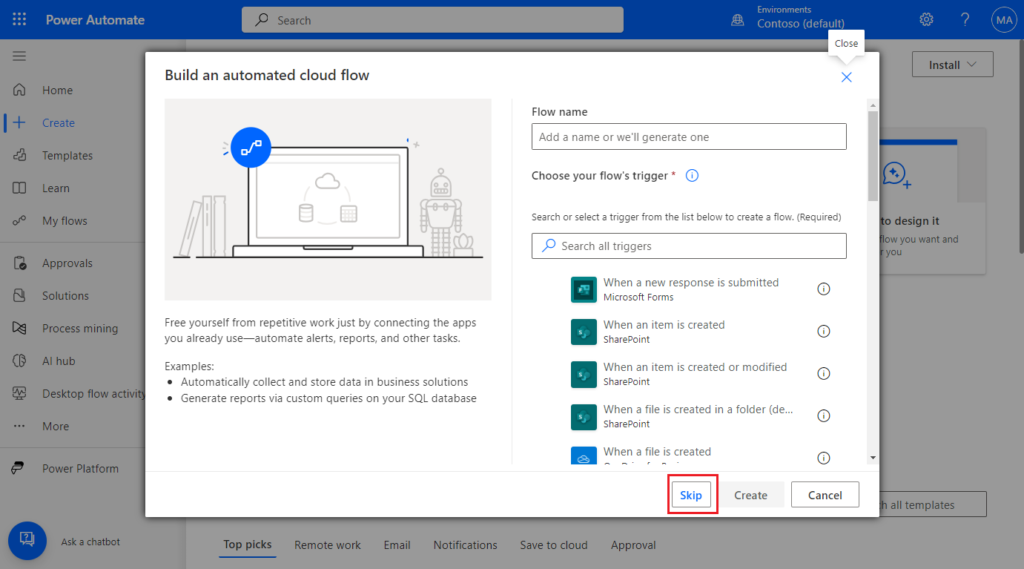
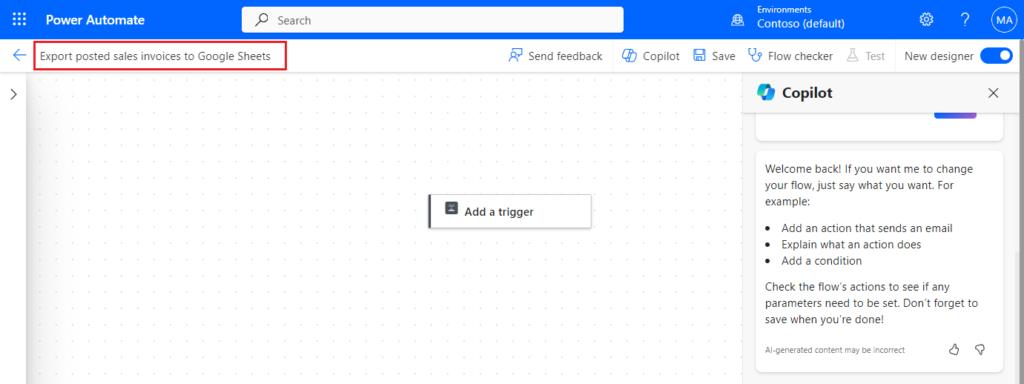
Give the flow a name.
For example, Export posted sales invoices to Google Sheets
PS: Disable New designer in the upper right corner to return to the previous designer.
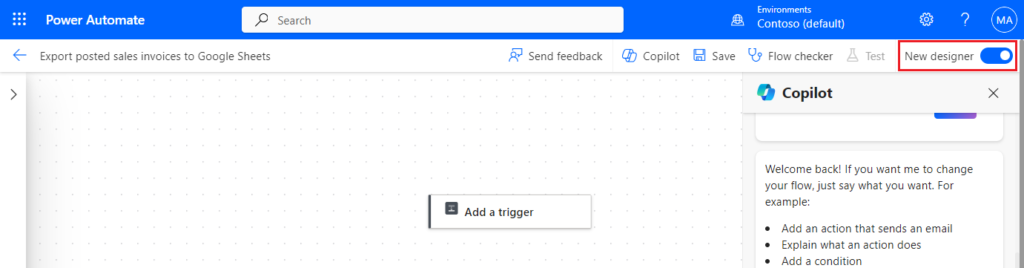
In this post, I shared it on the previous designer and the new one is the same.
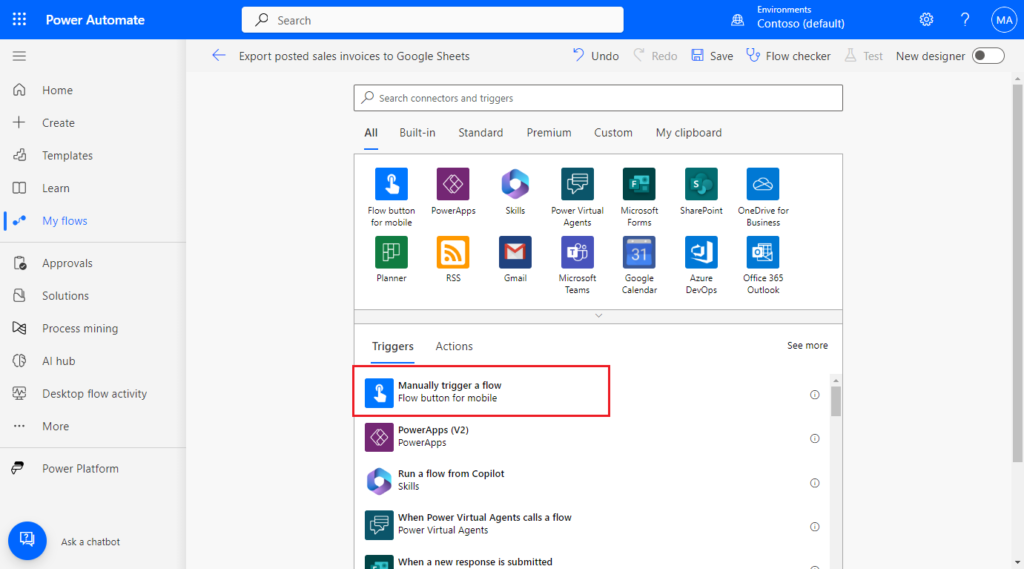
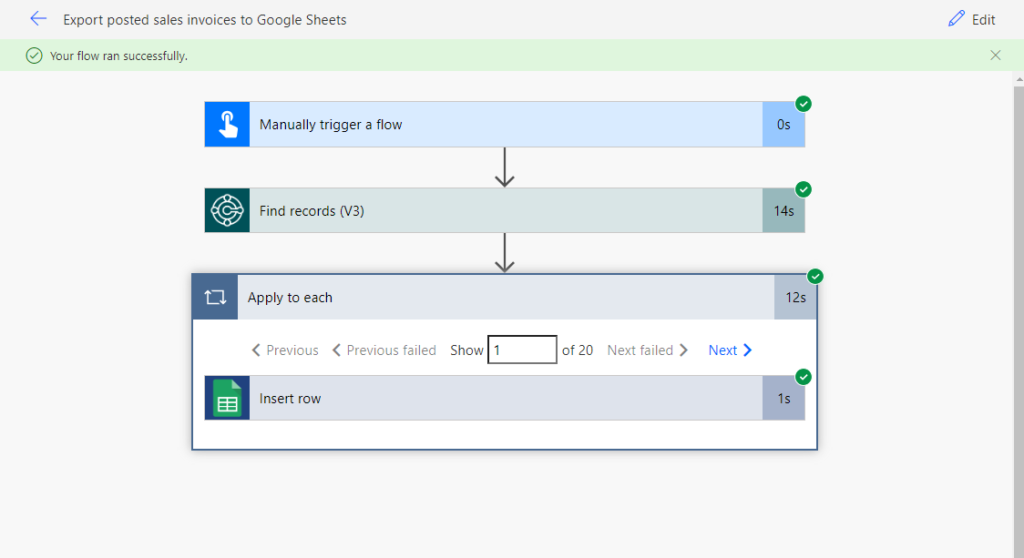
This time we start the flow manually, so click “Manually trigger a flow“
PS: If you want the flow to run from a Business Central page, see below.
How to import data to Business Central by uploading a file with Power Automate (No customization)
Search for Business Central, and click on it.
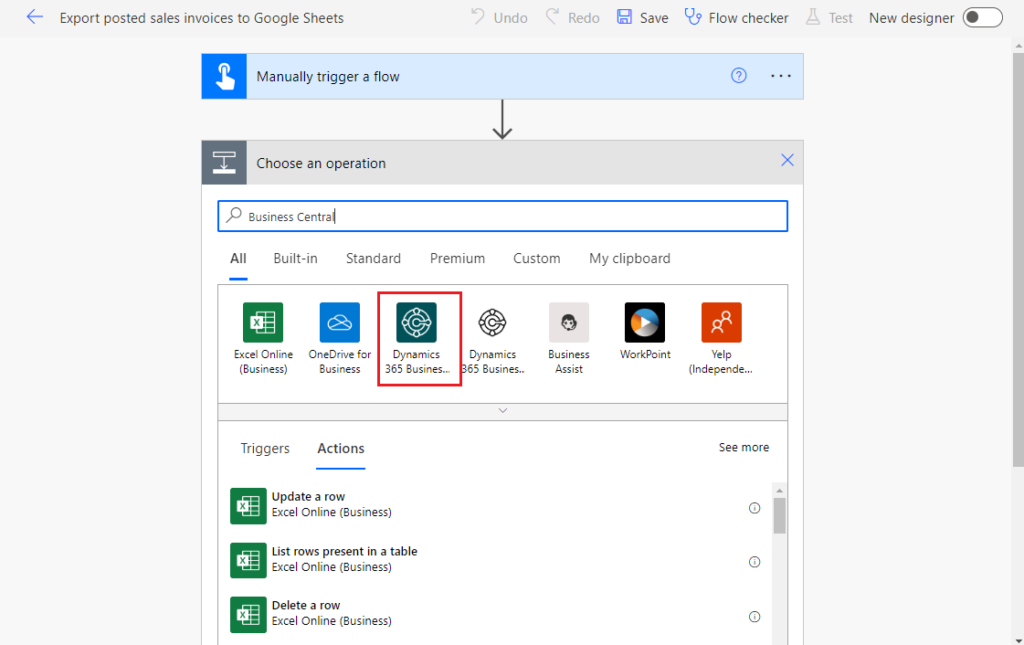
Then select the Find records (V3) action.
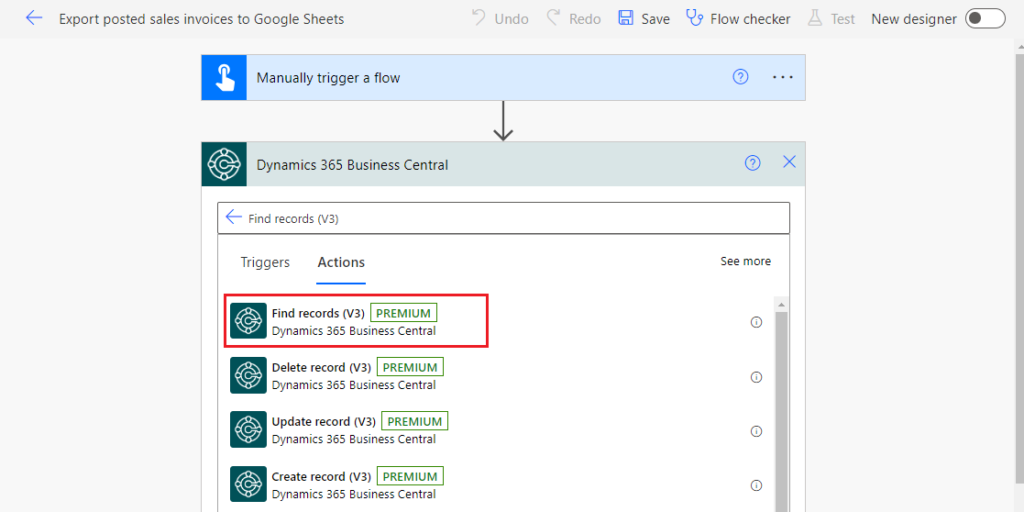
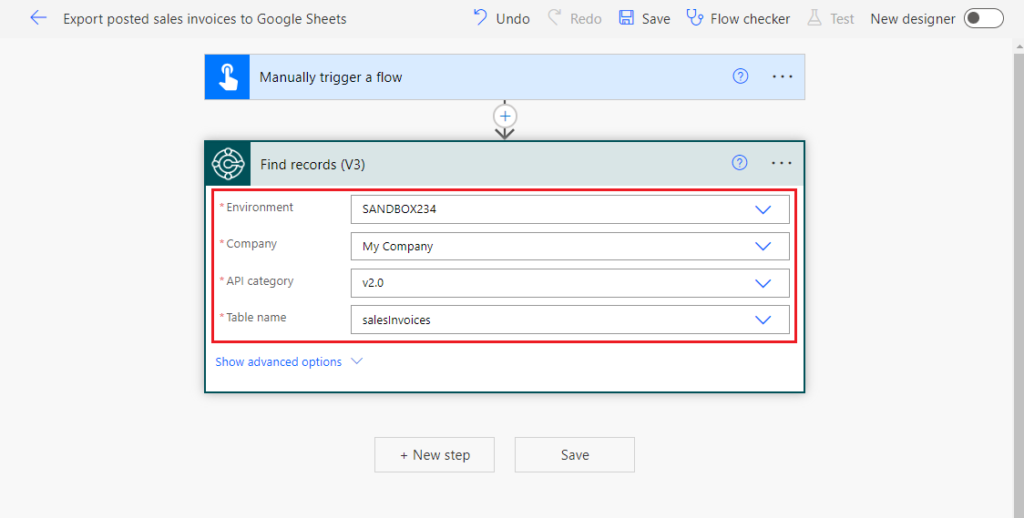
Select the information of the API to be connected. (salesInvoice API)
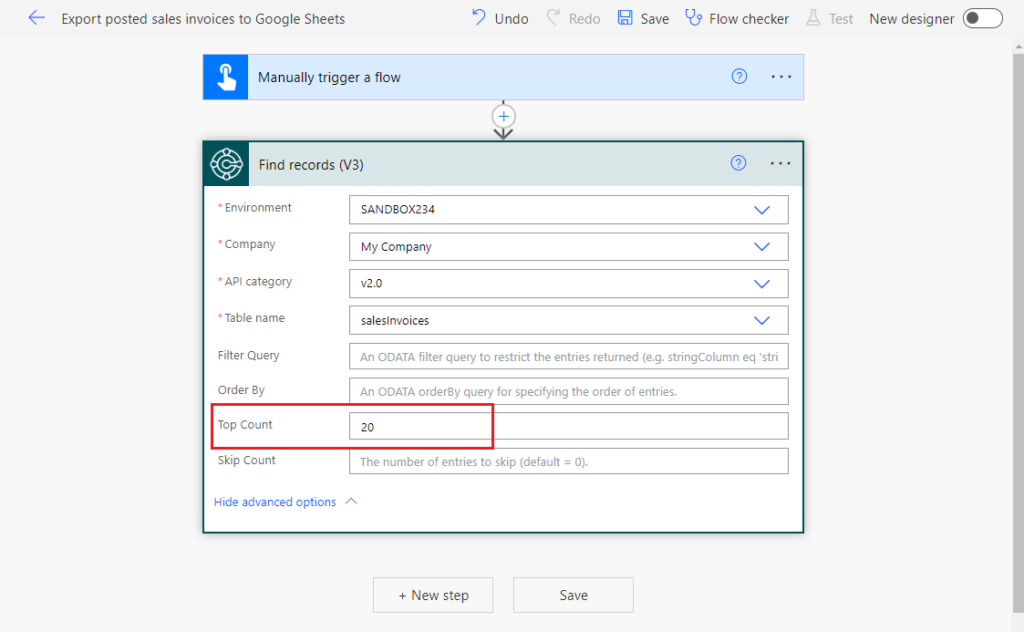
For simple testing, I limited the Top Count to 20 this time. If you want to export all records, you can ignore this setting. And if you need to add filtering and other information, you can add it in Show advanced options.

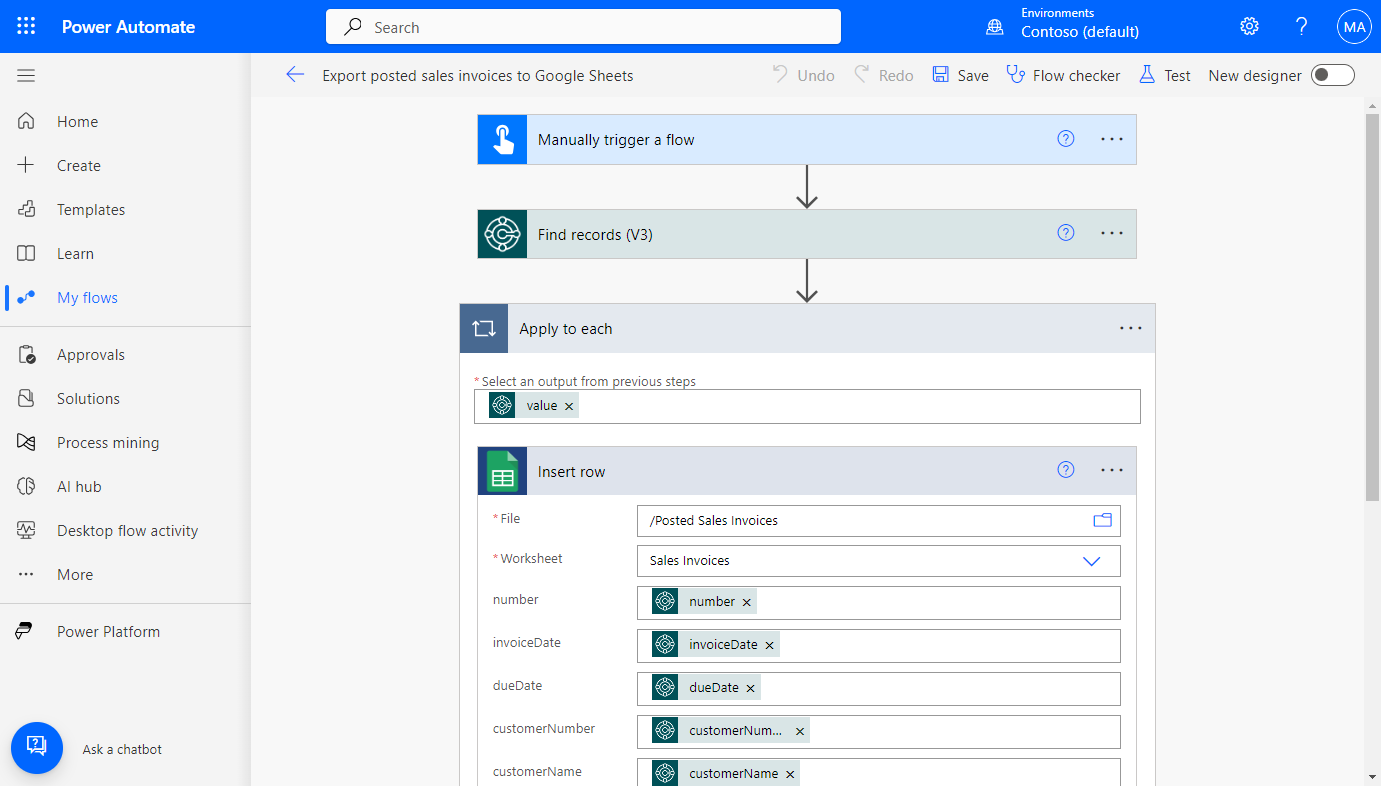
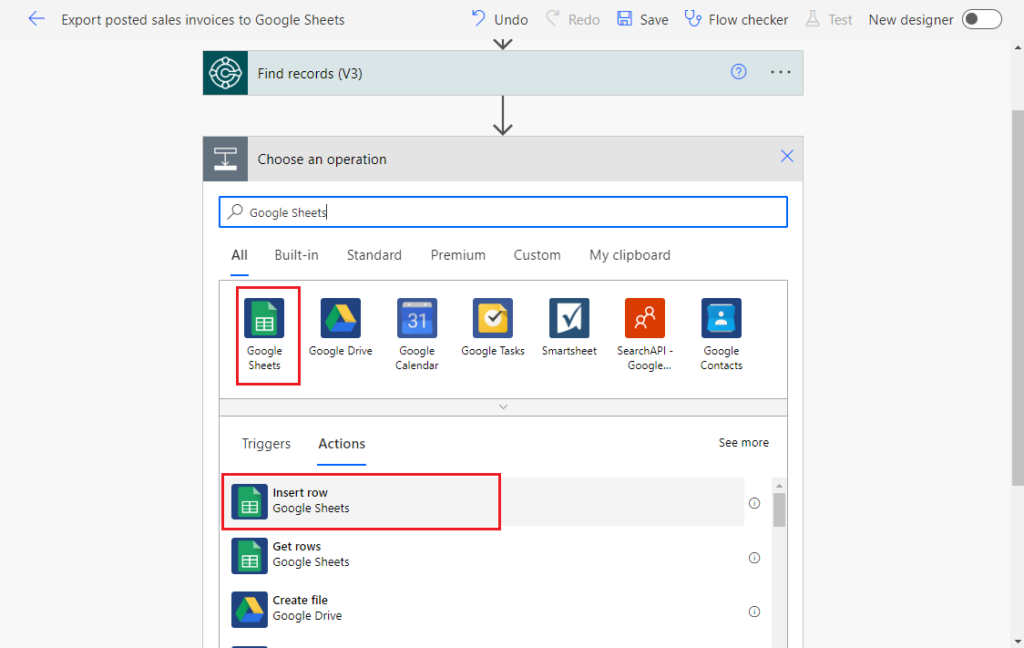
Click New step, search for Google Sheets, and click on Insert Row.
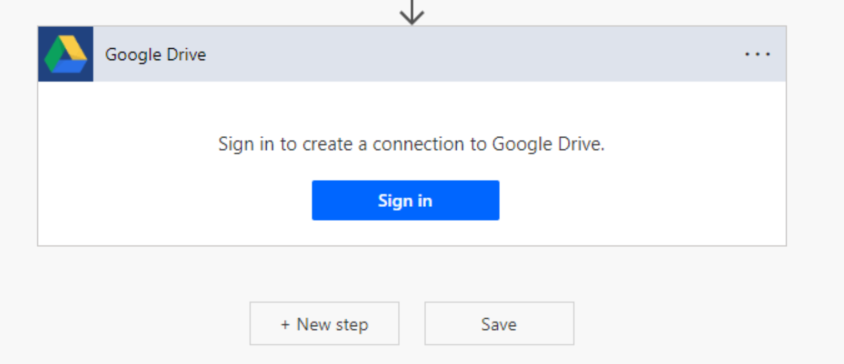
PS: The first time you connect to Google Drive or Google Sheets in Power Automate you need to sign in for authorization.
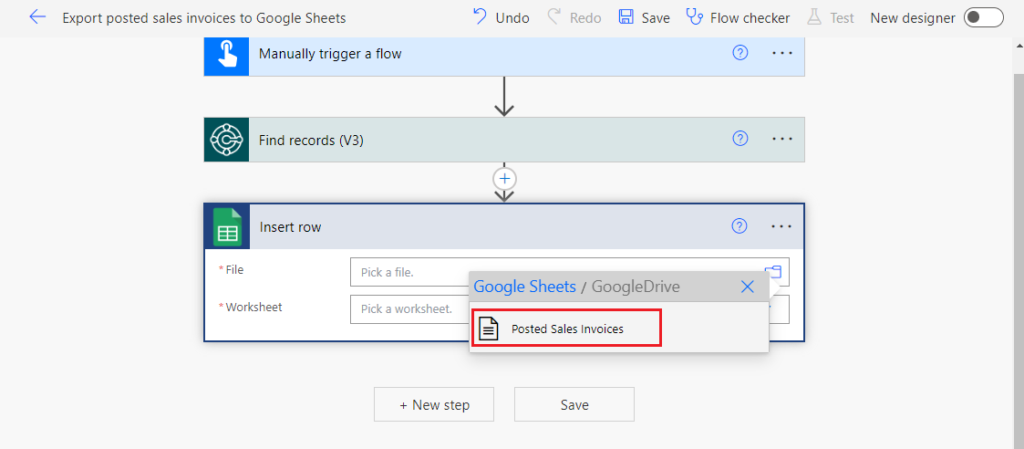
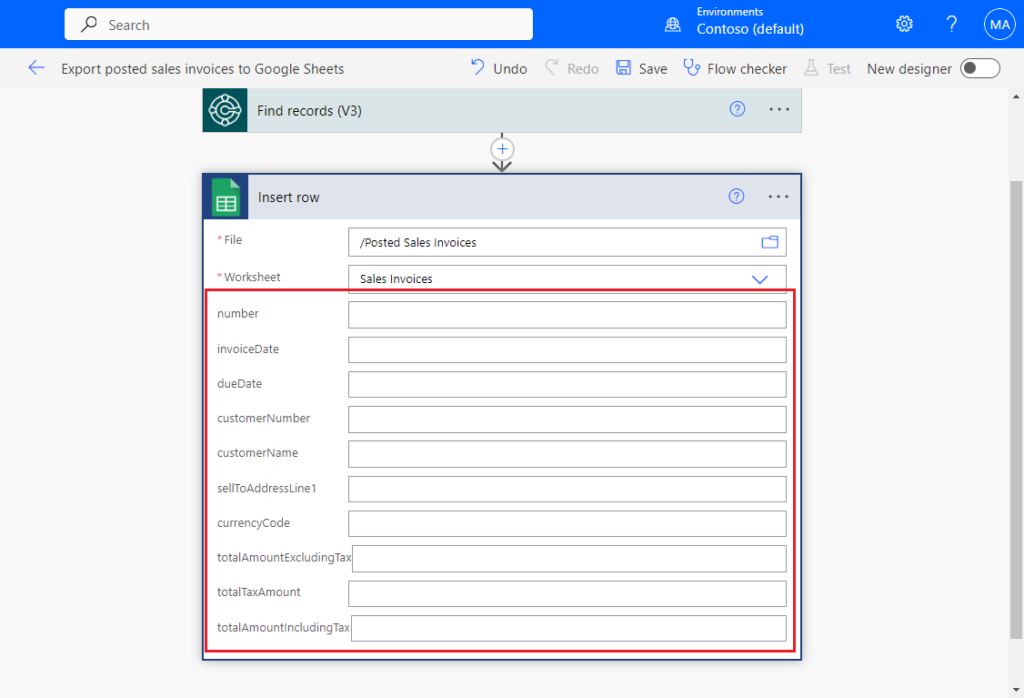
Select the file name just created in Google Drive.
And worksheet.
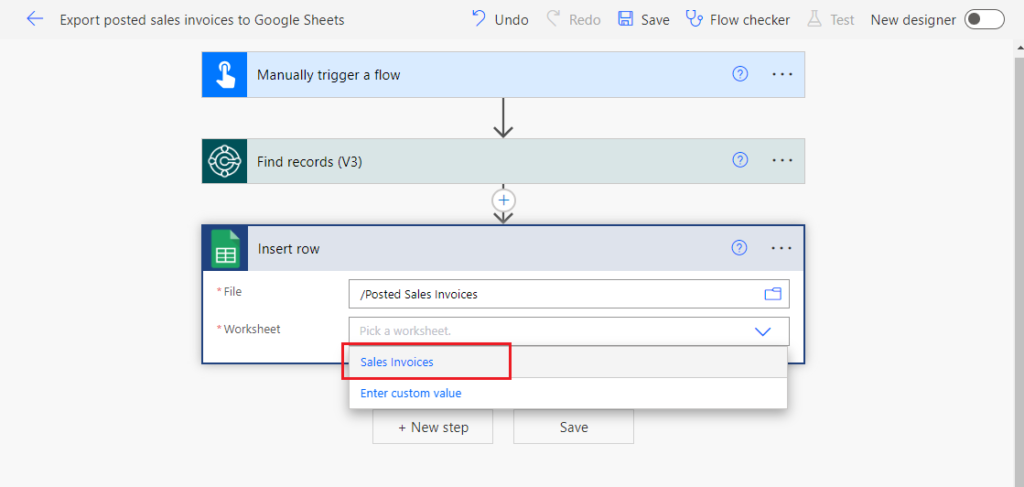
Then you can see the columns you just entered manually.
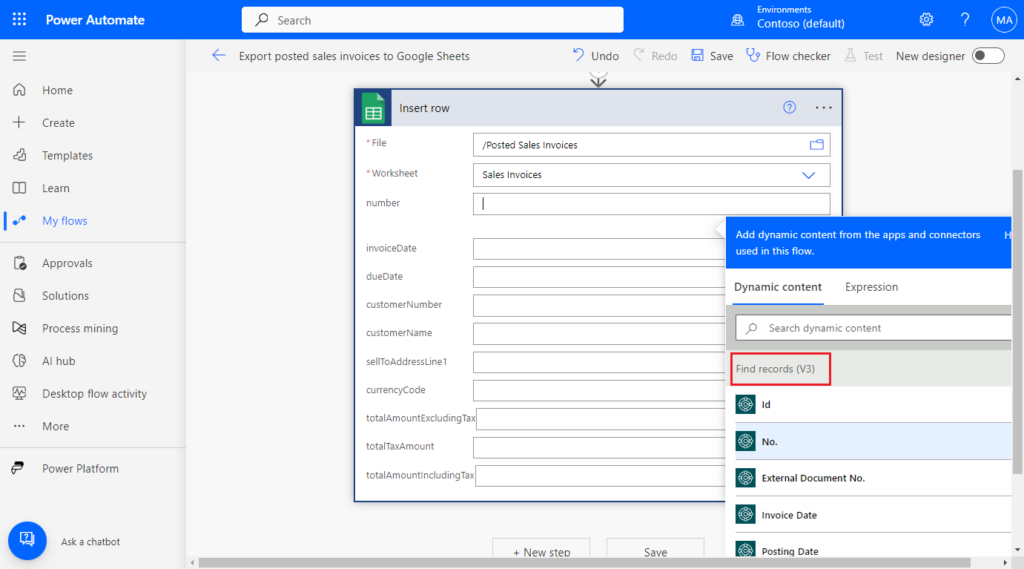
The next step is very simple, just select the content in the Find records (V3) step into the corresponding column.
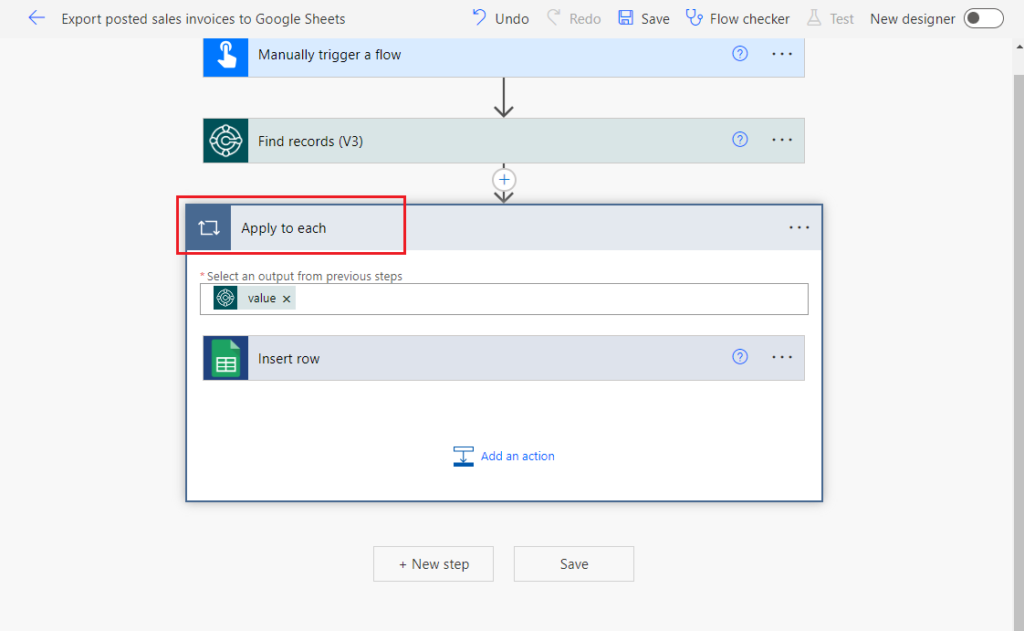
After you select a content, because there is not only one value in the Find records (V3) step, the system will automatically add an Apply to each loop.
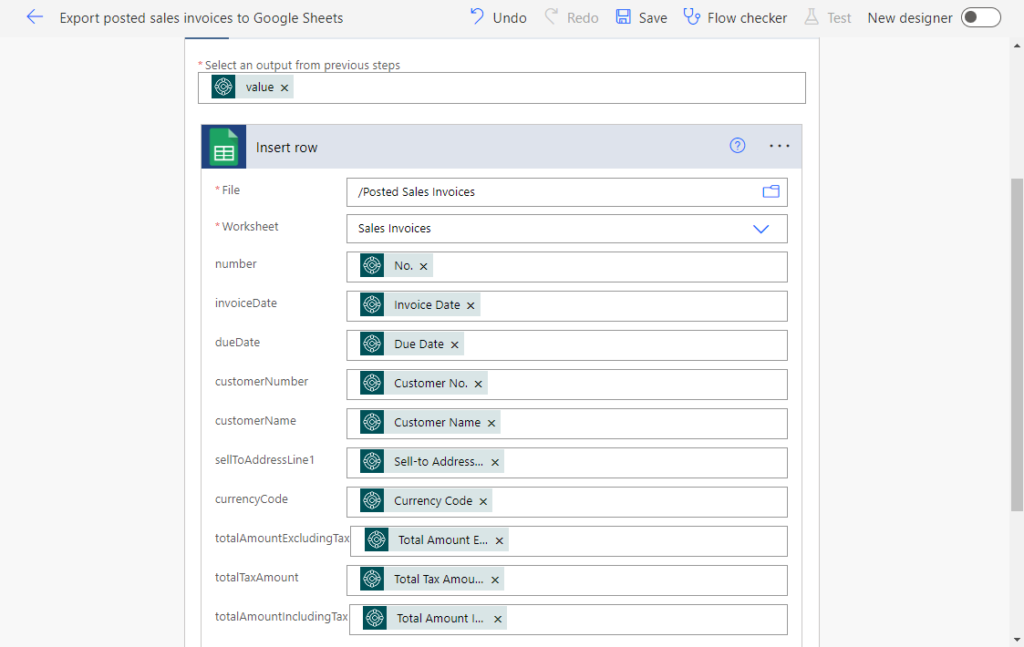
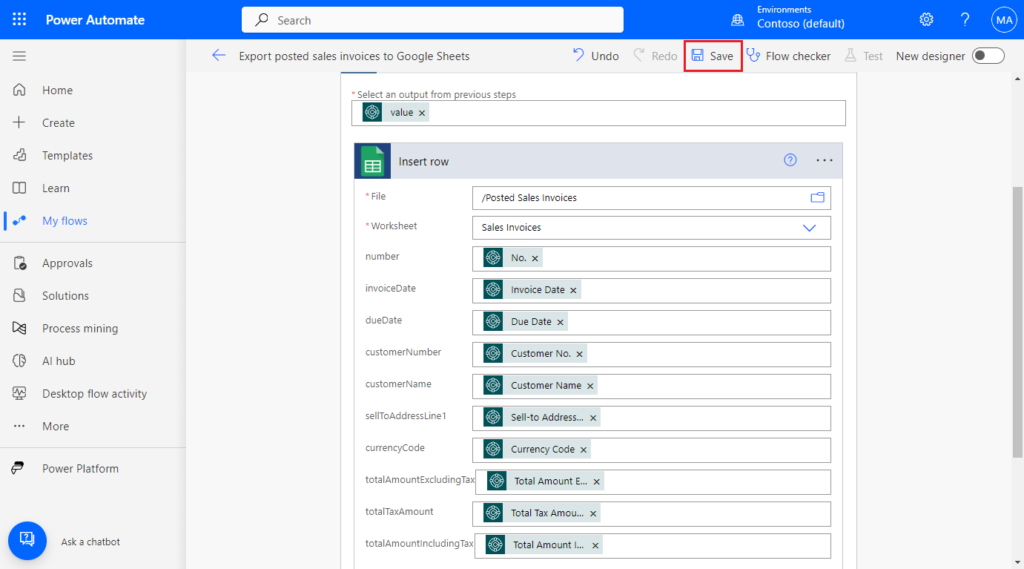
Click Insert row step, complete all field selections.
Well that’s all. Let’s save the flow and simply test it.
Great.
Test video:
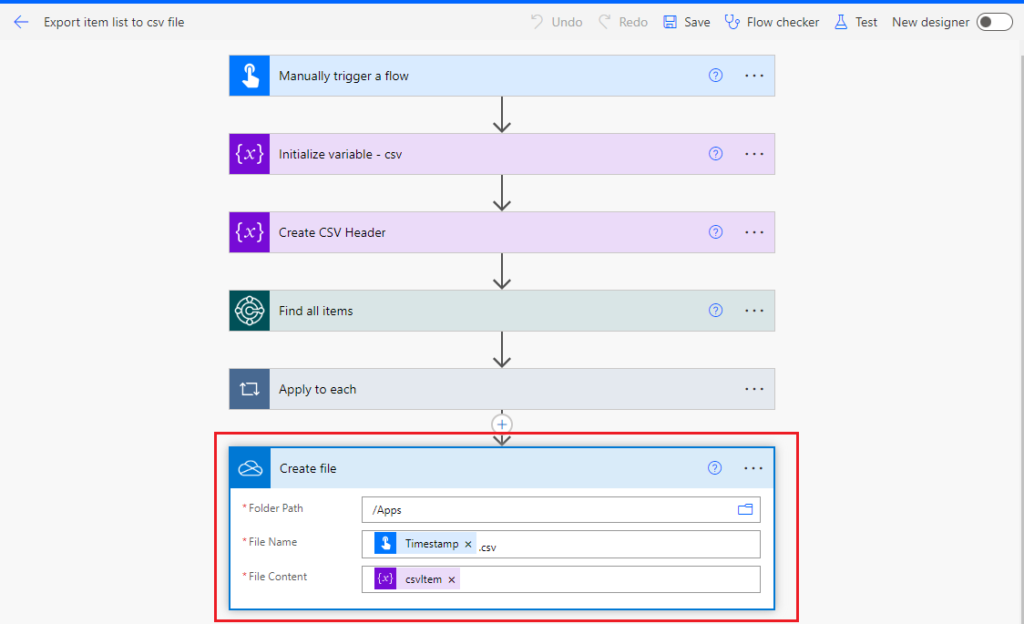
Isn’t it very simple? This is how to export Business Central data to Google Sheets, this is also possible if you want to create the file directly in Google Drive. As I mentioned in how to export data from Business Central to a csv file with Power Automate (No customization) – JSON to csv, we only need to modify the last step. Replace Create file in OneDrive with Create file in Google Drive.
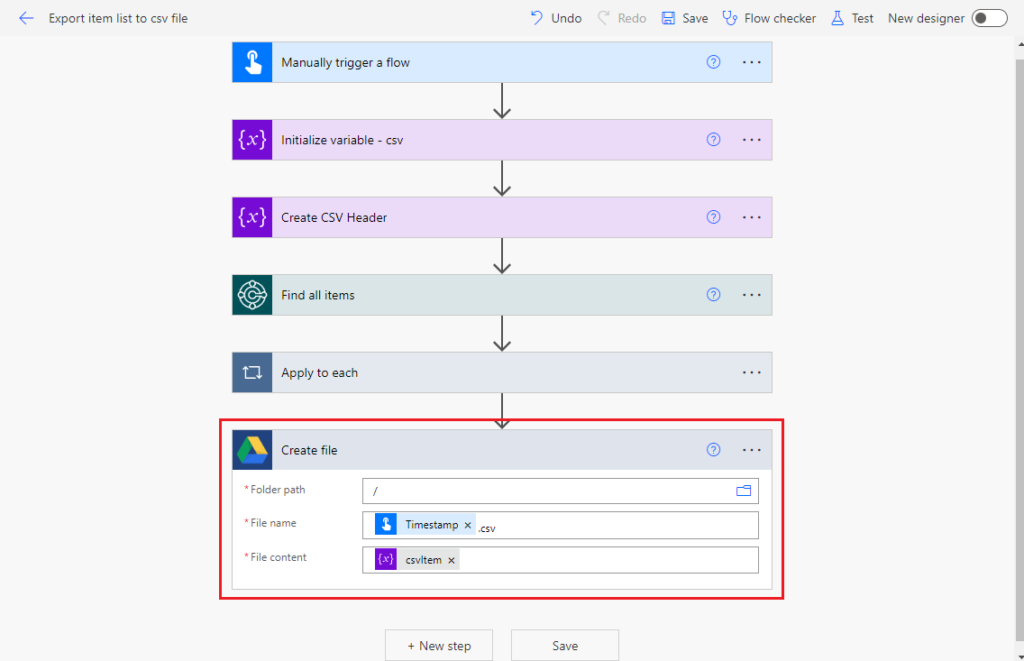
Test video: (Please note that if the data contains same delimiter, for example ‘,‘, it will also be split when exporting the csv file)
Great, give it a try!!!😁
PS:
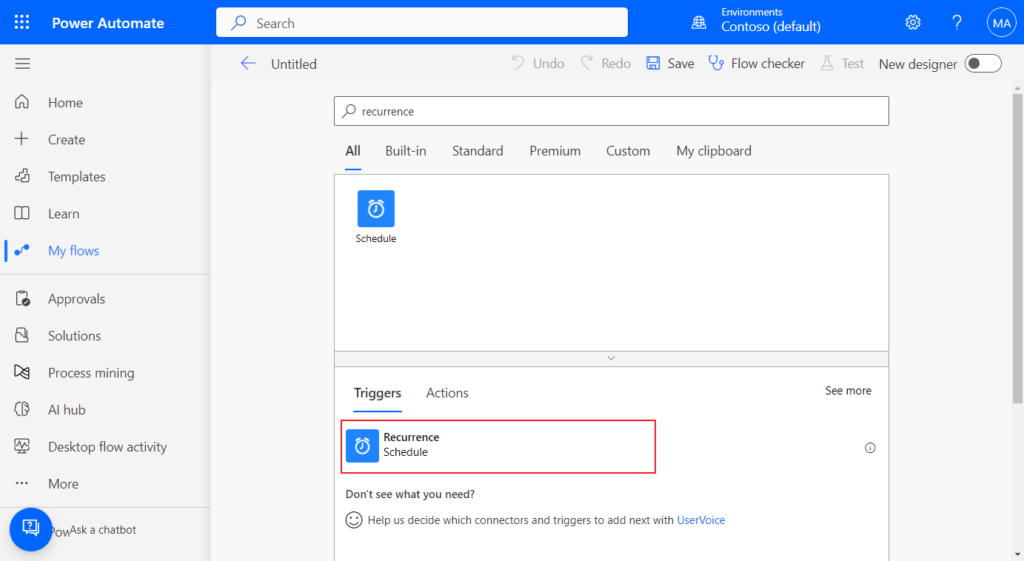
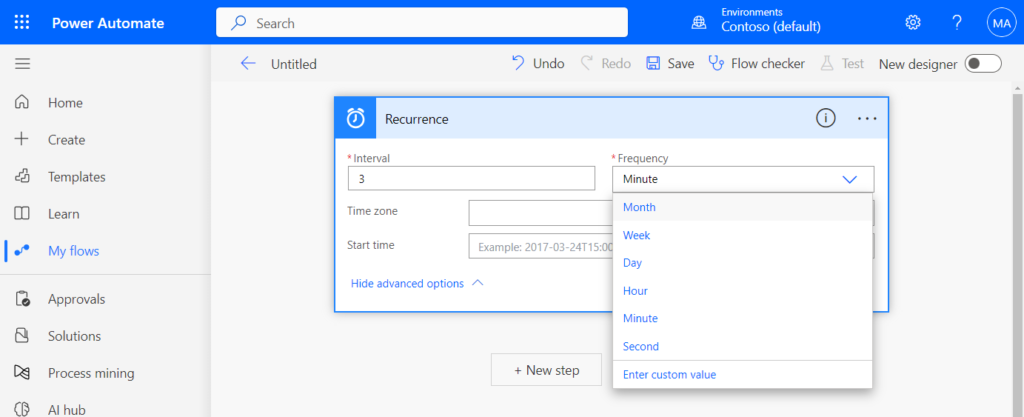
1. If you need to run the flow automatically, you can use the trigger below.
3. This also applies to other standard APIs or custom APIs.
4. Can we extend standard APIs? – Download Standard Source Code for APIs
5. The same approach also works for Azure Logic Apps.
END
Hope this will help.
Thanks for reading.
ZHU

コメント