Hi, Readers.
Today I would like to briefly talk about how to open a page in Create/New mode in Business Central. I saw this interesting question on the Business Central forum last week, More details: Open page in Create mode ( completely blank record editable page)
As you might know, when opening a page in Business Central, there are generally three default modes, Edit mode, View mode and Create mode. Let’s see some detailed examples.
Edit mode:
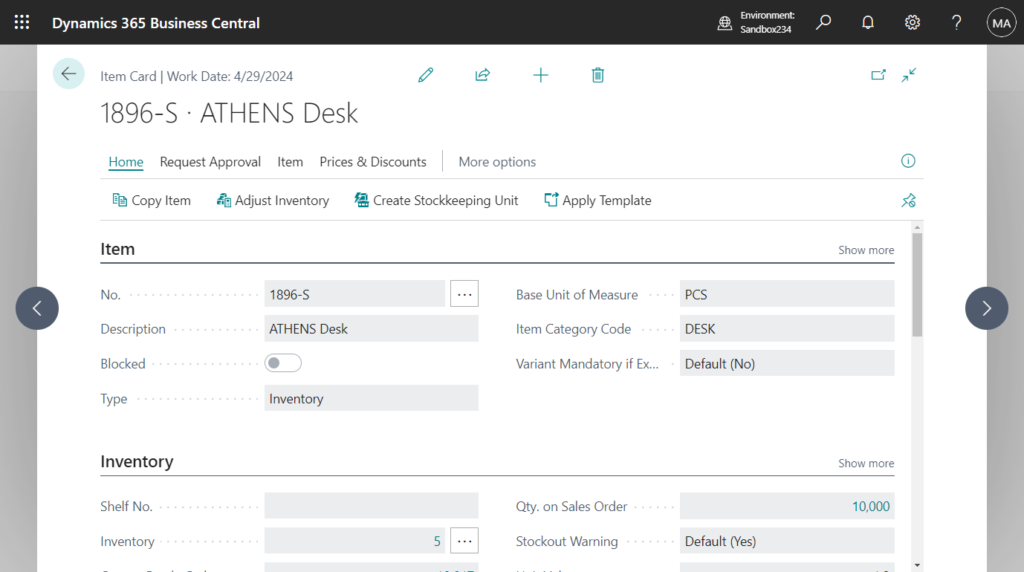
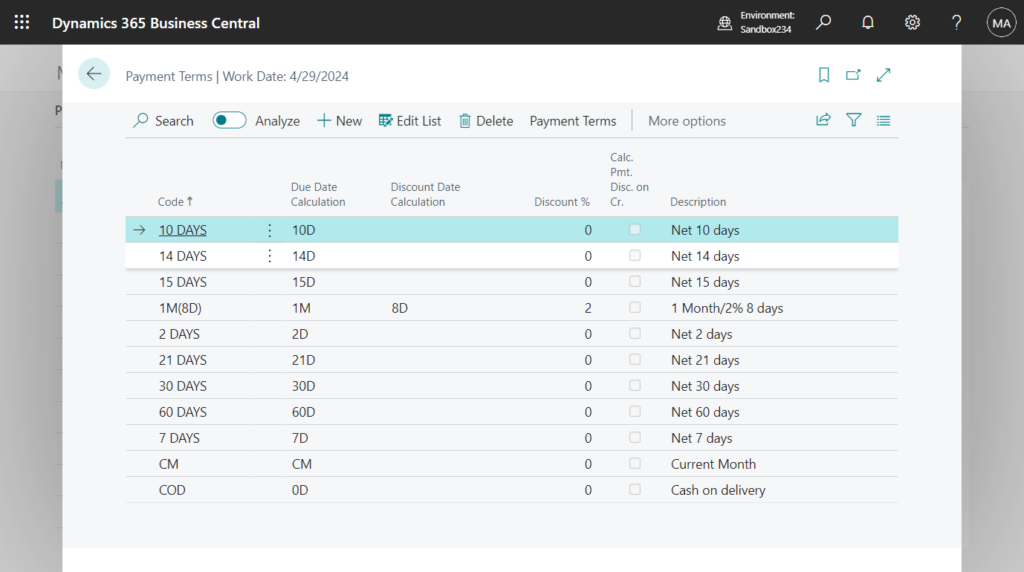
Click on the item that has been created.
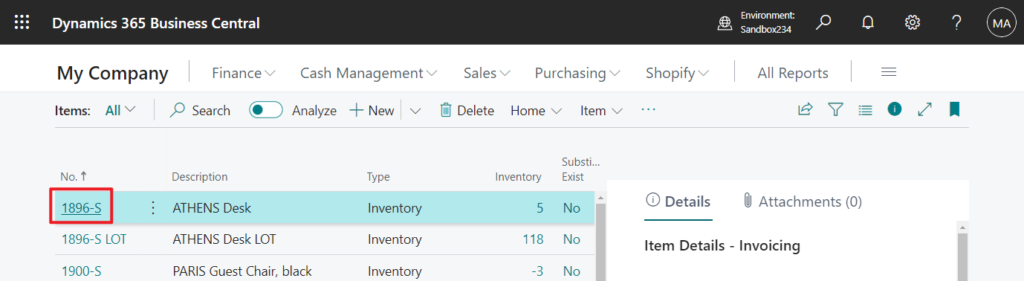
The page will open in Edit mode by default. (The user needs to have modify permission for the table)
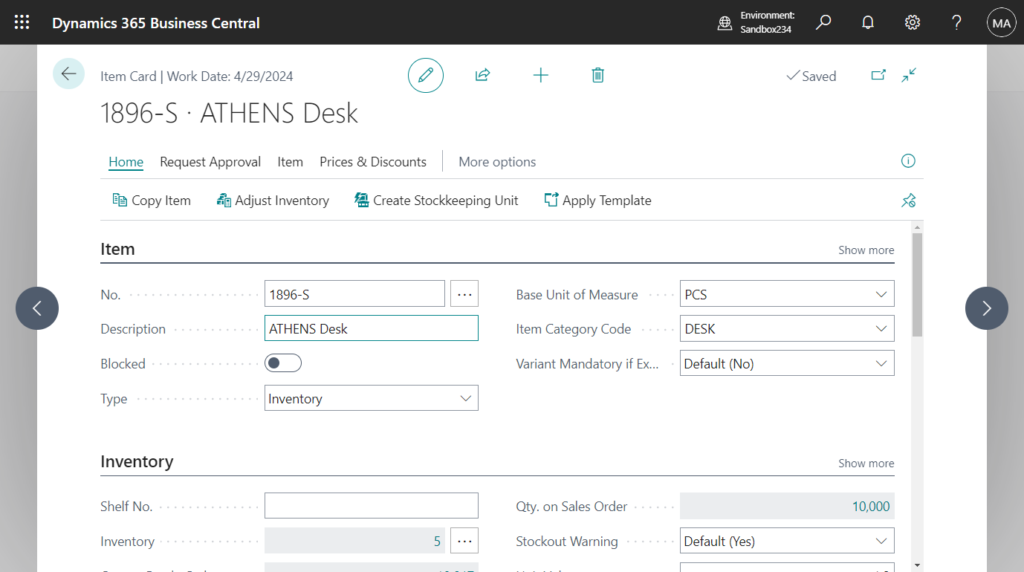
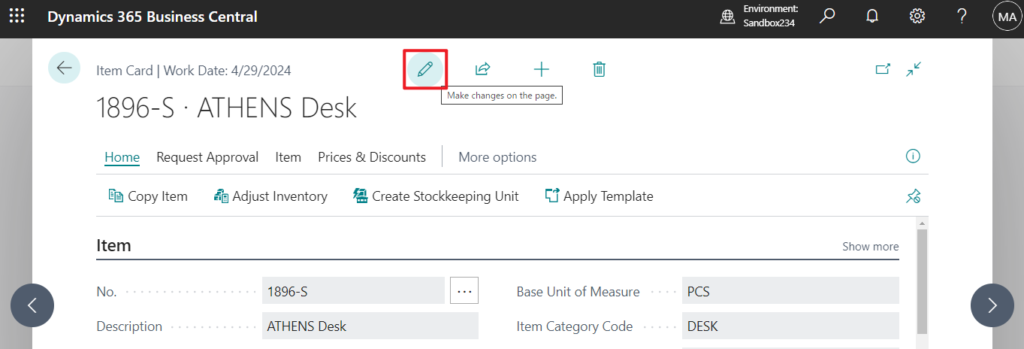
You can click Edit icon to change the page to change the page to View Mode
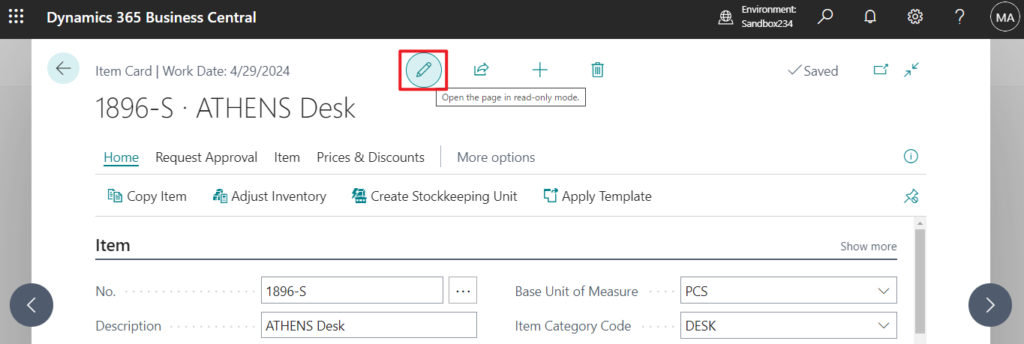
In this mode, you cannot modify any values.
If you have permission, you can also change it back to Edit mode.
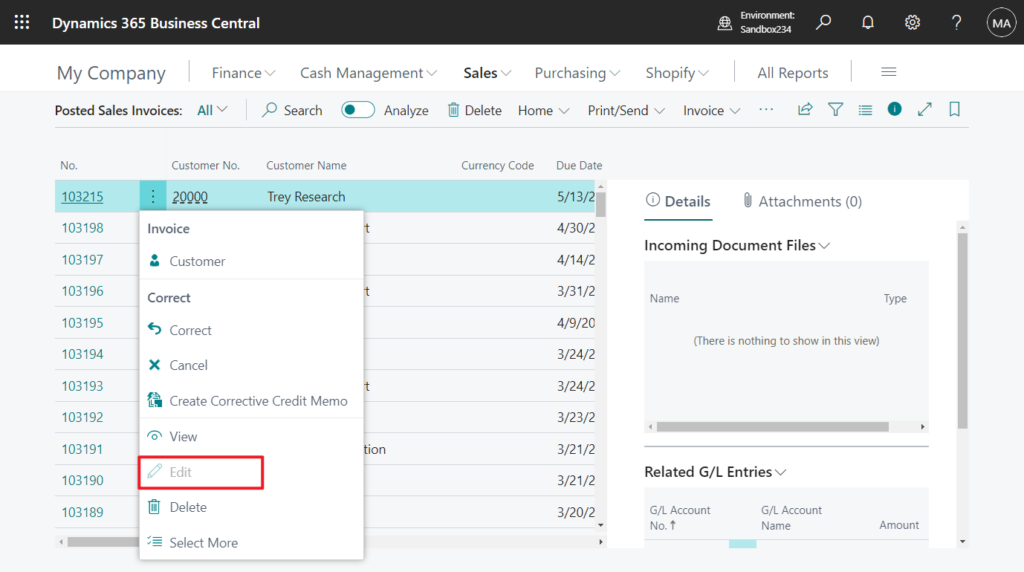
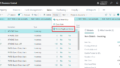
You can select the open page mode in repeater control shortcut menu on the list page.
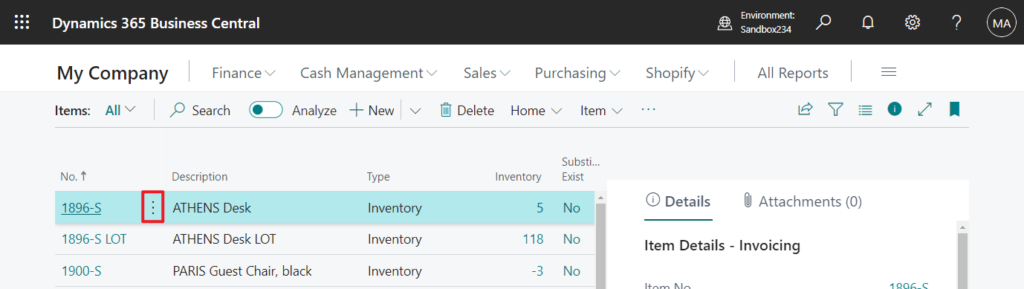
View or Edit.
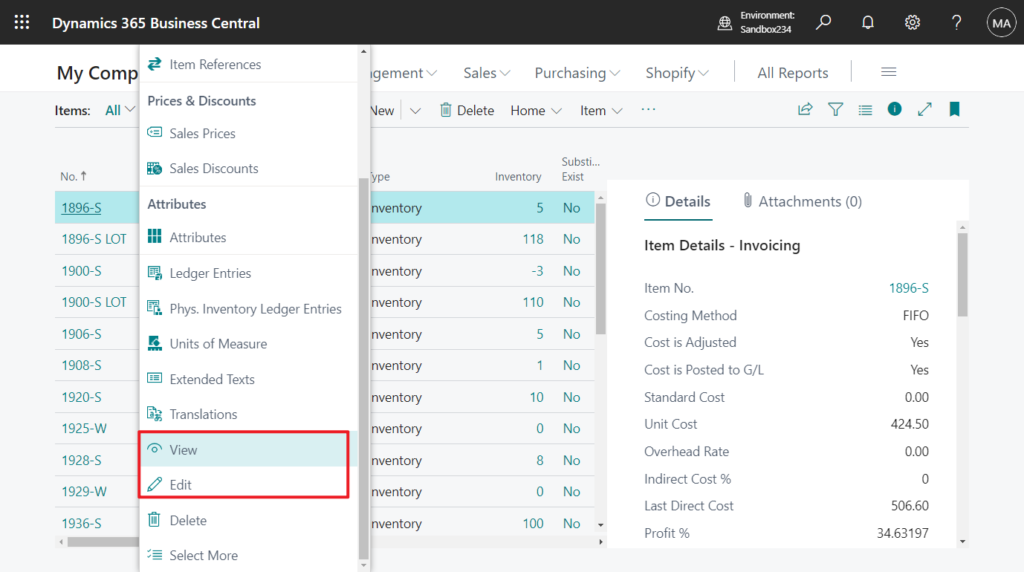
If you don’t have modify permission, the Edit action will be grayed out.
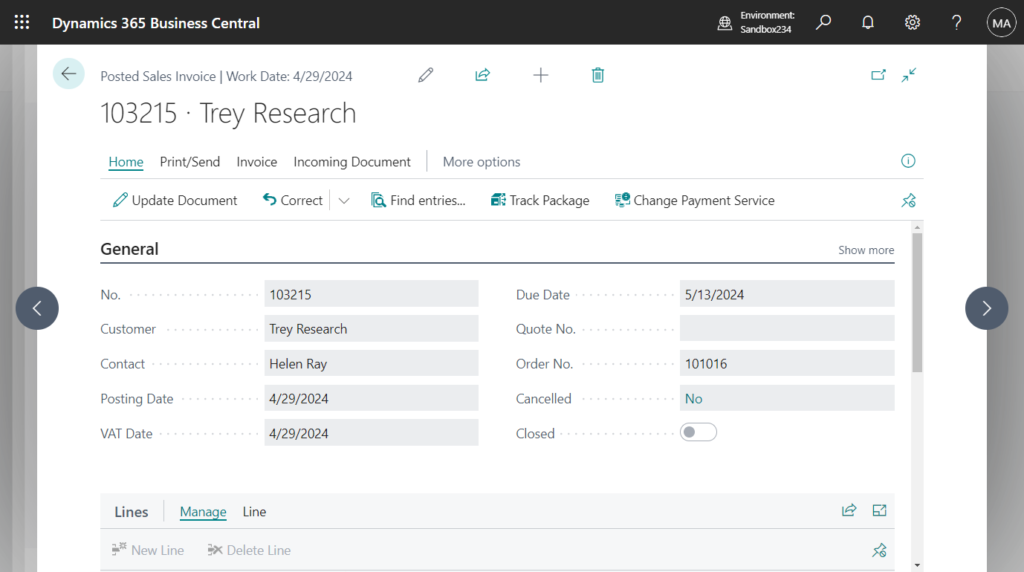
View mode:
It was briefly mentioned above, but the most typical example is Posted Documents, for example, Posted Sales Invoice. The user does not have permission to modify posted documents on the page, so it can only be opened in View mode.
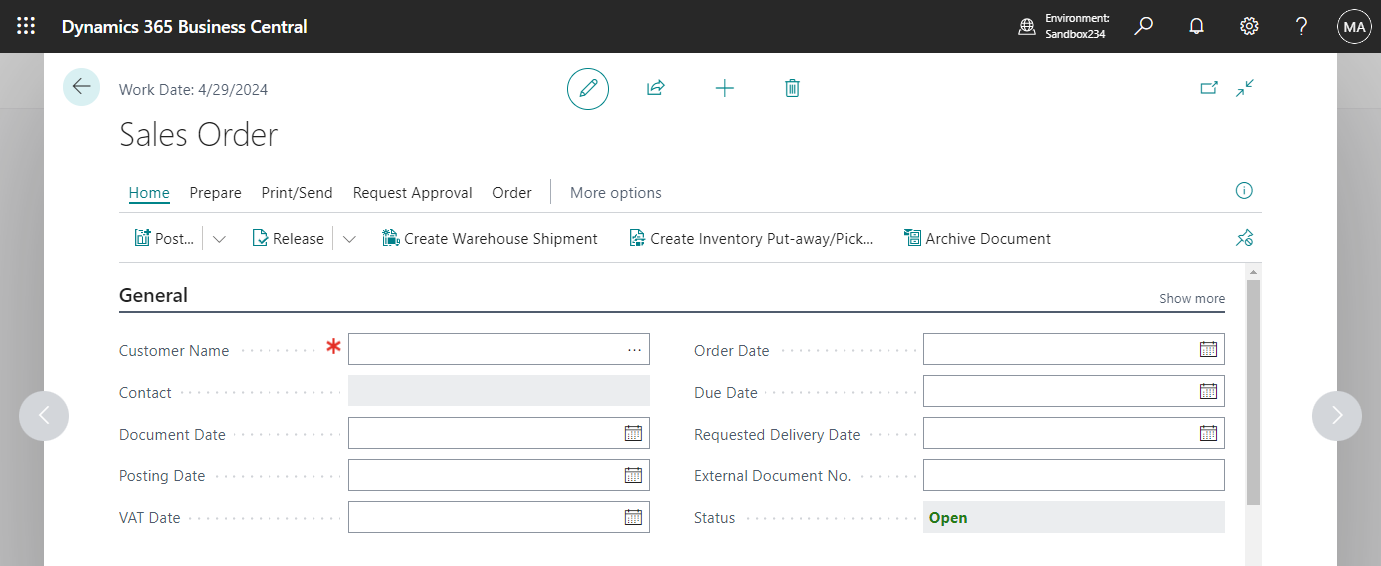
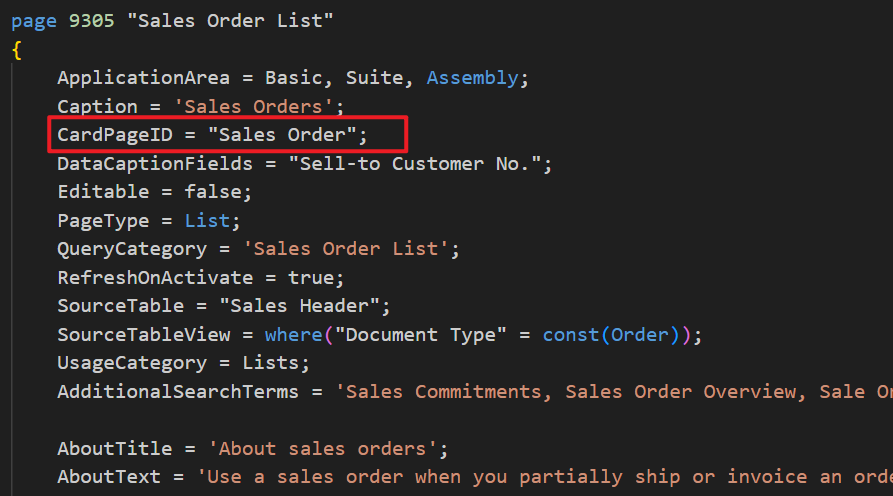
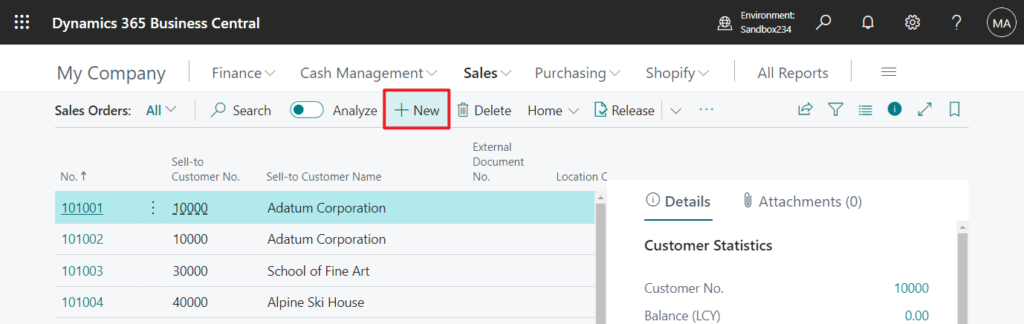
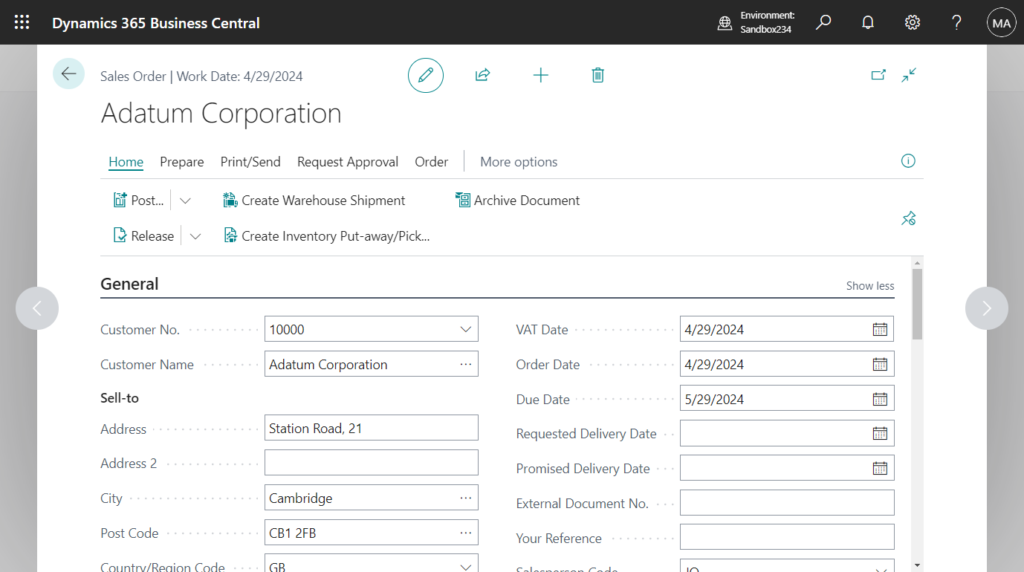
Create mode:
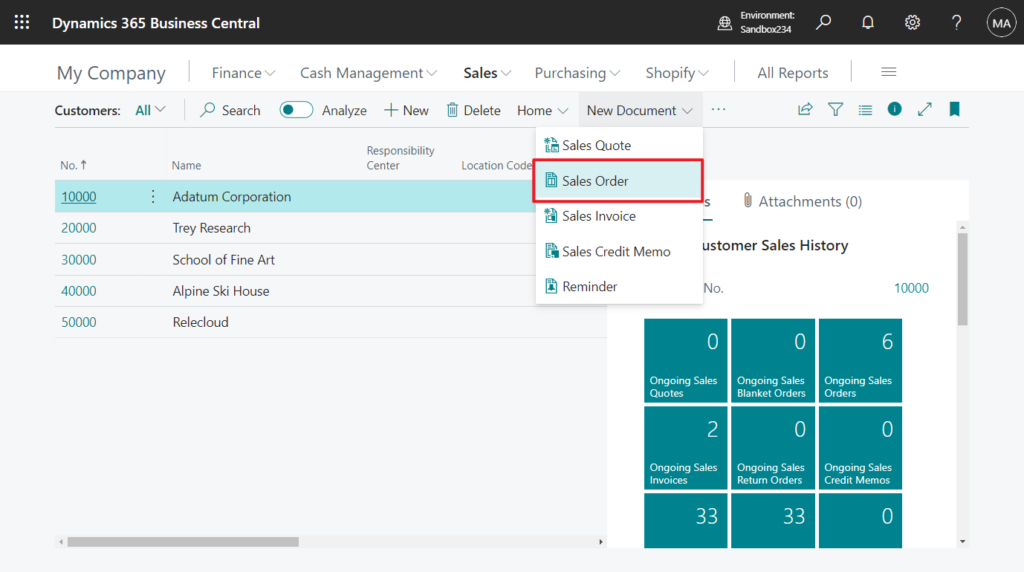
When the CardPageID property is set in the list page object, choose New action, the page that was set will open in Create mode.

PS: Above we mainly introduced Card page type and Document page type, and the same applies to List page type.
Edit mode:

View mode:
Create mode:
Let’s get back to the topic, we have previously discussed using conditions to control the mode of opening a page, Edit or View mode. More details: Dynamics 365 Business Central: The page mode that the page was opened in (Editable of the page)
But Create mode has not been discussed, is this possible? Yes, I mainly introduce two methods.
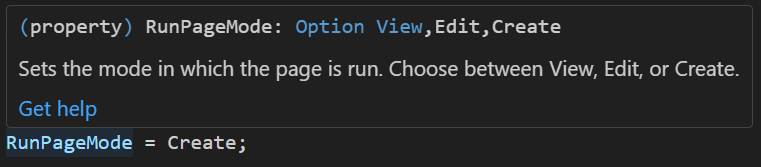
1. Using RunPageMode Property
RunPageMode Property: Sets the mode in which the page is run. Choose between View, Edit, or Create.
| Value | Available or changed with | Description |
|---|---|---|
| View | runtime version 1.0 | The page is run in View mode. |
| Edit | runtime version 1.0 | The page is run in Edit mode. |
| Create | runtime version 1.0 | The page is run in Create mode. |
You can find some examples on page 22 “Customer List”:
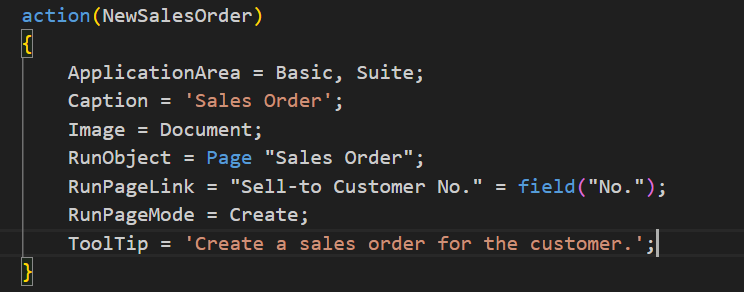
The RunPageMode Property is generally used with RunObject Property (Sets the object you want to run immediately when the action is activated) and RunPageLink Property (Sets a link to a page that will be launched for this action).
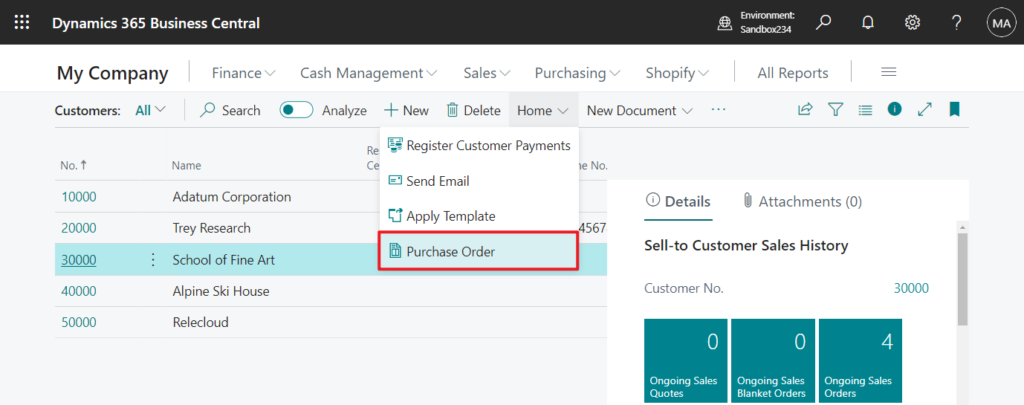
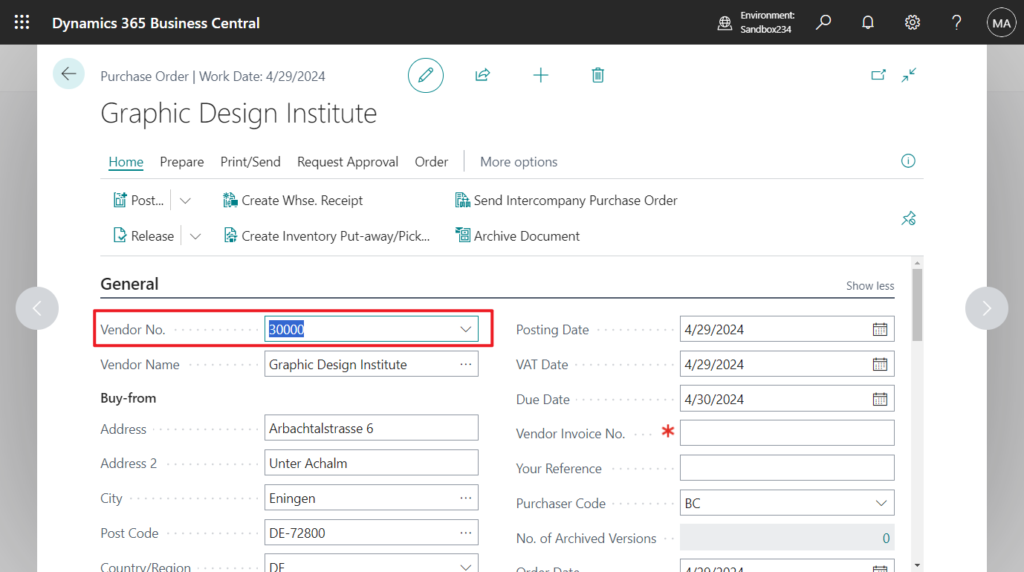
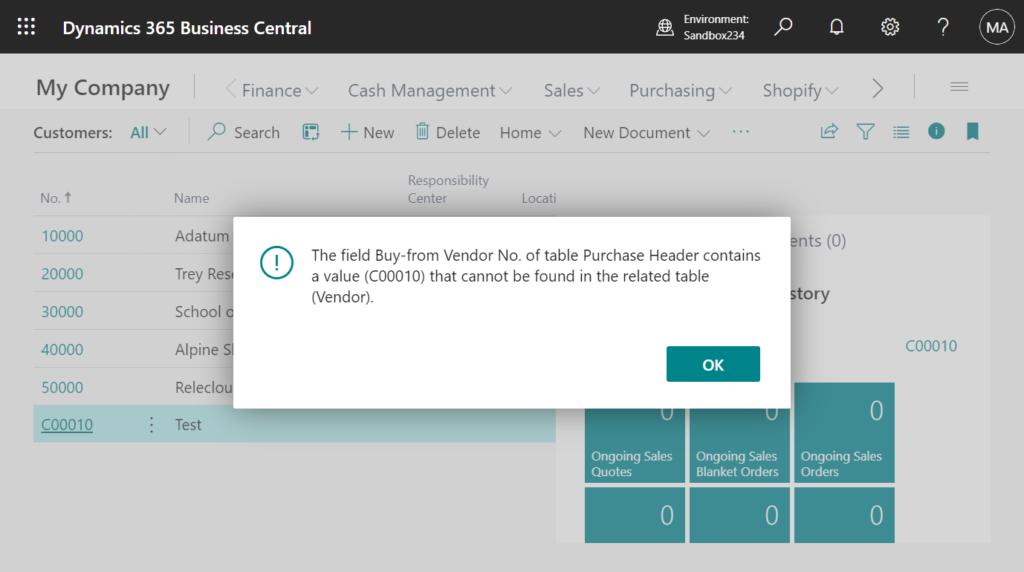
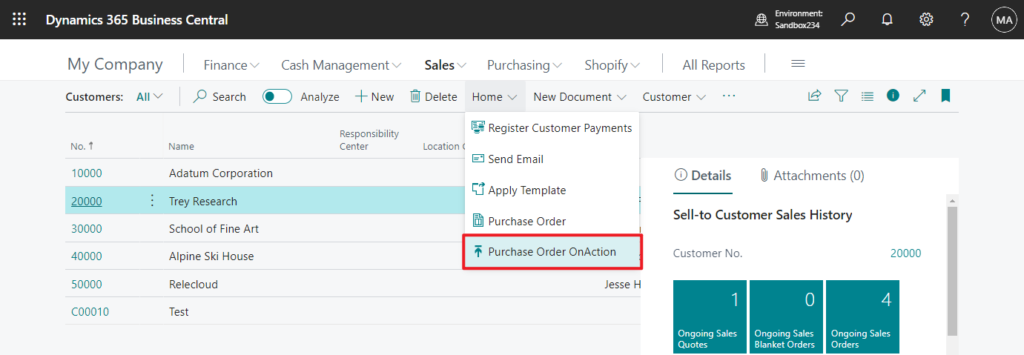
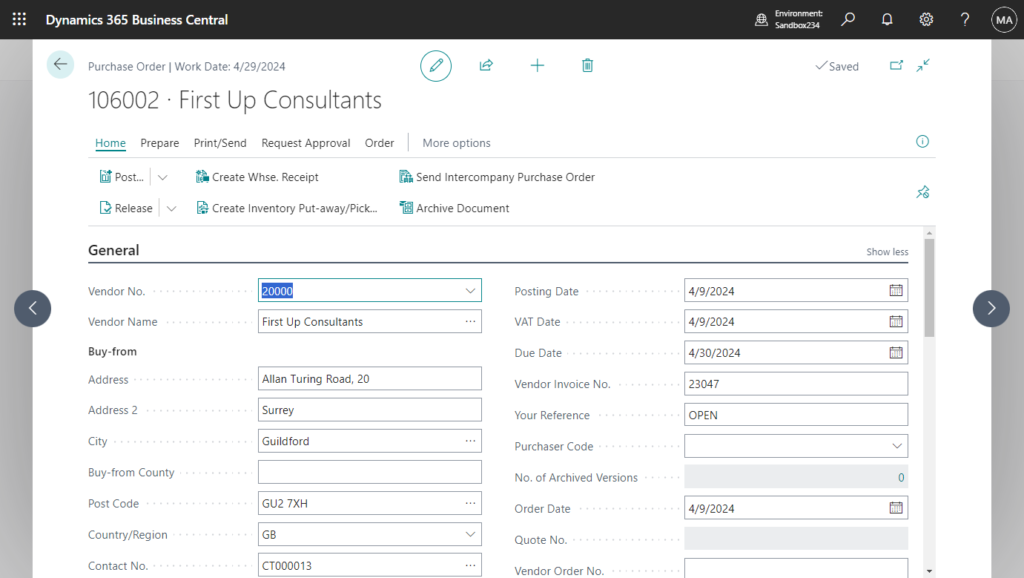
Let’s look at a specific example, create a Purchase Order directly from the customer list, and the Vendor No. takes the same value as the Customer No..

PS:
1. If a value is not found for the field set in the RunPageLink Property, an error will occur.
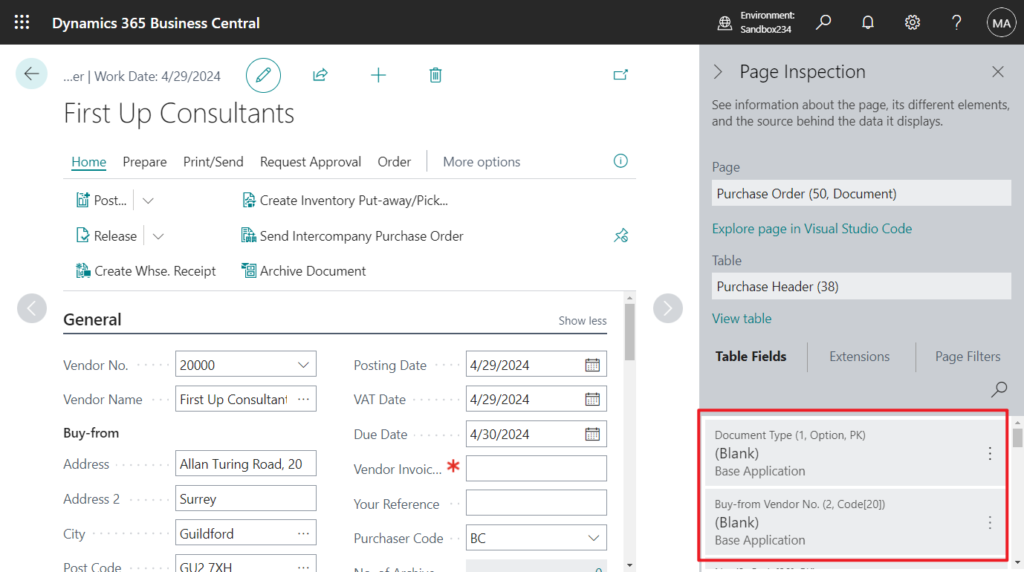
2. Since it is in Create mode, the record have not yet been inserted into the database at this time.
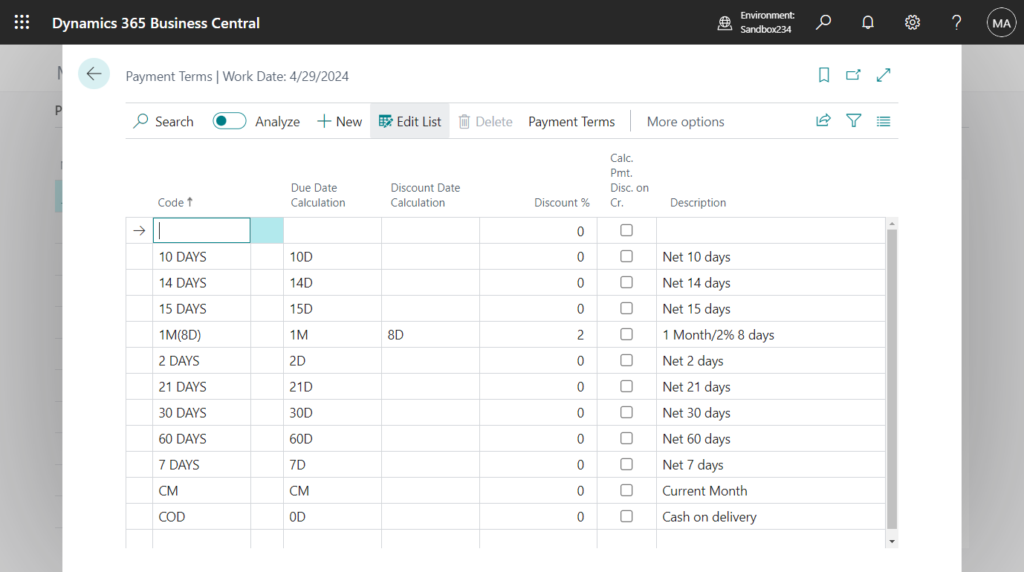
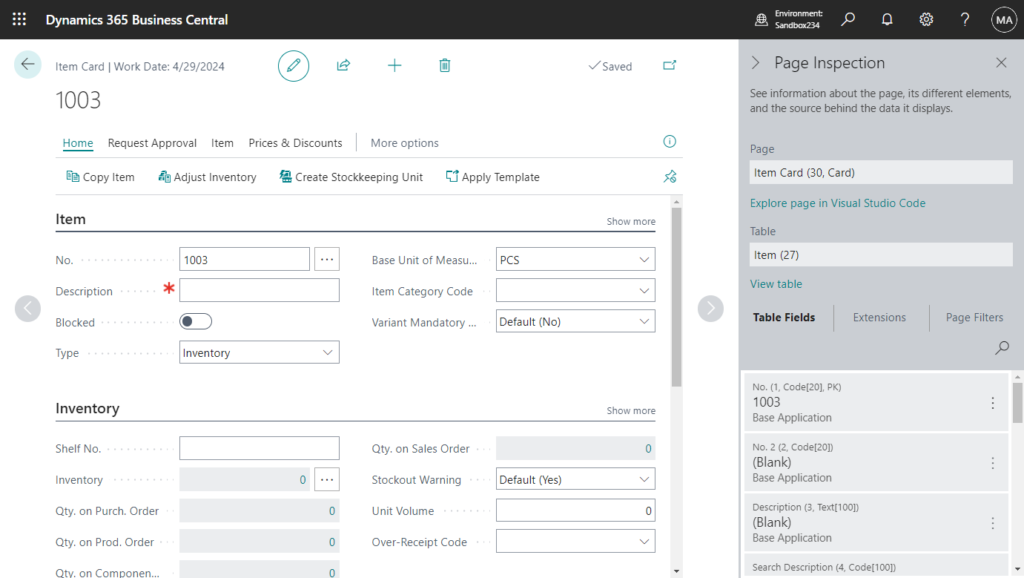
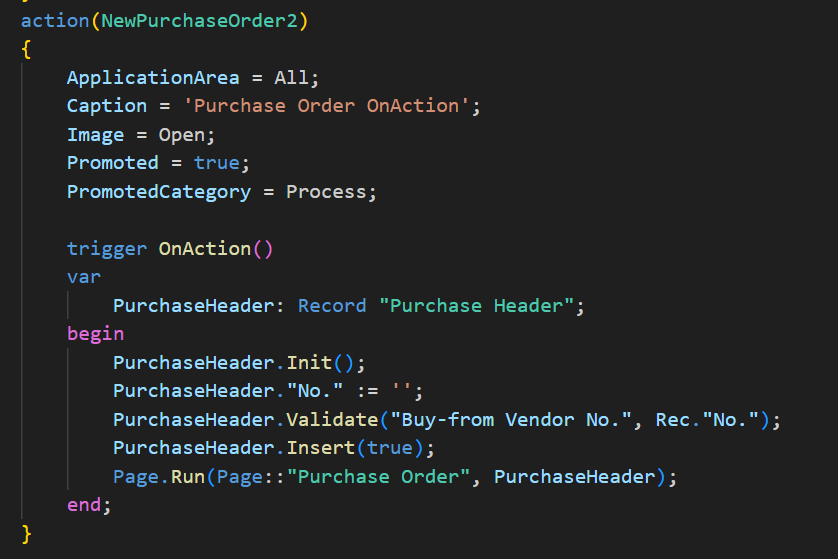
2. Create a new record with key(s) = blank, and run the page (Actually, it is opened in Edit mode)
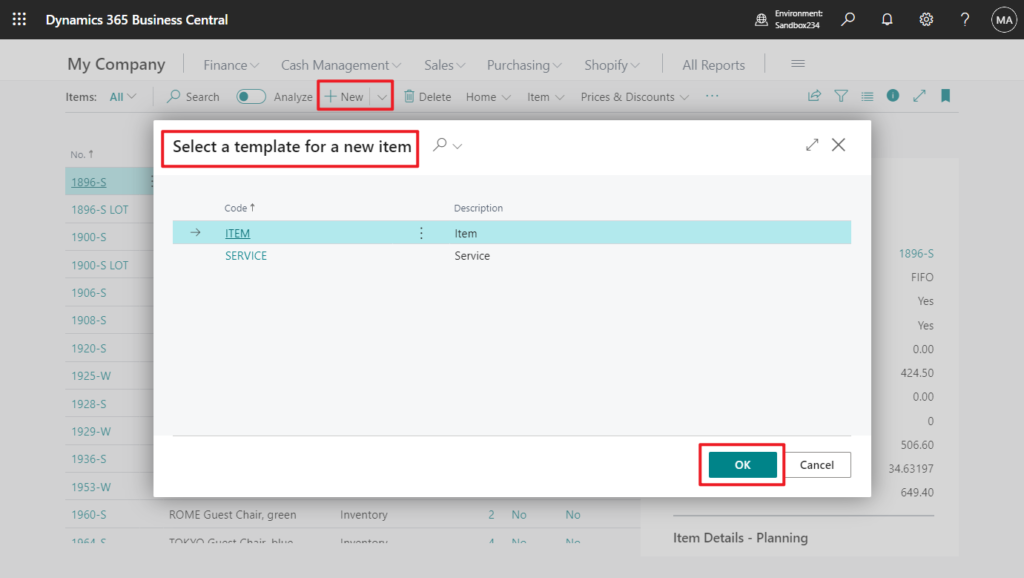
This is similar to when you create a new item, select the template and open the Item Card.
PS: Item Template

Because the value set in the Item Template needs to be automatically added to the new item.
We can do the following. This method allows you to insert some initial values.
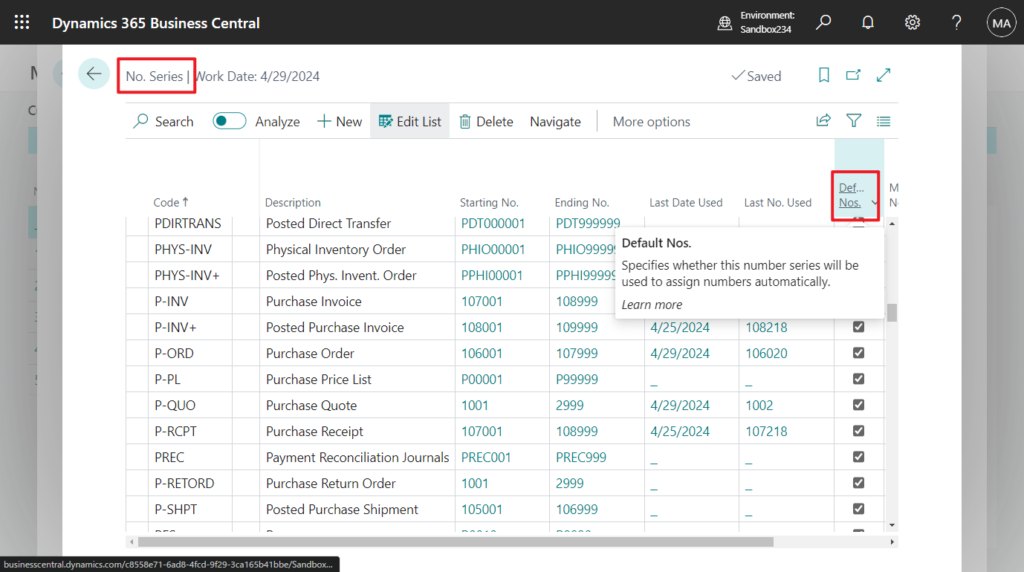
If you assign a Default Nos., the system will automatically assign the number. If not, the Rename procedure will be executed when the primary key is assigned.
Test video: Method 1 -> Method 2
Source code: Github (Please note that the source code is for reference only, you can improve it according to your own needs)
pageextension 50120 MyExtension extends "Customer List"
{
    actions
    {
        addafter(ApplyTemplate)
        {
            action(NewPurchaseOrder)
            {
                ApplicationArea = All;
                Caption = 'Purchase Order';
                Image = Document;
                RunObject = Page "Purchase Order";
                RunPageLink = "Buy-from Vendor No." = field("No.");
                RunPageMode = Create;
                ToolTip = 'Create a purchase order for the customer.';
                Promoted = true;
                PromotedCategory = Process;
            }
            action(NewPurchaseOrder2)
            {
                ApplicationArea = All;
                Caption = 'Purchase Order OnAction';
                Image = Open;
                Promoted = true;
                PromotedCategory = Process;

                trigger OnAction()
                var
                    PurchaseHeader: Record "Purchase Header";
                begin
                    PurchaseHeader.Init();
                    PurchaseHeader."No." := '';
                    PurchaseHeader.Validate("Buy-from Vendor No.", Rec."No.");
                    PurchaseHeader.Insert(true);
                    Page.Run(Page::"Purchase Order", PurchaseHeader);
                end;
            }
        }
    }
}
END
Hope this will help.
Thanks for reading.
ZHU
コメント