Hi, Readers.
The preview environment for Dynamics 365 Business Central 2022 release wave 1 (BC20) is available. Learn more: Link
I will continue to test and share some new features that I hope will be helpful.
Log emails using a shared mailbox and Graph API:
Business value:
Get more out of the communications between salespeople and your existing or potential customers by tracking email exchanges and turning them into actionable opportunities. Business Central can work with Microsoft Exchange Online to keep a log of the inbound and outbound messages.
https://docs.microsoft.com/en-us/dynamics365-release-plan/2022wave1/smb/dynamics365-business-central/log-emails-using-shared-mailbox-graph-api
Actually this feature also exists in older versions.
For example, BC19.5.
But in 2022 release wave 1 Microsoft has streamlined processes for setting up email logging to increase flexibility and security. If you are a new customer using that version, you’re using the new experience. If you’re an existing customer, whether you are using the new experience depends on whether your administrator has enabled the the Email logging using the Microsoft Graph API feature update in Feature Management.
Important:
For Business Central online, the new experience requires that Business Central and Exchange Online are on the same tenant.
Let’s see more details.
Note:
You must have the Feature Update: Email logging using the Microsoft Graph API feature enabled in the Feature Management page to use this capability.
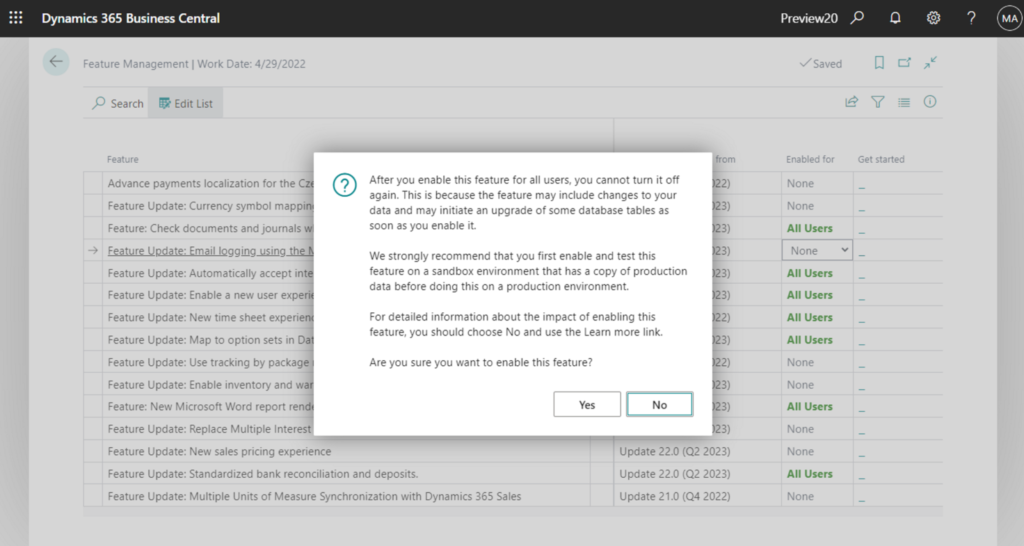
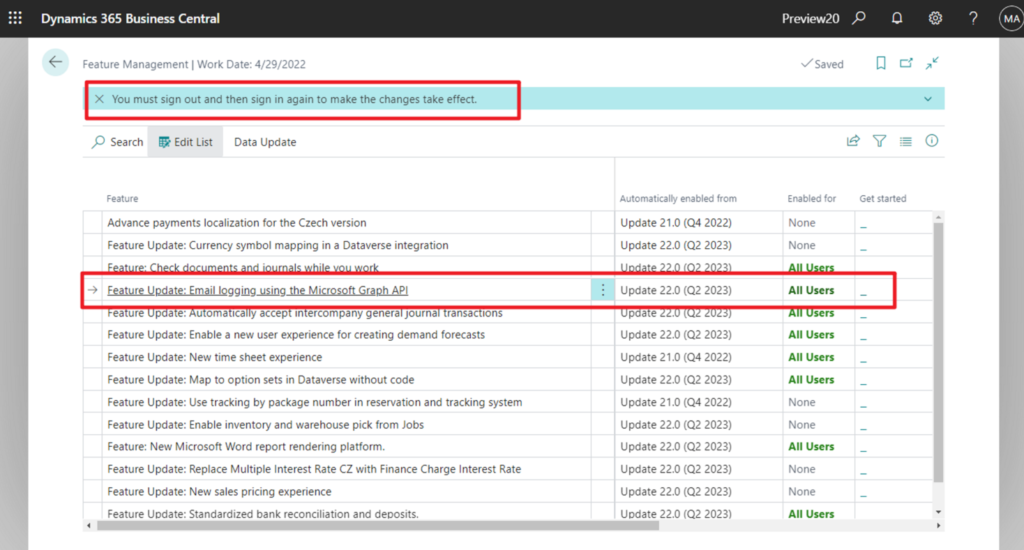
Open Feature Management page, set Enable for of Feature Update: Email logging using the Microsoft Graph API to All Users.

Warning message:
After you enable this feature for all users, you cannot turn it off again. This is because the feature may include changes to your data and may initiate an upgrade of some database tables as soon as you enable it.
We strongly recommend that you first enable and test this feature on a sandbox environment that has a copy of production data before doing this on a production environment.
For detailed information about the impact of enabling this feature, you should choose No and use the Learn more link.
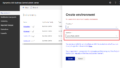
Are you sure you want to enable this feature?
Enable I accept the data update, then choose Next.
What is updated
Email logging done through public folders in Exchange Online will disabled and the corresponding job queue entry will be deleted. Adminstrators can then set up email logging to use a shared mailbox in Exchange.
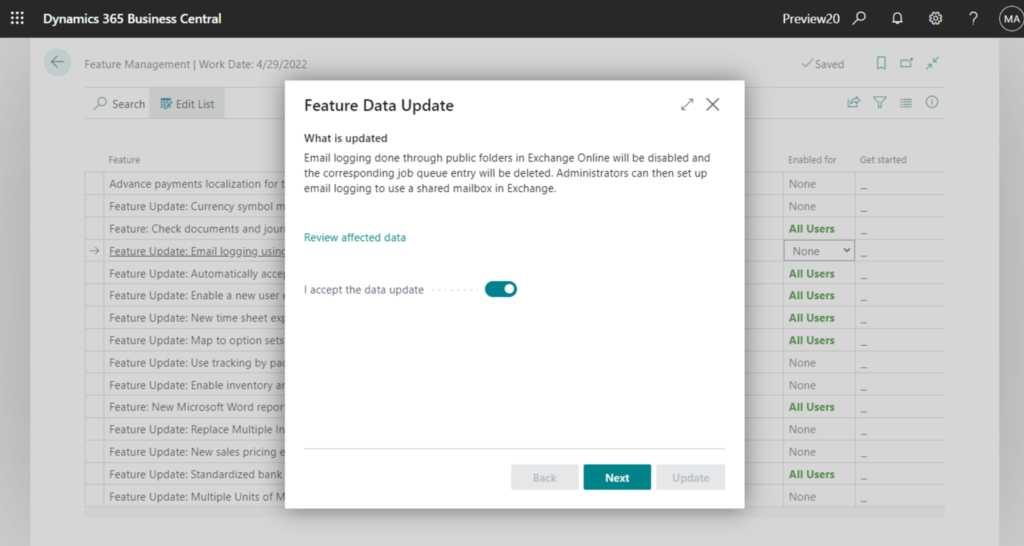
Choose Update.

The new feature have been enabled. You must sign out and then sign in again to make the changes take effect.
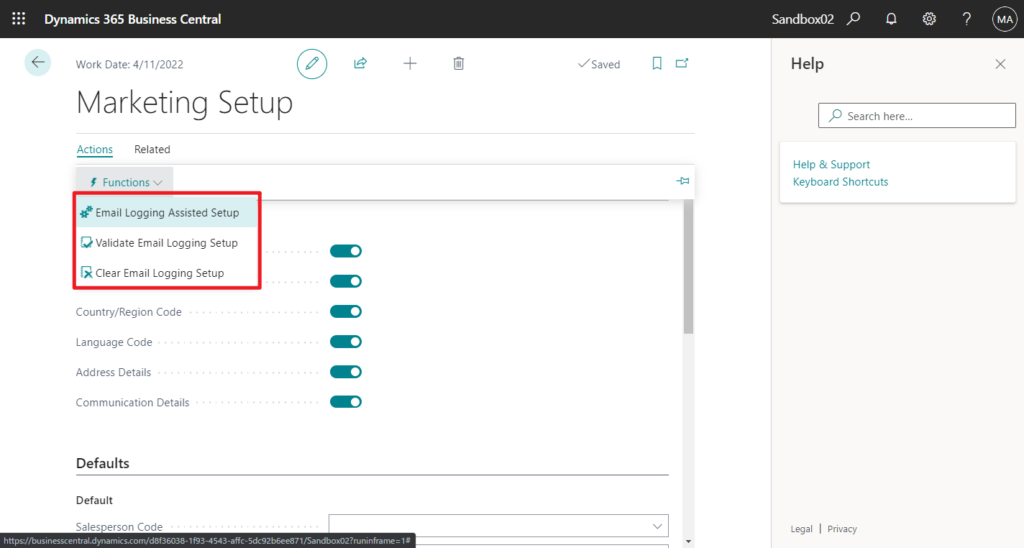
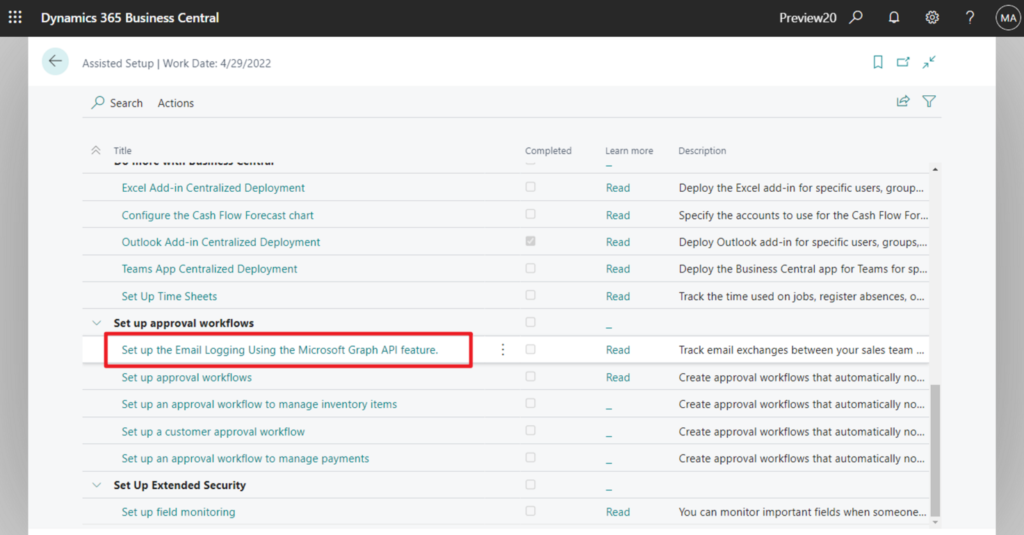
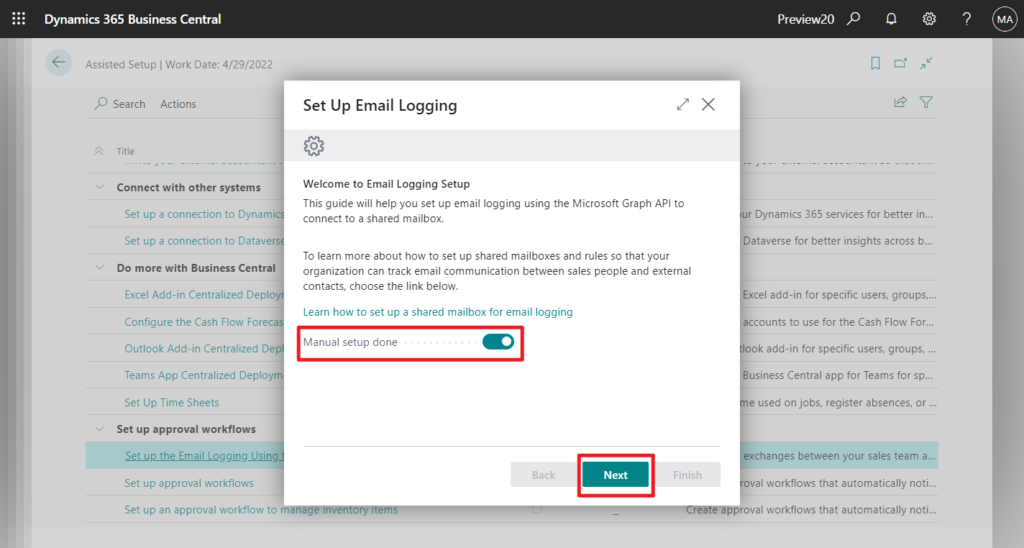
Then you can go to the Assisted Setup page and start the Set up email logging guide to setup email logging in Business Central using a shared mailbox and Graph APIs.
But before that, we must set up shared mailboxes and rules first.
Microsoft provides a link to detailed settings: Track Email Message Exchanges Between Salespeople and Contacts
So, in this post, I will briefly explain how to set it up.
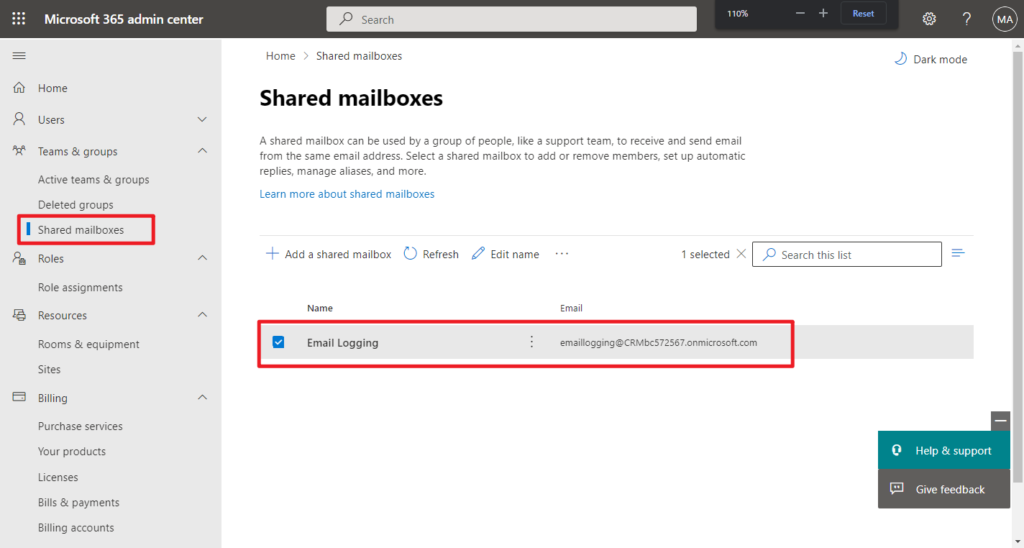
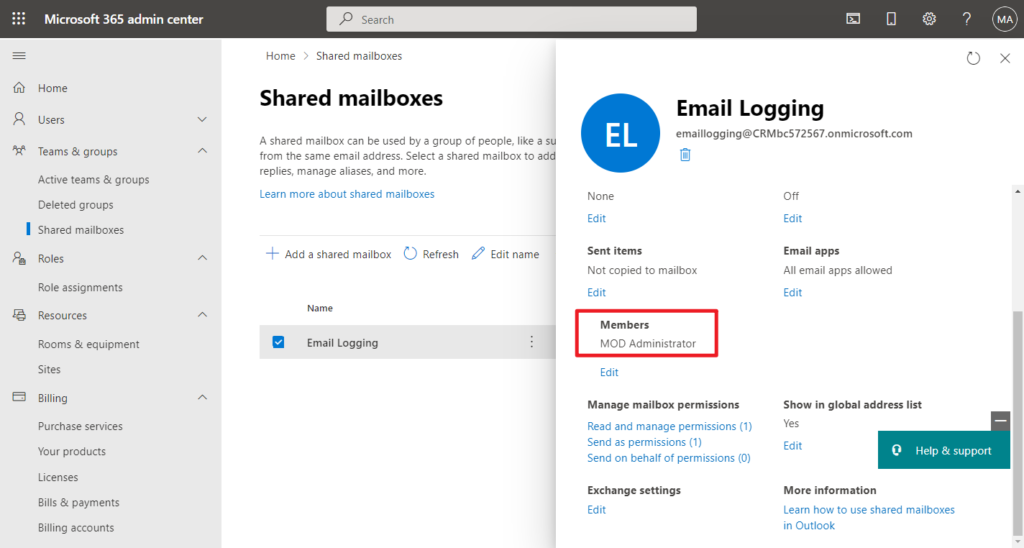
Create a shared mailbox in Microsoft 365 admin center. For more information, see Create a shared mailbox
Add a user account for members of the shared mailbox. The account that you’ll use for email logging is an Exchange Online account.
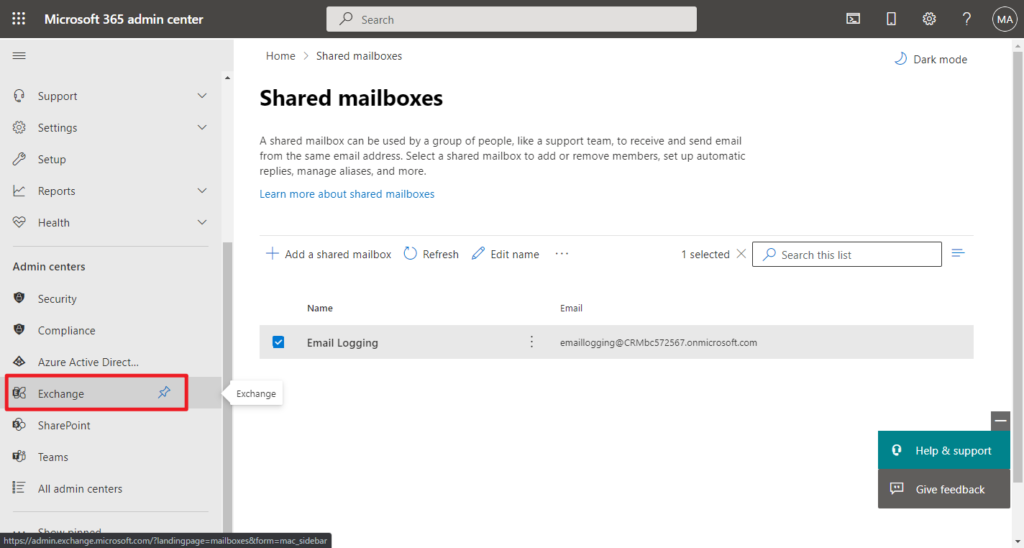
Then we need to create mail flow rules.
Then choose Admin centers -> Exchange in Microsoft 365 admin center.
In Exchange admin center, choose Mail flow -> Rules. Add new rules.
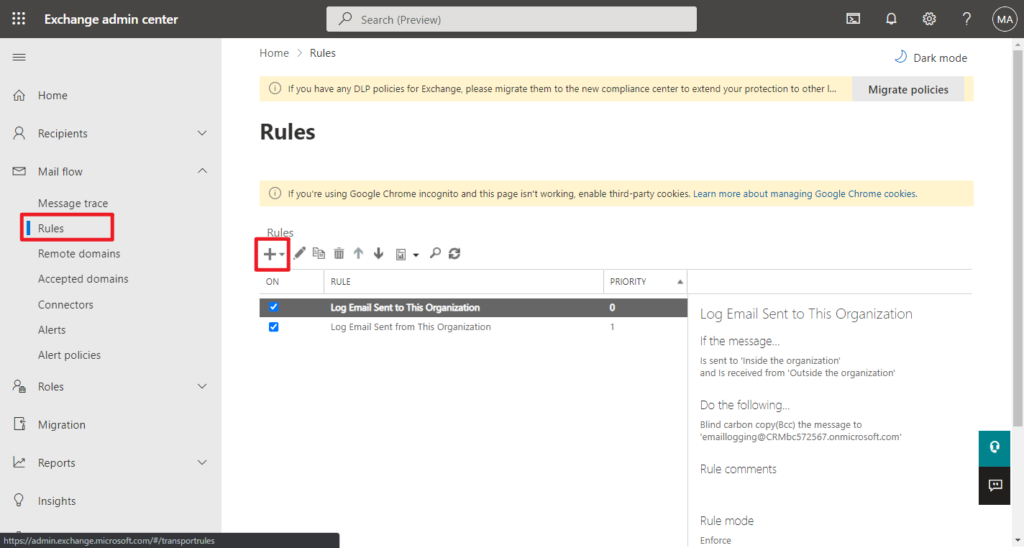
Rule details:
| Purpose | Name | Apply this rule if… | Do the following… |
|---|---|---|---|
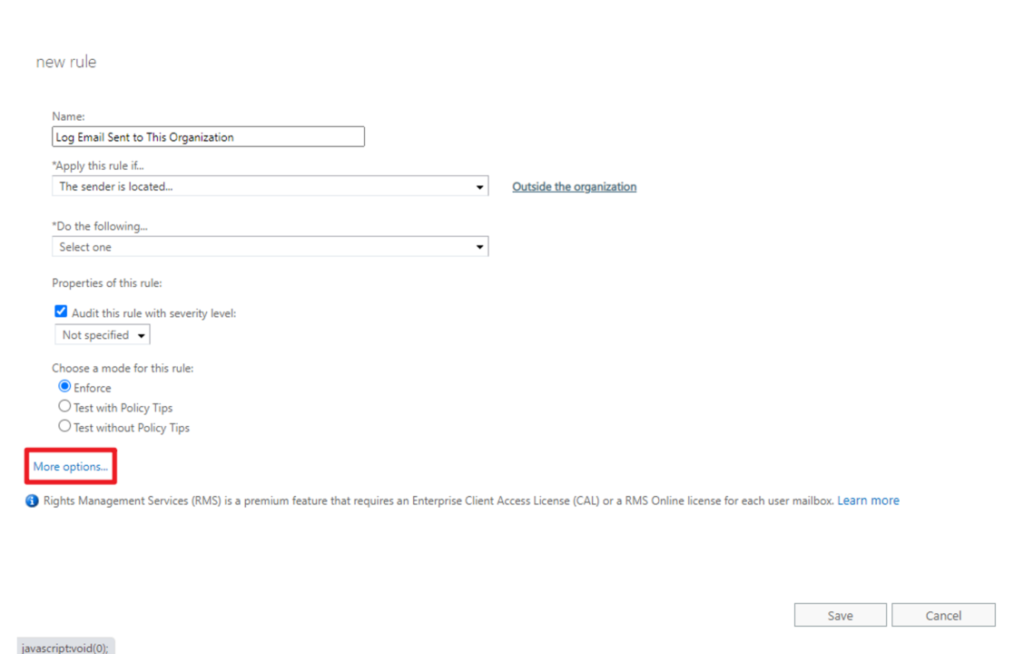
| A rule for incoming email | Log Email Sent to This Organization | The sender is located outside the organization, and the recipient is located inside the organization | BCC the email account that is specified for the shared mailbox. |
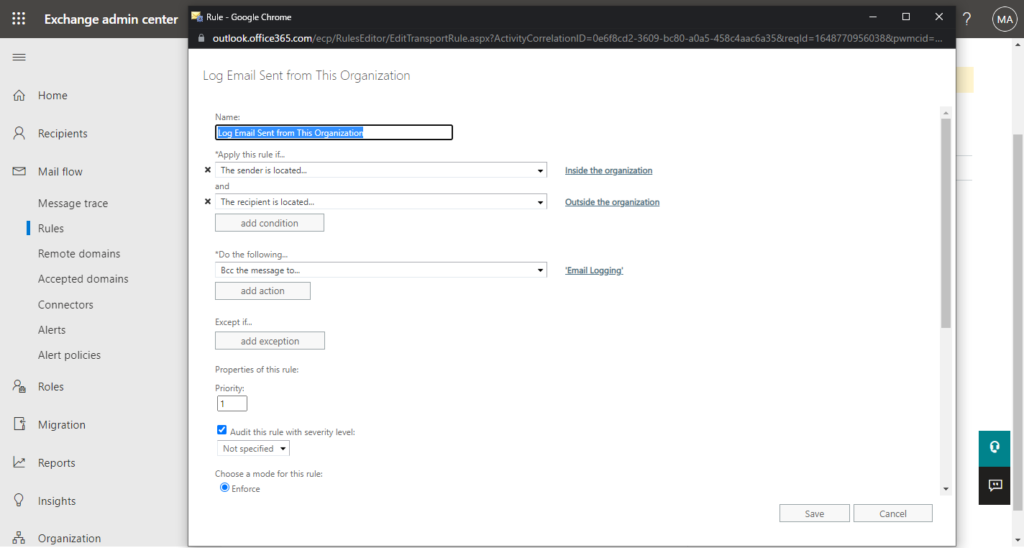
| A rule for outgoing email | Log Email Sent from This Organization | The sender is located inside the organization, and the recipient is located outside the organization. | BCC the email account that is specified for the shared mailbox. |
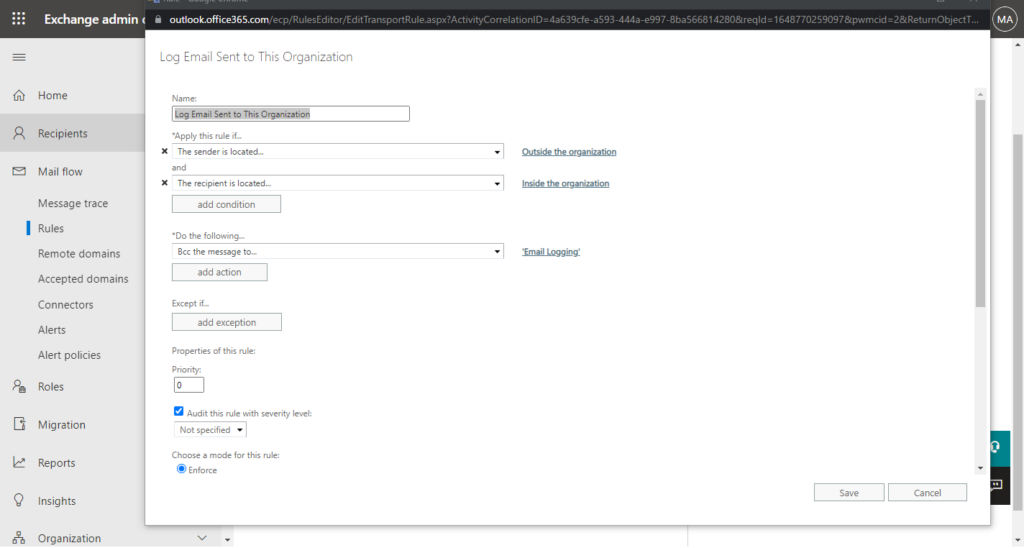
Log Email Sent to This Organization:
Log Email Sent from This Organization:
Note:
Business Central only processes messages in the Inbox folder in the shared mailbox. If a rule moves messages from the Inbox to another folder, those messages will not be processed. Additionally, messages in the Junk Mails folder are also ignored.
PS: You can choose More options… to add multiple conditions.
Okay, Both shared mailboxes and rules are set up. Let’s return to Business Central to continue the setup of Email Logging.
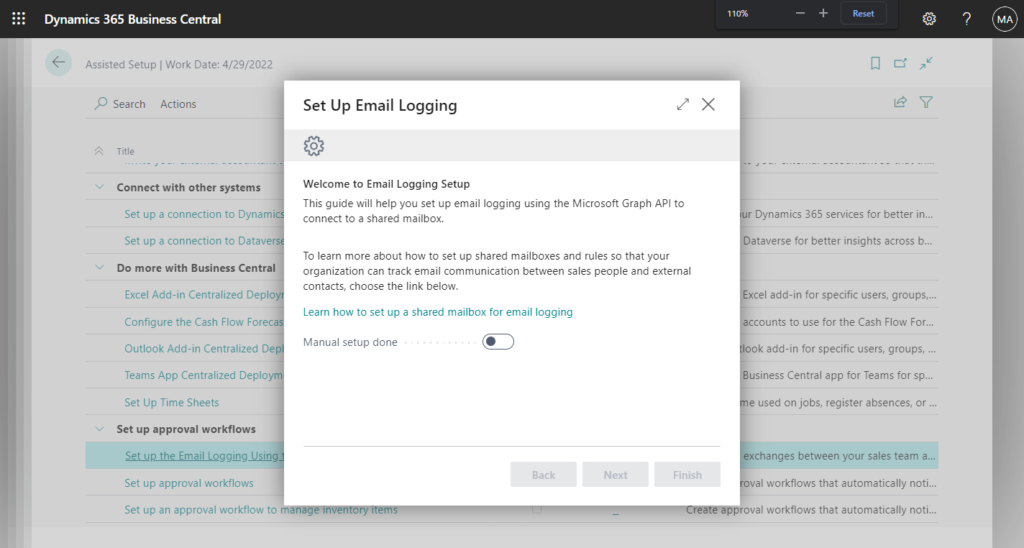
Select Manual setup done, then choose Next.
Enter the shared mailbox email you just created, and then click Check connection to the specified mailbox.
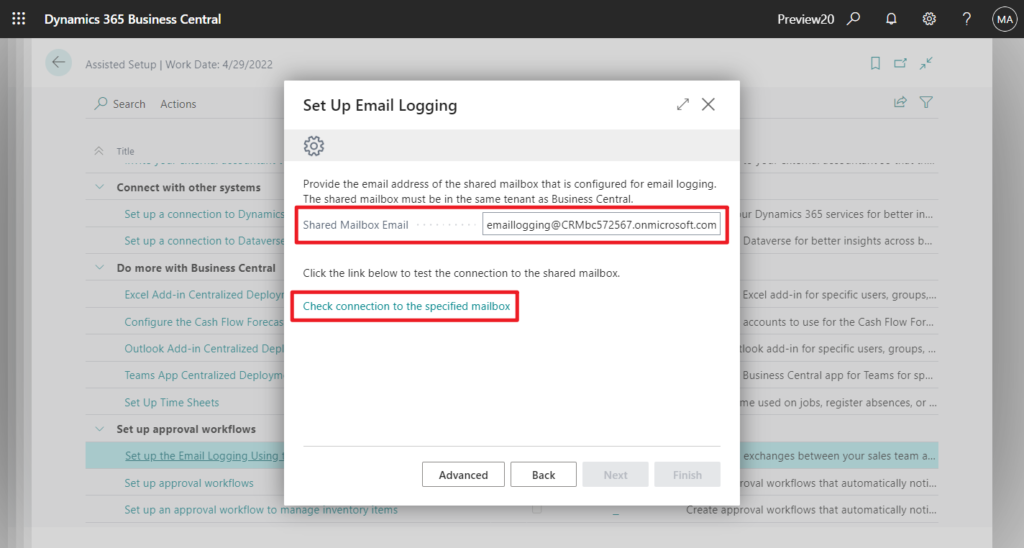
When message “The connection test was successful” appears, choose Next.

Setup is complete.
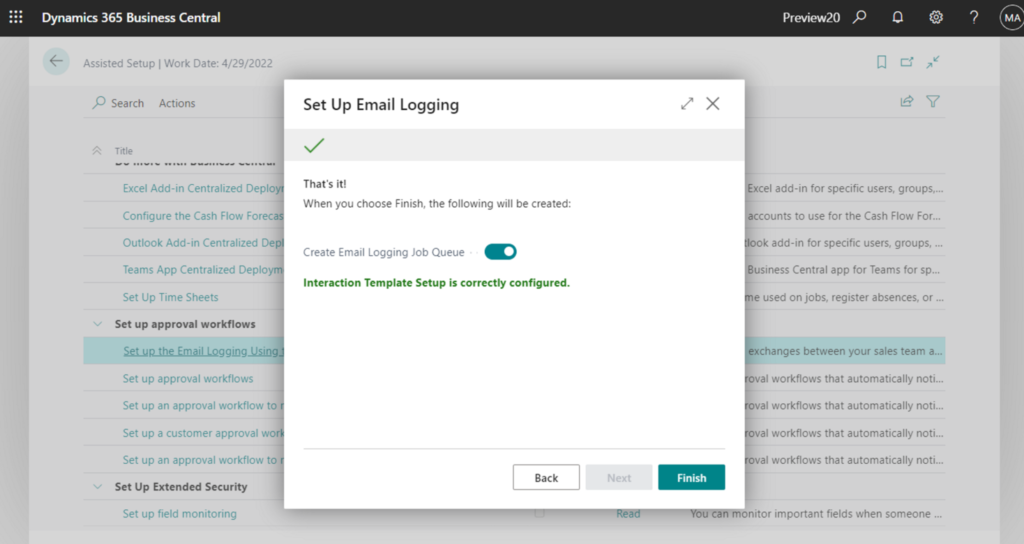
After you complete the steps in the guide you can check whether the connection was successful.
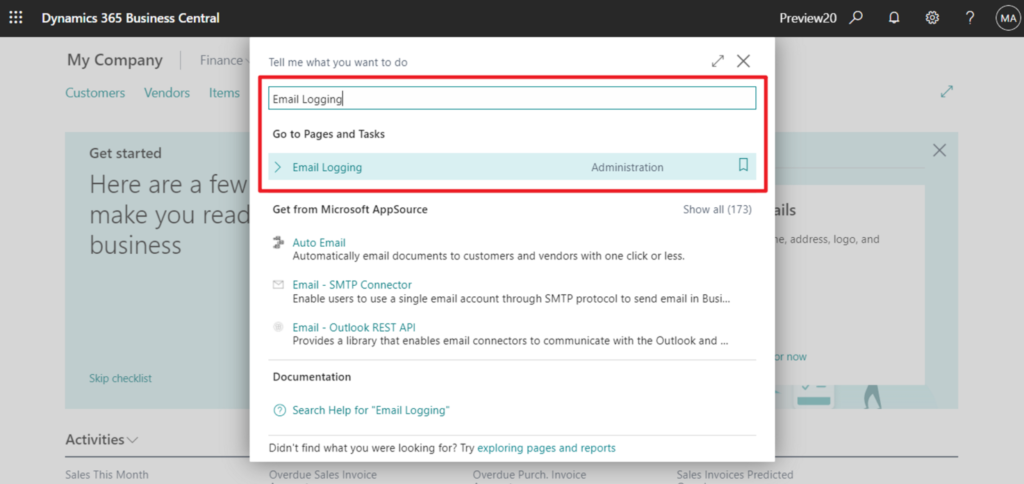
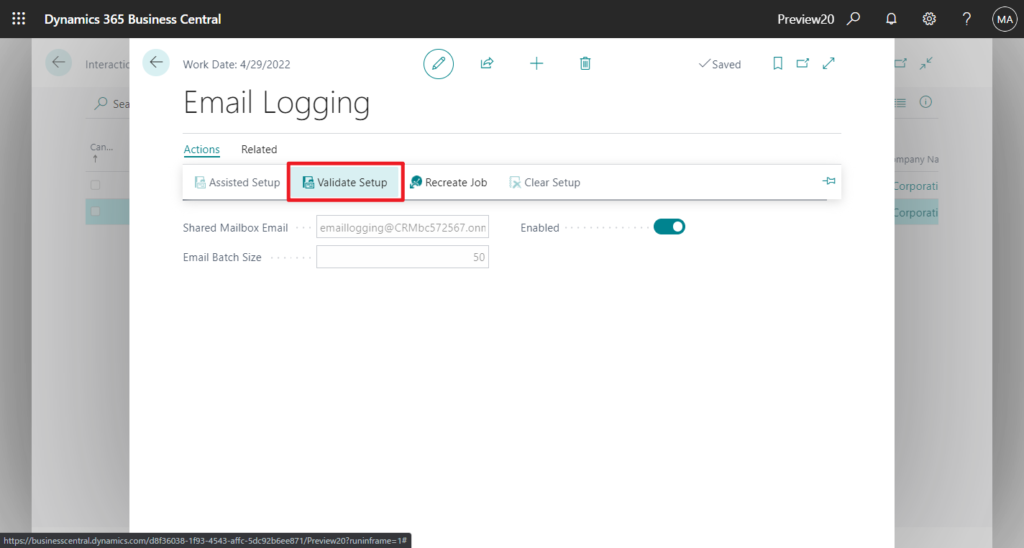
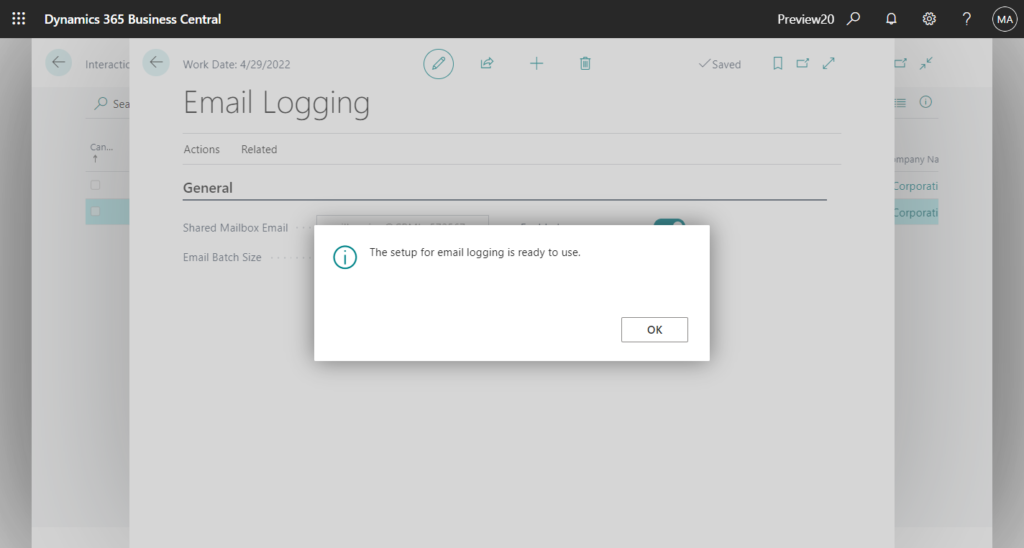
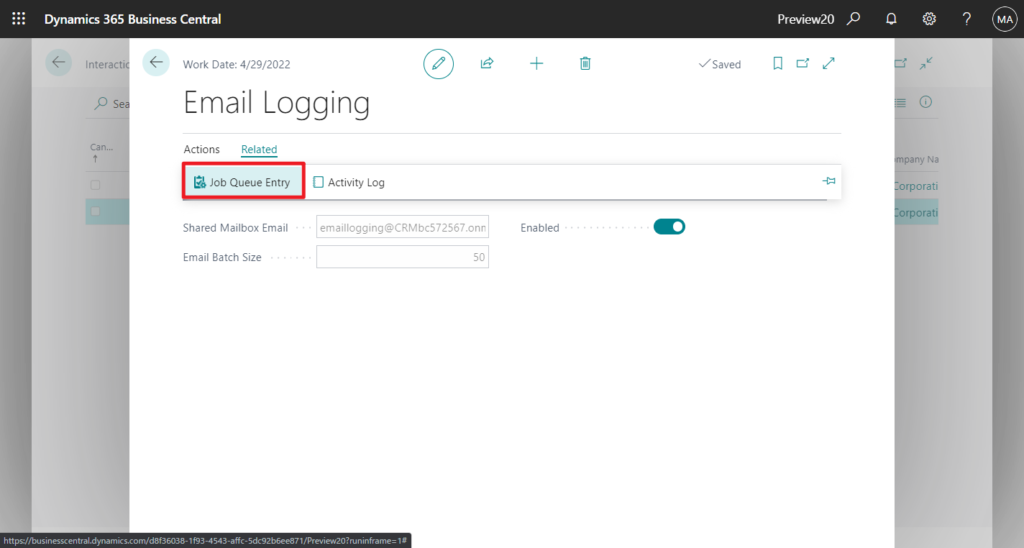
Search for Email Logging, choose Actions, and then choose Validate Setup.
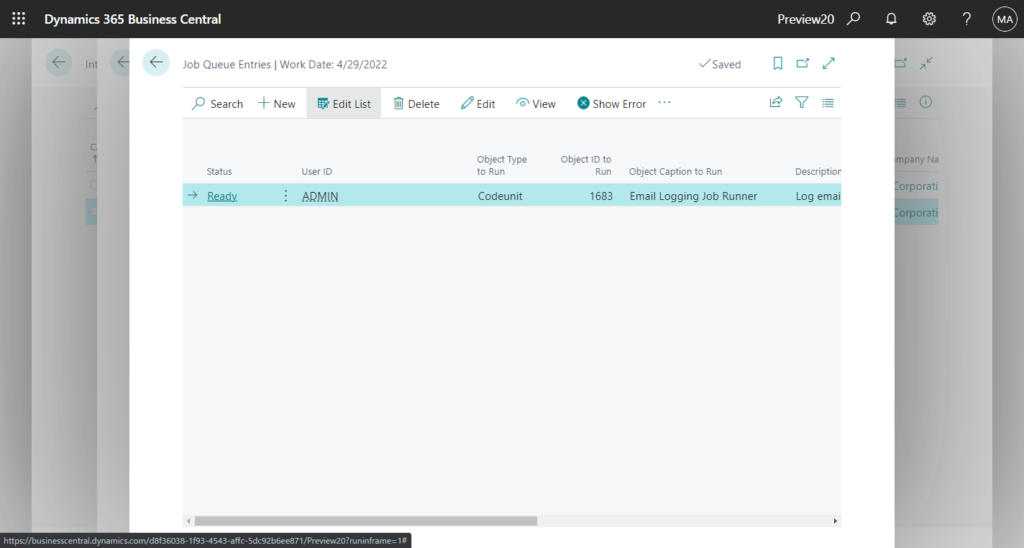
PS: You can click Released -> Job Queue Entry to view the details of the Email Logging Job Queue, which is synchronized every 10 minutes by default.
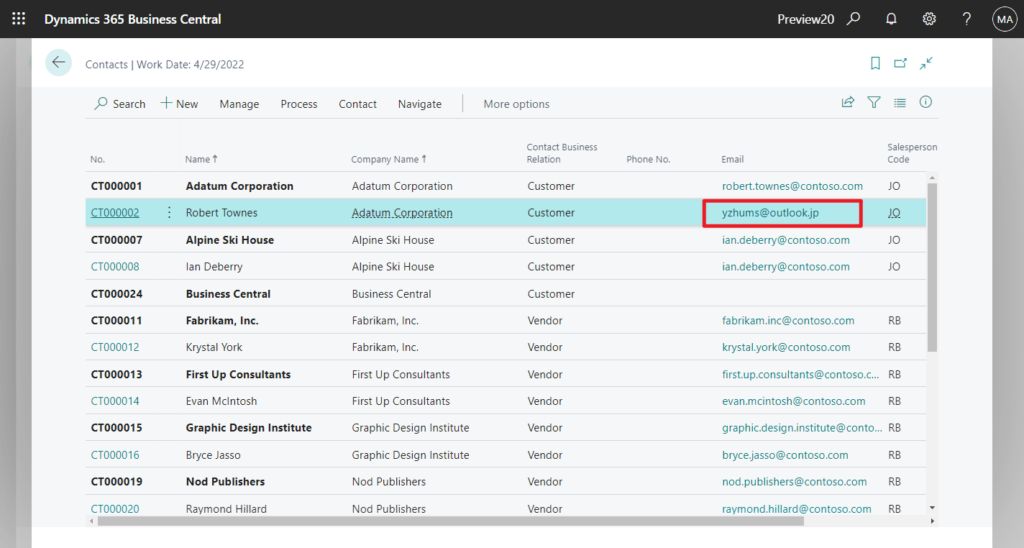
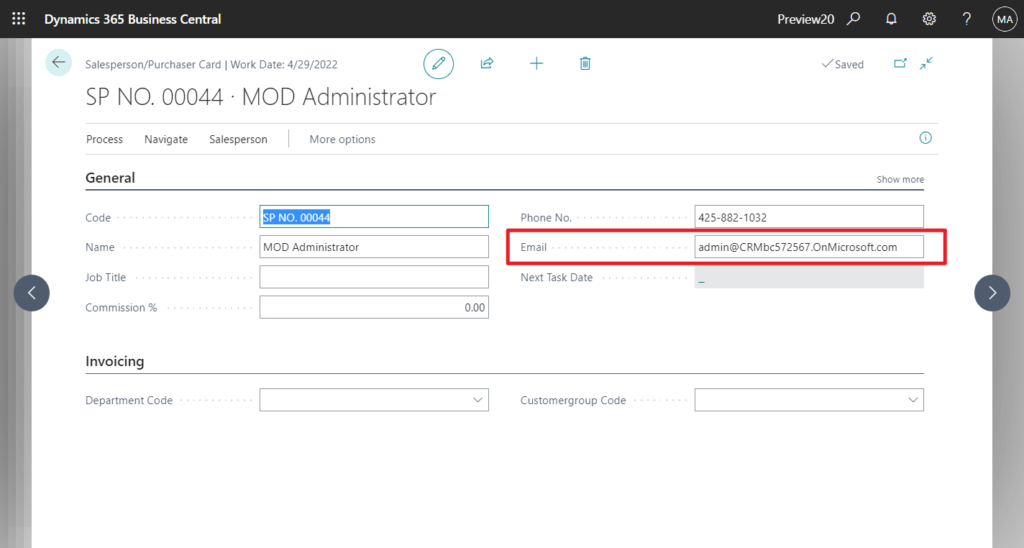
Next, make sure that the email addresses for your sales people and contacts in Business Central are valid. To do that, for each customer or salesperson, open the Contact or Salesperson/Purchaser card and have a look in the Email field.
Test Contact:
Test Salesperson:
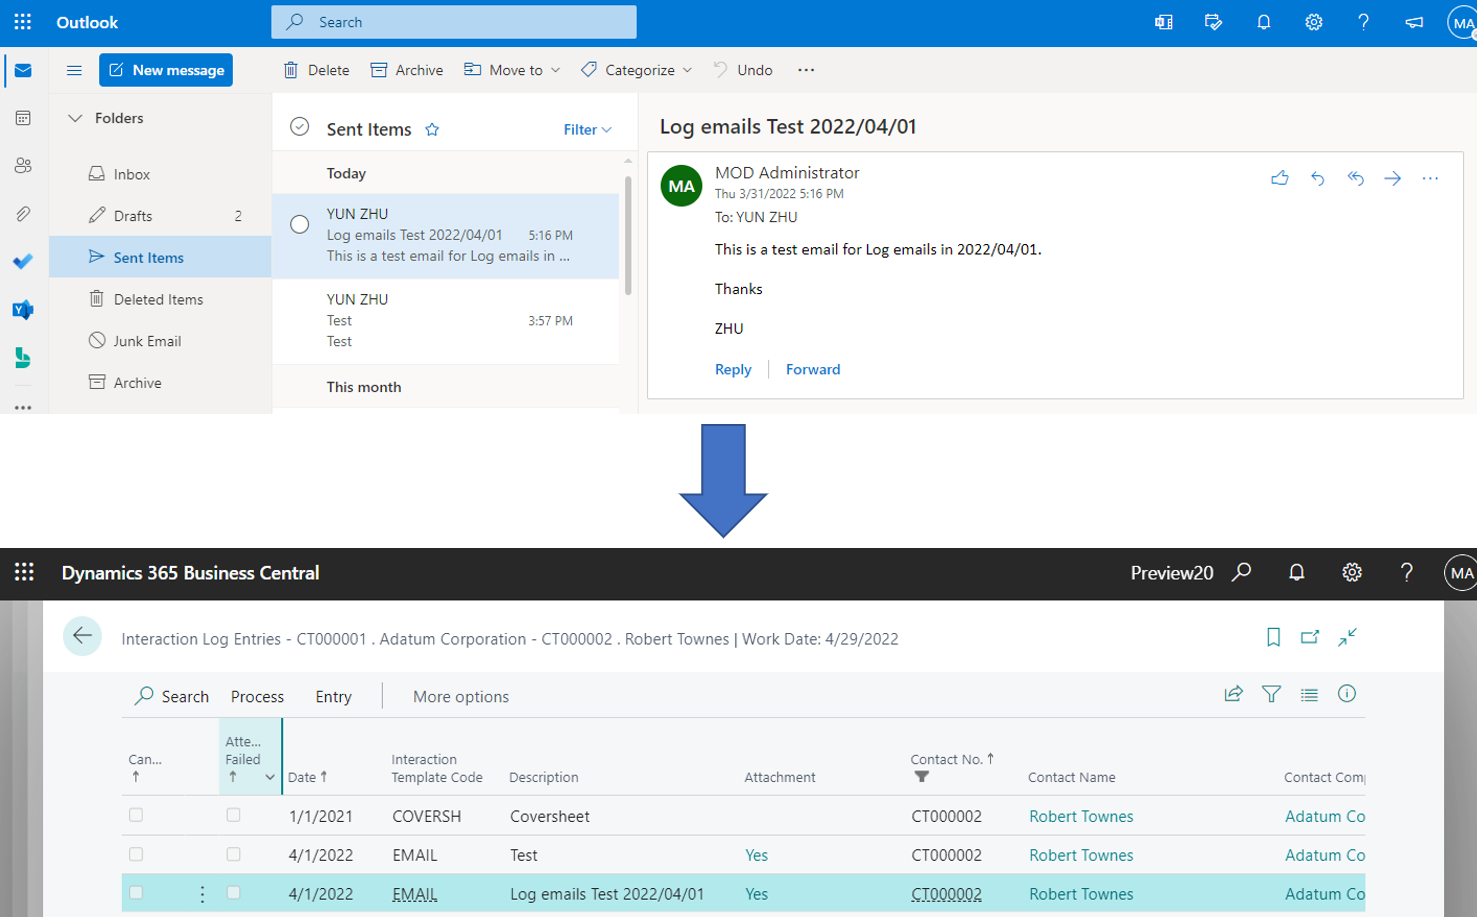
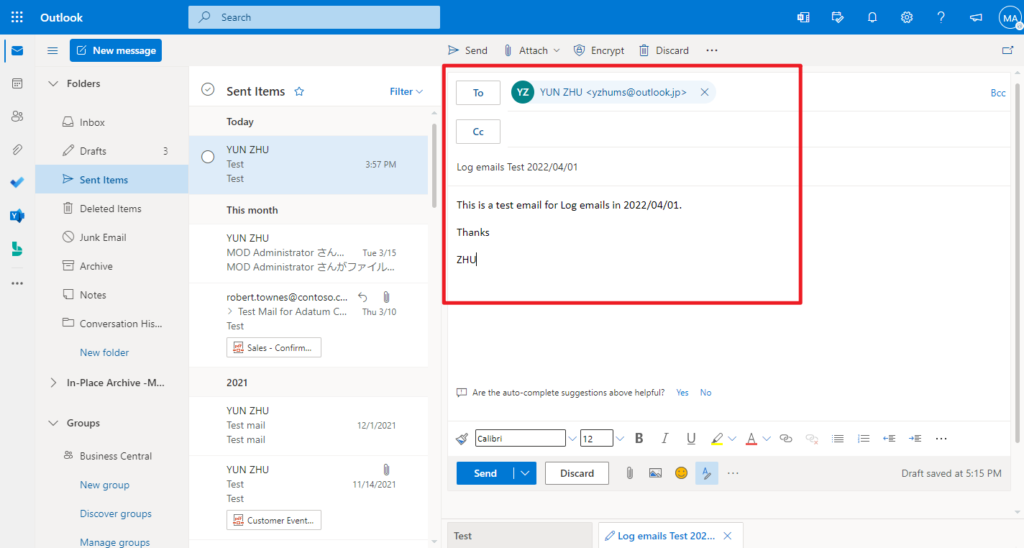
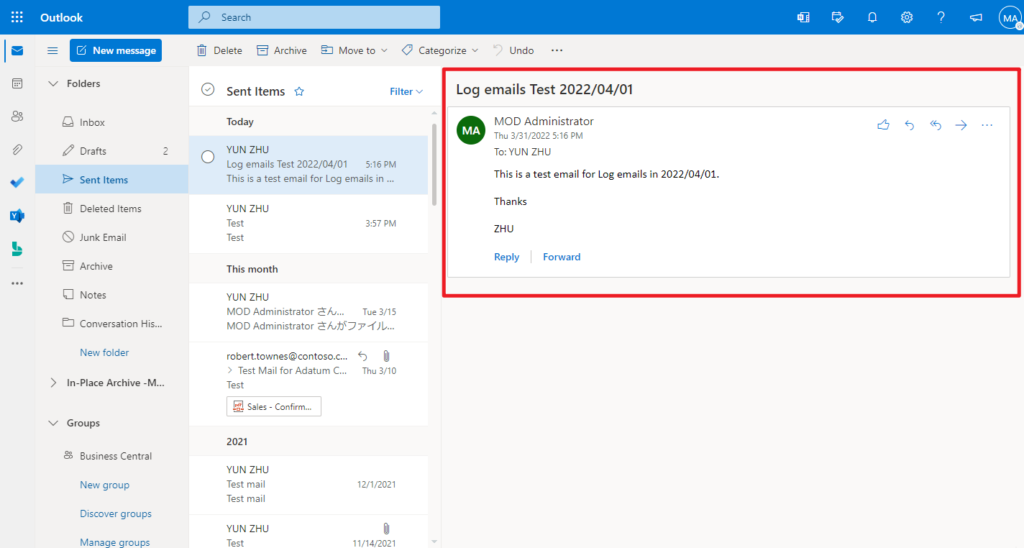
Then create an email and send it.
For example, From Salesperson to Contact.
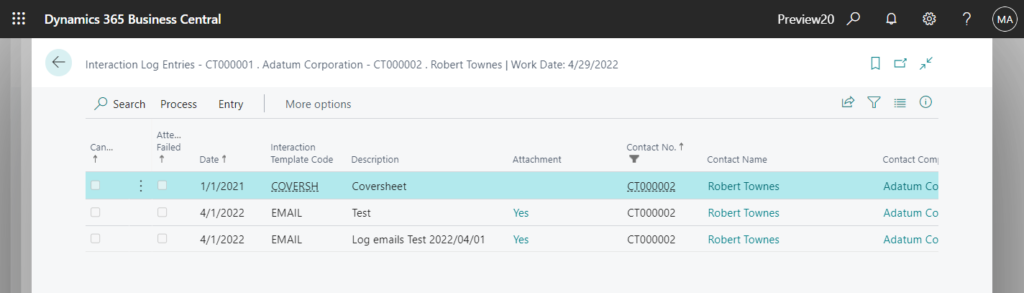
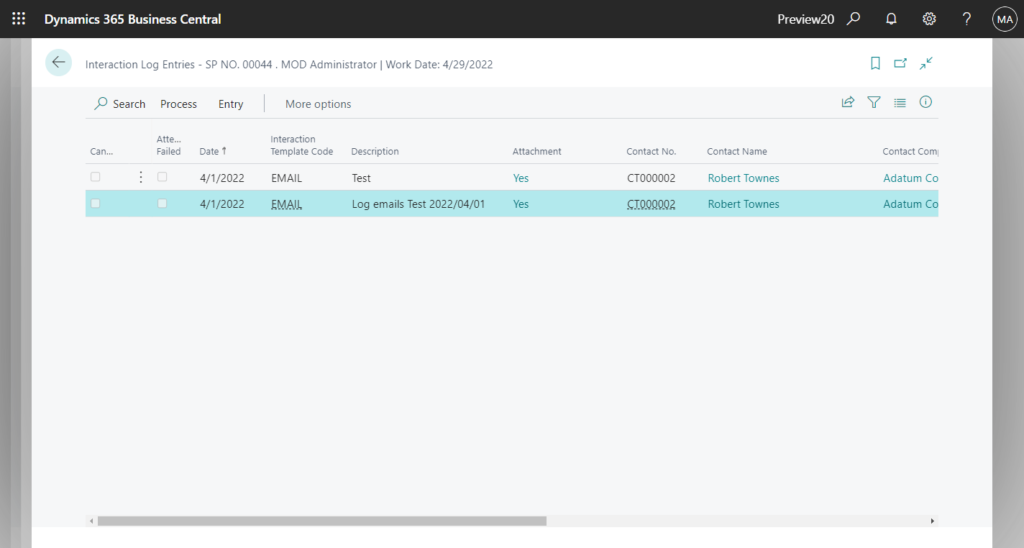
Business Central creates an entry on the Interaction Log page each time a salesperson and a contact exchange an email message. To view the interaction log, open the Contact card for the person, choose Related, then History, and then Interaction Log Entries.
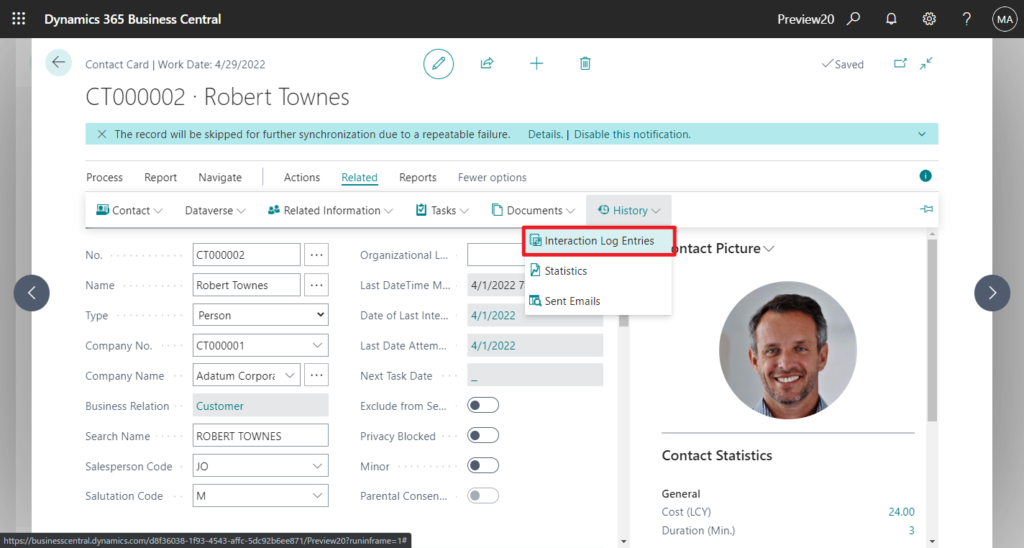
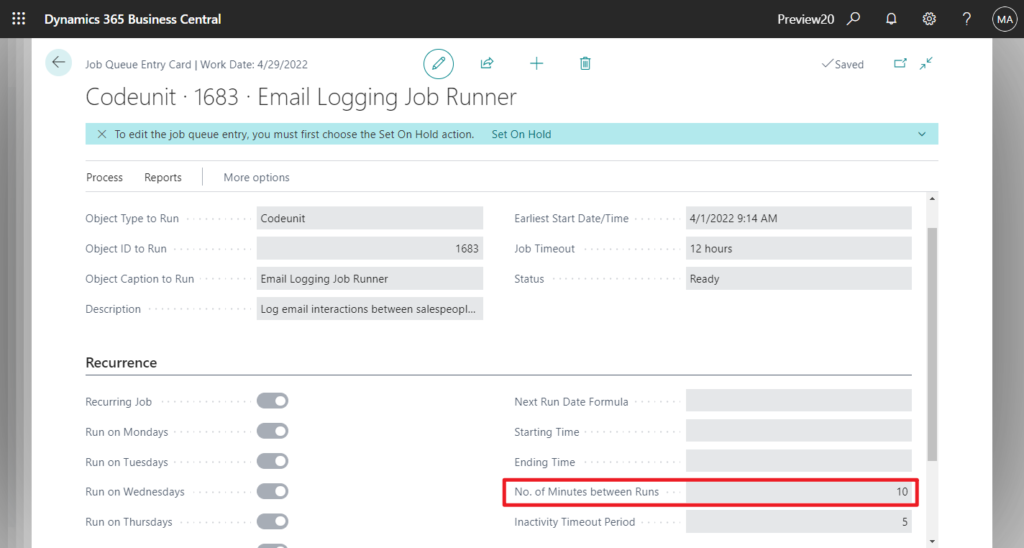
PS: The update may take 10 minutes, which is related to the No. of Minutes between Runs setup of the Job Queue mentioned above.
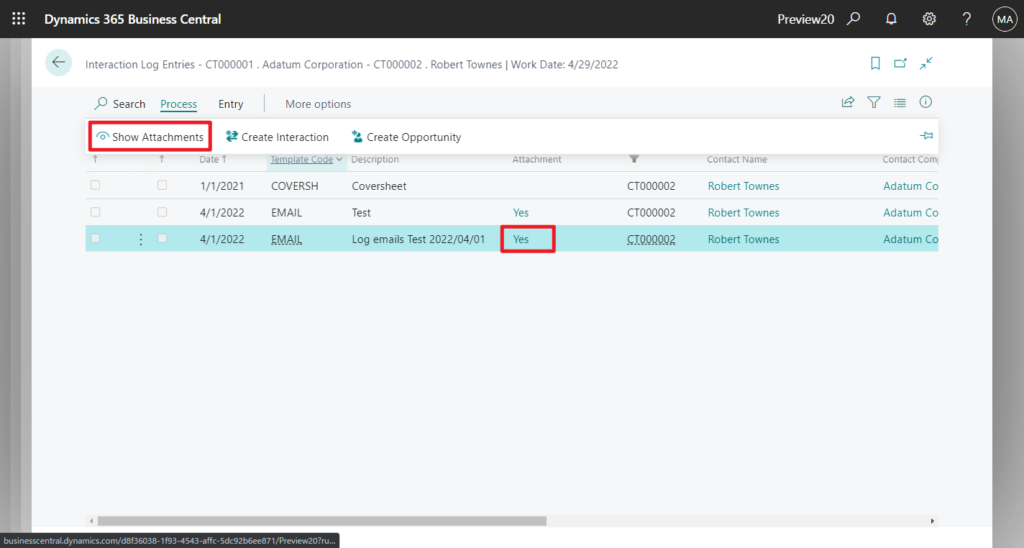
There are a few things you can do with each entry in the log, for example:
- View the content of the email message that was exchanged by selecting Process and then Show Attachments. Or click Attachment (Yes).
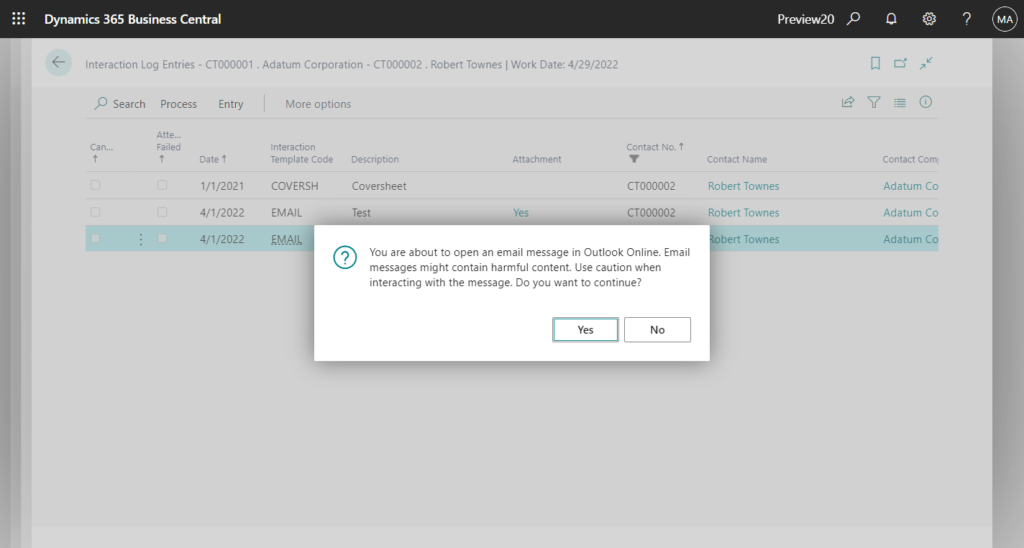
Choose Yes.
You are about to open an email message in Outlook Online. Email messages might contain harmful content. Use caution when interacting with the message. Do you want to continue?
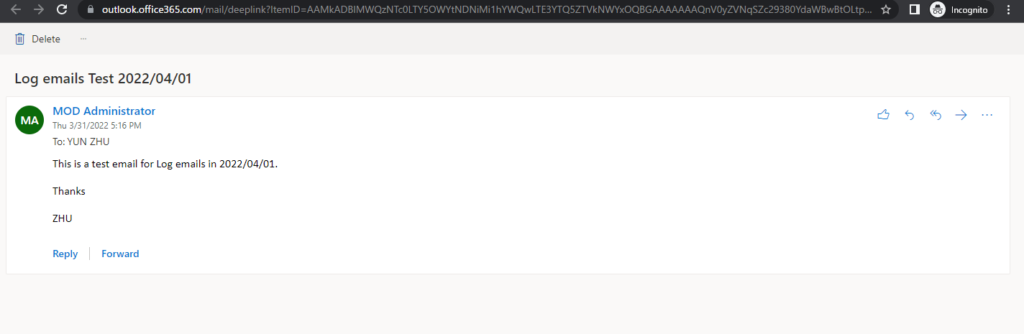
The email message will be opened.
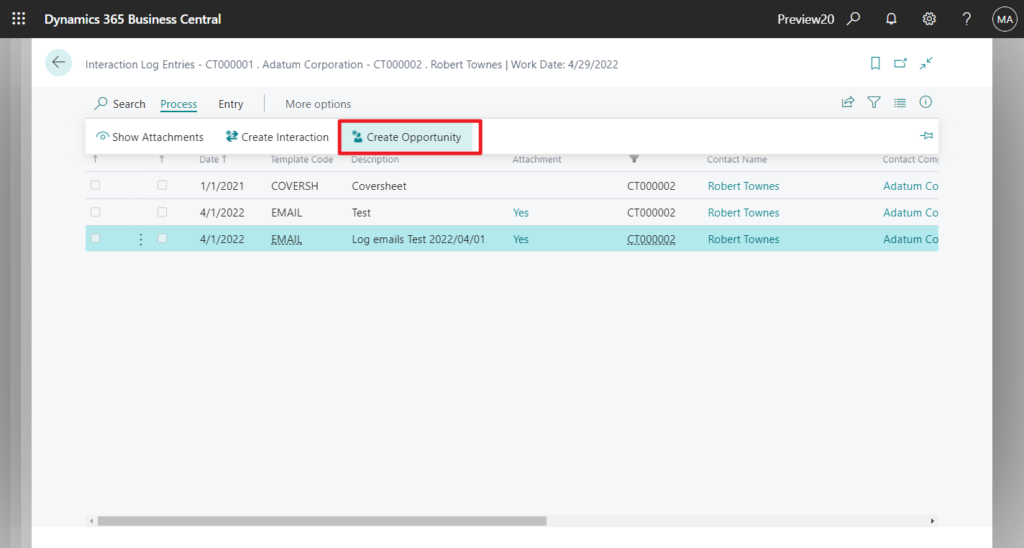
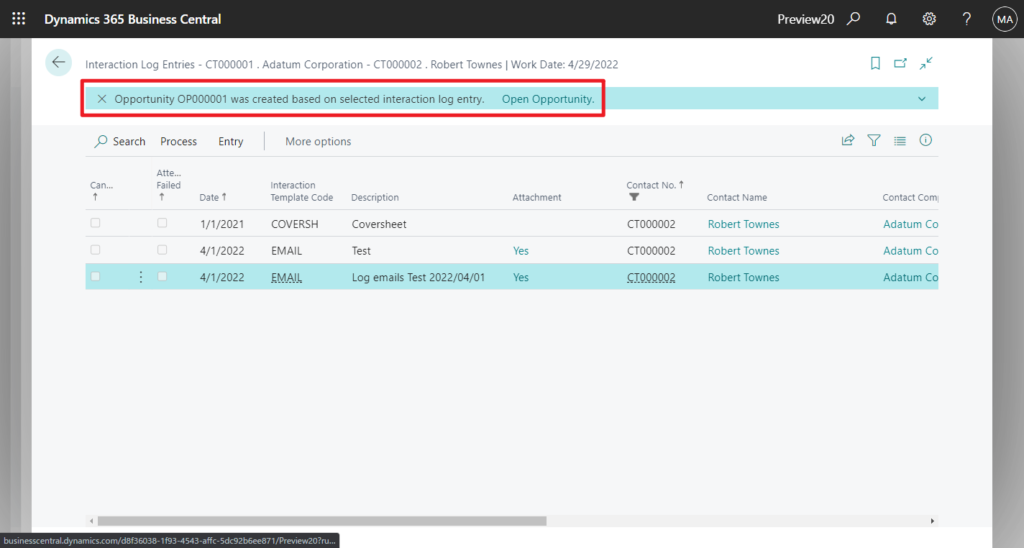
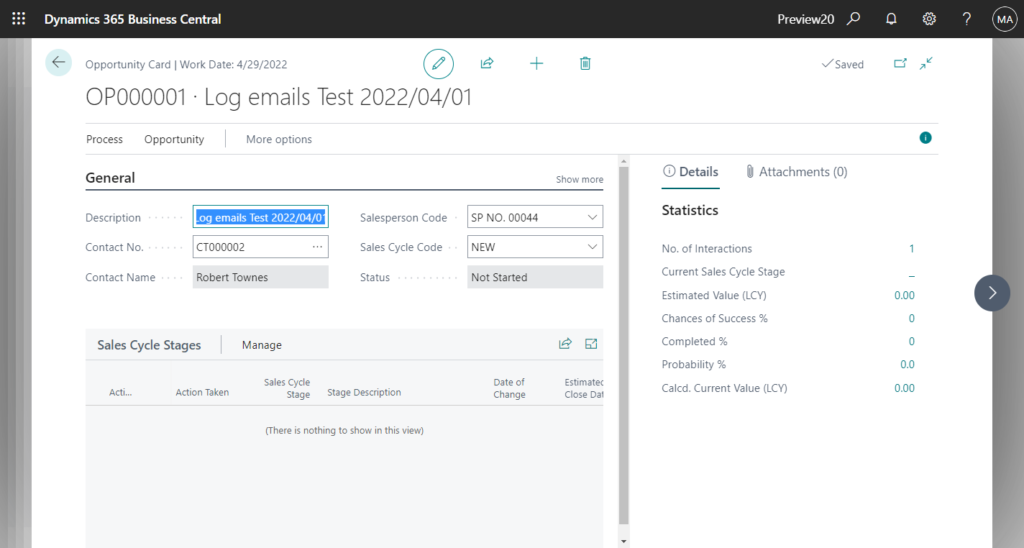
- Turn an email exchange into a sales opportunity. If an entry looks promising, you can turn it into an opportunity and then manage its progress toward a sale. To turn an email exchange into an opportunity, choose the entry, then Process, and then Create Opportunity.
Test Video:
What a great feature! Give it a try!!!😁
Find more about Track Email Message Exchanges Between Salespeople and Contacts in Microsoft Docs.
PS:
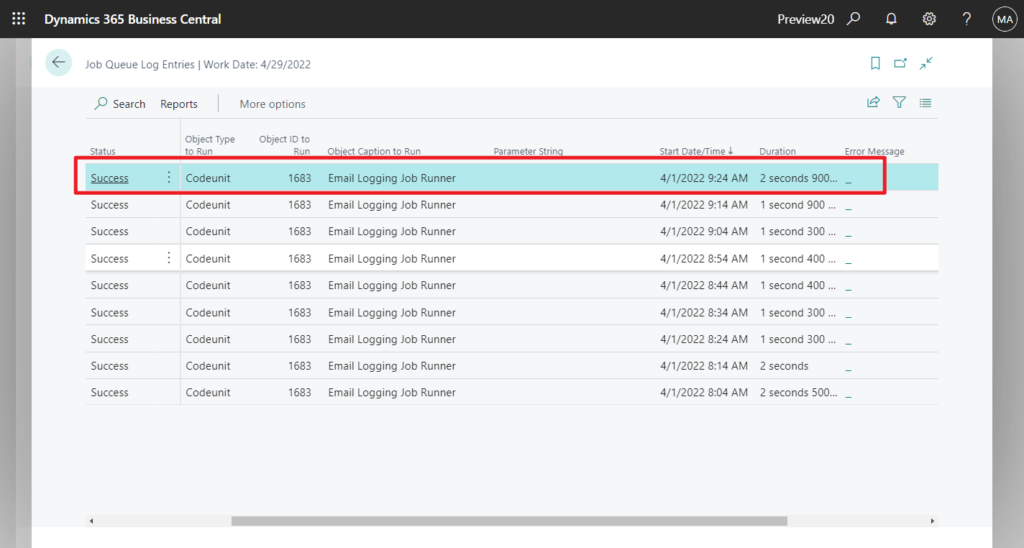
1. You can find synchronized histories in Job Queue Log Entries:
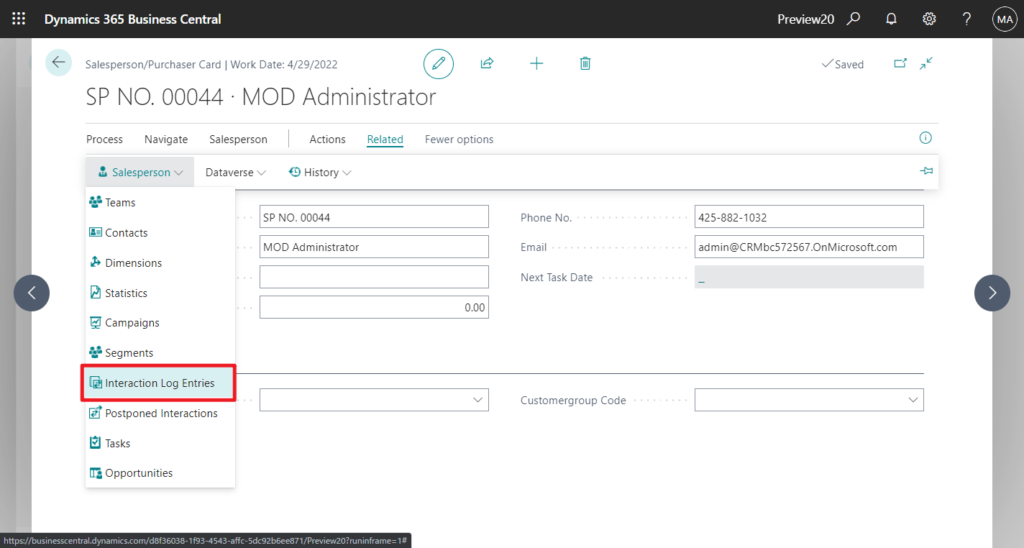
2. You can find same interaction log entries in Salesperson/Puchaser page.
END
Hope this will help.
Thanks for reading.
ZHU
コメント