Hi, Readers.
The way we communicate and do business changes constantly. Before Microsoft Teams launch, we are used to using email and Skype for calls. In 2020 and 2021, Microsoft Teams has become the fastest growing app in Microsoft’s history with more than 330,000 companies (maybe more now) worldwide using it.
PS: Microsoft Teams is a proprietary business communication platform developed by Microsoft, as part of the Microsoft 365 family of products.
For Business Central, you may have experienced the need to customize integrations to Outlook email and BC. For example, when a new item is created, a notification email needs to be sent to the manager.
PS: We have discussed How to send SMTP mail from Dynamics 365 Business Central
This is a bit complicated relatively, so today I would like to talk about how to send a message in Teams using Power Automate.
Actually, you can use Power Automate to set up a flow that sends messages to a Teams Channel or group chat using the Microsoft Teams connector. Let’s do a simple scenaio together. When a new item is created, a notification needs to be sent to the team channel.
Let’s start!!!
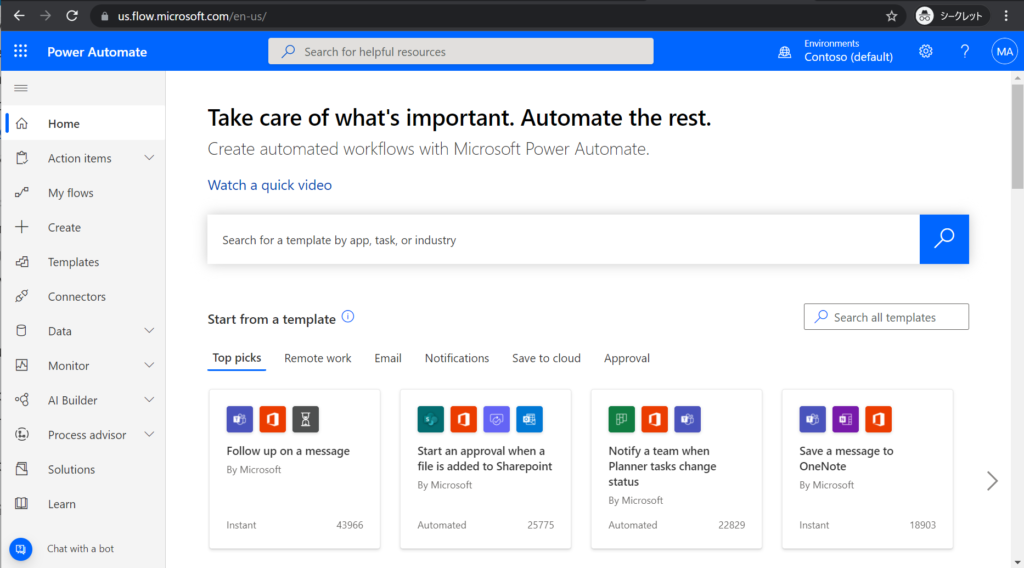
1. Sign in to Power Automate
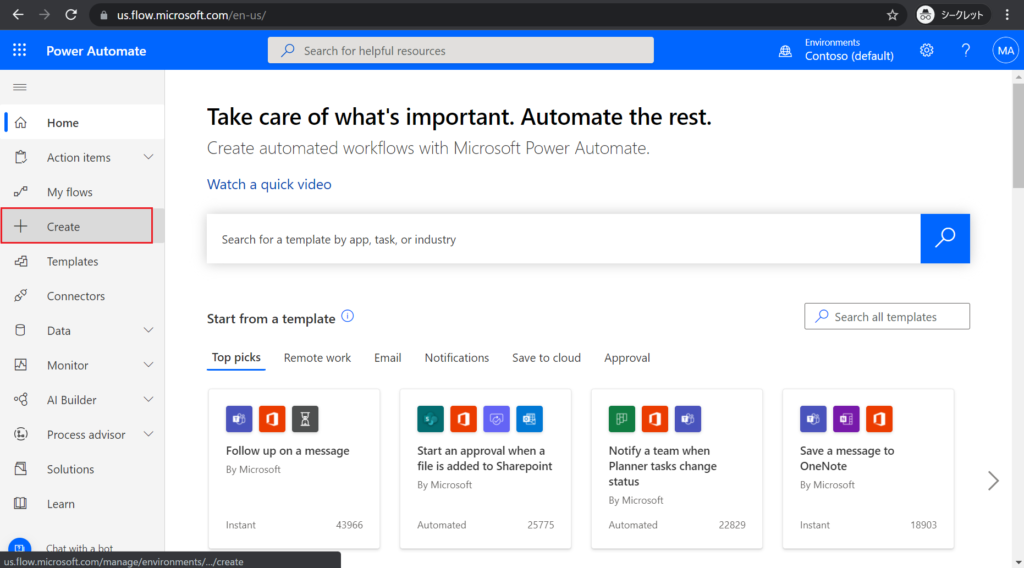
2. Choose Create.
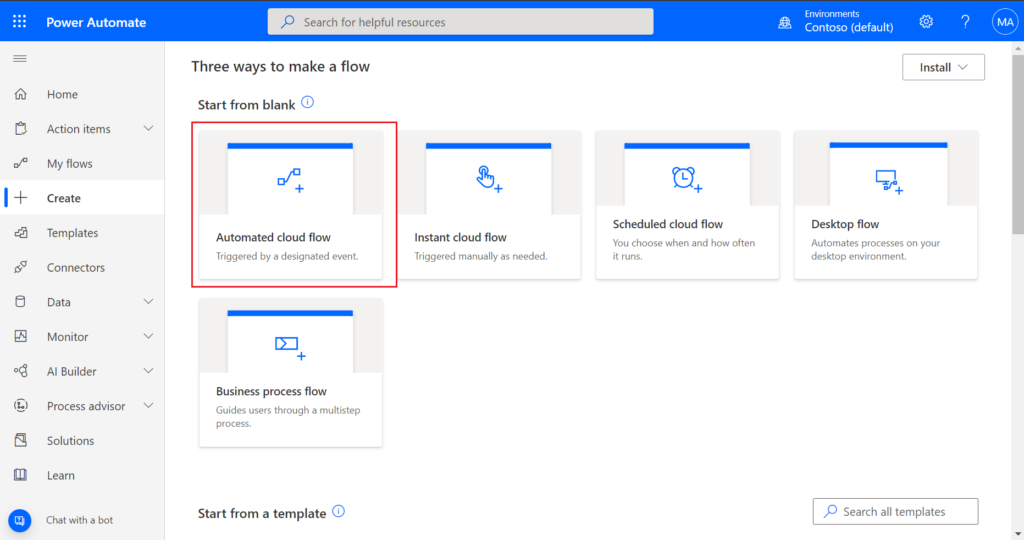
3. Choose Automated cloud flow.
4. Enter Flow name and Choose your flow’s trggers. (You can also skip it and choose trigger when creating a step)
For example: Business Central Item Notification
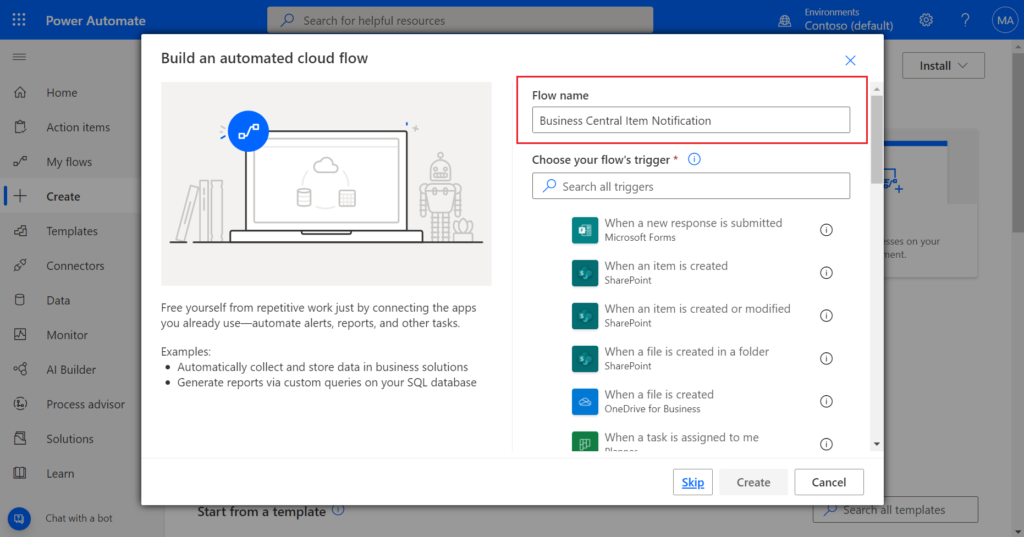
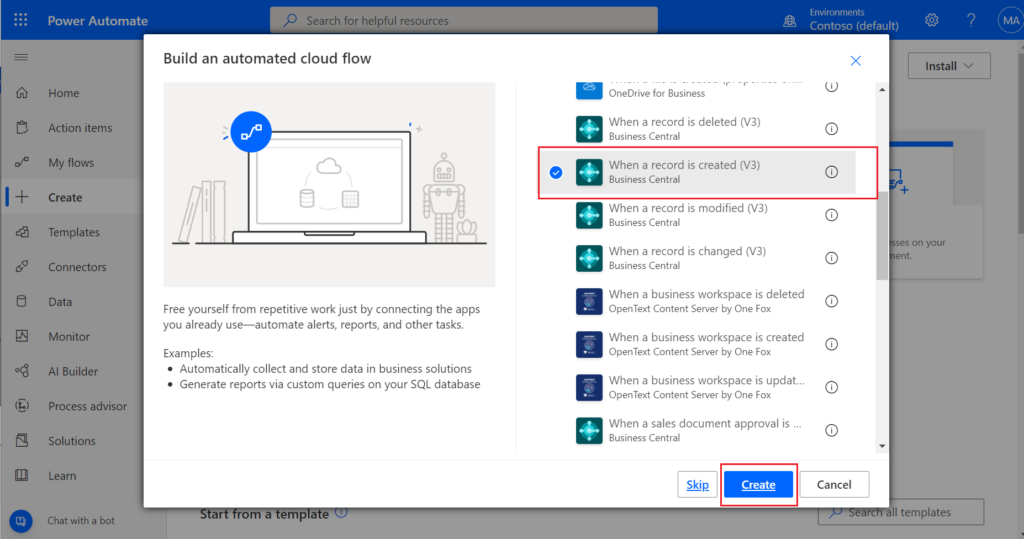
For example: When a record is created (V3) – Business Central
Then choose Create.
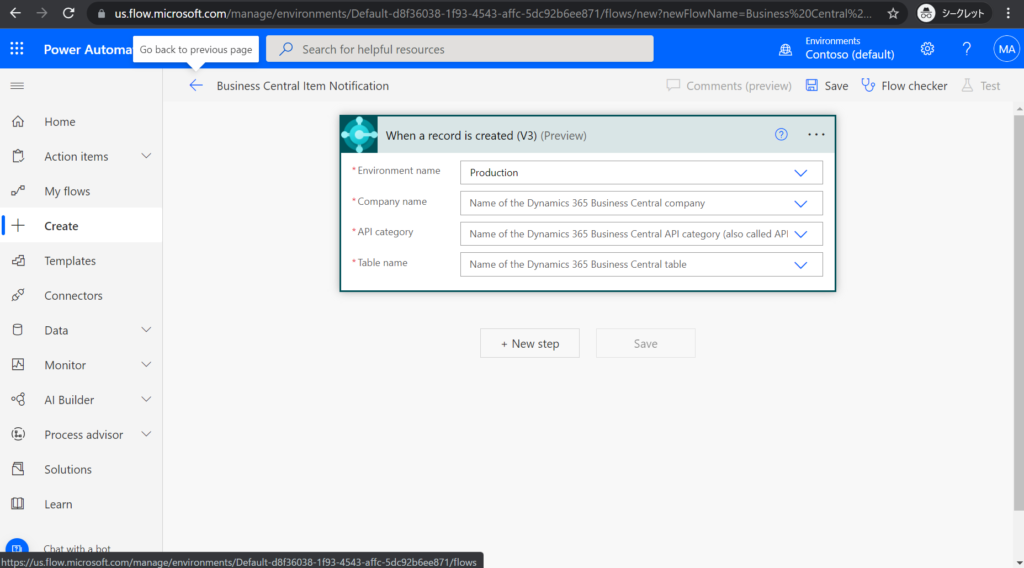
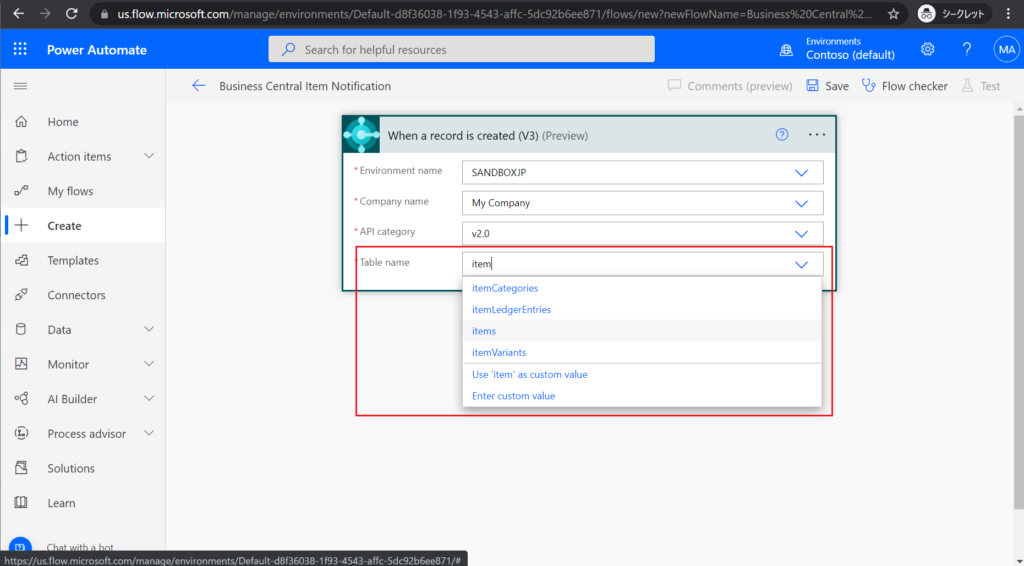
5. Set Business Central access information.
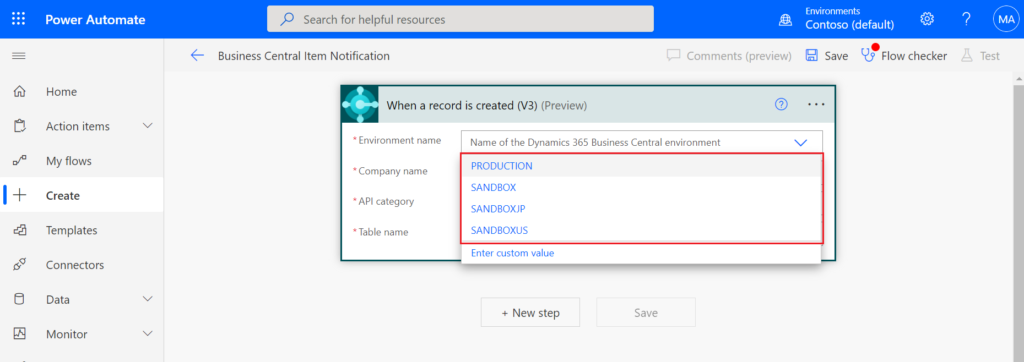
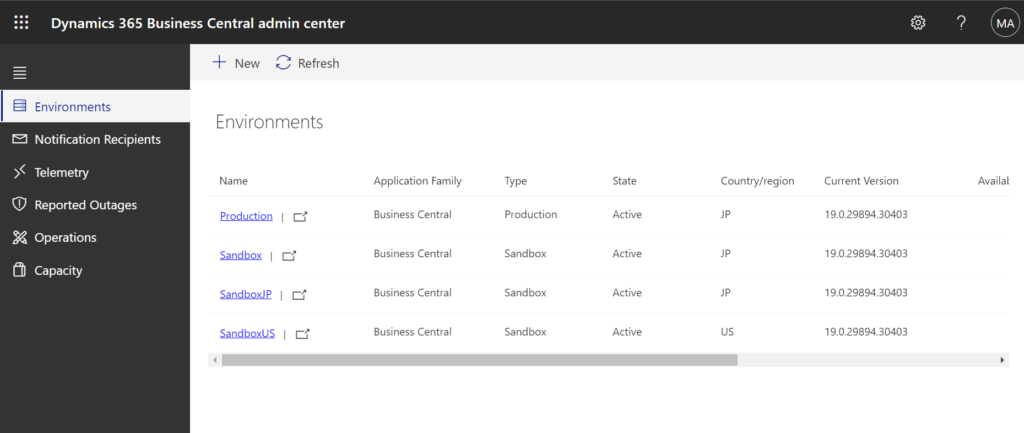
Select the environment name.
The environment list is the same as in Business Central Admin Center.
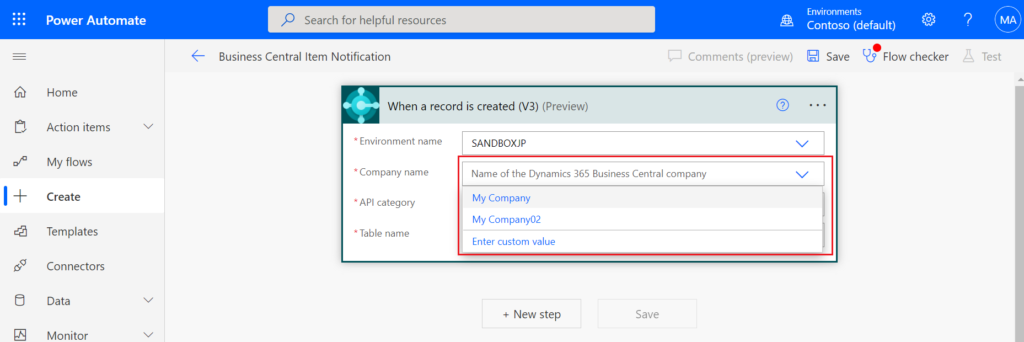
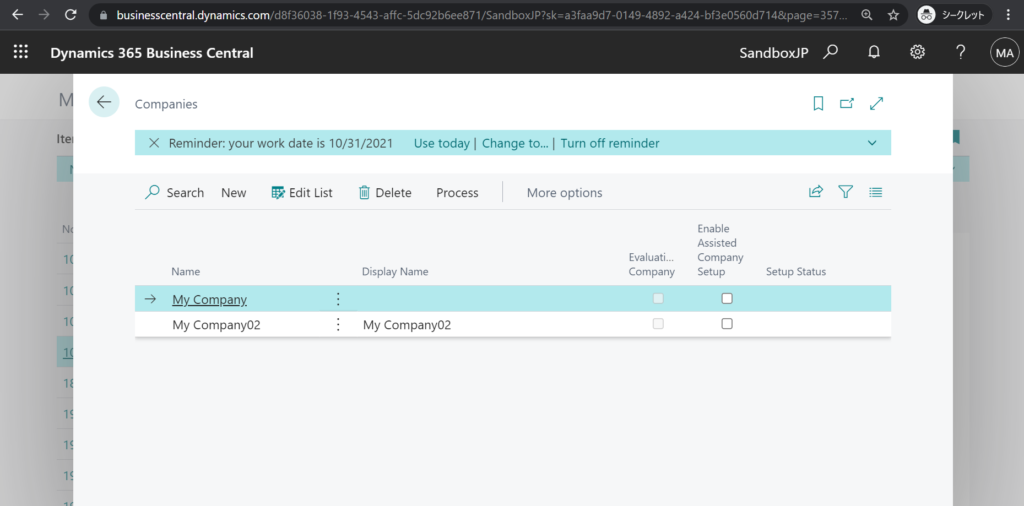
Select the company name.
The company list is the same as in Business Central.
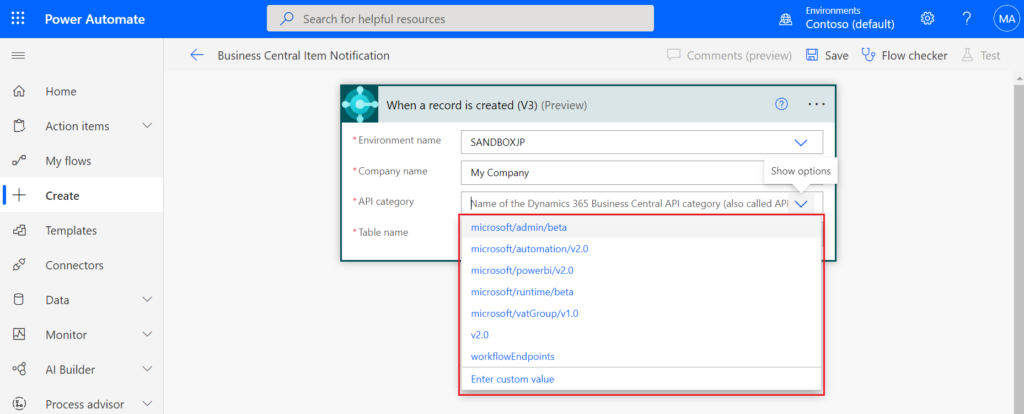
Select API category. If you use standard or custom APIs, please select v2.0.
Select table name. (You can develop a Custom API)
For example: items.
6. Choose + New step.

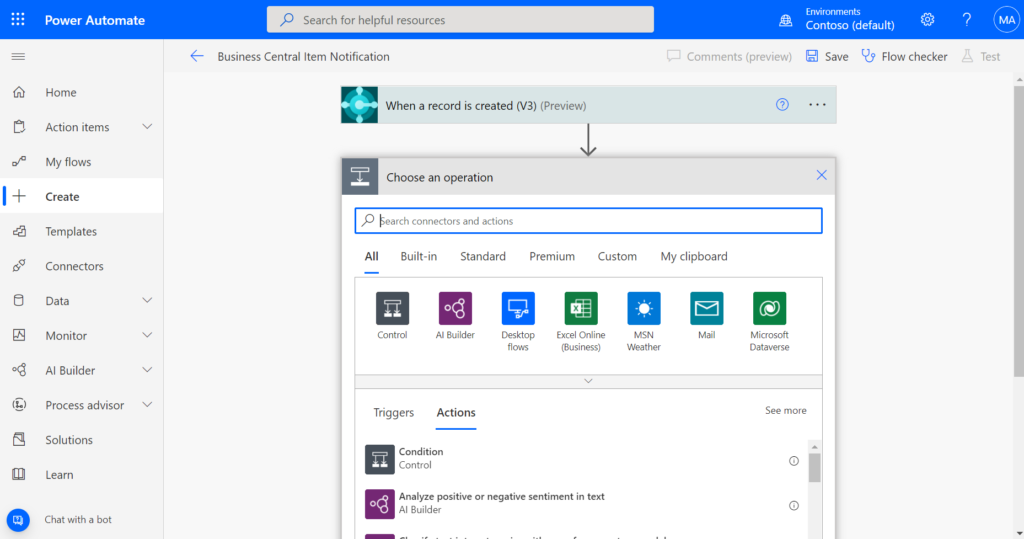
For ease of understanding, I will first present the simplest case without calling BC data.
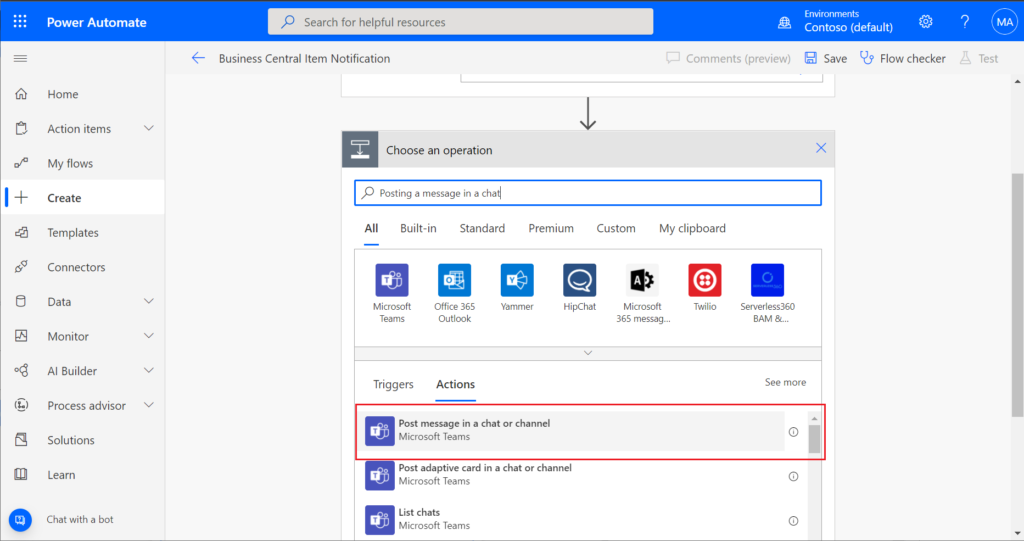
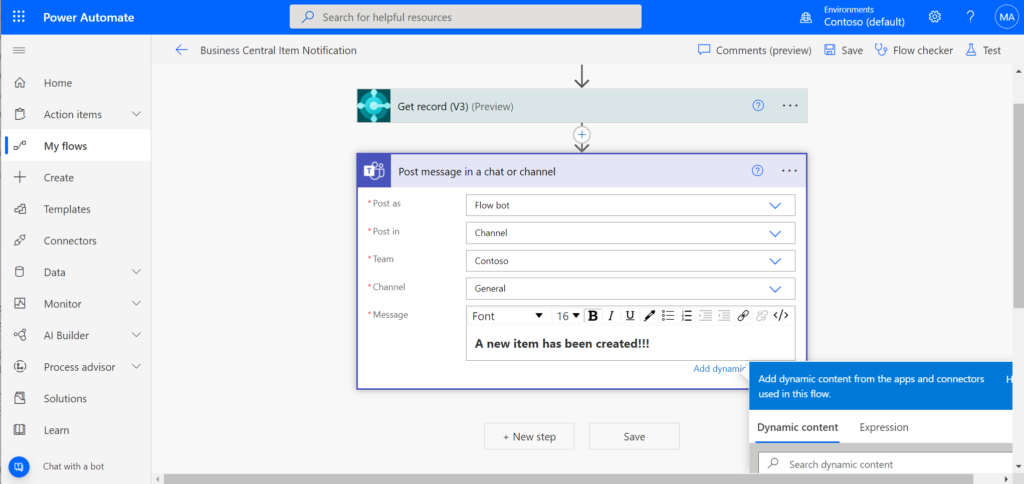
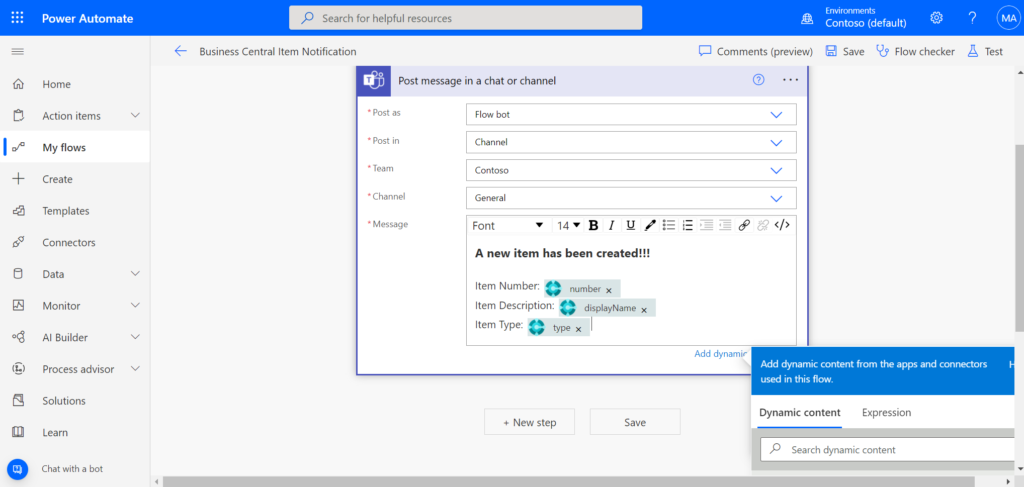
7. Choose an operation, Post message in a chat or channel.
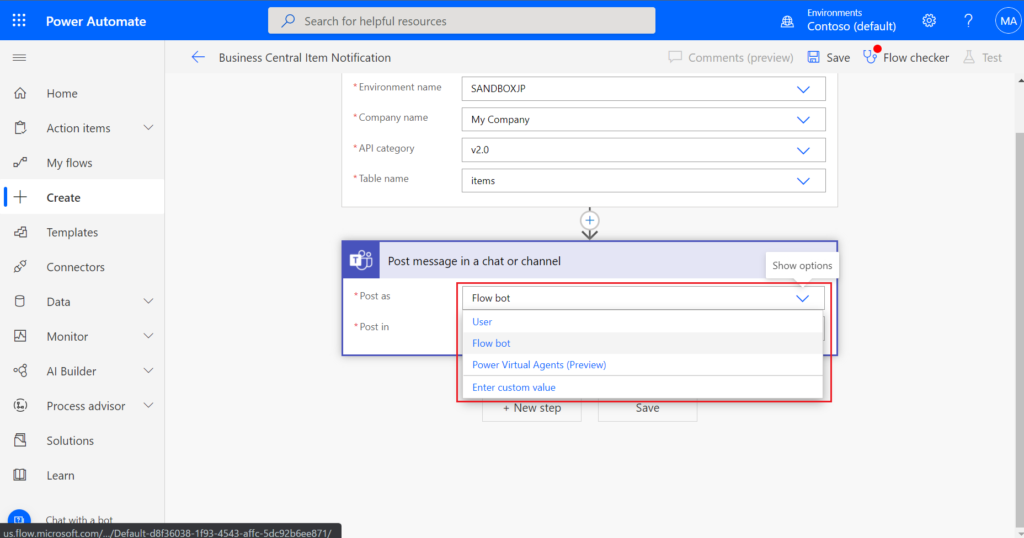
8. Select Post as. This time let me use Flow bot.
The Post a message in a chat or channel action can send a message in the following two ways:
As the Flow bot: In this method, the message gets sent as the Flow bot instead of any individual users. Use this sender option if you didn’t want to tie the message to any specific user and just want to use a generic sender instead.
As a User: In this method, the message gets sent as the user who’s signed in to the Teams connector in the Flow (generally the Flow owner). This method can be used when the message needs to get sent as a regular user.
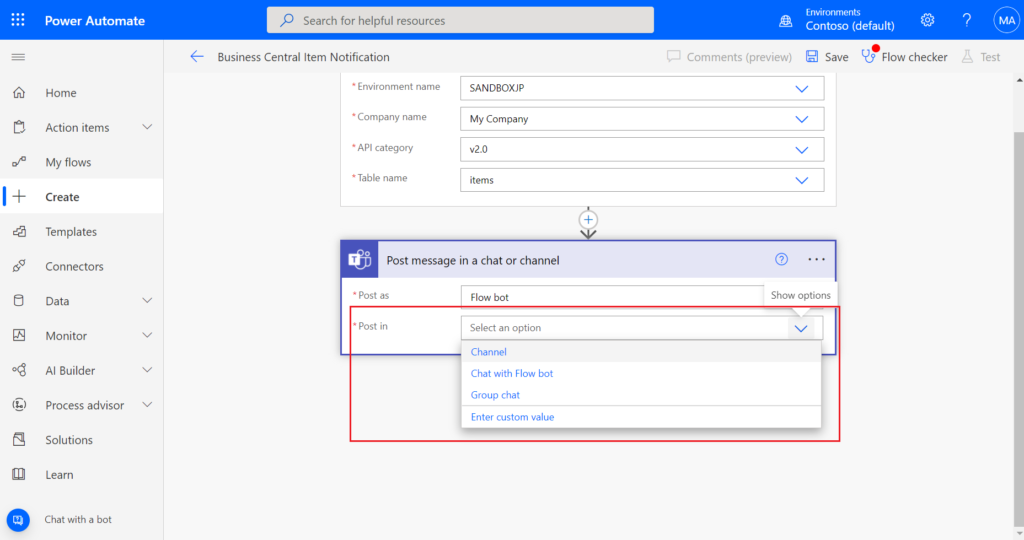
9. Select Post in.
For example: Channel
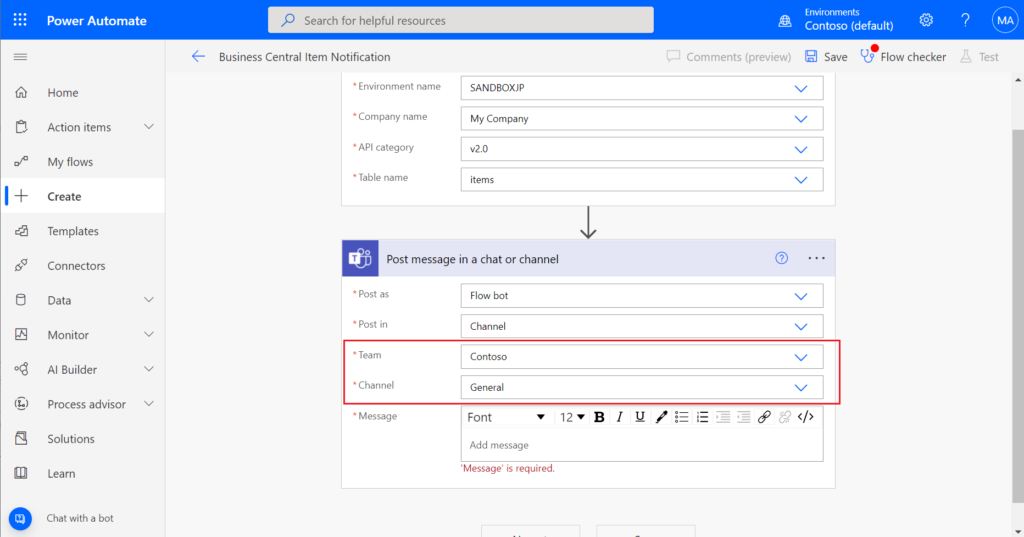
10. Select team and channel.
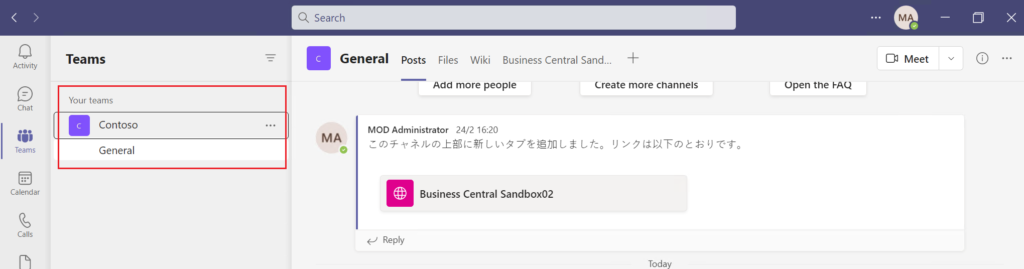
In Teams:
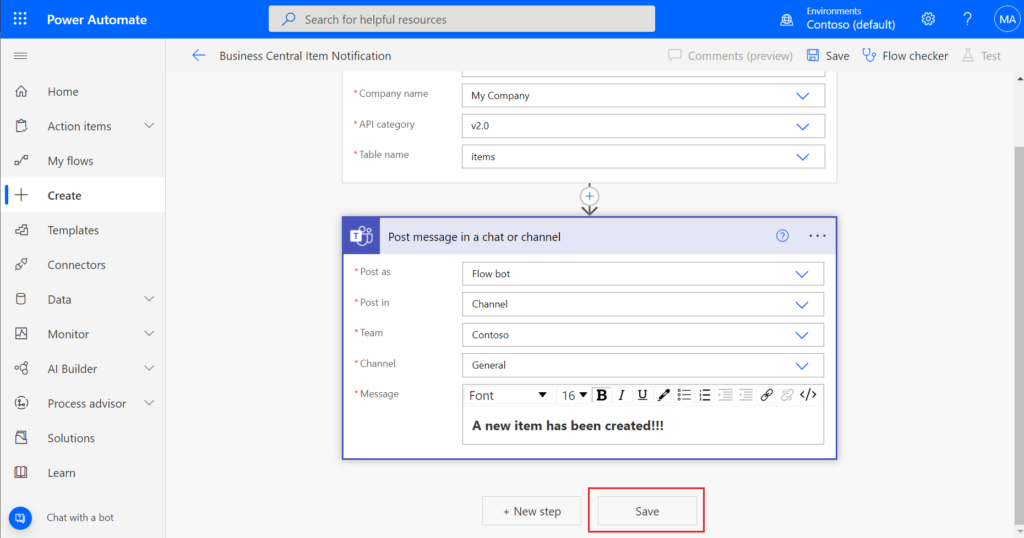
11. Add your message.

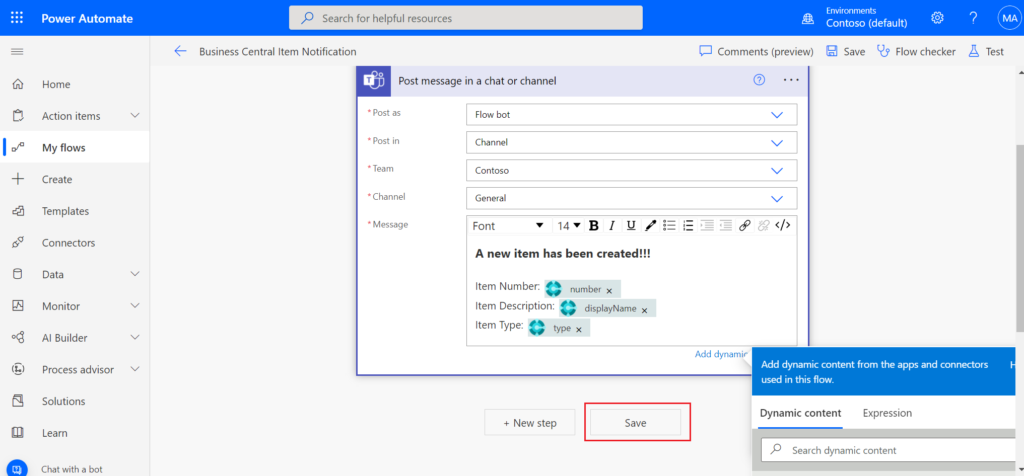
12. Choose Save.

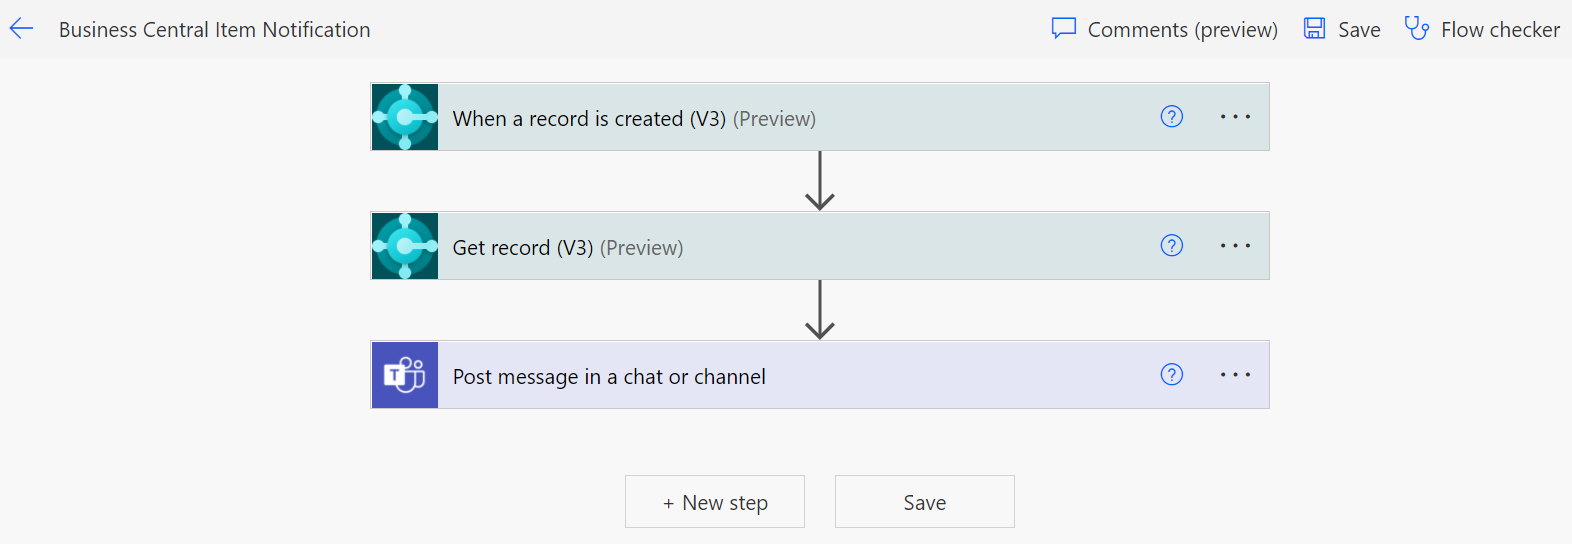
The above is a very simple example that you can theoretically use for any Create, modify, or Delete operation.
If you want to display BC data in Teams, such as newly created Item No., Description, and etc., what should you do?
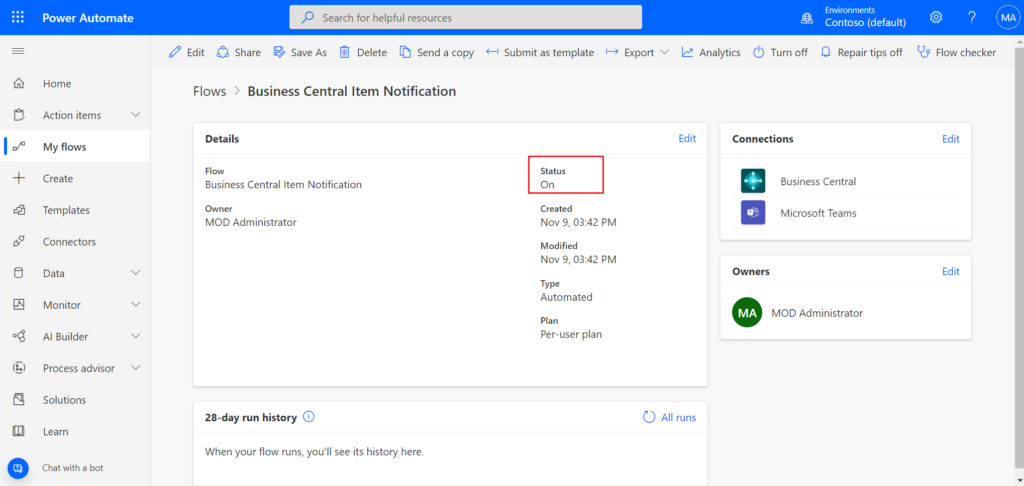
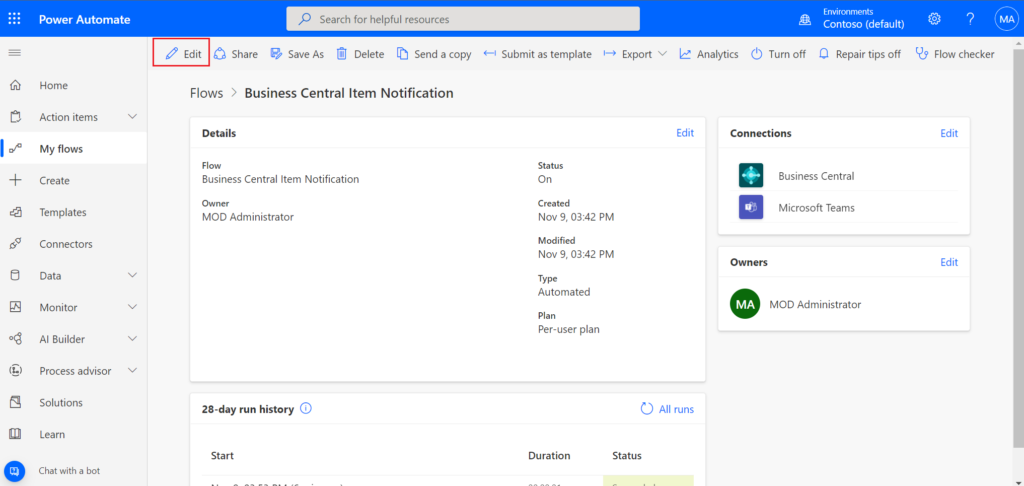
Open the flow just created, then choose Edit.
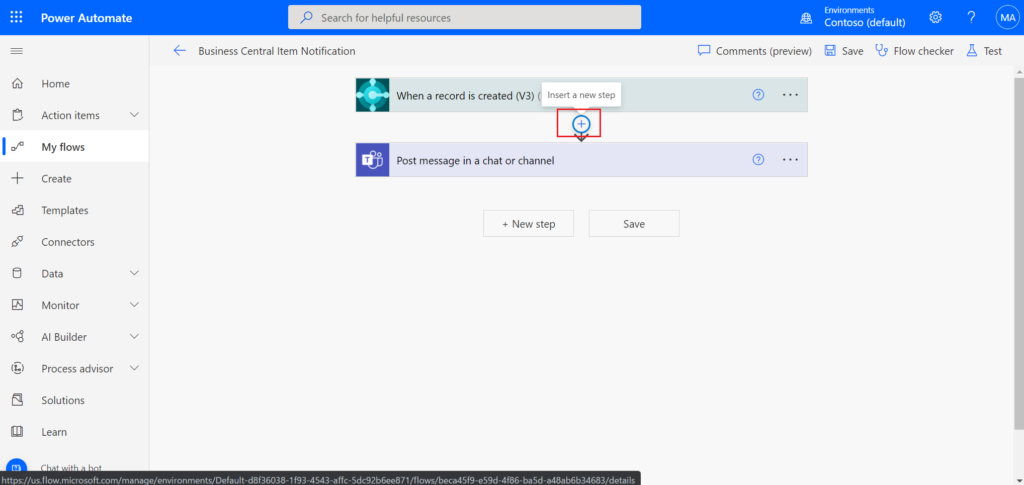
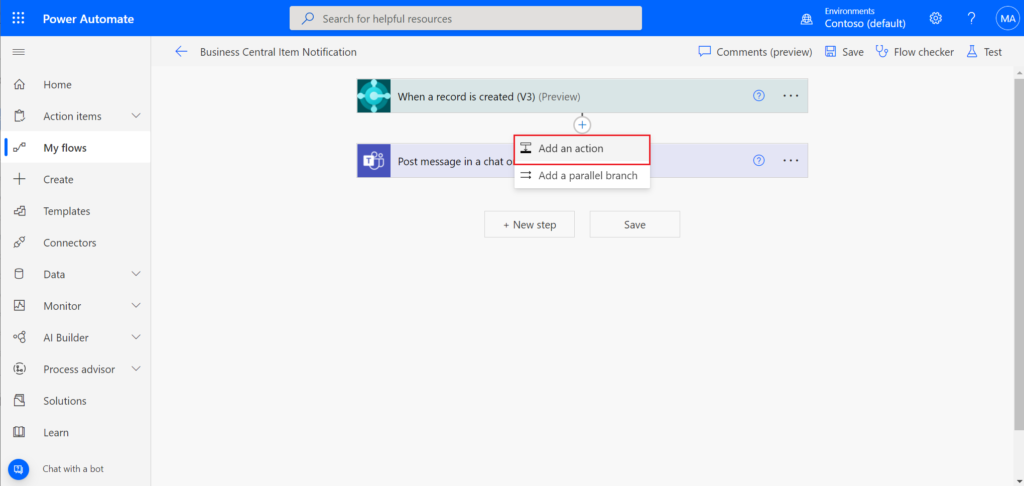
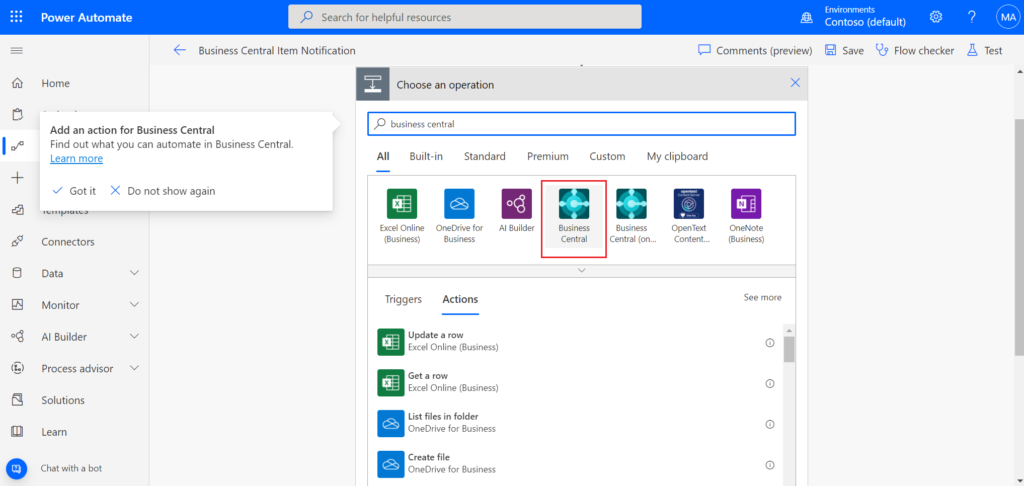
Choose Insert a new step -> Add a action.
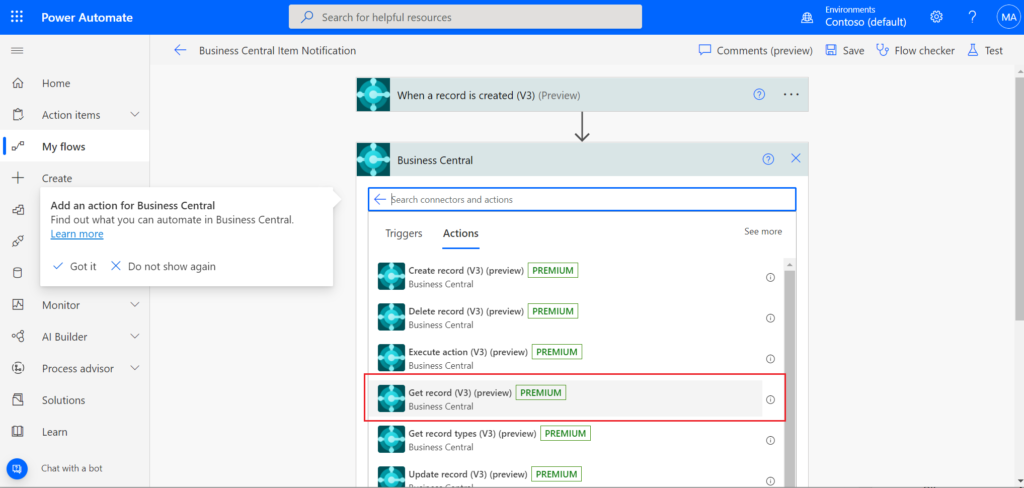
Choose Business Central -> Get record (V3)
Set BC environment name, company name, API category, table name, same as the above When a record is created step.
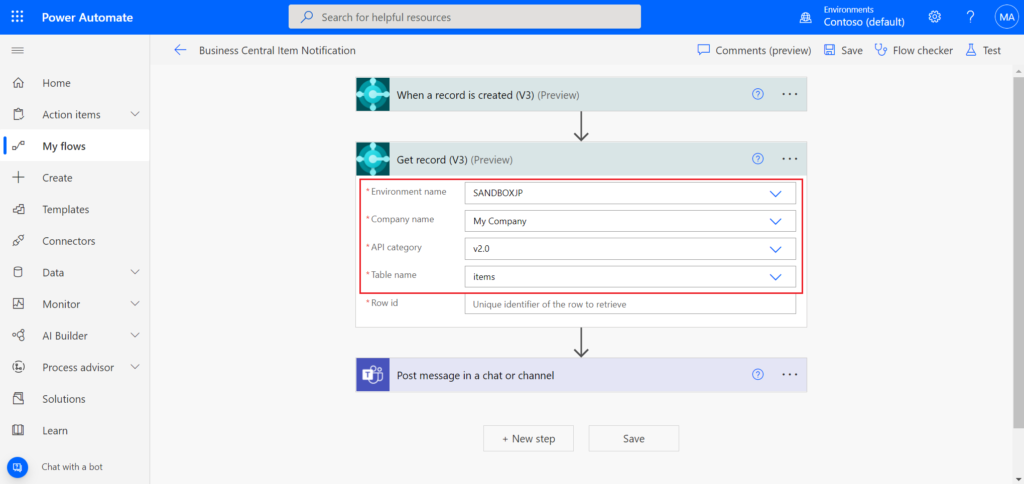
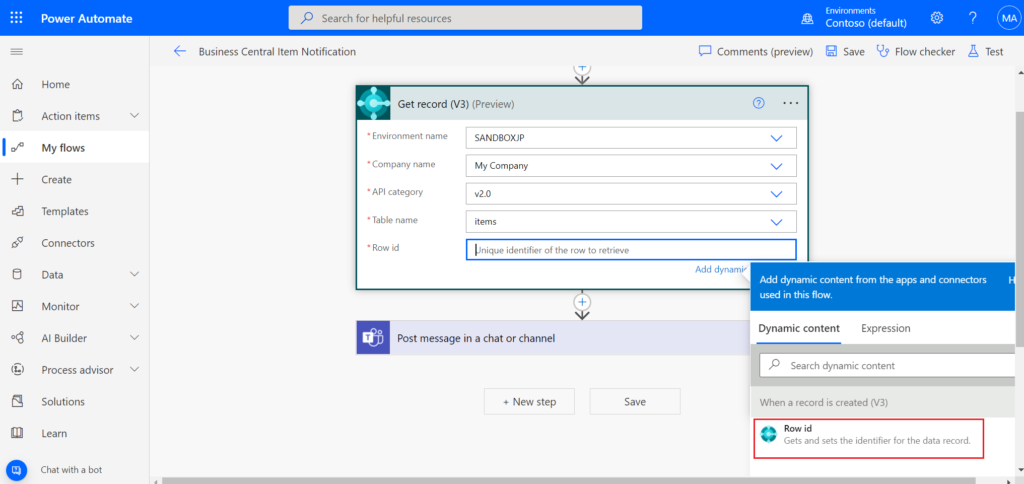
Select Row id.
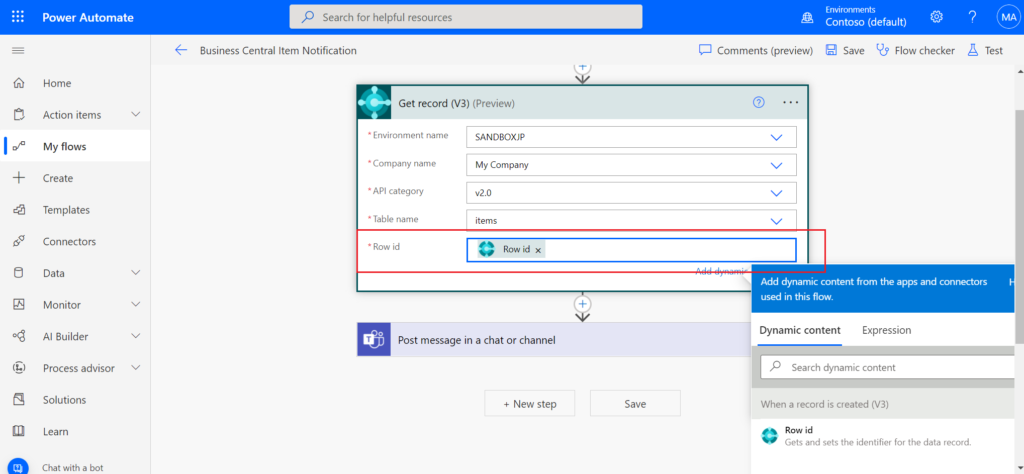
Then open Post message in a char or channel step.
In Message, you can select dynamics content now.
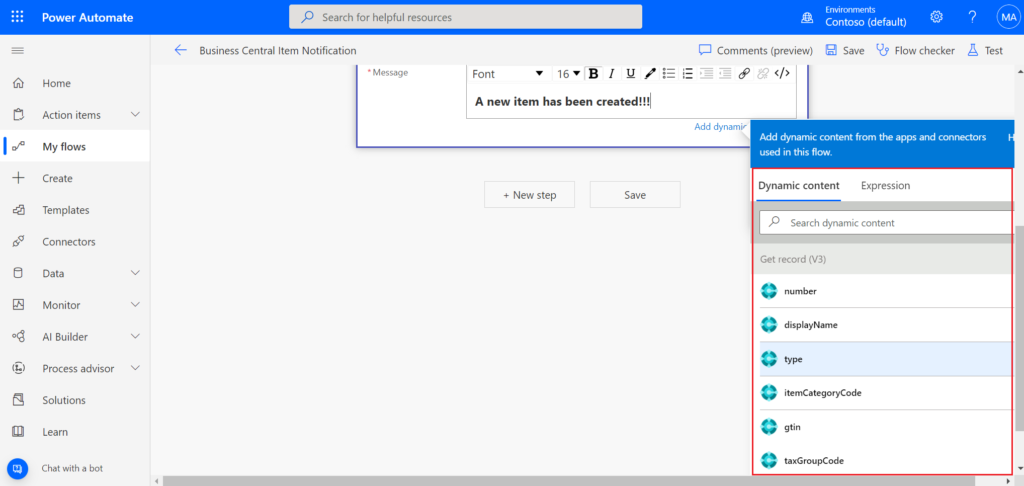
These fields are defined in the API Page Object. For example, page 5470 “Item Entity”
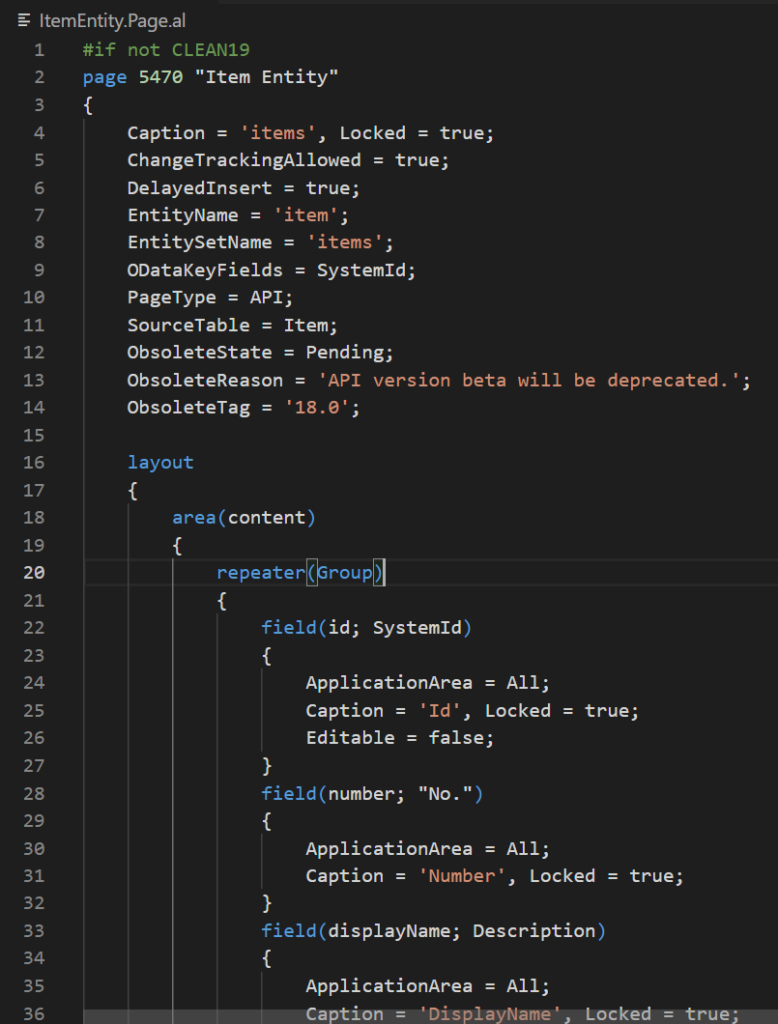
We can add some additional information.
Then choose Save.
Let’s test again.
Isn’t it very easy? Give it a try!😁
You can find out more about Send a message in Teams using Power Automate from Microsoft Docs.
END
Hope this will help.
Thanks for reading.
ZHU

コメント