Hi, Readers.
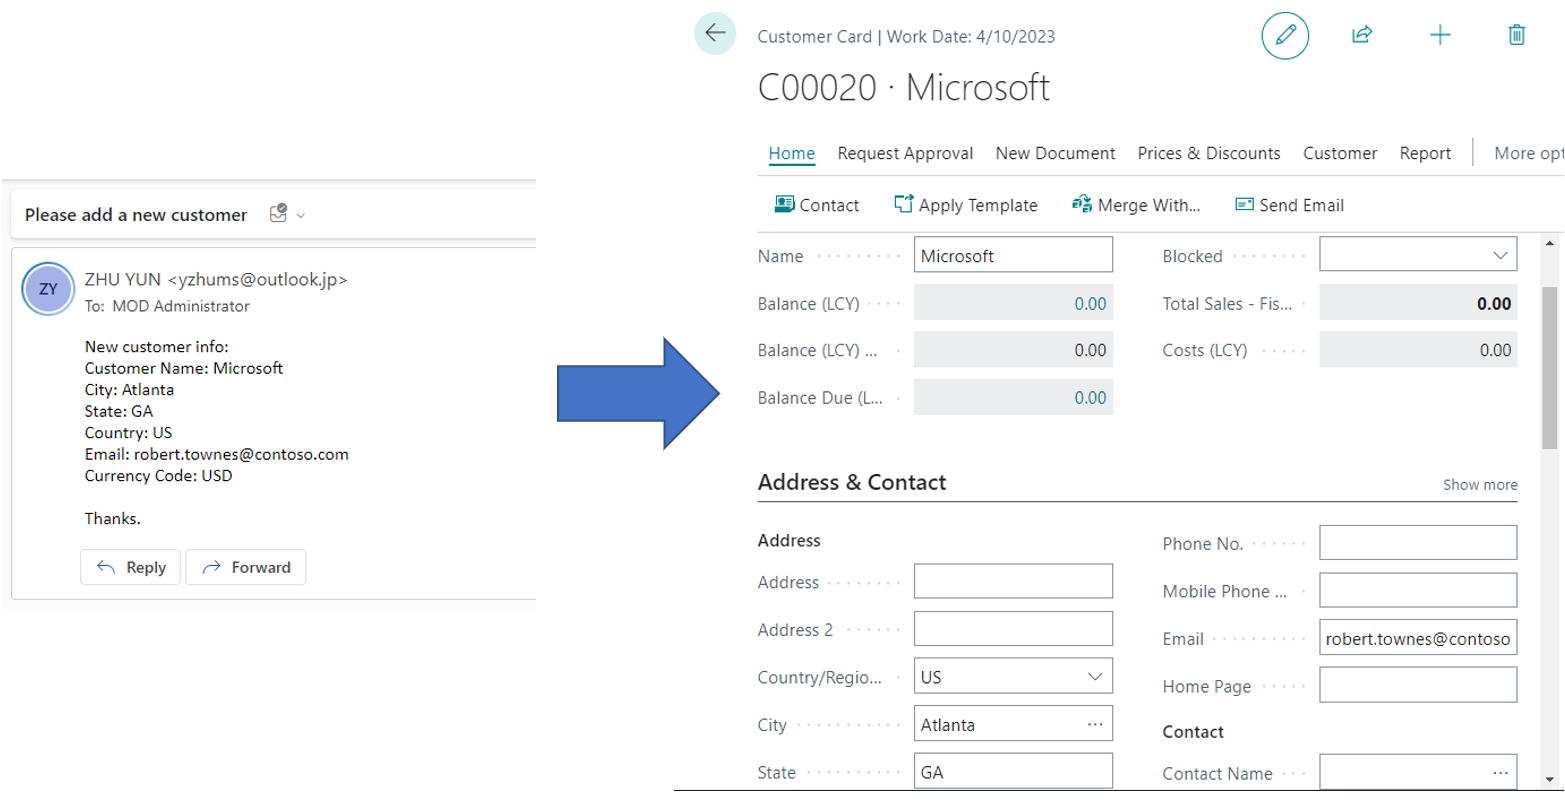
Today I would like to talk about an interesting topic, how to automatically create a customer in Business Central when you receive an email.
I was asked this question on Linkedin yesterday and my first thought was that this should be possible if the email format is fixed. So I did a simple test and it worked. In this post, I wanted to share it.
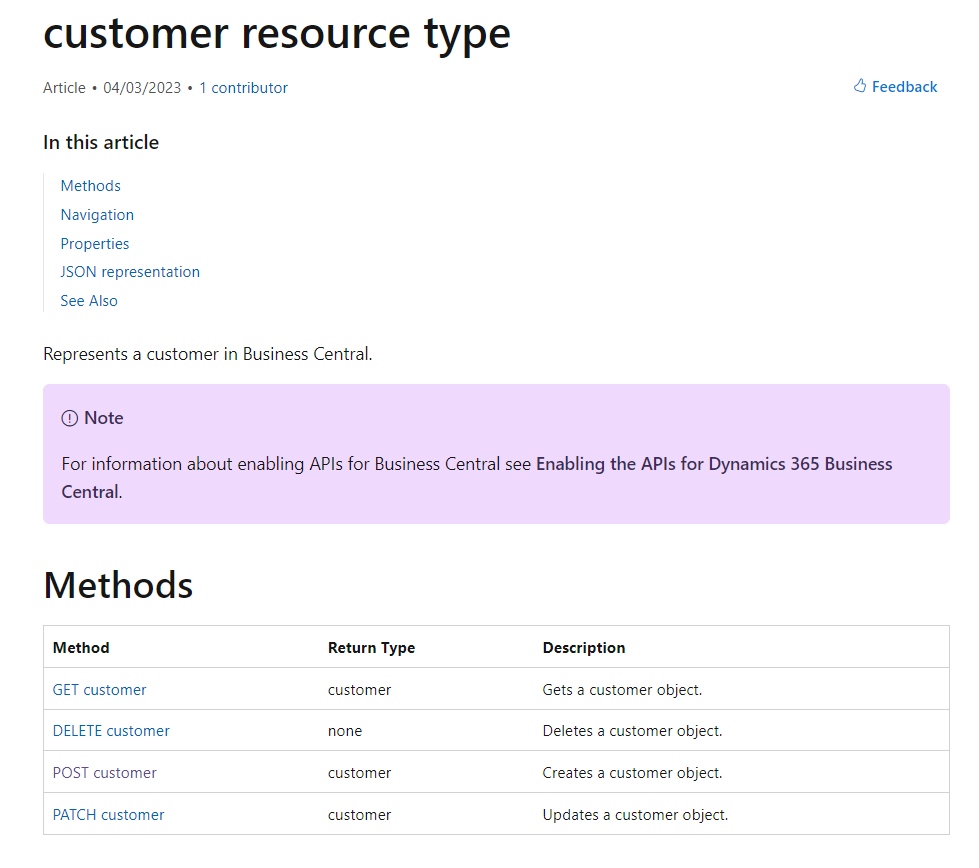
First of all, if there is a standard API for the records you want to create, this does not require customization, just using Power Automate, for example, customer resource type.
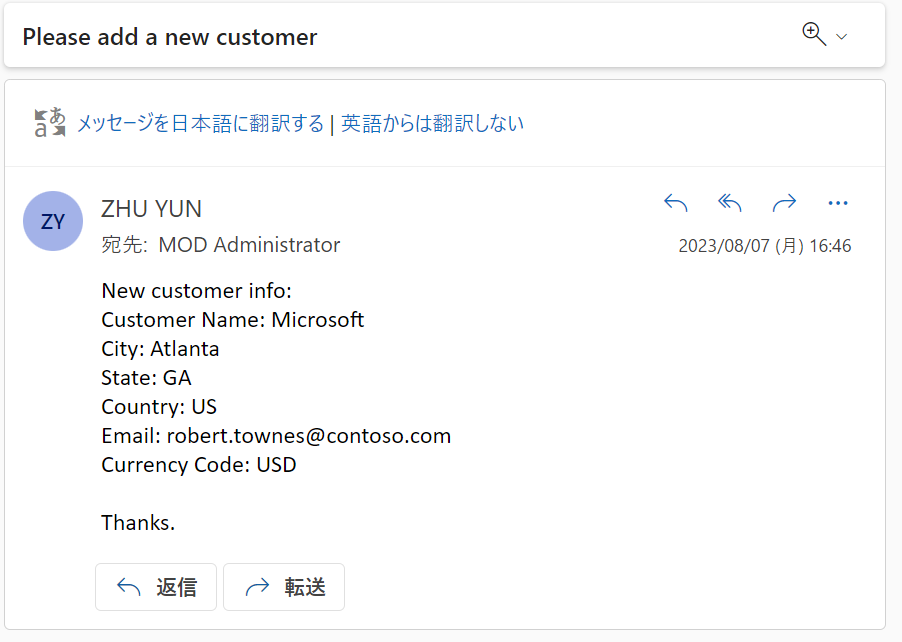
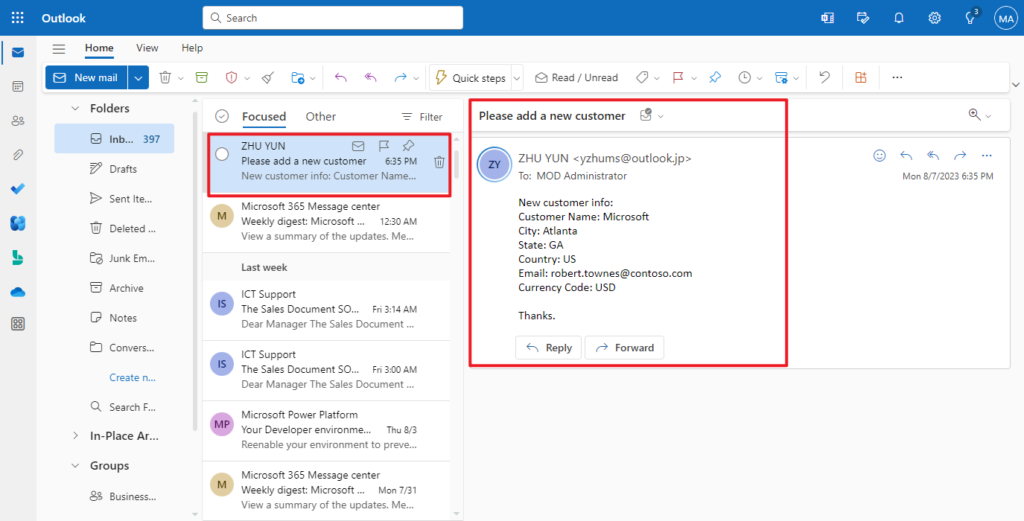
The following is the email template for this test.
Let’s start.
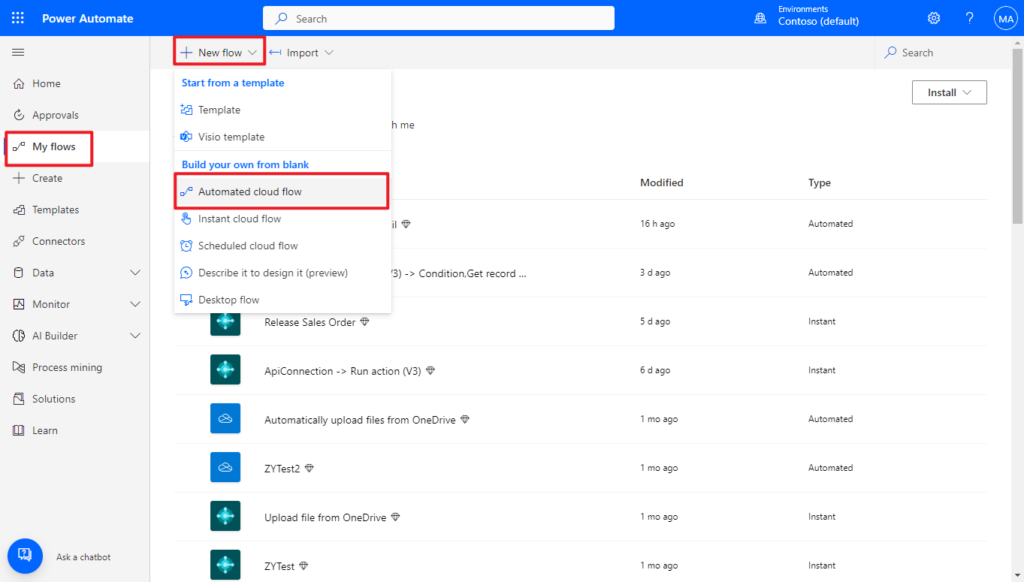
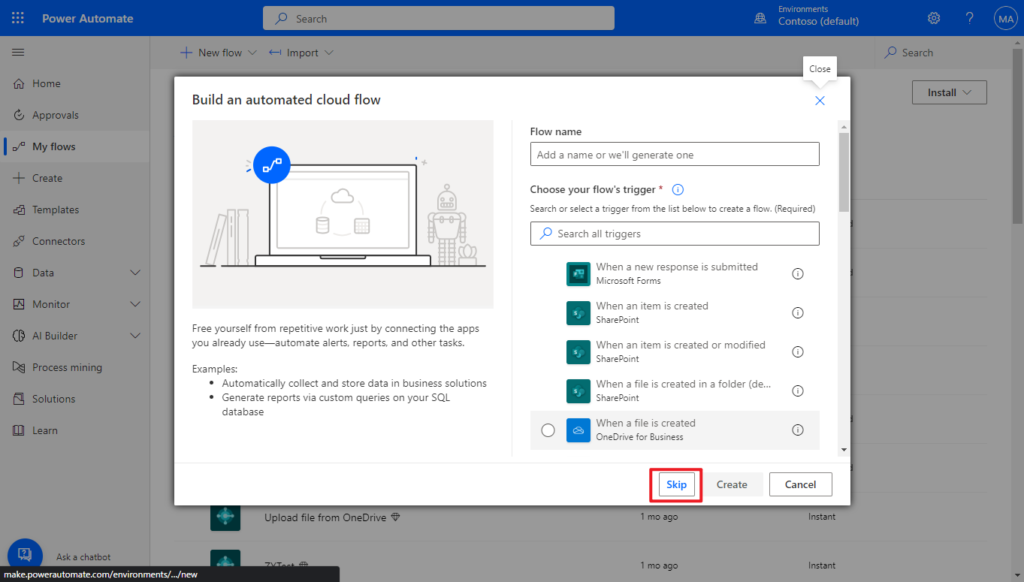
Sign in to Power Automate, and create a new Automated cloud flow.
Choose Skip. (You can also set the flow name and flow’s trigger here)
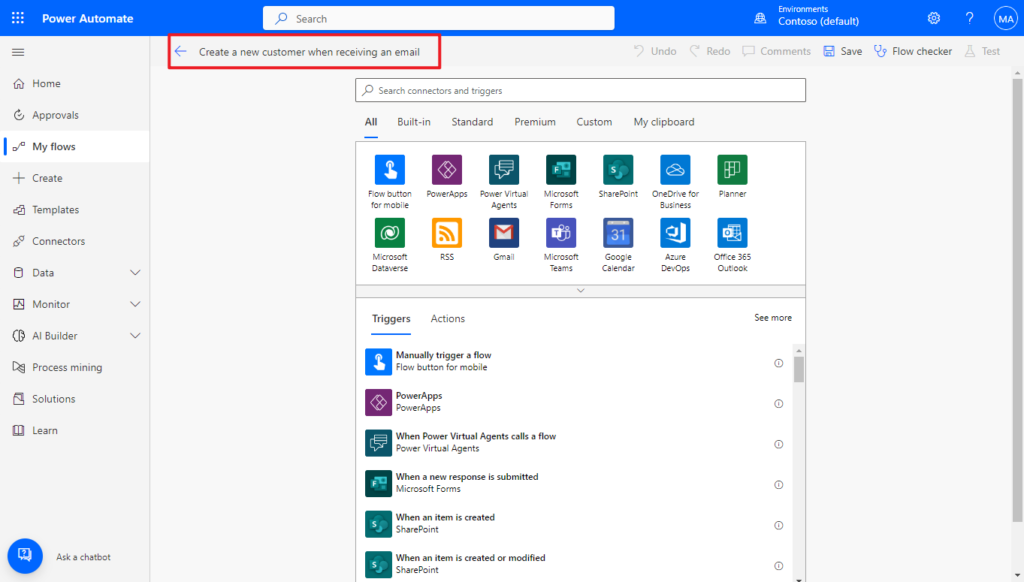
Give the flow a name.
For example, Create a new customer when receiving an email
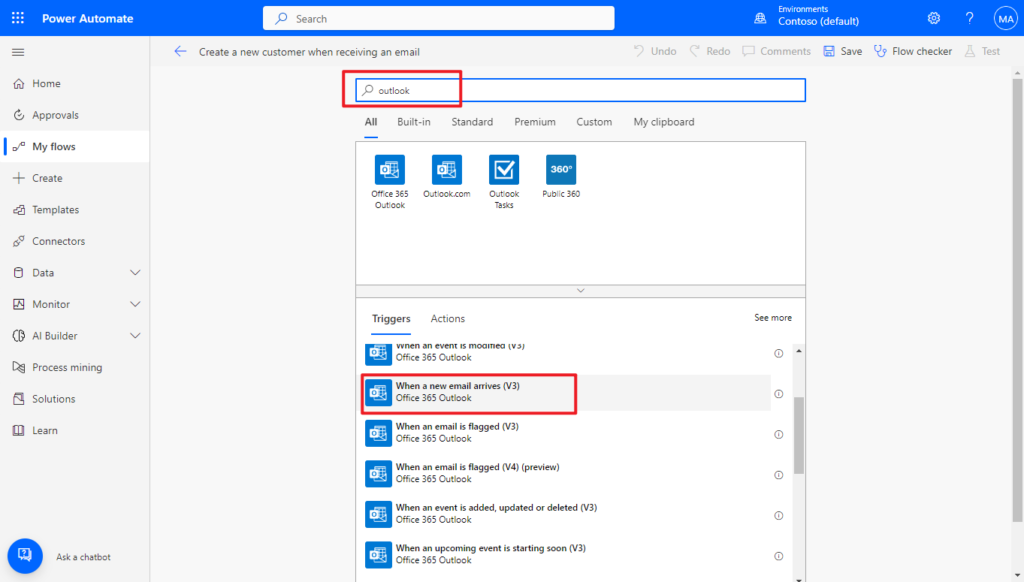
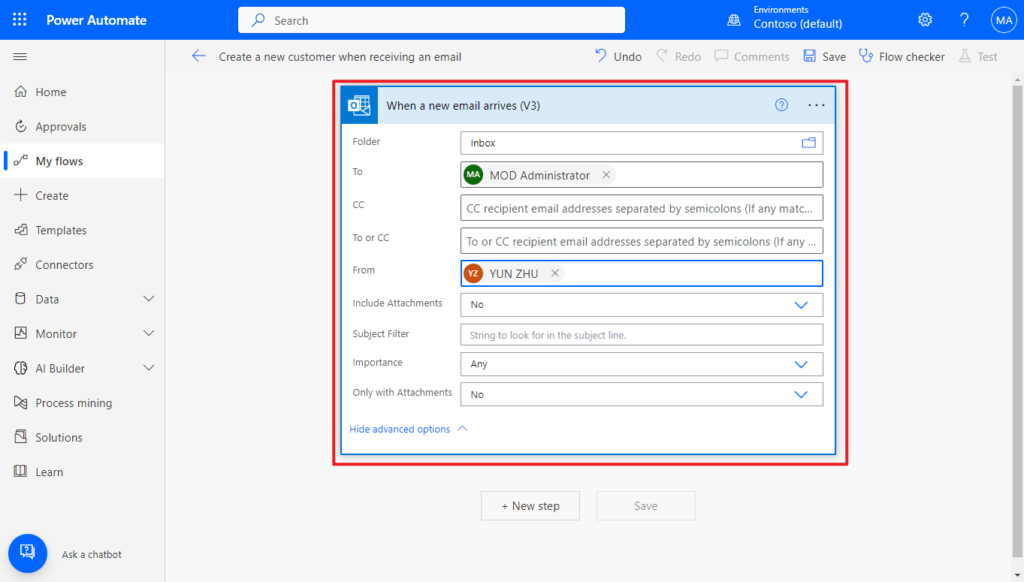
Search for Outlook, and select When a new email arrives (V3) action.
Choose Show advanced options
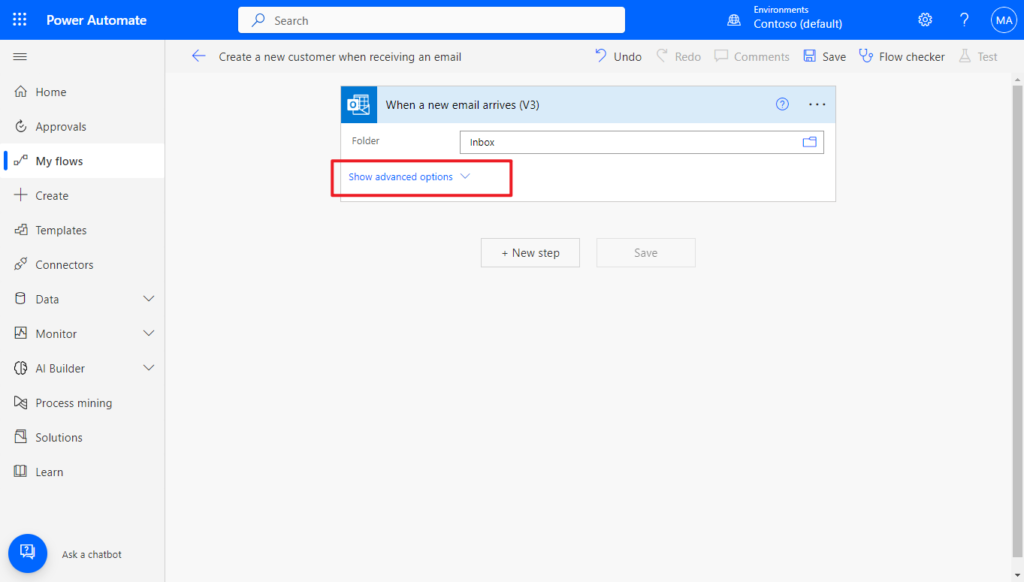
We can set detailed conditions for the flow triggering. For testing, I set it to send from YUN ZHU to MOD Administrator this time.
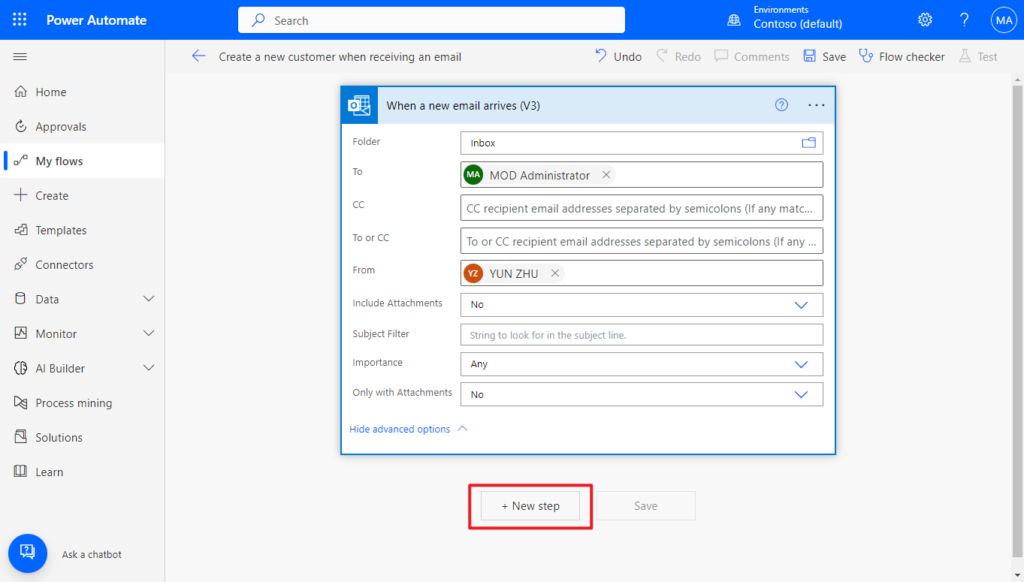
Click New step.
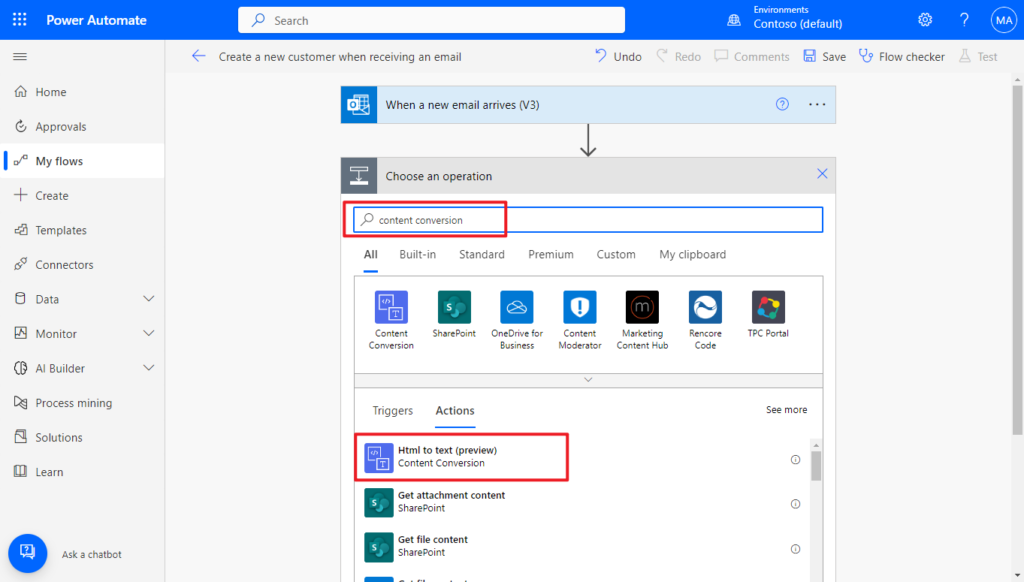
Search for Content Conversion, and click Html to text (preview) action.
Set the Body in When a new email arrives (V3) trigger into content.
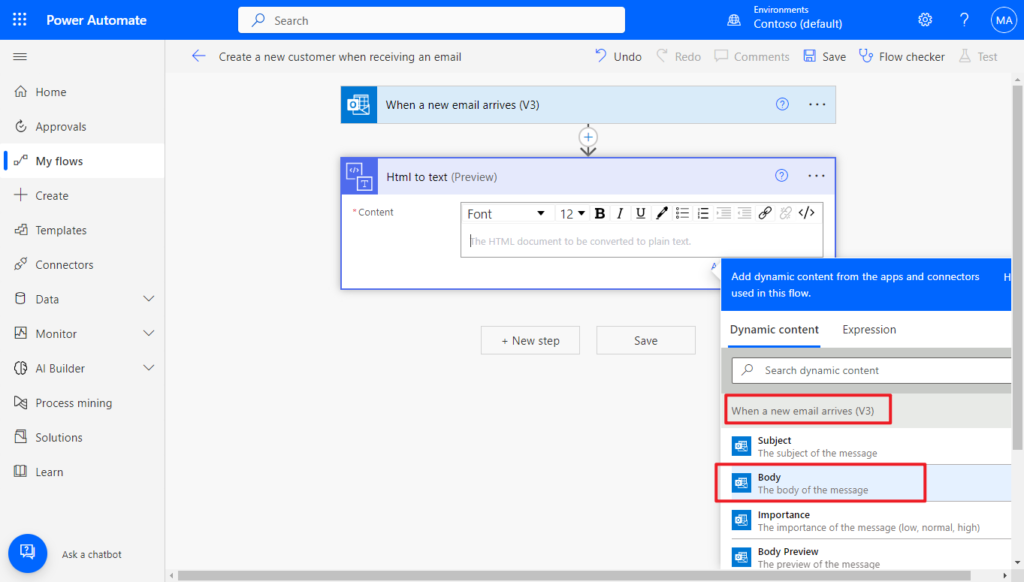
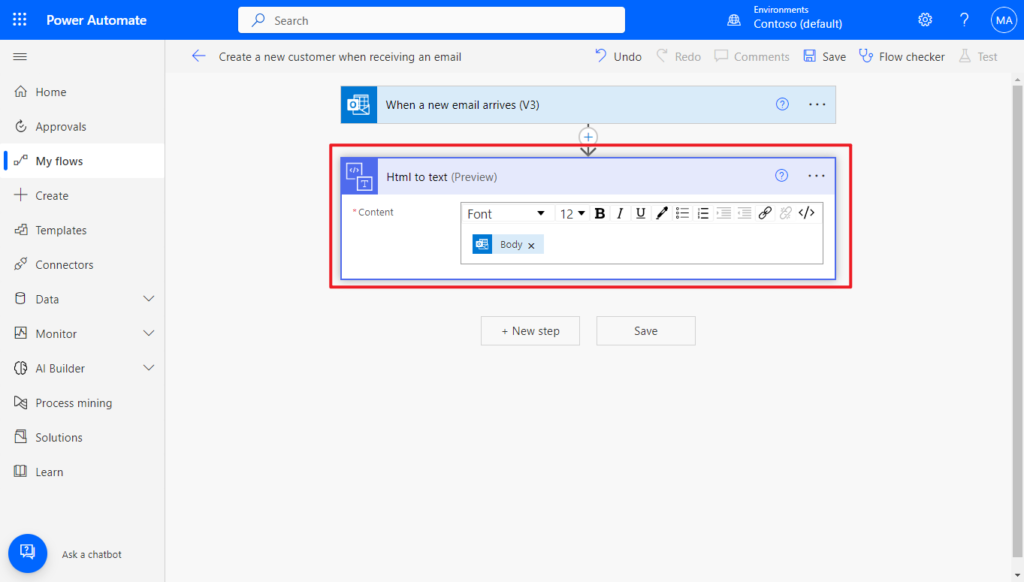
PS: You can do a test to see if you can get the body of the email.
The next question is the key this time, how to get the key value in the email body. Experts familiar with Power Automate should know that this requires the Data Operation – Compose action. More details: Use data operations
Click New step. Search for compose, and then select the Compose – Data Operation action.
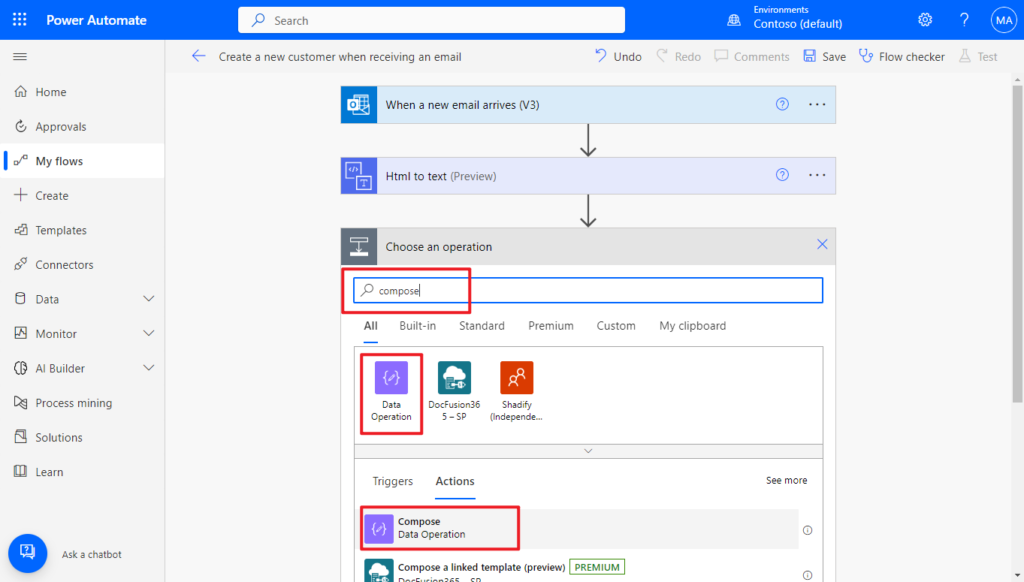
This action supports many string functions, so we can find ways to process these text data.
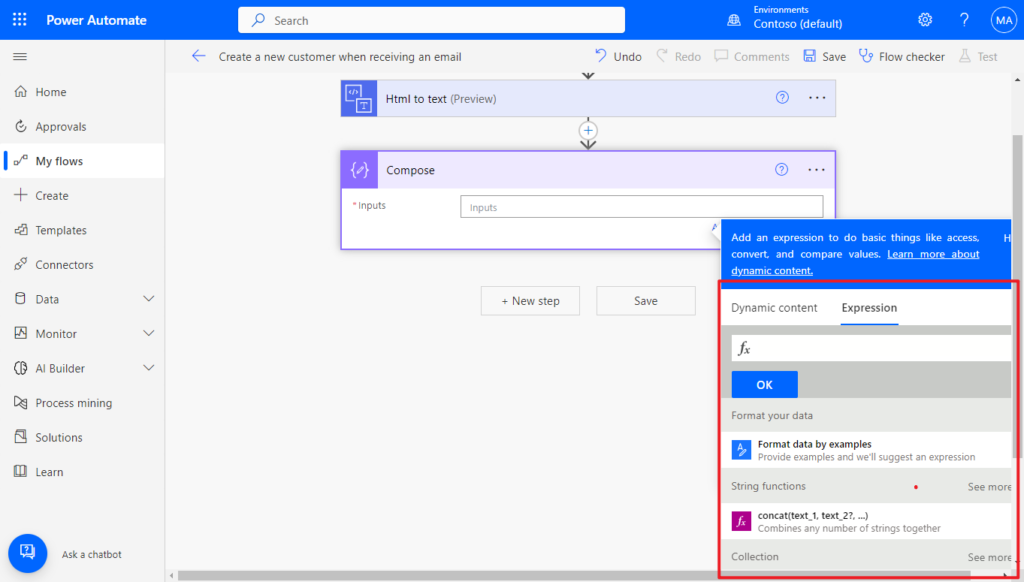
I mainly use the following methods to extract key data. More details: Reference guide to workflow expression functions in Azure Logic Apps and Power Automate
Customer Name:
trim(first(split(last(split(body('Html_to_text'),'Customer Name: ')),'City')))City:
trim(first(split(last(split(body('Html_to_text'),'City:')),'State')))State:
trim(first(split(last(split(body('Html_to_text'),'State:')),'Country')))Country:
trim(first(split(last(split(body('Html_to_text'),'Country:')),'Email')))Email:
trim(first(split(last(split(body('Html_to_text'),'Email:')),'Currency Code')))Currency Code:
trim(first(split(last(split(body('Html_to_text'),'Currency Code:')),'Thanks')))Add processing code to Expression, then click OK.

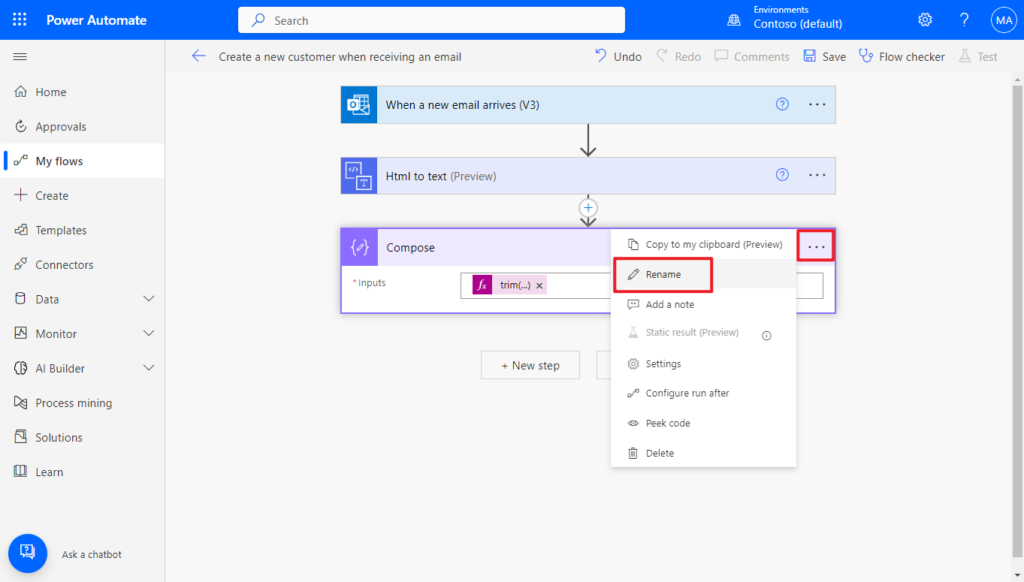
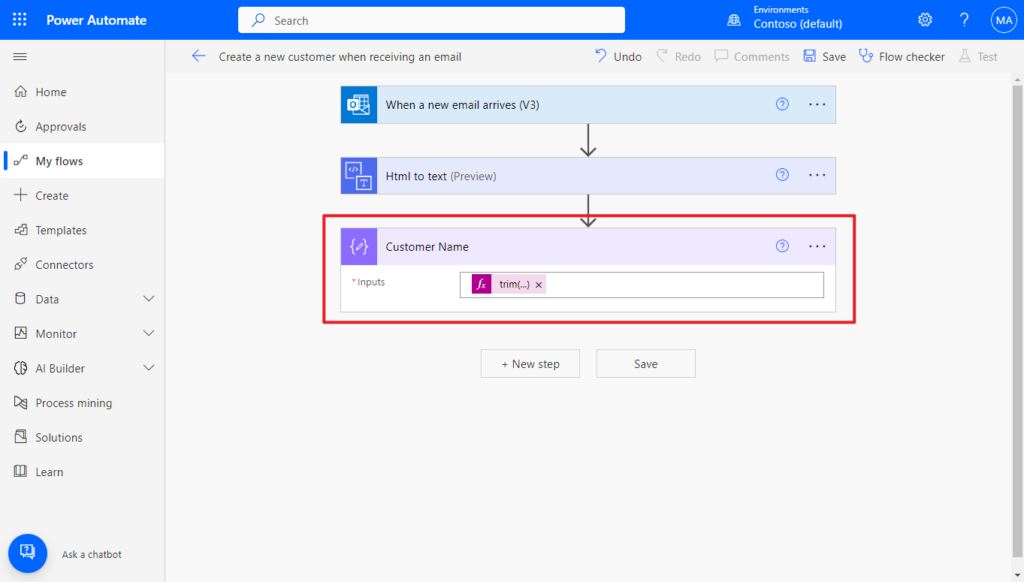
For ease of distinction, rename the steps.
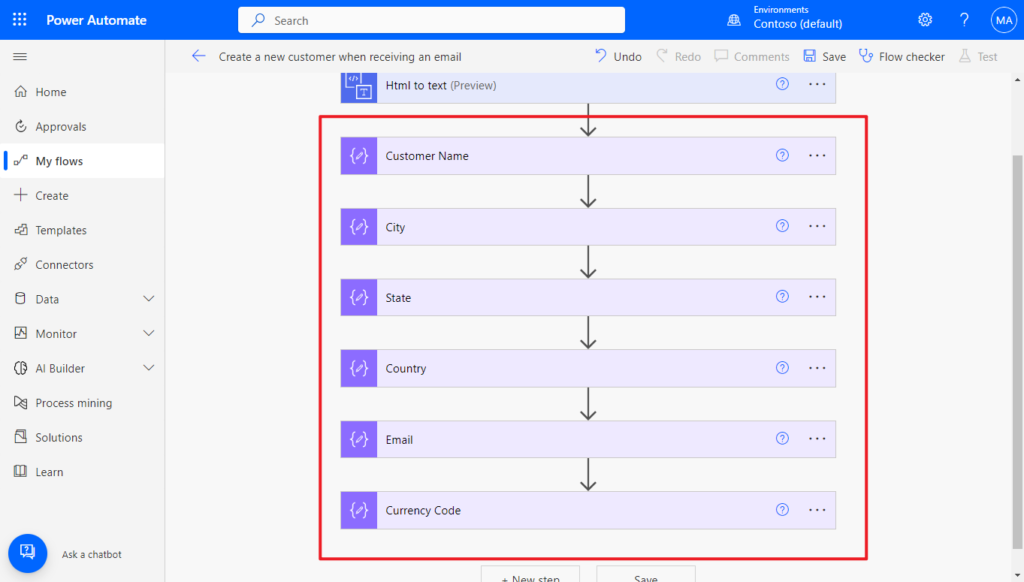
Repeat the above steps to extract the required value.
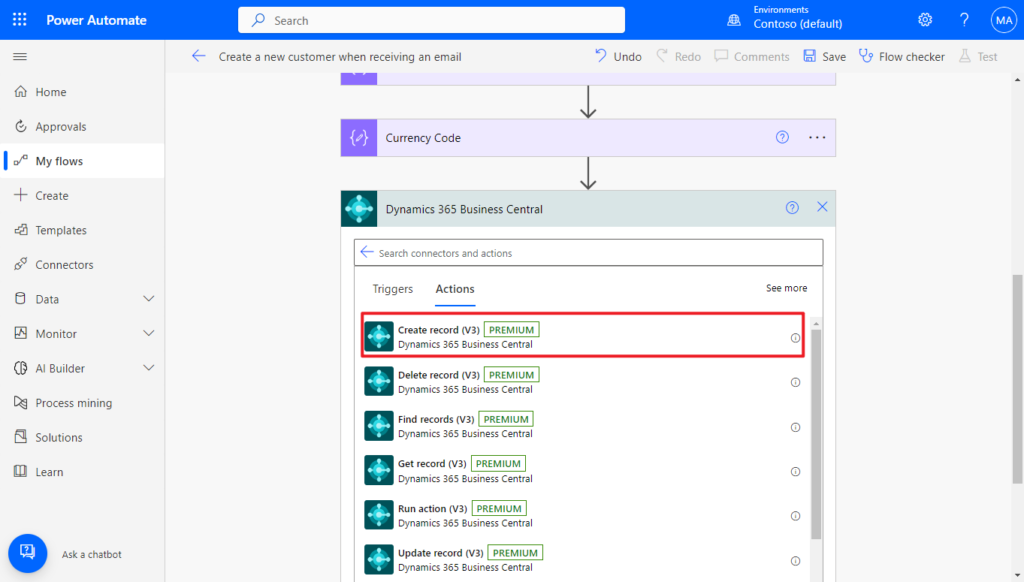
Click New step. Search for Business Central, and click on it.
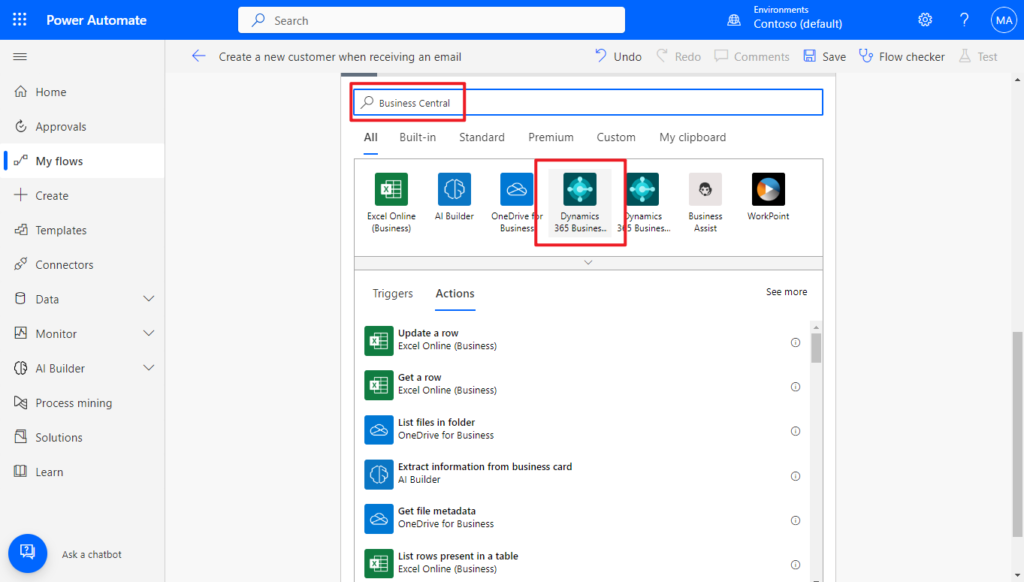
Then select the Create record (V3) action.
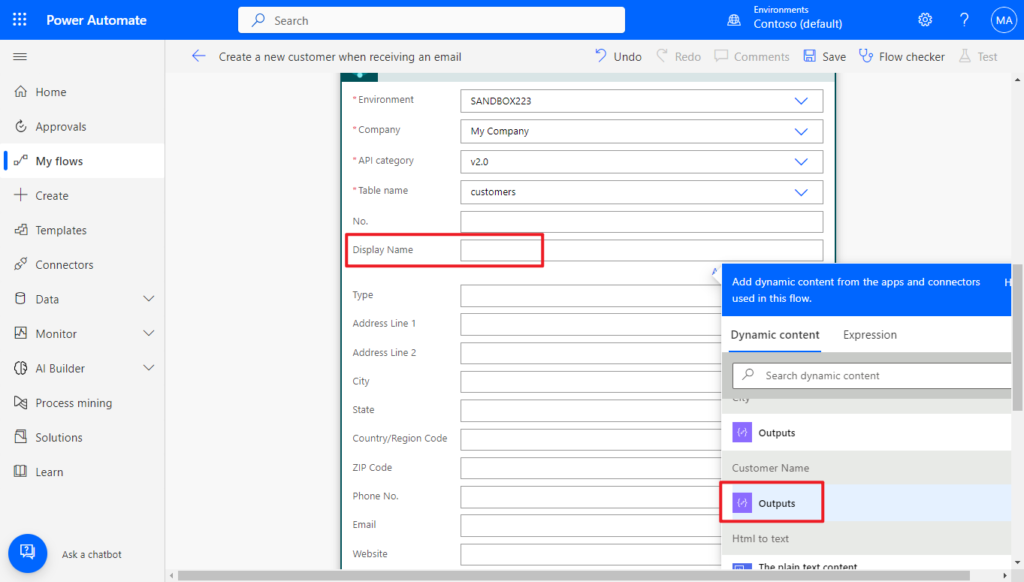
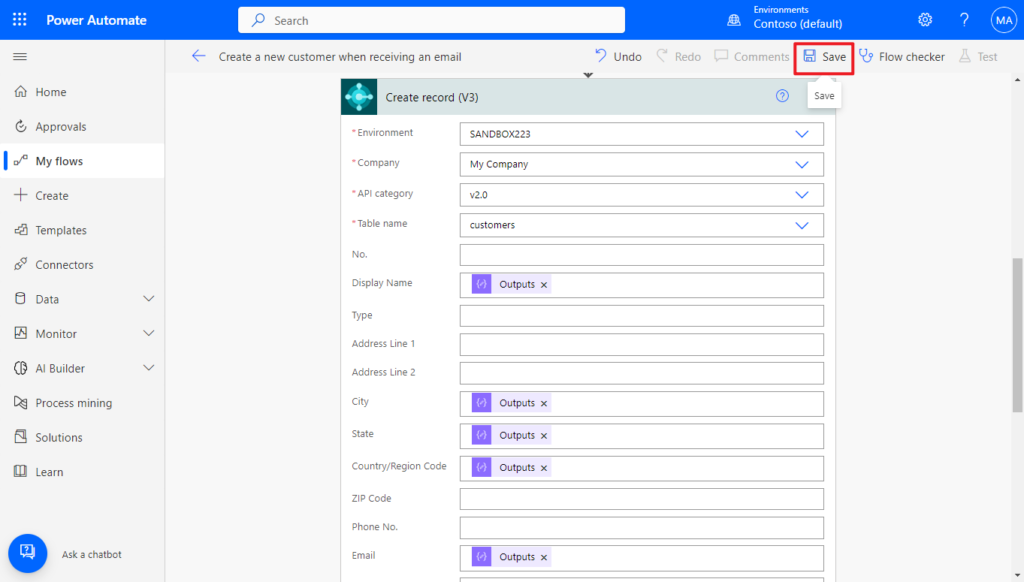
Select the environment information that needs to be connected. we’re using the standard customers api this time, so select v2.0 in API category and customers in Table name.

Finally, set the extracted value to the field of the Customer table.
For example, Display Name:
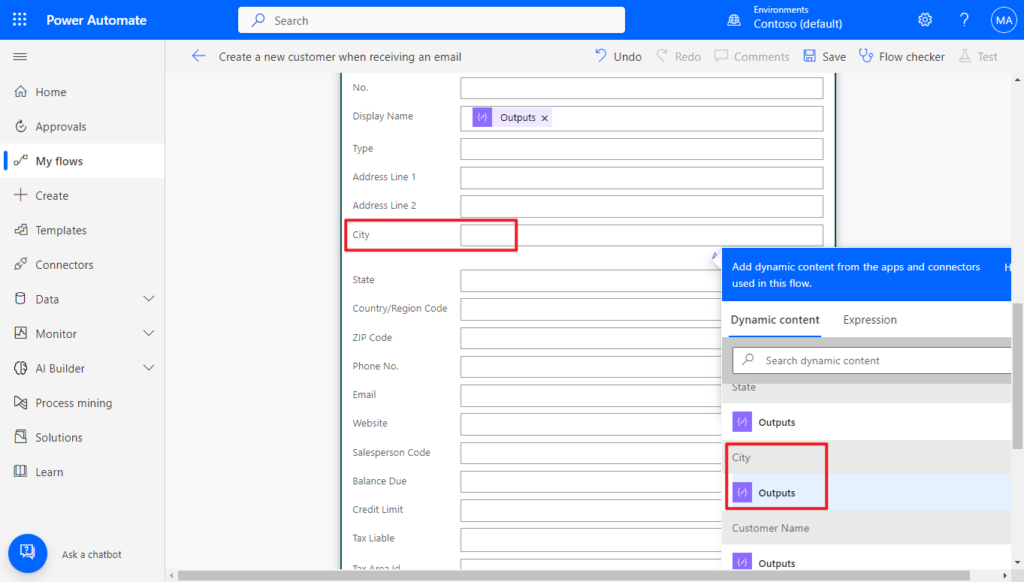
City:
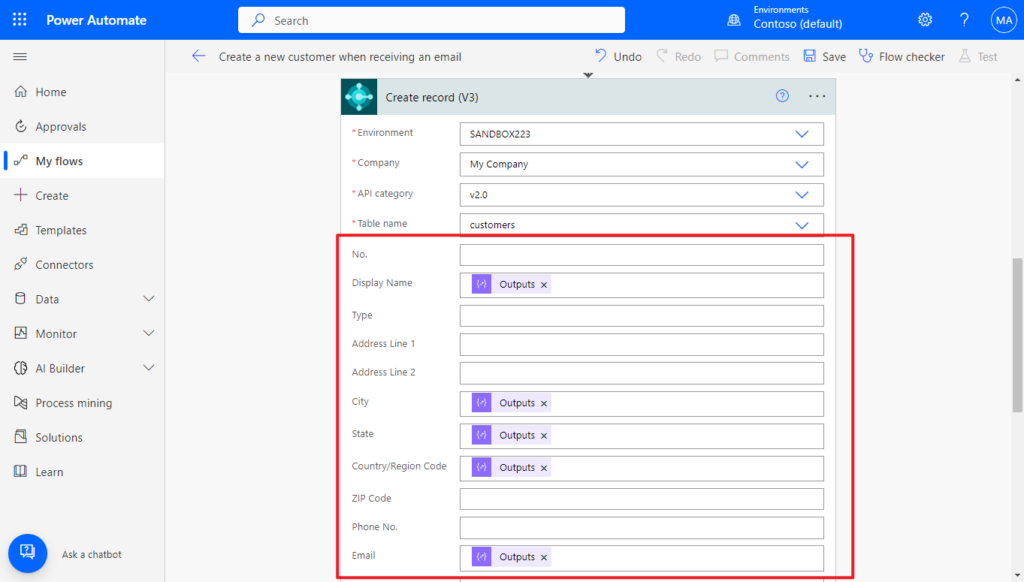
All values are set.
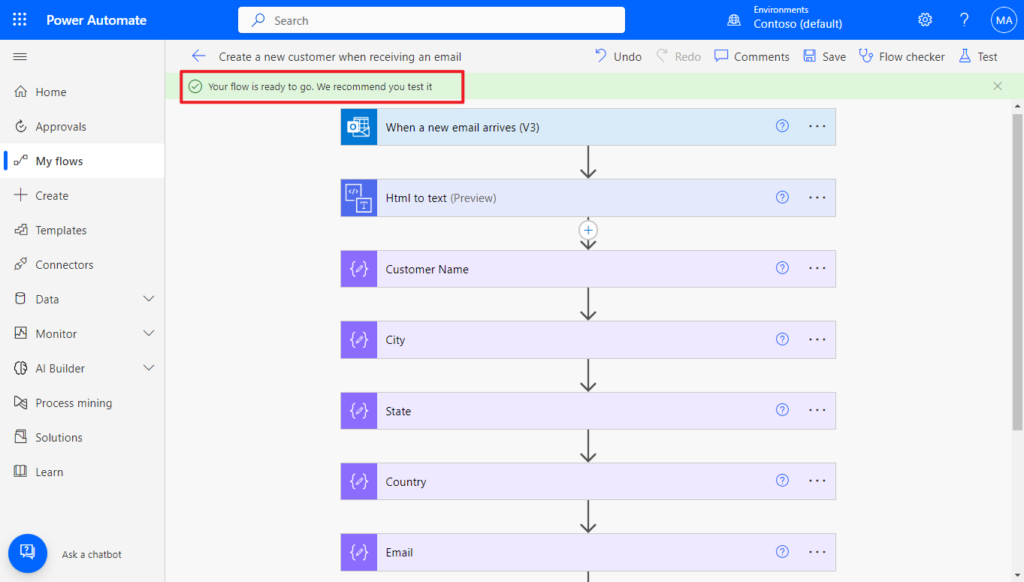
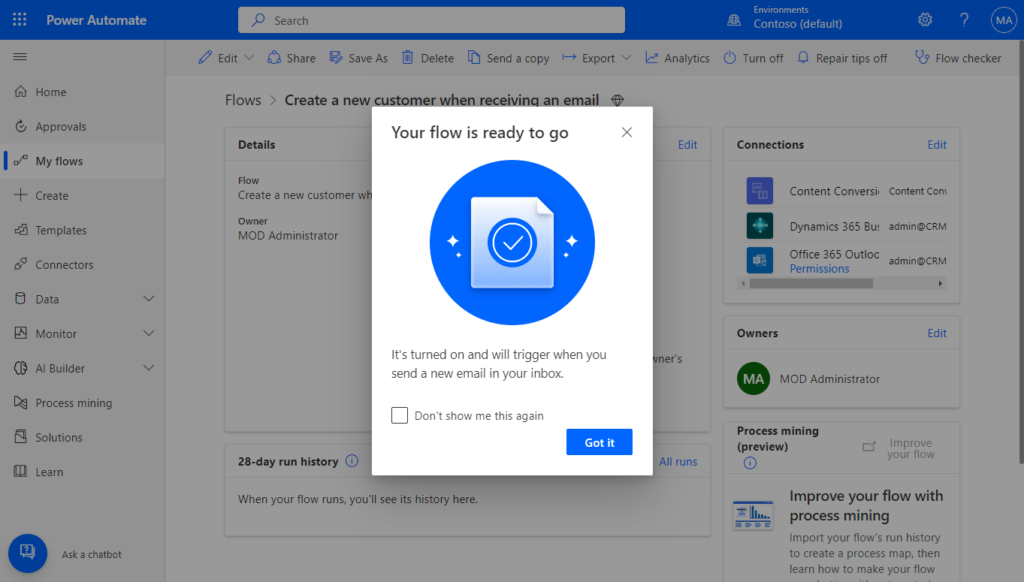
Save the flow, and let’s test it out.
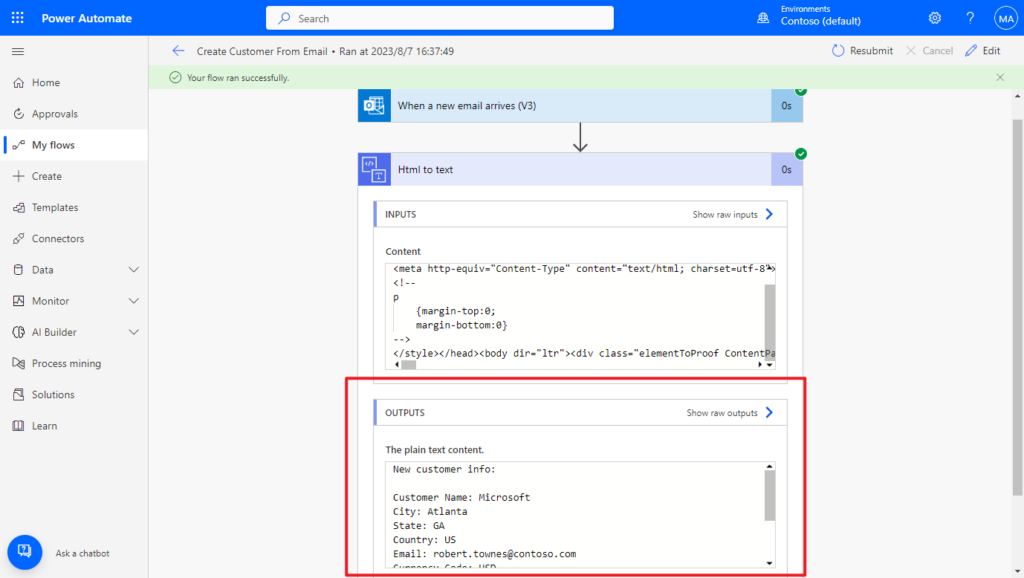
Received an email.
Power Automate flow run successfully.
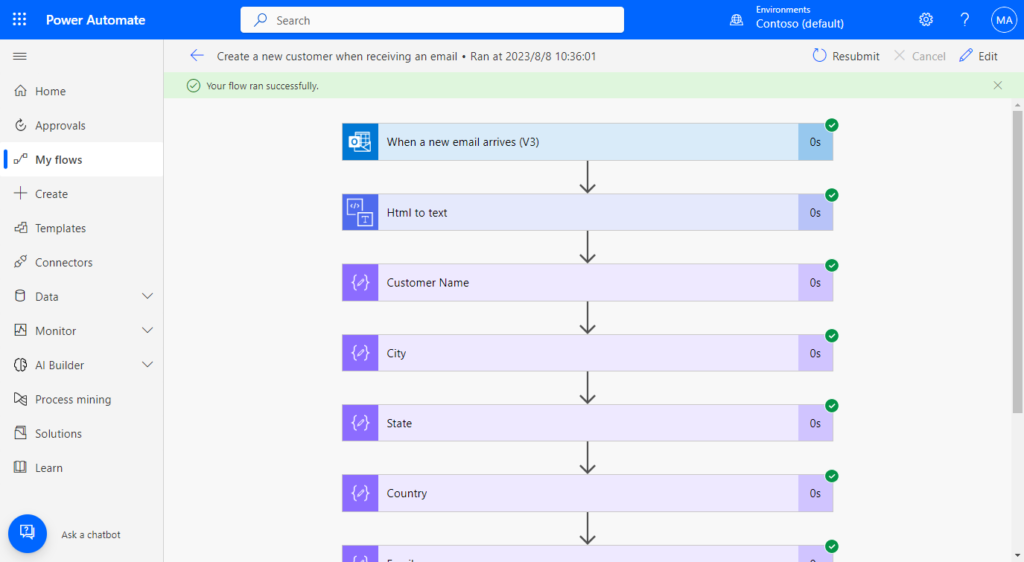
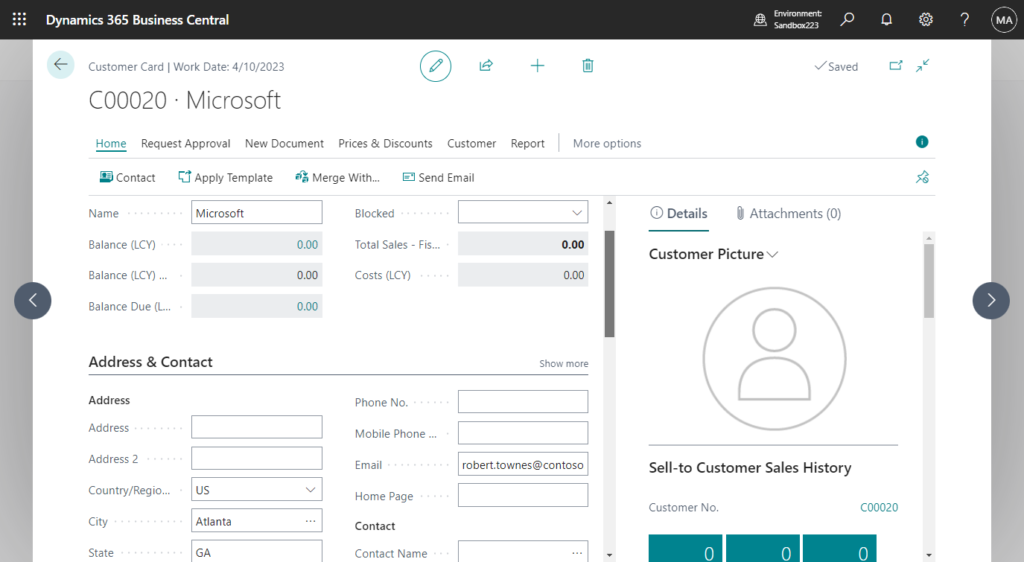
The customer is automatically created😁.
Test video:
It’s great. Of course you can add conditions such as if the customer already exists or if the email meets the criteria. And please note that if your email content is very complex, extracting the value will also become complicated. Give it a try!!!😁
PS: How to do “if Record.Find then” in Power Automate (Check if the record already exists or not)
END
Hope this will help.
Thanks for reading.
ZHU
コメント