Hi, Readers.
Today, I would like to talk about Source Codes and Reason Codes in Business Central.
All posted entries in Business Central are automatically assigned a source code so that transactions can be traced to their origin. If you want to give entries a supplementary source code, you can use reason codes.
Source Code
A source code indicates where an entry was created. Entries are created when journals and invoices are posted and when certain batch jobs are executed. Each posting type has a specific source code that is assigned when individual entries are created.
Let’s see some examples.
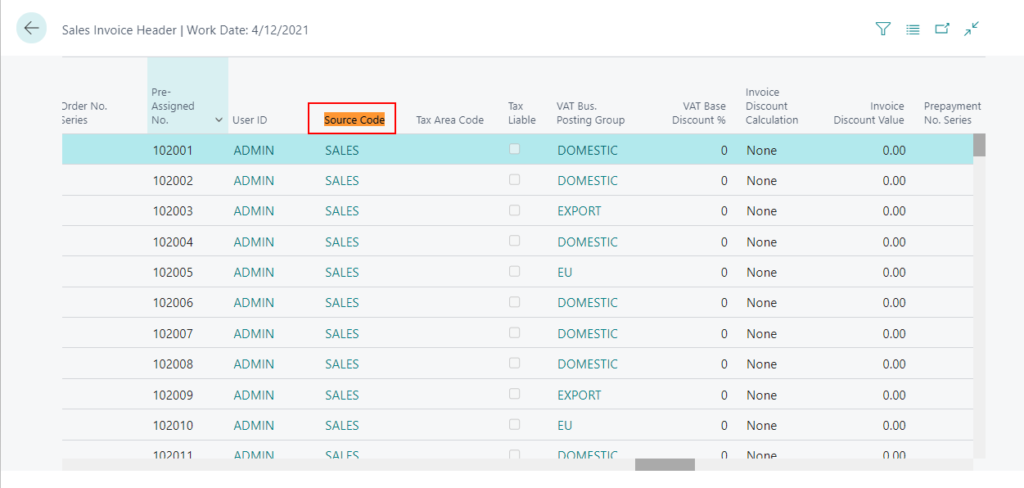
Sales Invoice Header:
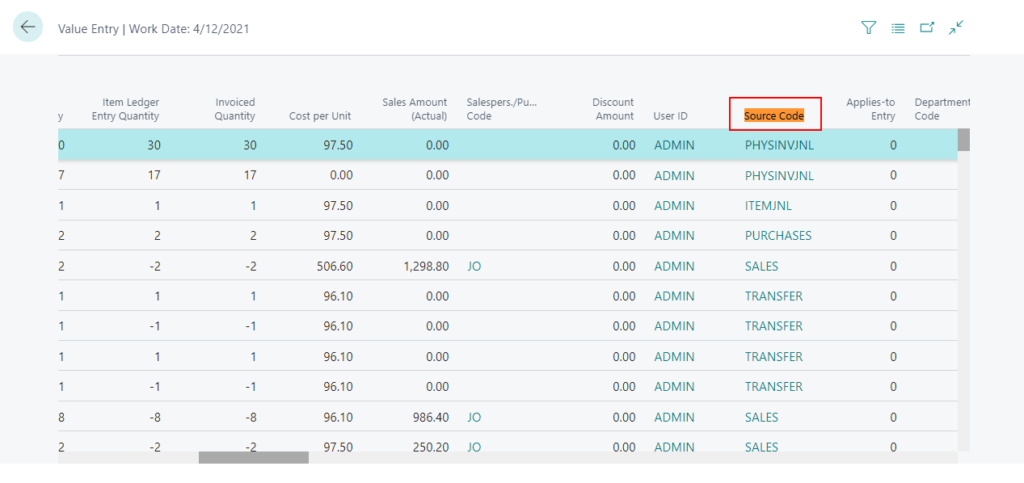
Value Entry:
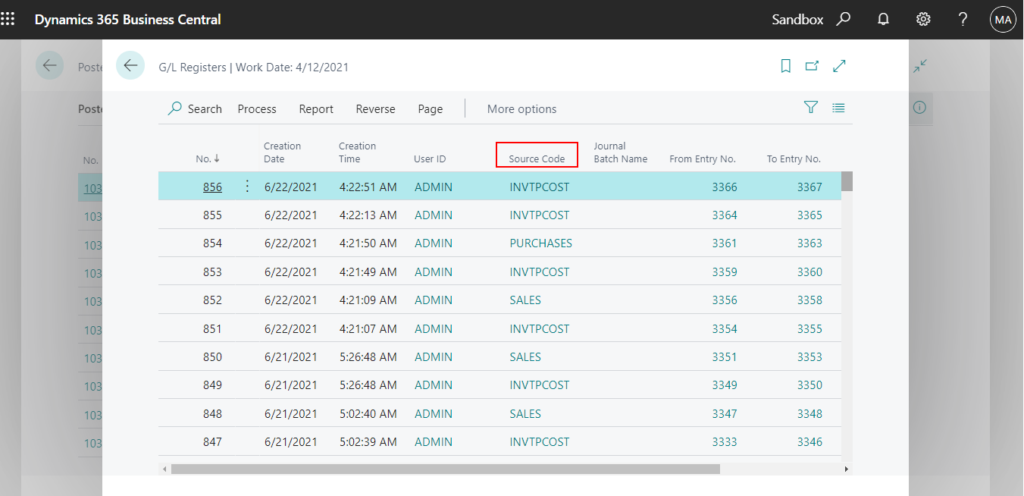
G/L Registers:
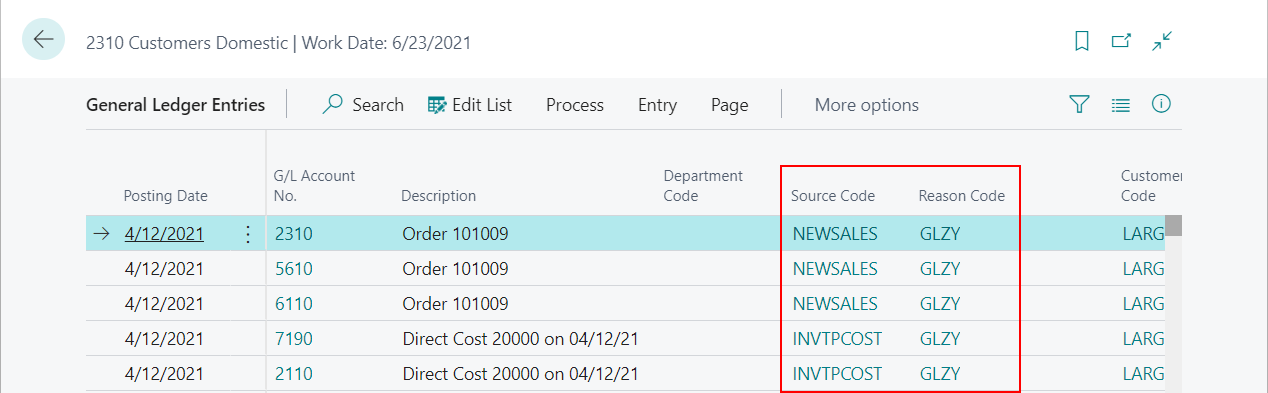
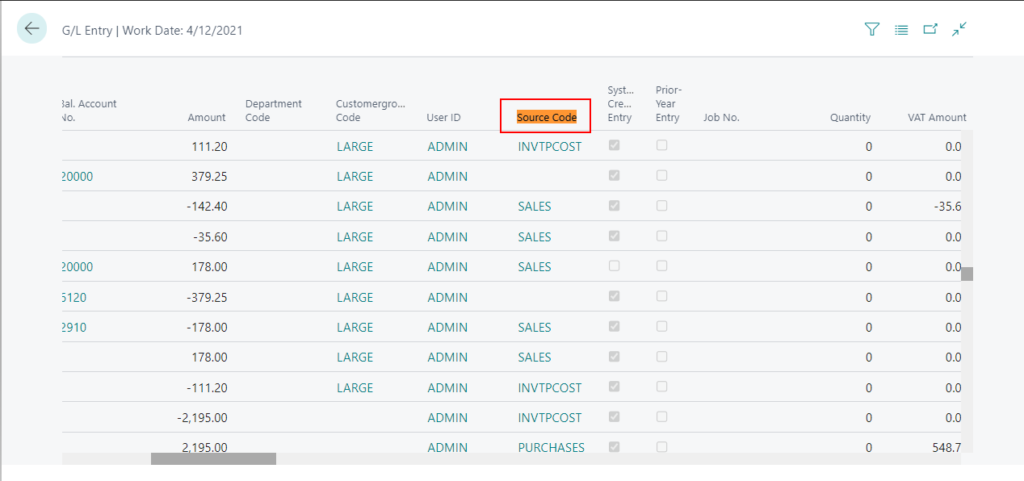
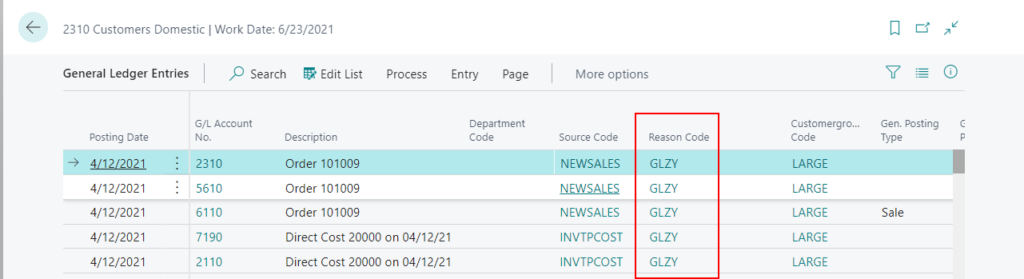
G/L Entry:
So when and where are these source codes defined? Can we change default source code?
When you create a new empty environment of Business Central, the Source Codes are already defined automatically. In fact, it is not necessary to change the Source Code during the implementation of the system if there are no special cases.
To set up source codes
Enter Source Codes in Tell me, and then choose the related link.

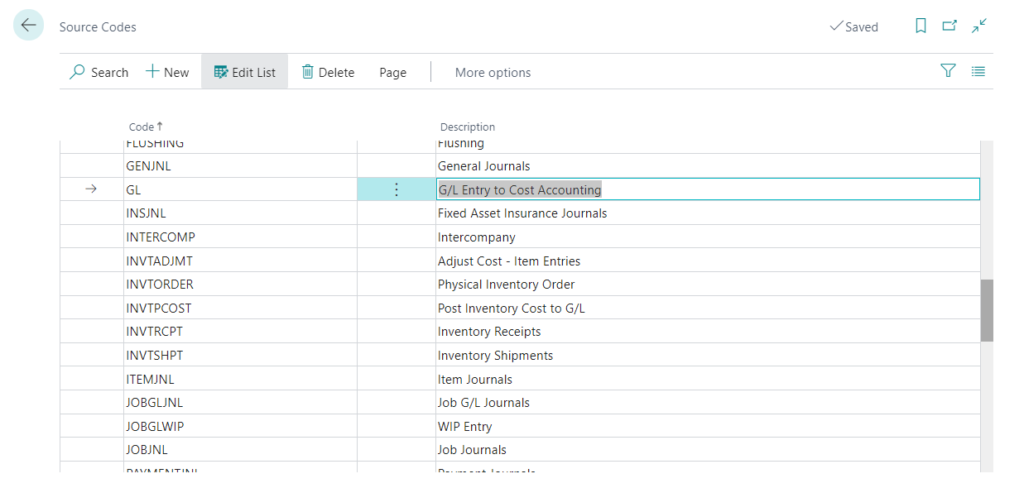
You can add new code on the Source Codes page.
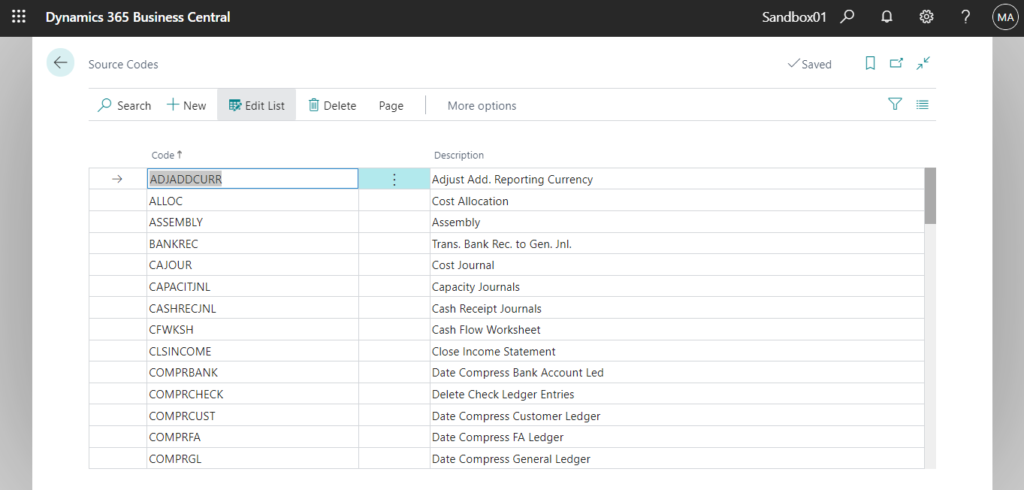
For example:

You can also change the contents of the Description field.
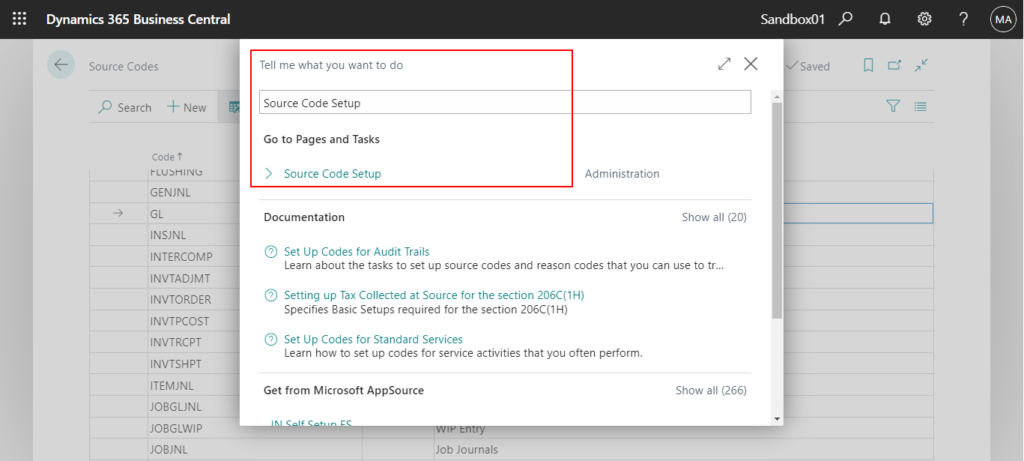
To define source codes
Enter Source Code Setup in Tell Me, and then choose the related link.
On the Source Code Setup page, for each each posting type and batch job, specify the relevant source code.
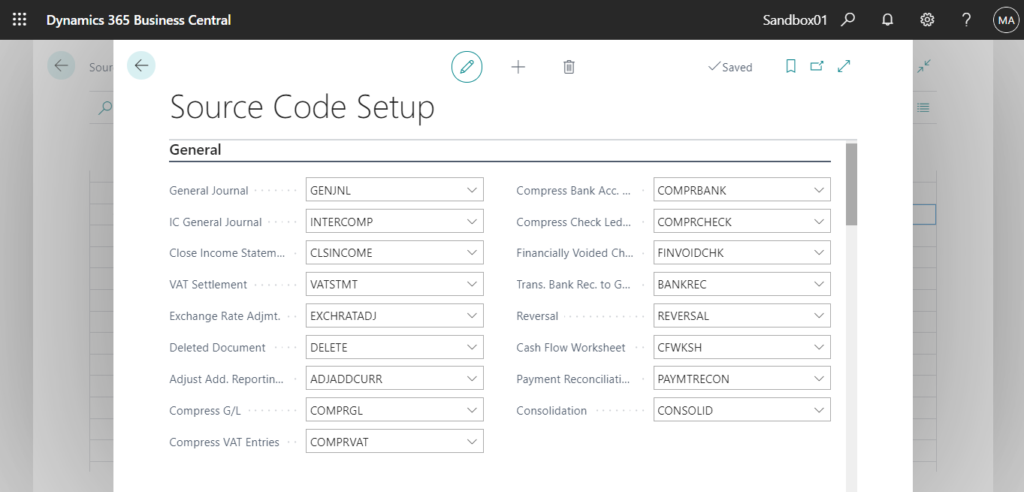
For example:
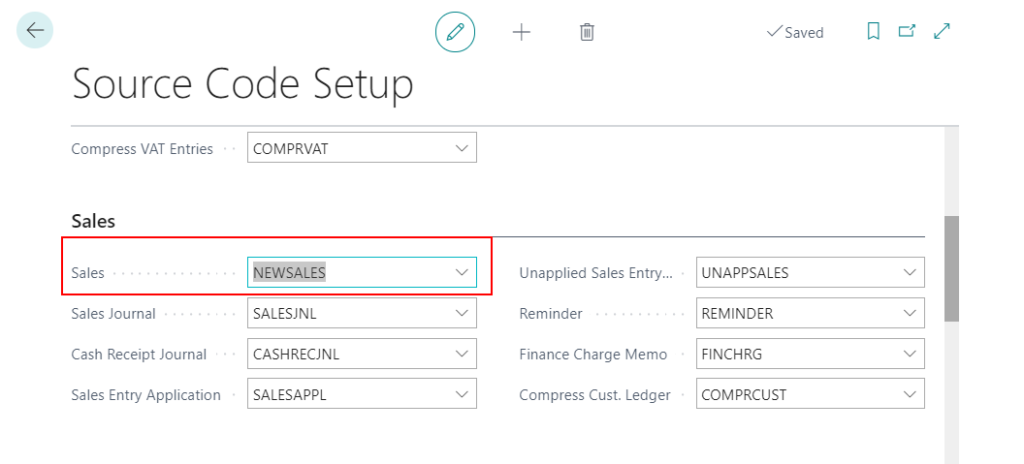
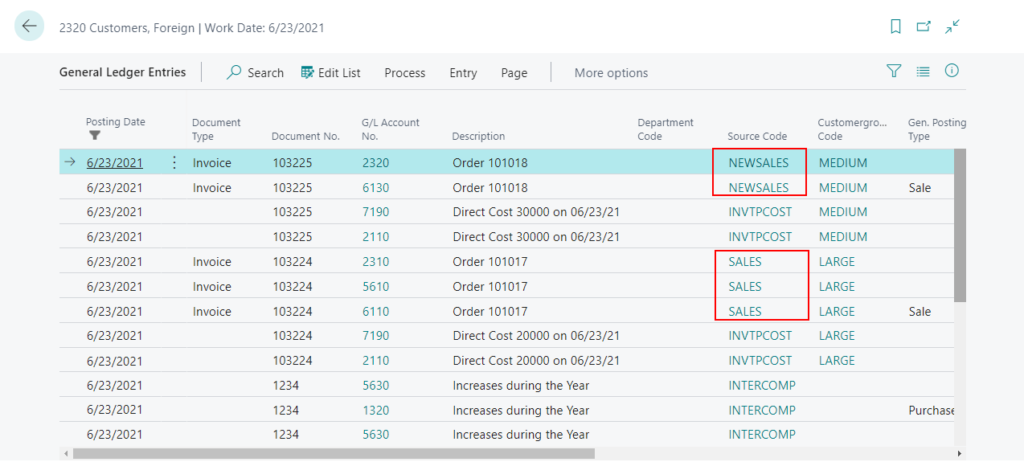
Note: All new entries that are posted from the sales order will have the new source code.
Reason Code
Reason codes supplement the source codes and are used to indicate why an entry was created. You can assign reason codes on individual entries, and you can assign permanent codes to specific journal templates and journal batches. When a reason code is linked to a journal line or a sales or purchase header, all entries are marked with the reason code when they are posted.
Let’s see some examples.
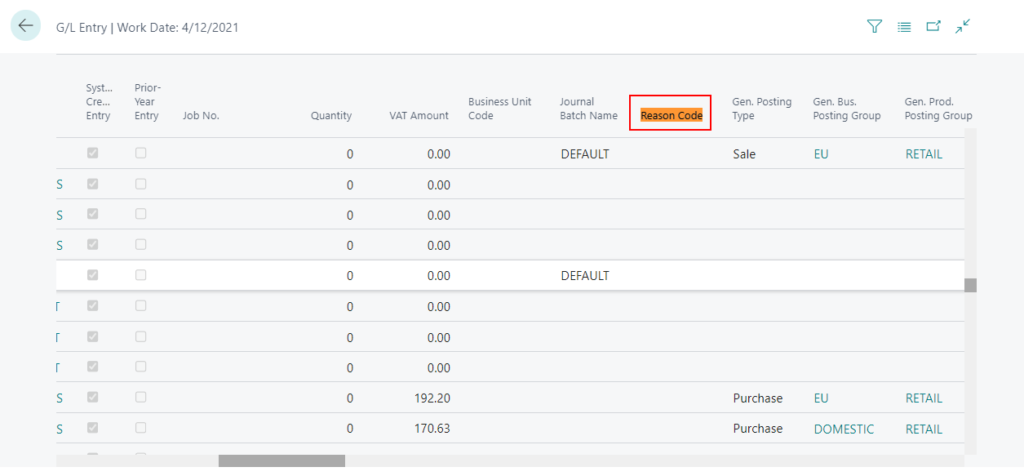
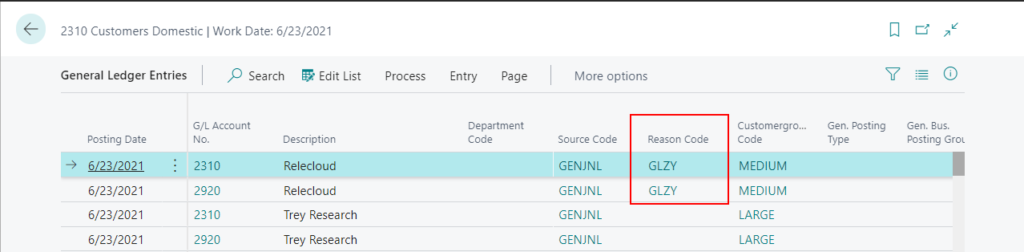
G/L Entry: Not used by default and is empty.
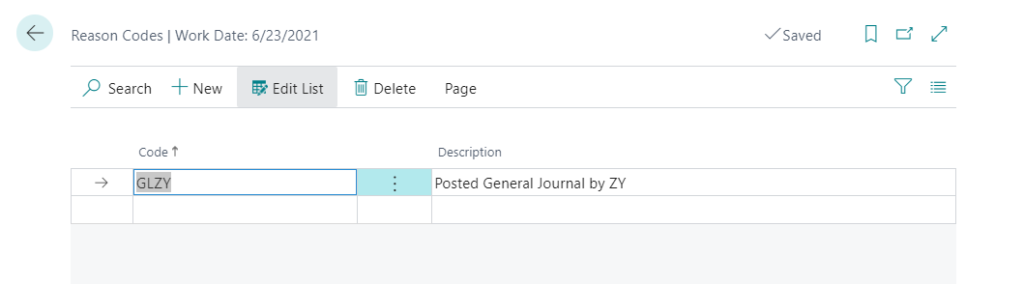
To set up reason codes
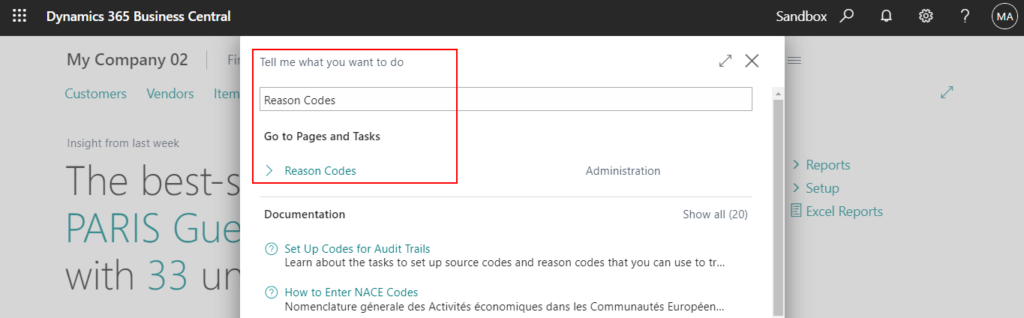
Enter Reason Codes in Tell Me, and then choose the related link.
On the Reason Codes page, enter the first code in the Code field. In the Description field, enter an explanatory text. You can set up any number of codes.
To assign reason codes to journal templates
Enter General Journal Templates in Tell me, and then choose the related link.

On the line with the selected journal template, in the Reason Code field, specify the relevant code.
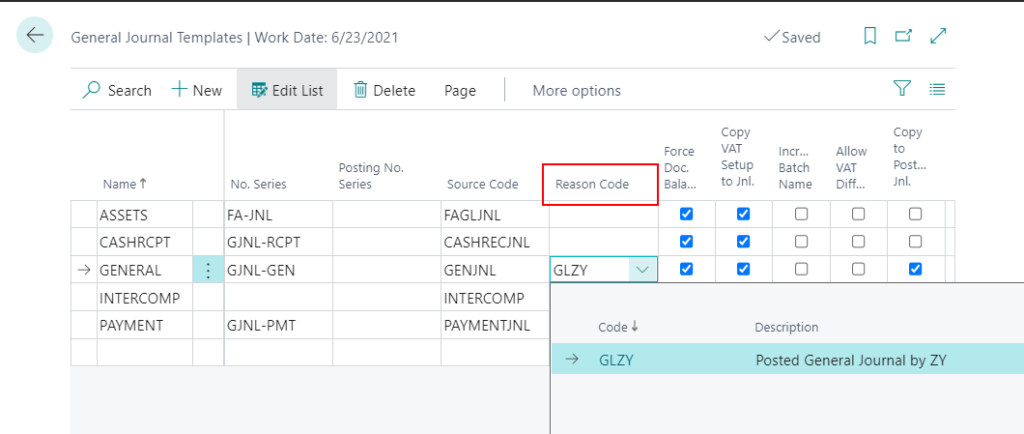
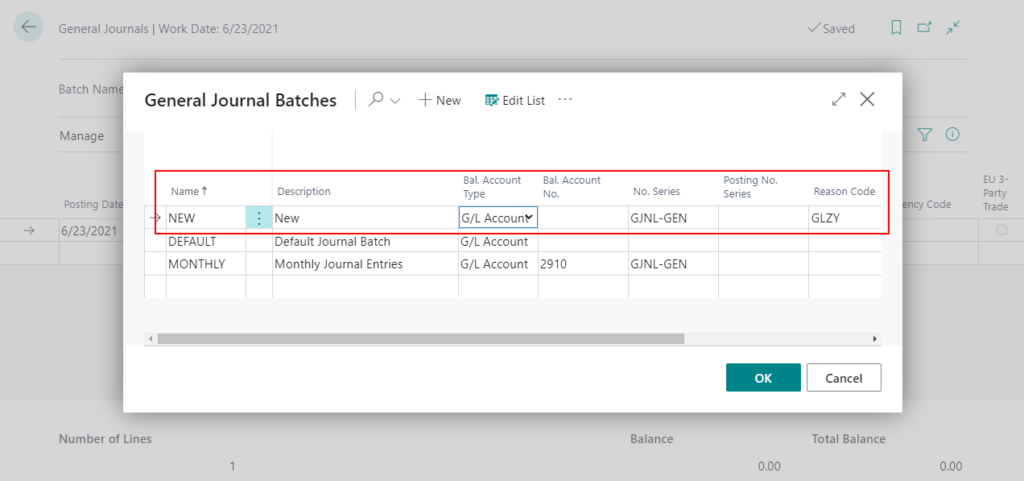
The selected reason code will be copied to new journal batches created under this journal template. You assign reason codes to journal templates in the other application areas in the same way.
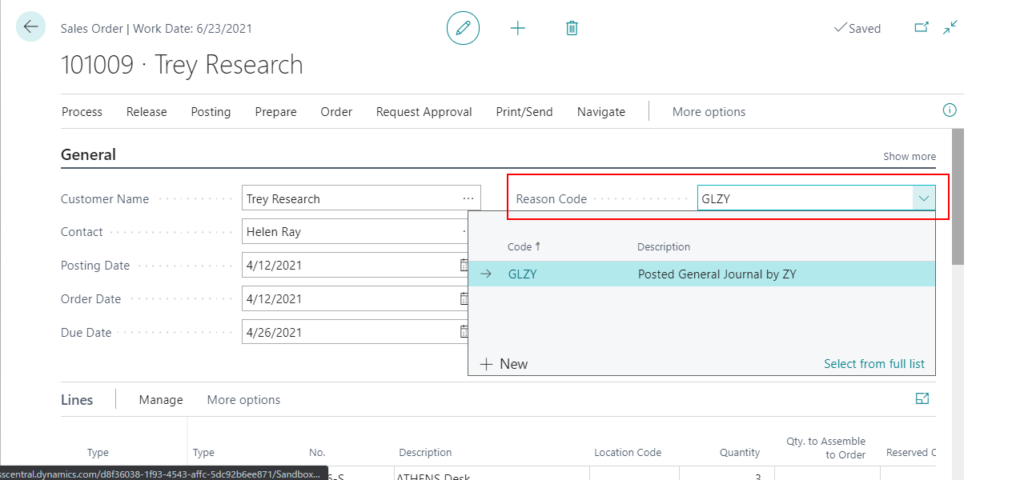
To use reason codes on sales and purchase documents
Open the relevant sales or purchase document.
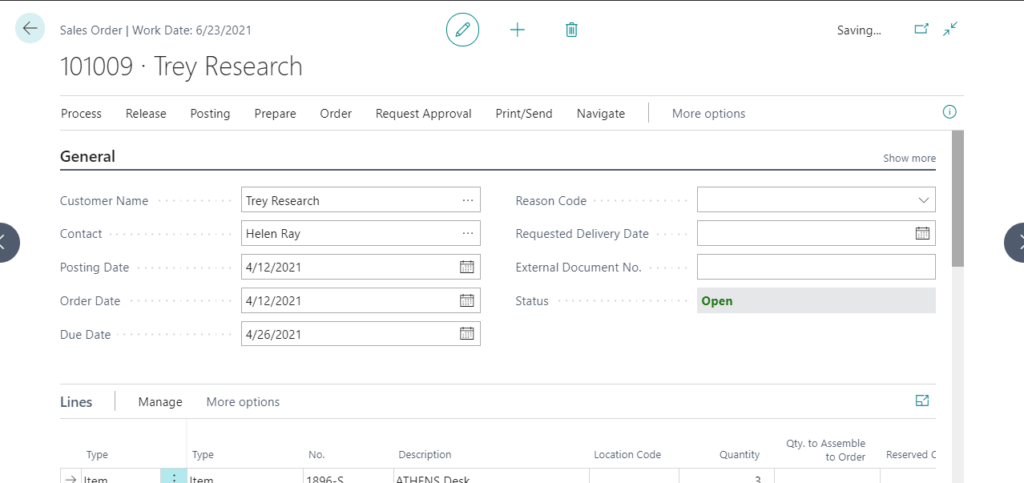
On the sales or purchase header, enter the code in the Reason Code field.
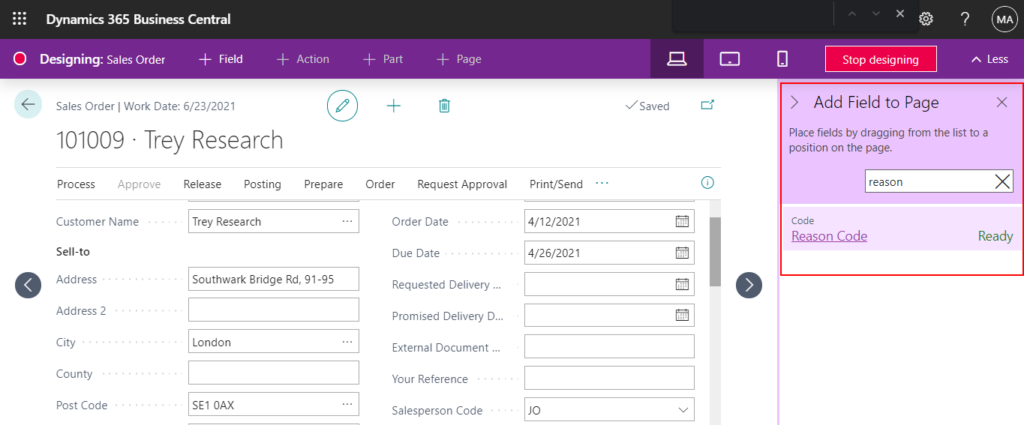
PS: You may need to use Design or AL Code to add Reason Code field to the page.
For both source codes and reason codes, use codes that are easy to remember and descriptive. The code must be unique, and you can set up as many codes as you like.
Find more about Setting Up Source Codes and Reason Codes for Audit Trails from Microsoft Docs.
END
Hope this will help.
Thanks for reading.
ZHU

コメント