Hi, Readers.
Today I would like to discuss word templates in Business Central.
As you might know, in customer engagement apps (Dynamics 365 Sales, Dynamics 365 Customer Service, Dynamics 365 Field Service, Dynamics 365 Marketing, and Dynamics 365 Project Service Automation), the Word Templates feature has been available since previous versions. With one click users can generate standardized documents automatically populated with data.
Fortunately, a similar feature has been added to Business Central since 2021 wave 1 (BC18).
In this post, I will describe this feature in detail and hope it will help.
Info in BC18 Release Plan
Enablement of Word merge in Business Central:
Business value:
You can use the mail merge functionality in Word to use data from Business Central to add a personal touch to bulk communications.
Feature details:
When you want to send a document to a lot of recipients—for example, to your customers and contacts as part of a sales campaign—you can use Word’s mail merge capability to personalize each document by pulling data about the recipients from Business Central.
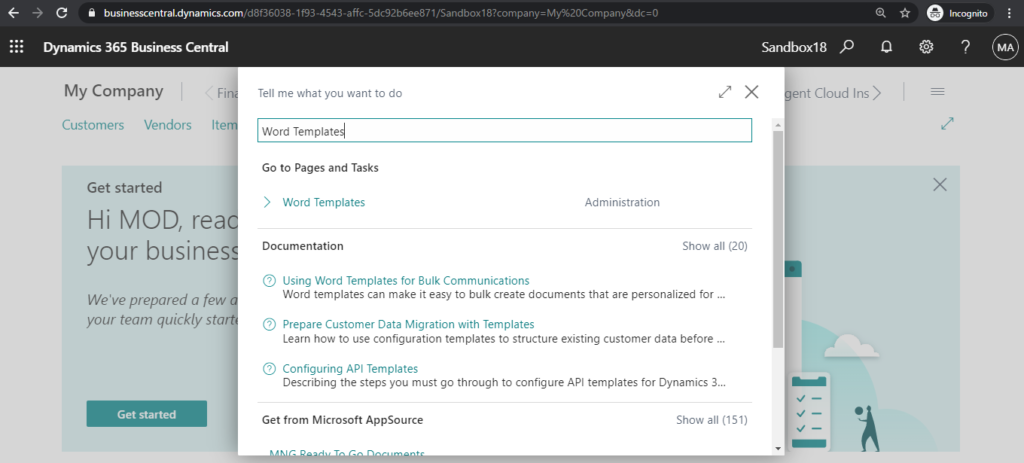
In the new BC18.0, you can already search for this feature.
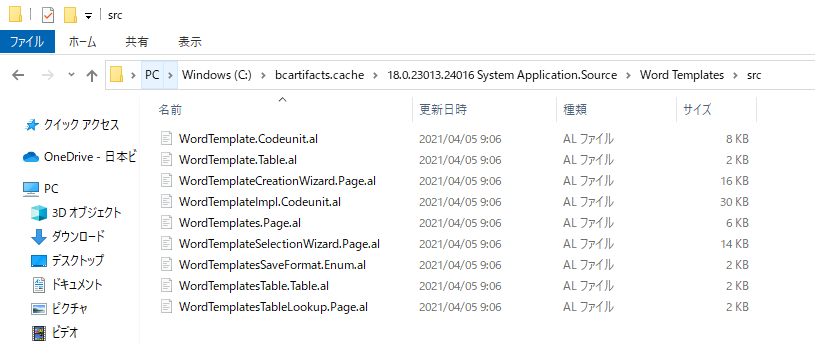
This functionality is integrated into System Application.
Source Code:
What is Word template
Microsoft Word templates can make it easier to mass communicate with entities such as customers and vendors. For example, you can create brochures to alert customers about a sales campaign, letters to inform vendors about a new purchasing policy, or invitations to attract contacts to an upcoming event.
For example:
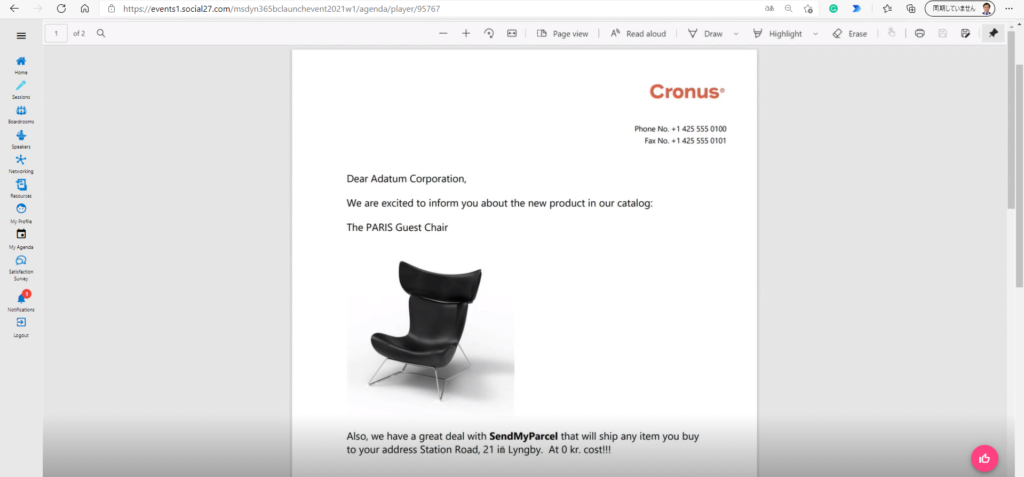
You can use entities in Business Central as the data source for the template, and add merge fields to personalize documents for each entity. The merge fields come from the entity in Business Central. When you apply a Word template to an entity, data from the merge fields is inserted in the document.

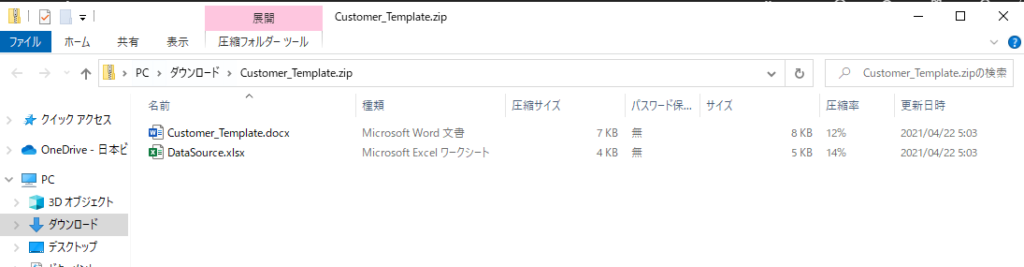
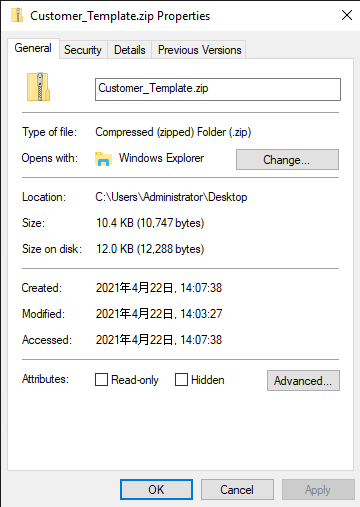
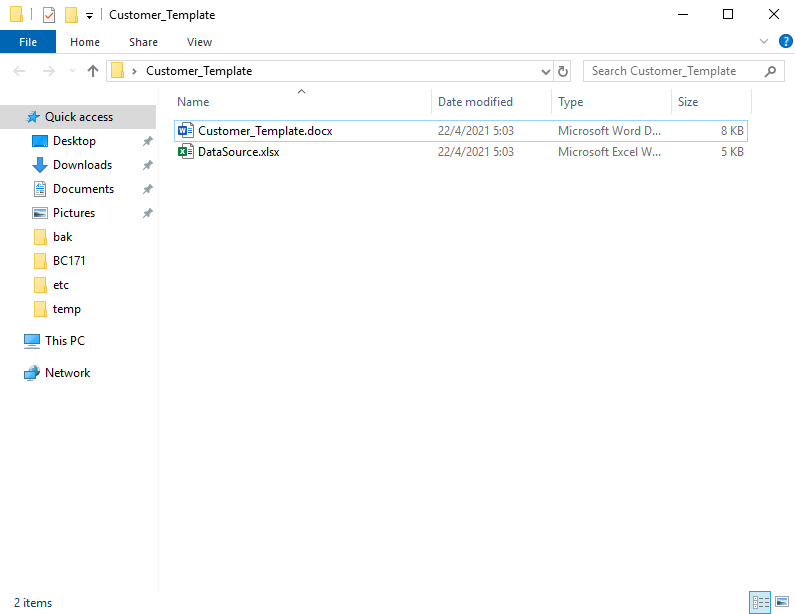
On the Word Templates page, you can use an assisted setup guide to download a ZIP file that contains a DataSource.xlsx and a Word template file for an entity. After you set up the template and add merge fields, you use the same guide to upload the template. You can only use the Word template and data source files that you download from Business Central, and you must store the files in the same location.
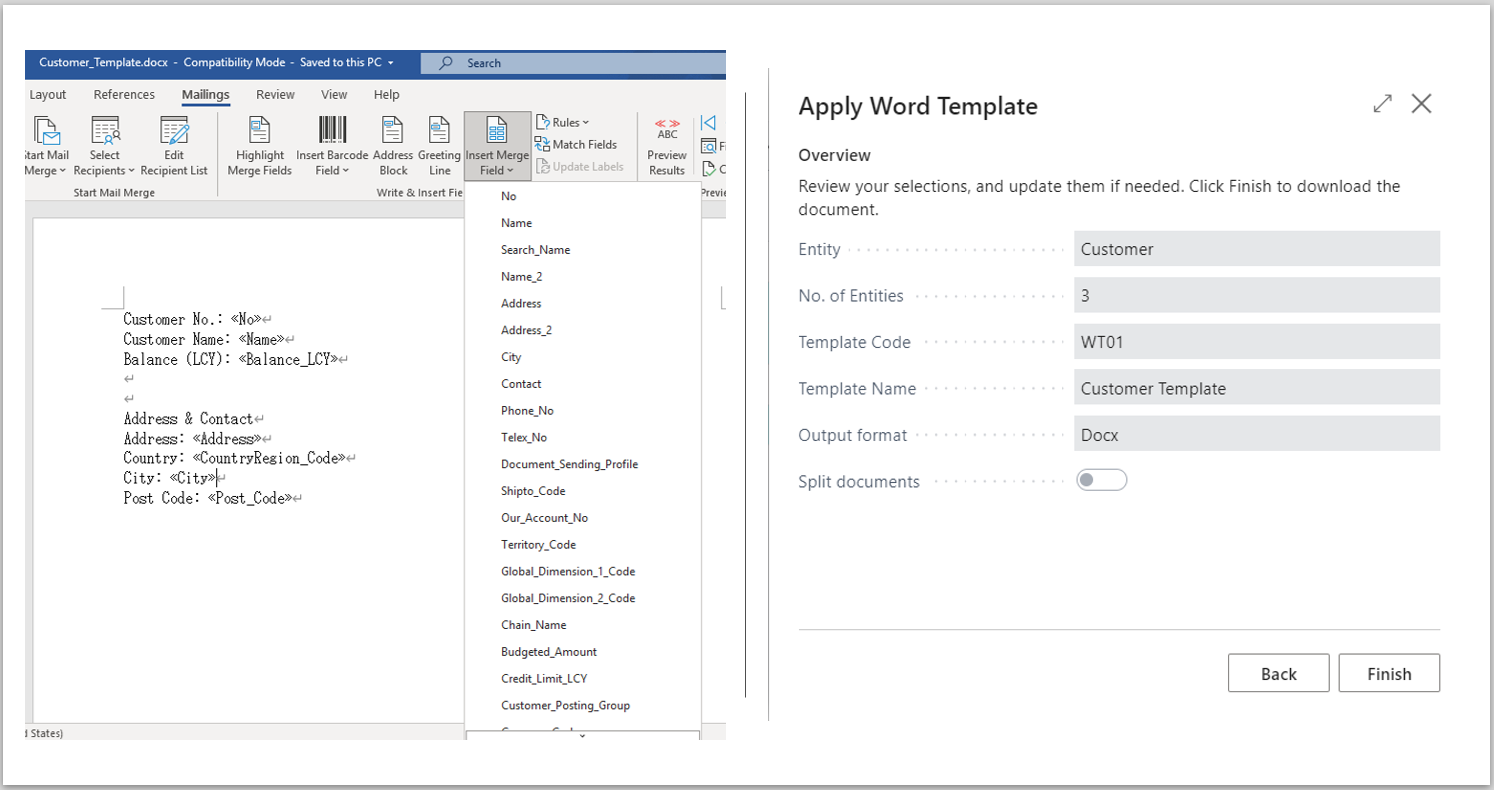
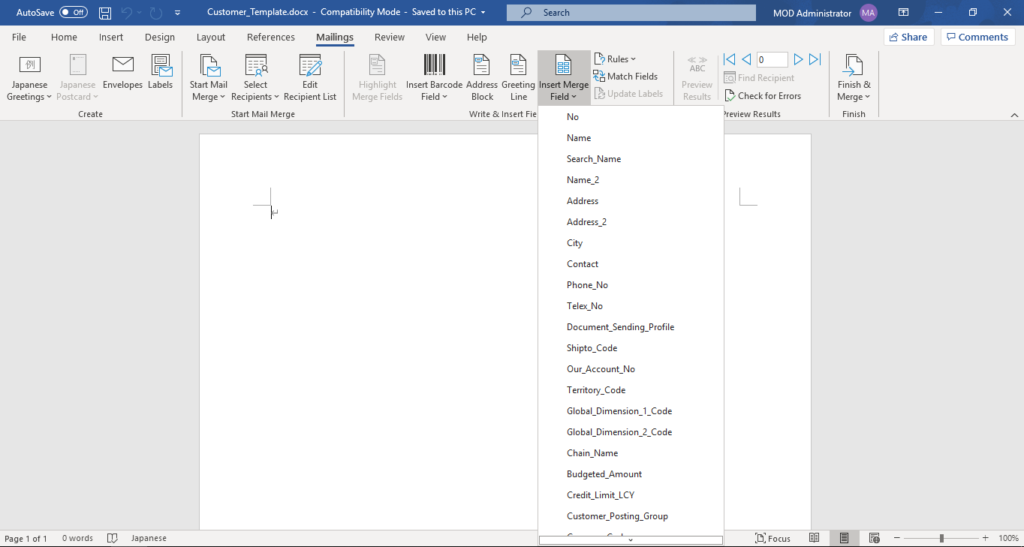
When you are setting up the template in Word, on the Mailings tab you can add merge fields by choosing Insert Merge Field.
In the Japanese environment: 差し込み文章 -> 差し込みフィールドの挿入

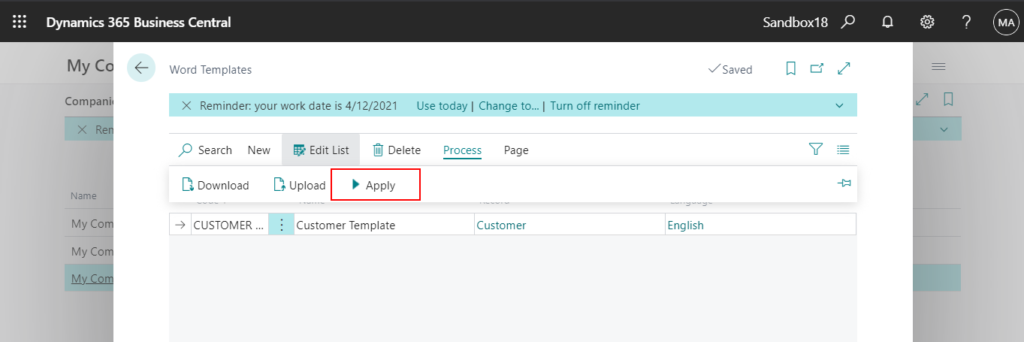
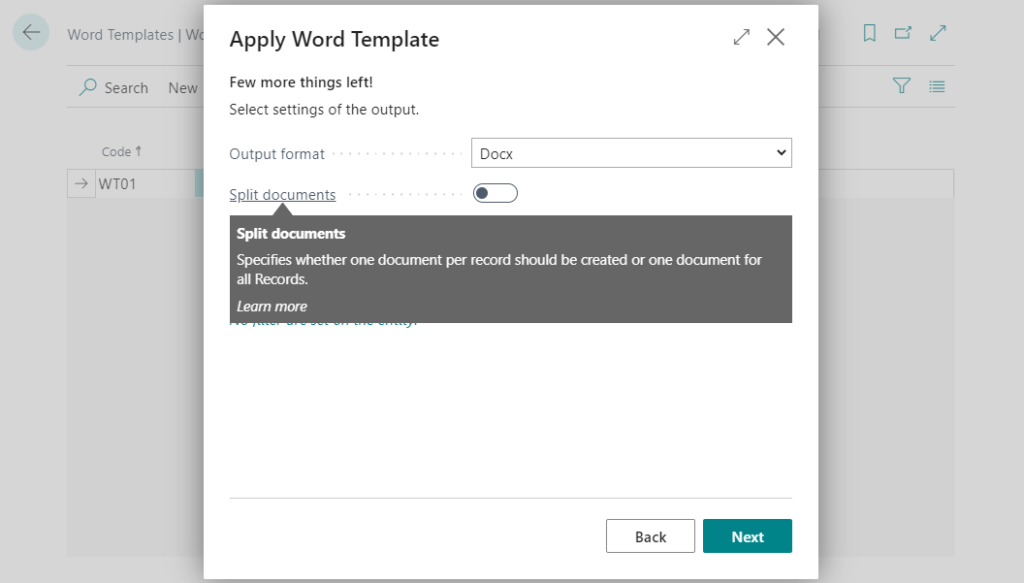
When your Word template is ready, on the Word Templates page you can choose Apply to generate the documents. You can either create one document that contains sections for each entity, or split the operation to create a new document for each entity.
Next, let’s test it all step by step.
To create a Word template
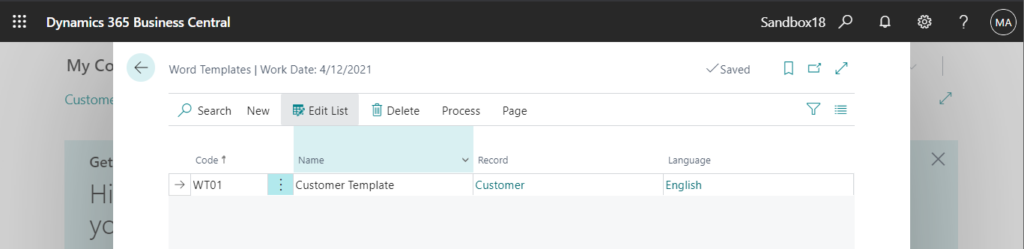
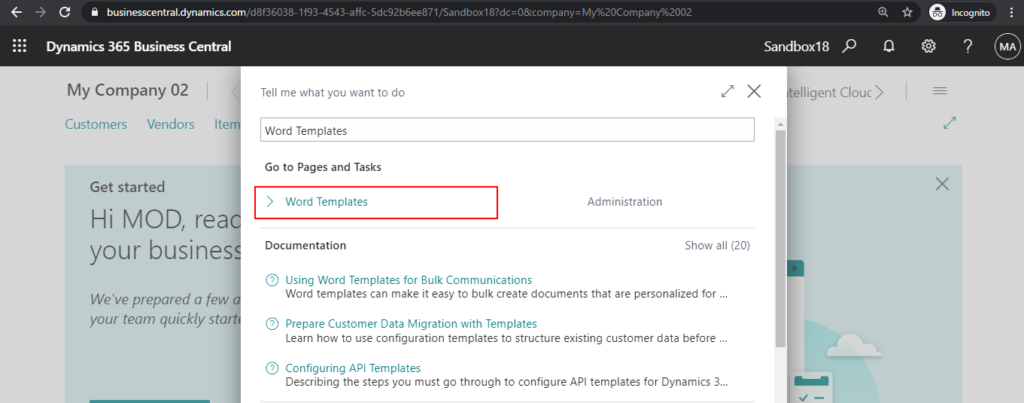
1. Choose the search icon, enter Word Templates, and then choose the related link.
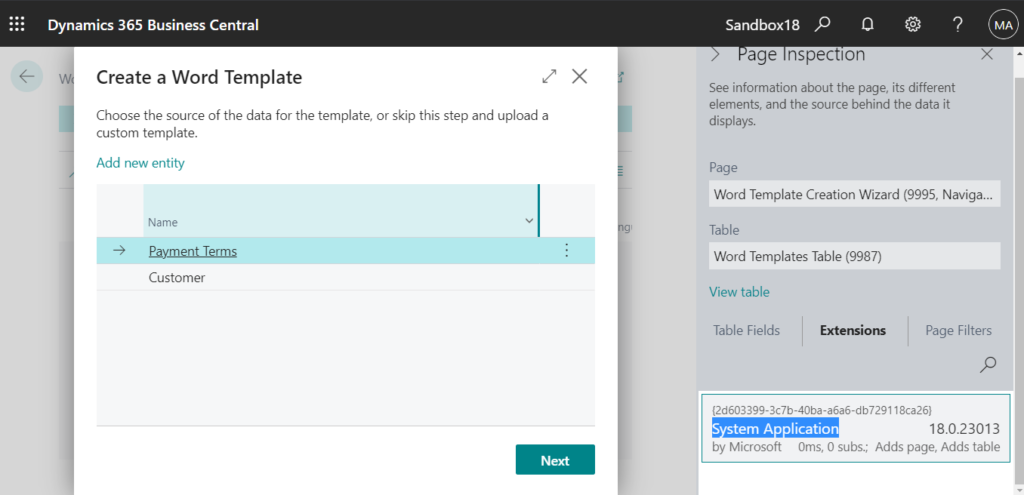
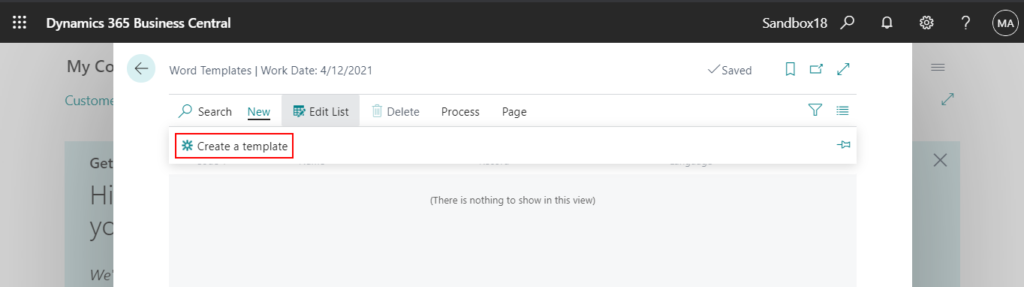
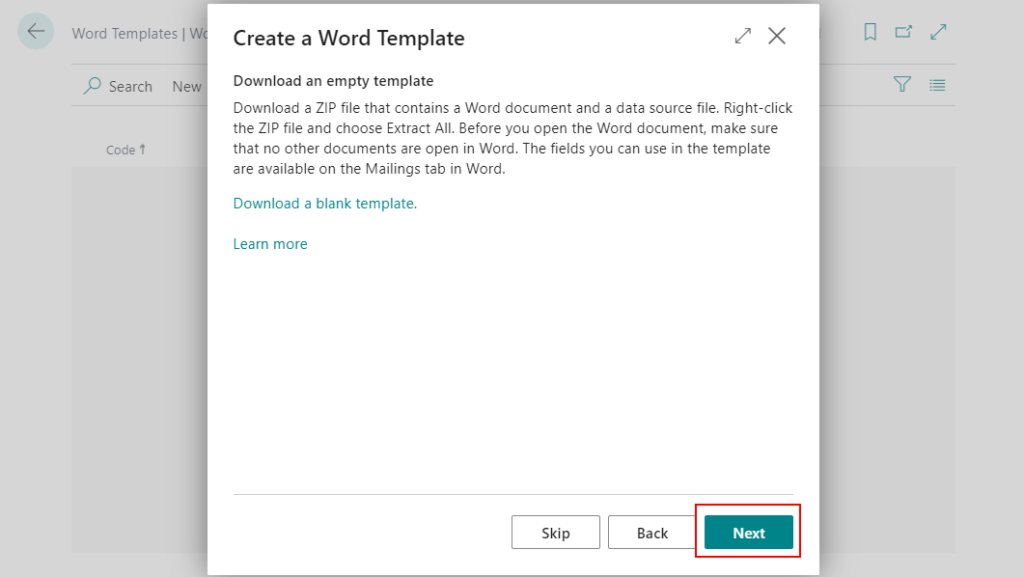
2. Choose New -> Create a template.
3. Follow the steps in the assisted setup guide. Hover over a field to read a short description.
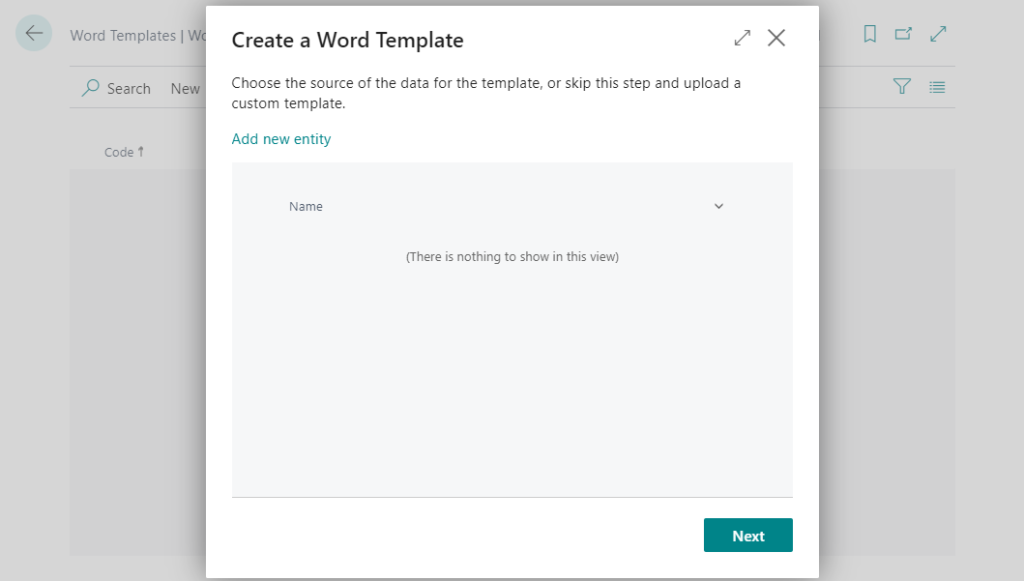
Choose Add new entity.
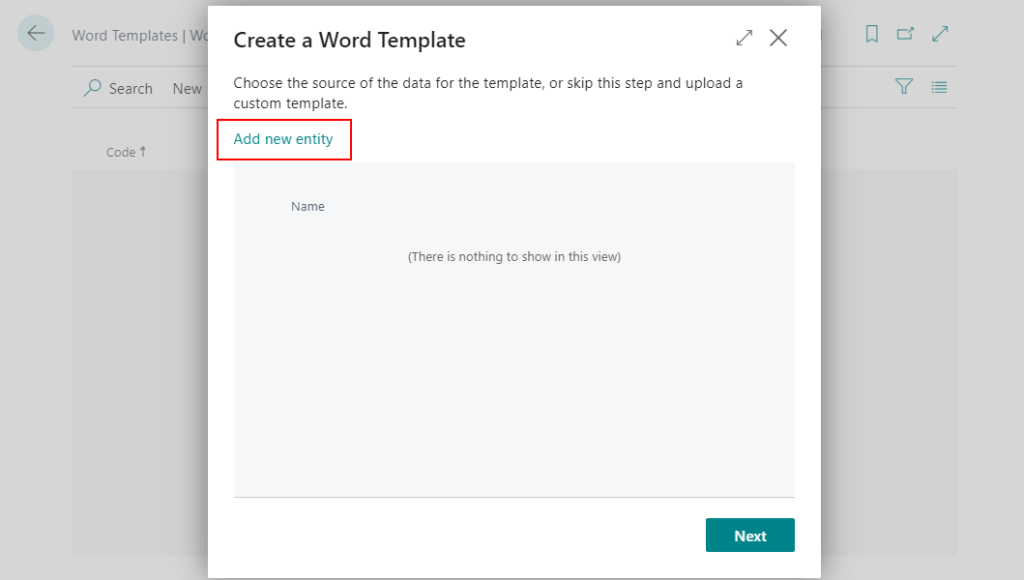
Select an entity, then choose OK.
For example: Customer
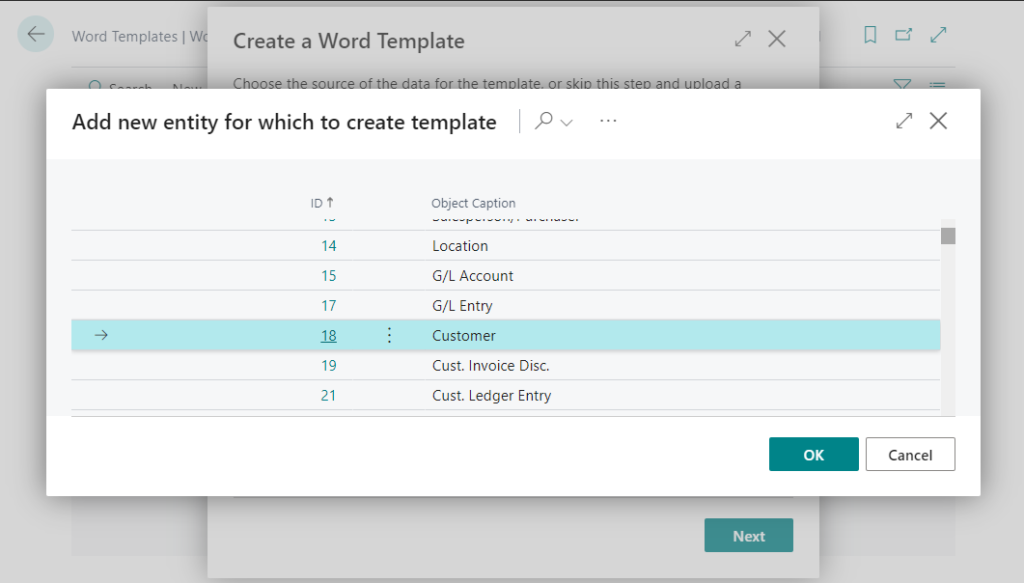
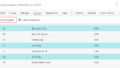
When you choose an entity for which to create a template, the list shows all entities in Business Central. However, you cannot create templates for all entities. If the name of an entity contains special characters, such as /, ., _, or –, you cannot create a template for it. The name of the entity is shown in the Object Caption column.
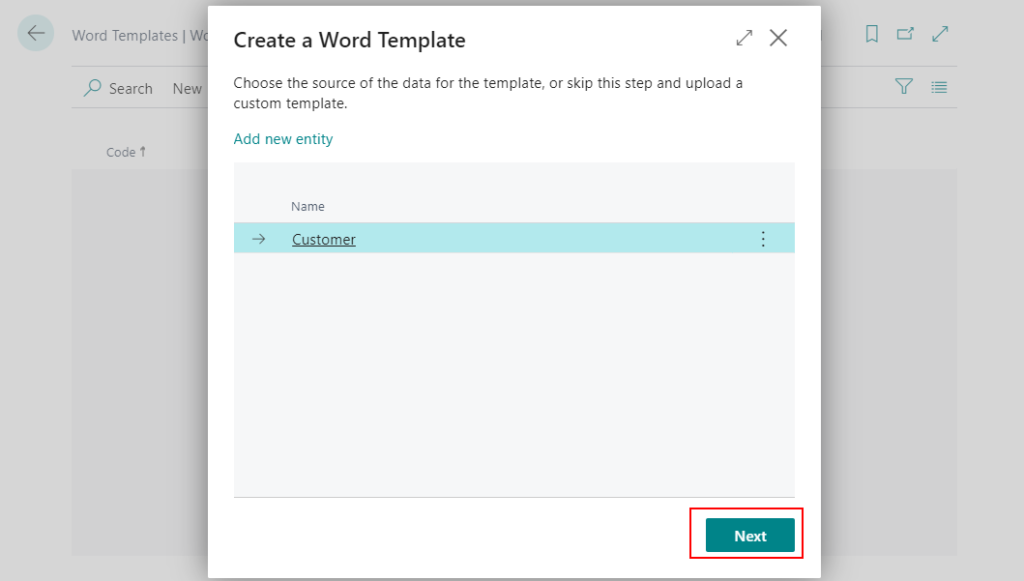
Choose Next.
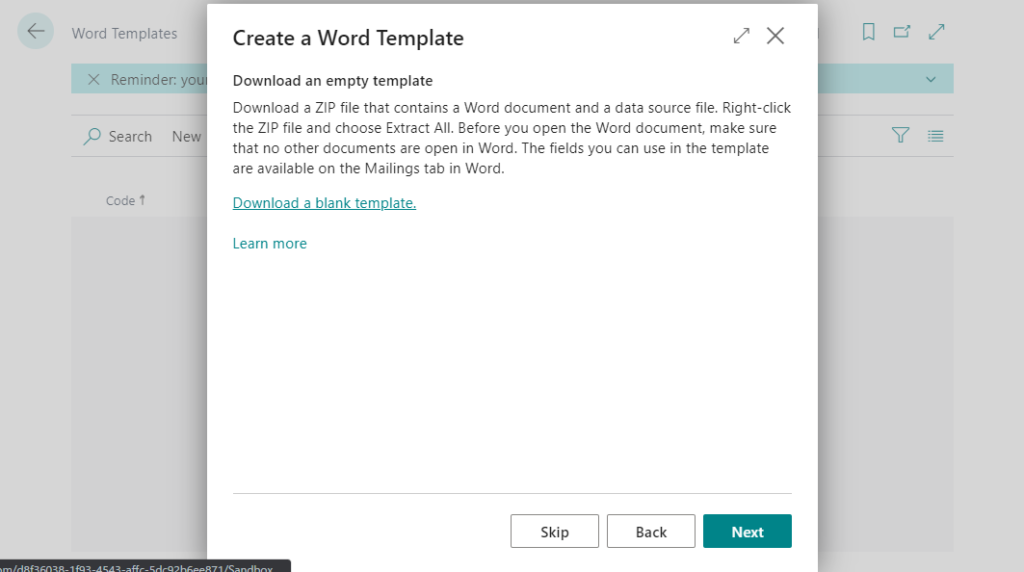
Choose Download a blank template.
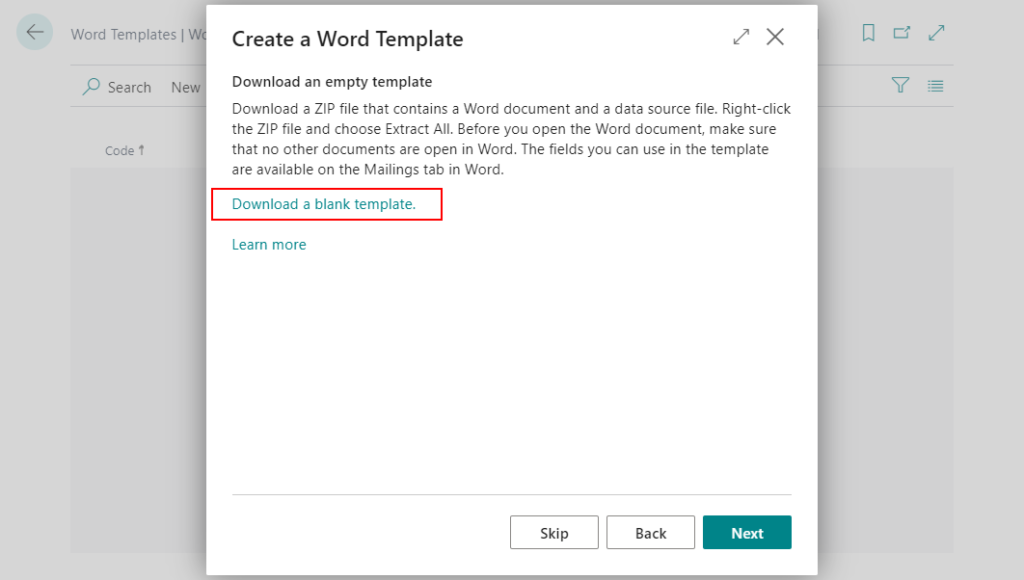
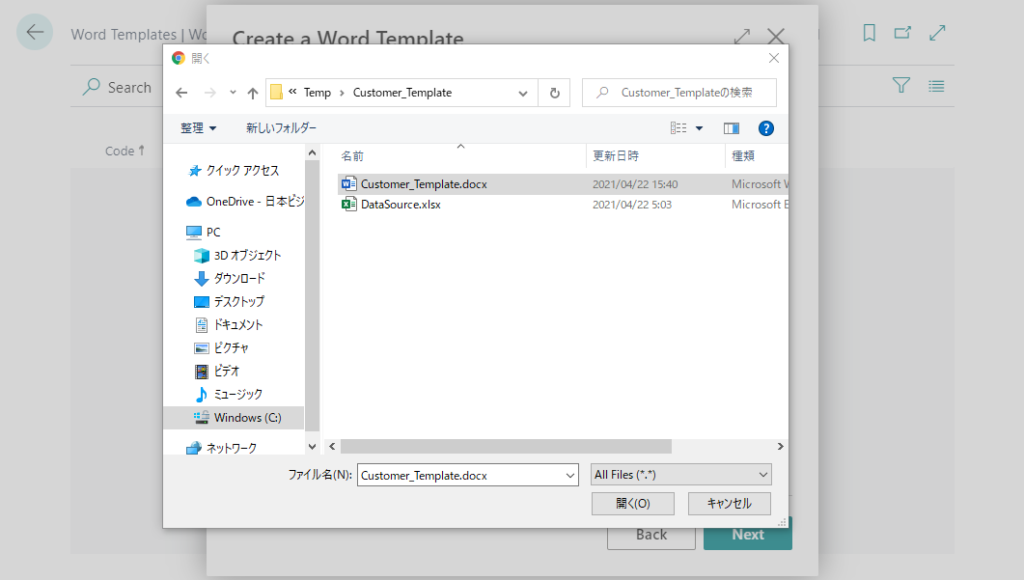
The ZIP file that contains a DataSource.xlsx and a Word template file for an entity.
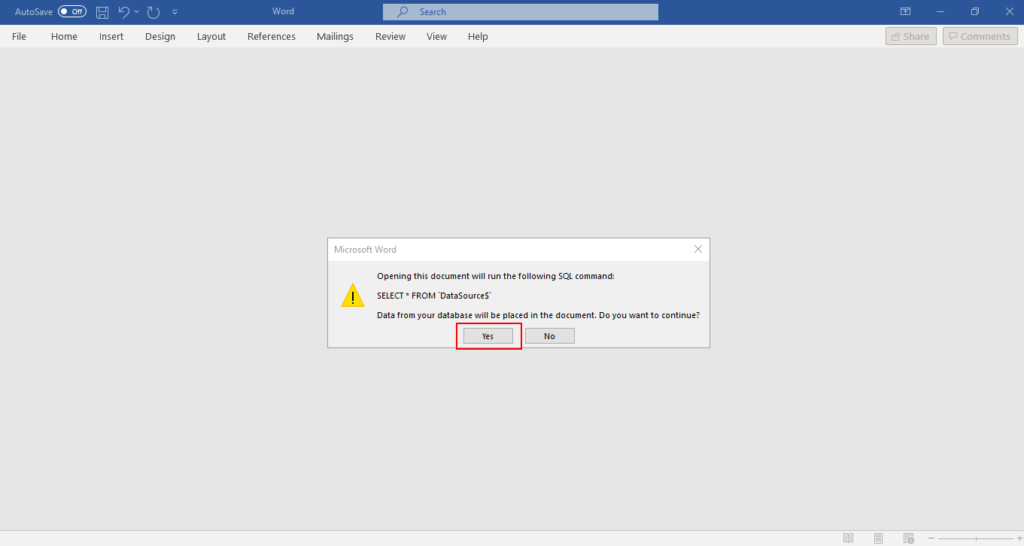
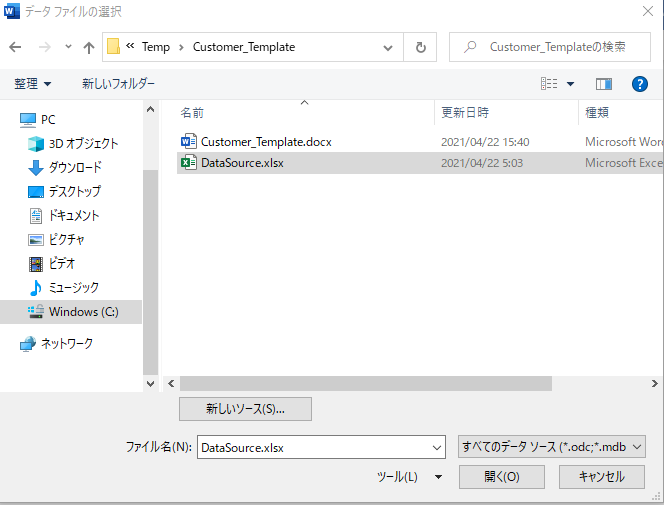
Open word document, then choose Yes.
PS: If the DataSource file is not found automatically, please select the path to the DataSource file manually.
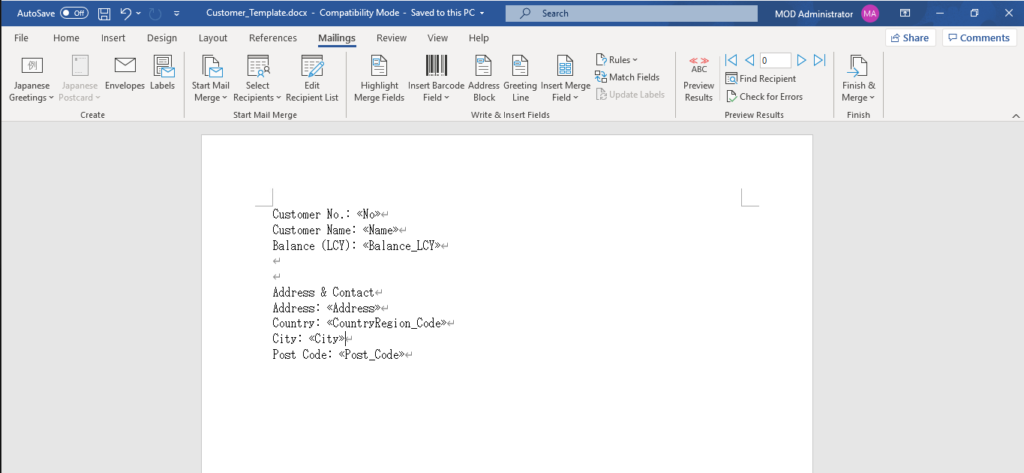
Choose Mailings tab, and then choose Insert Merge Field. Now you can inserted fields to the document.
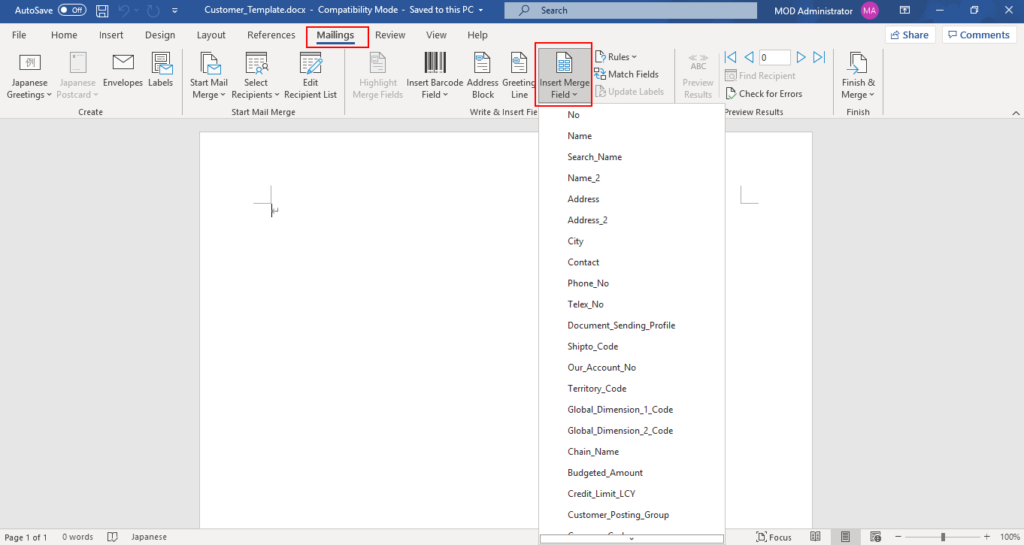
You cannot use merge fields if the name of the field contains 40 characters or more. For example, you cannot use the Company__Information_Customs_Permit_Date field because it has 40 characters.
For example: Add some fields (including Flowfield)
Save the word document.
Return to the Business Central, and then choose Next.
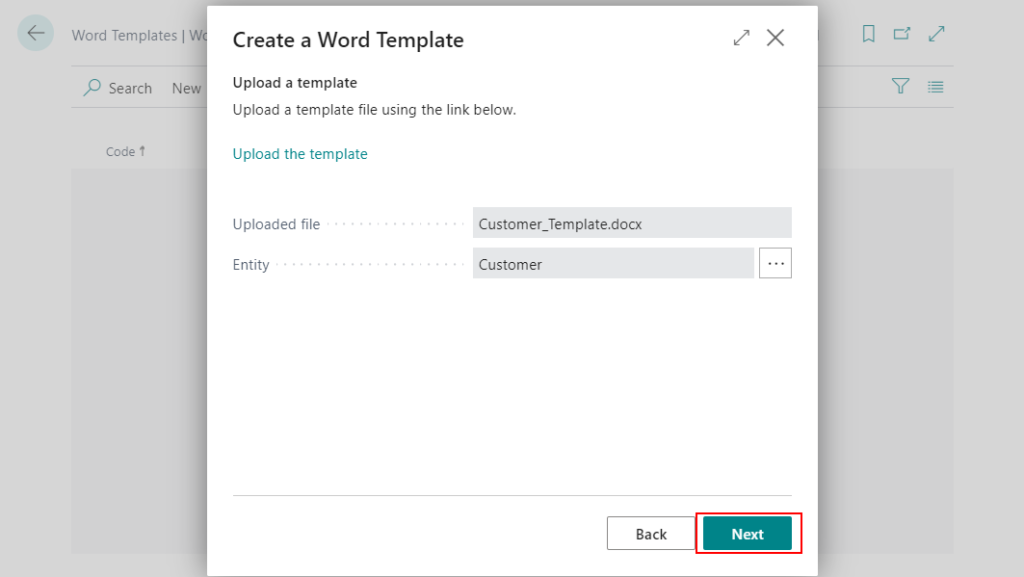
Choose Upload the template.

Select the word document.

Choose Next.
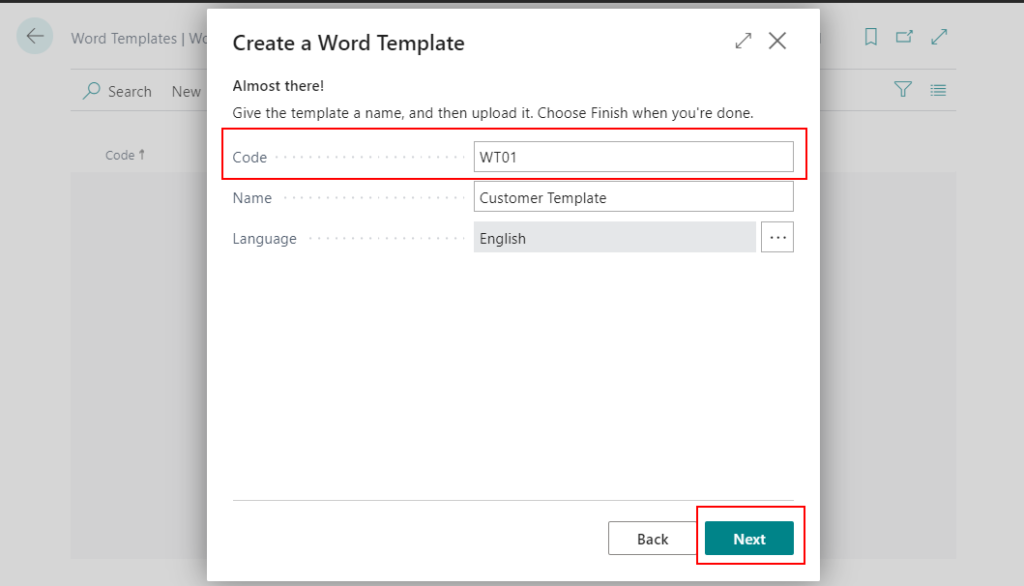
Enter Code, and then choose Next.
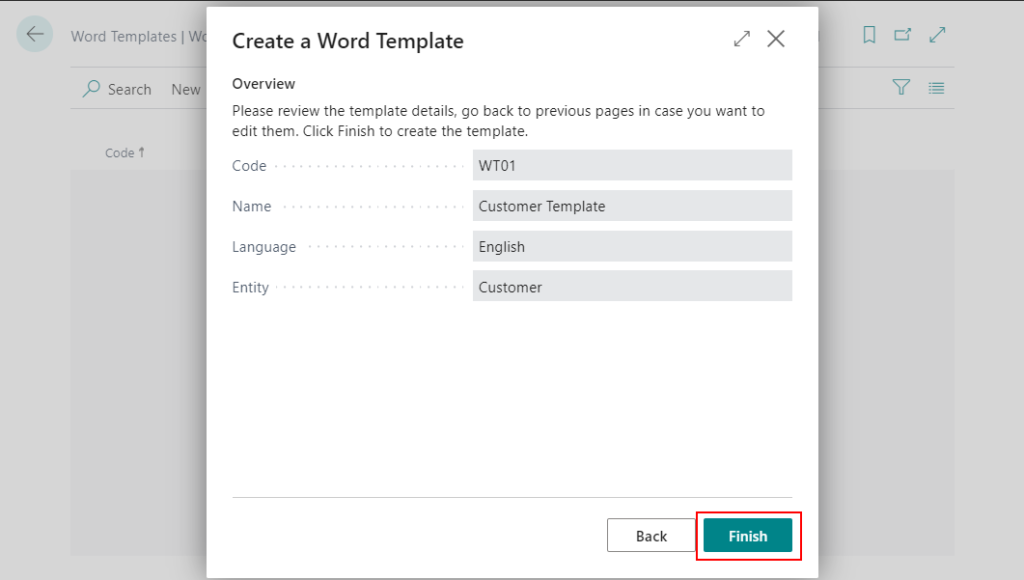
Choose Finish.
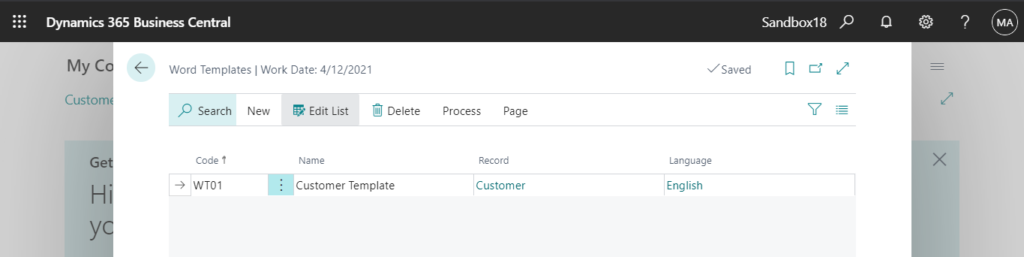
Completed.
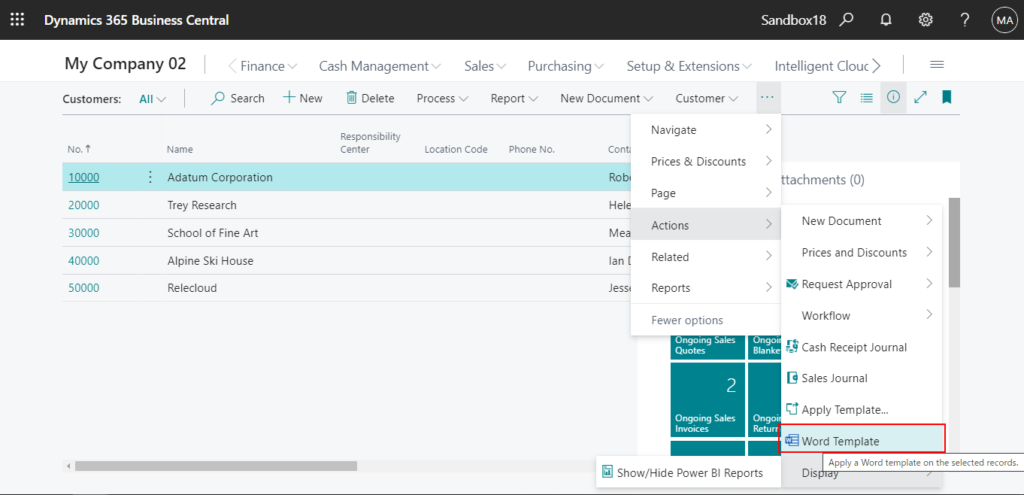
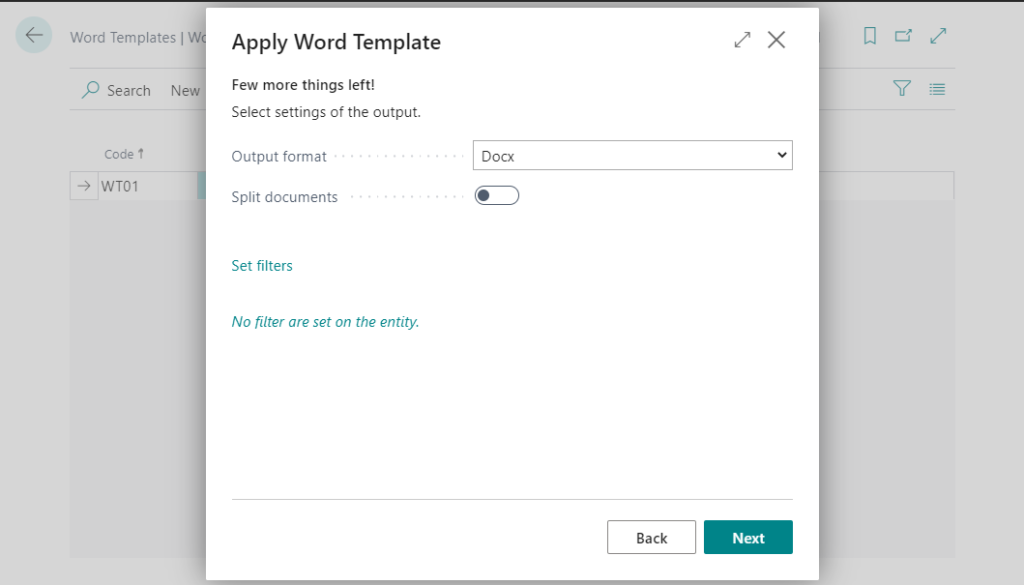
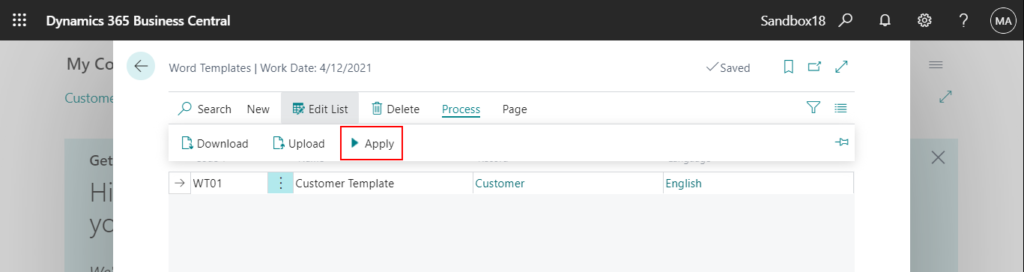
4. On the Word Templates page you can choose Process -> Apply to generate the documents.
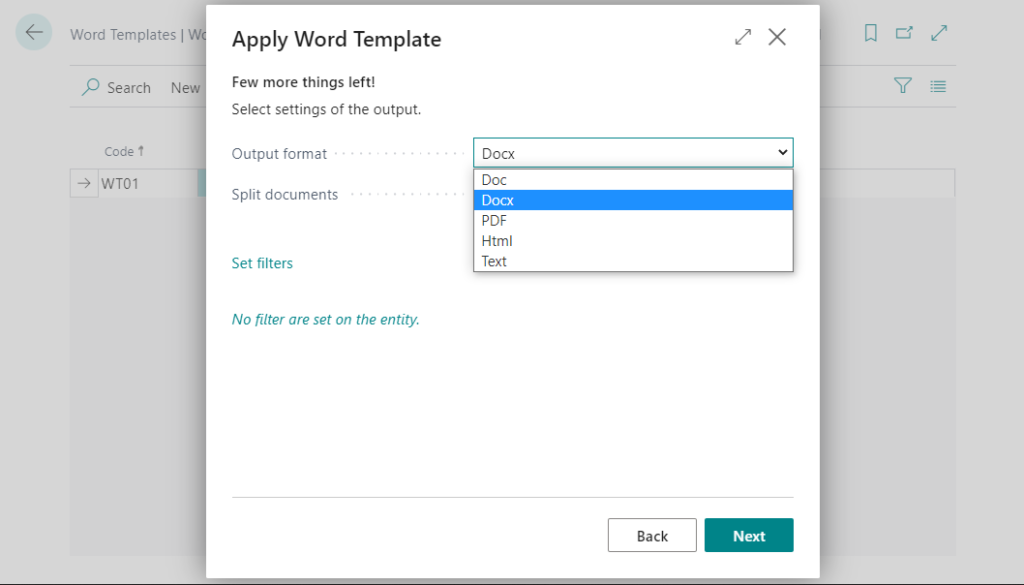
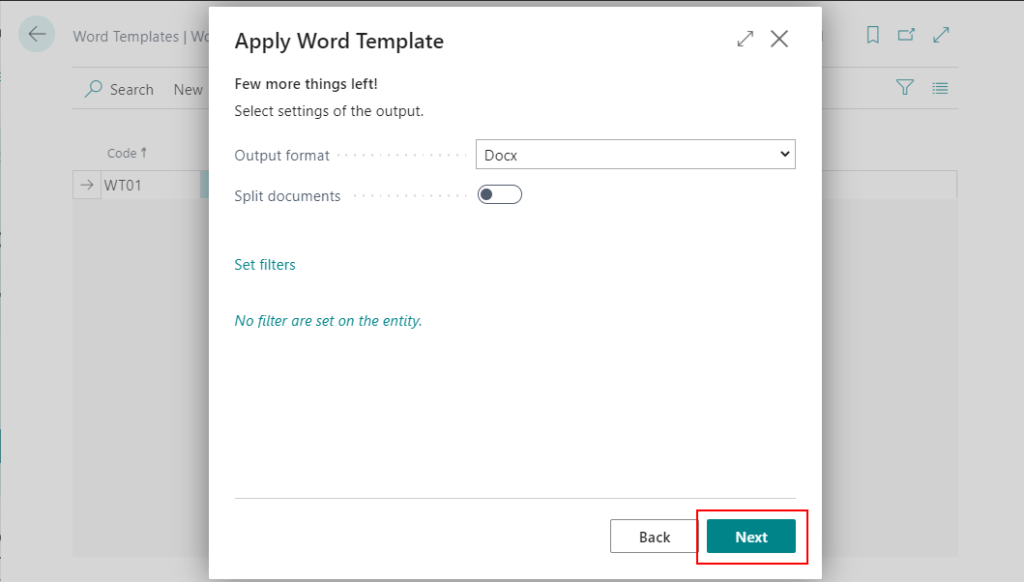
You can select the format of the final document.
You can split documents.
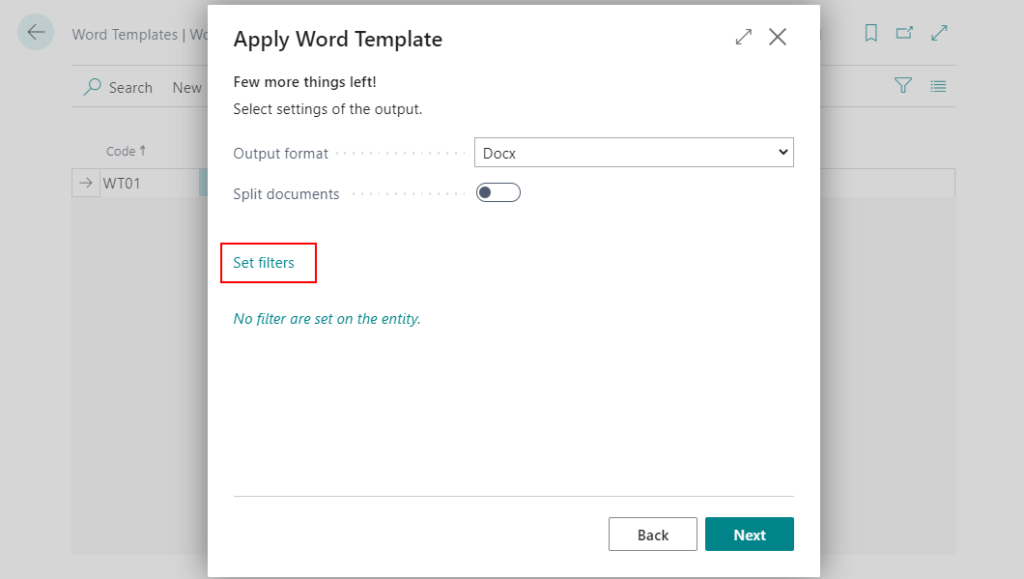
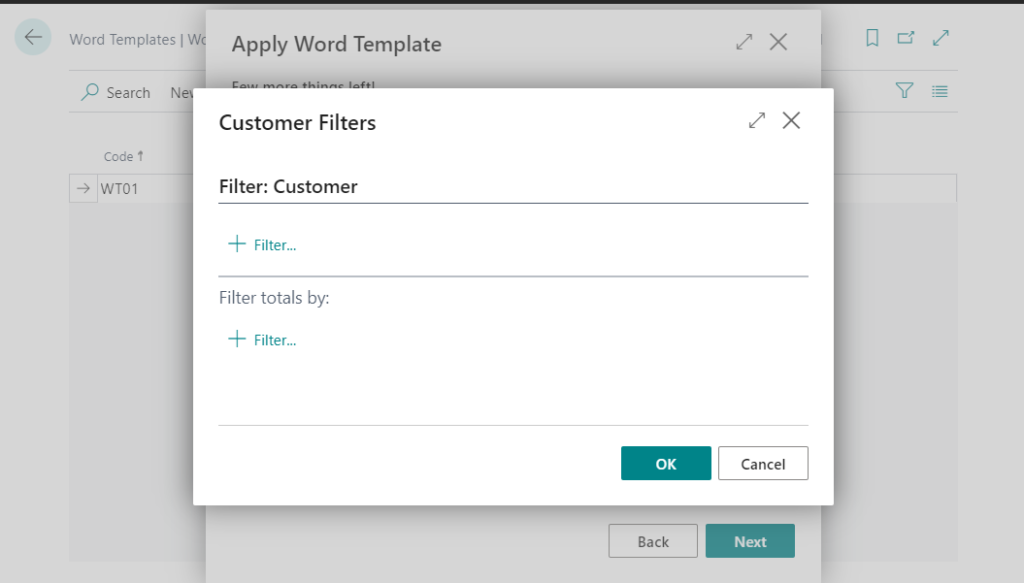
You can also set filters.
5. Choose Next.
6. Choose Finish.
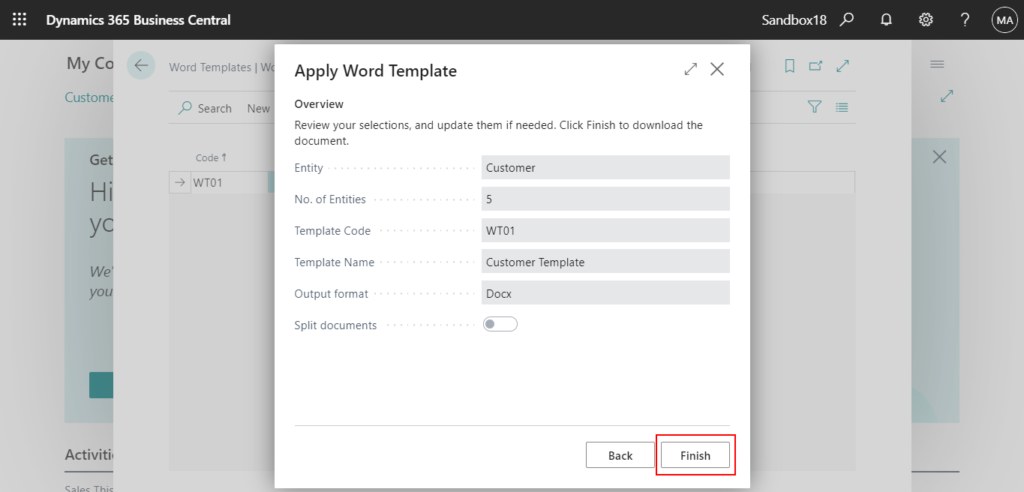
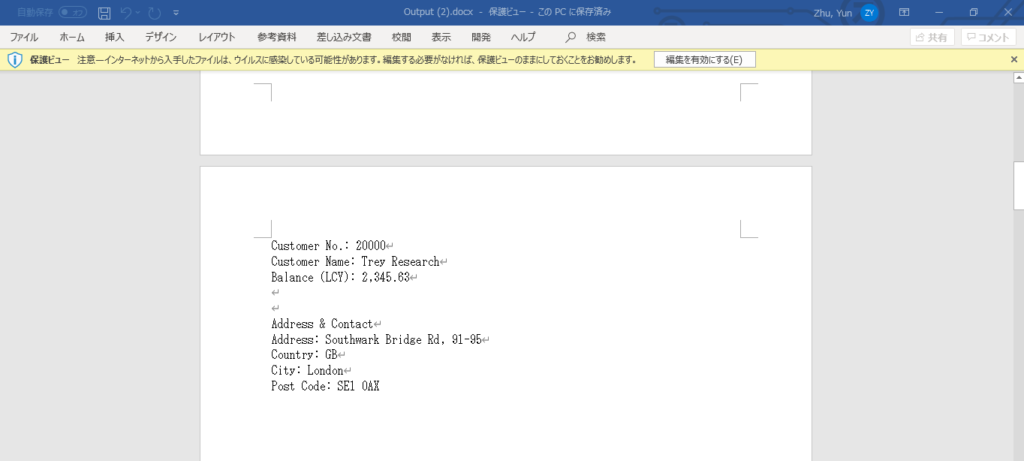
The word document will be download.

Page1:

Page2:
Test Video:
PS:
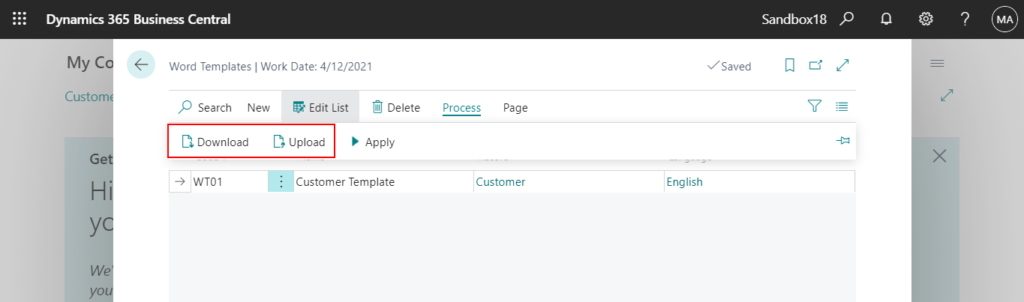
1. On the Word Templates page, you can download the selected word template, and upload a new template for the selected entry.
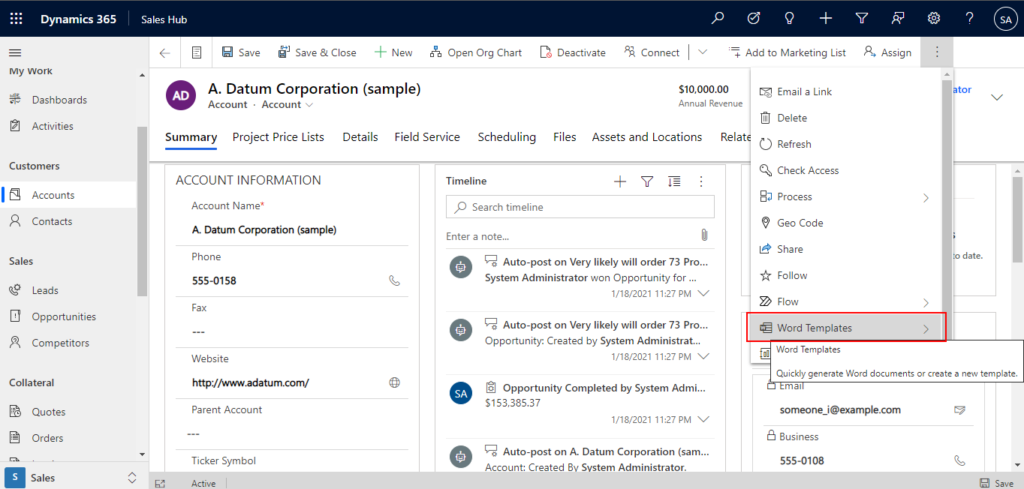
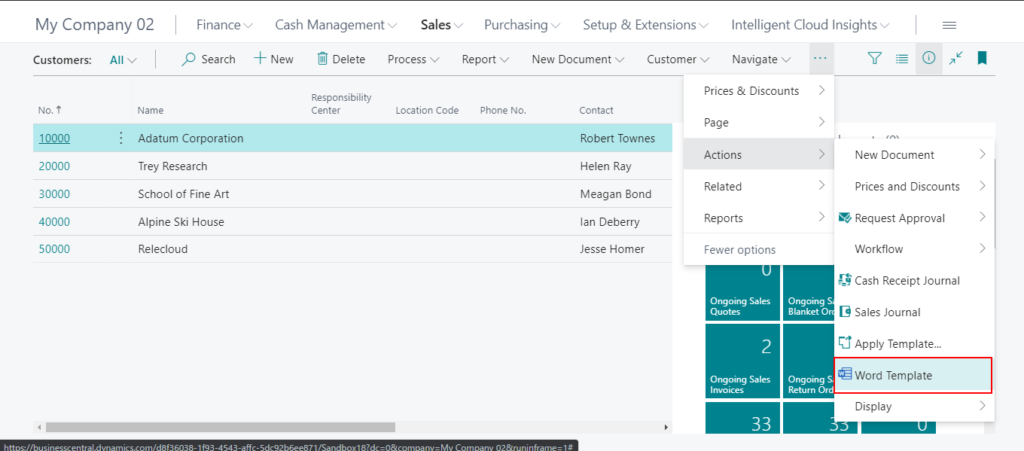
2. Word Templates feature is also available on the Customer List, Customer Card, Vendor List, Vendor Card, Contact list, and Contact Card page, you can use it directly.
For example:
Test Video:
If you want to add Word Templates to other pages, please refer to Dynamics 365 Business Central: Add Word Templates to any pages.
For more details: Using Word Templates for Bulk Communication
END
Hope this will help.
Thanks for reading.
ZHU
コメント