Hi, Readers.
Today I would like to discuss a question that was asked recently, how to change the value of “Ship-to” field (ShipToOptions) on the Sales Order page via AL.
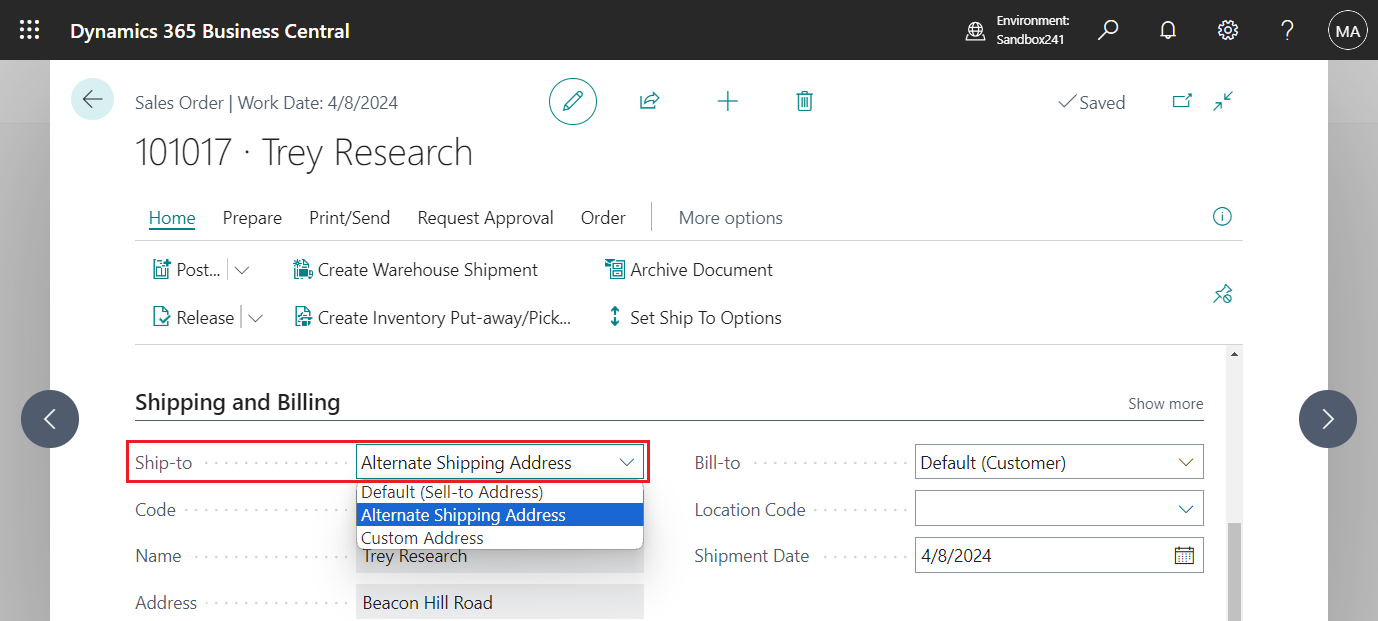
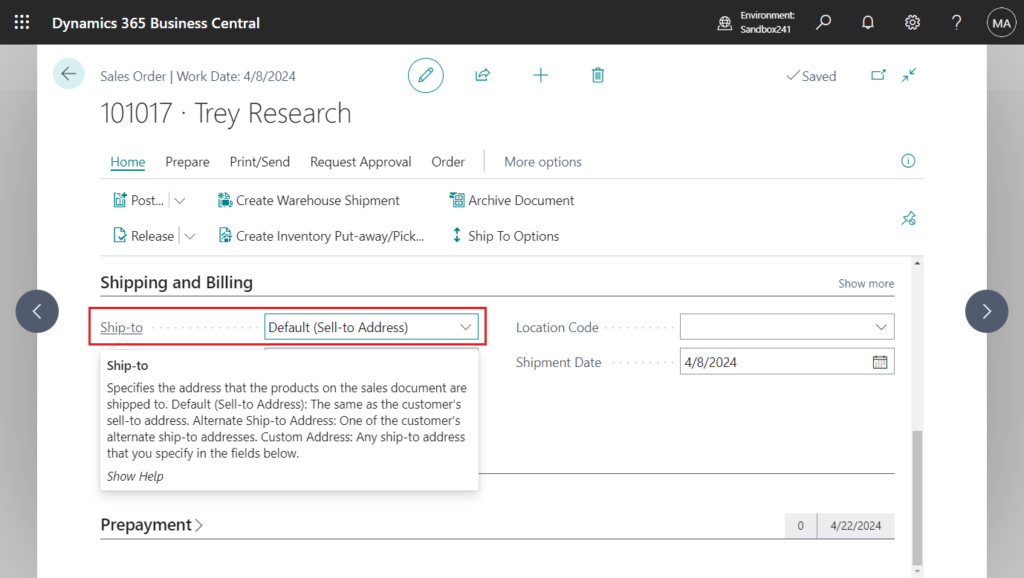
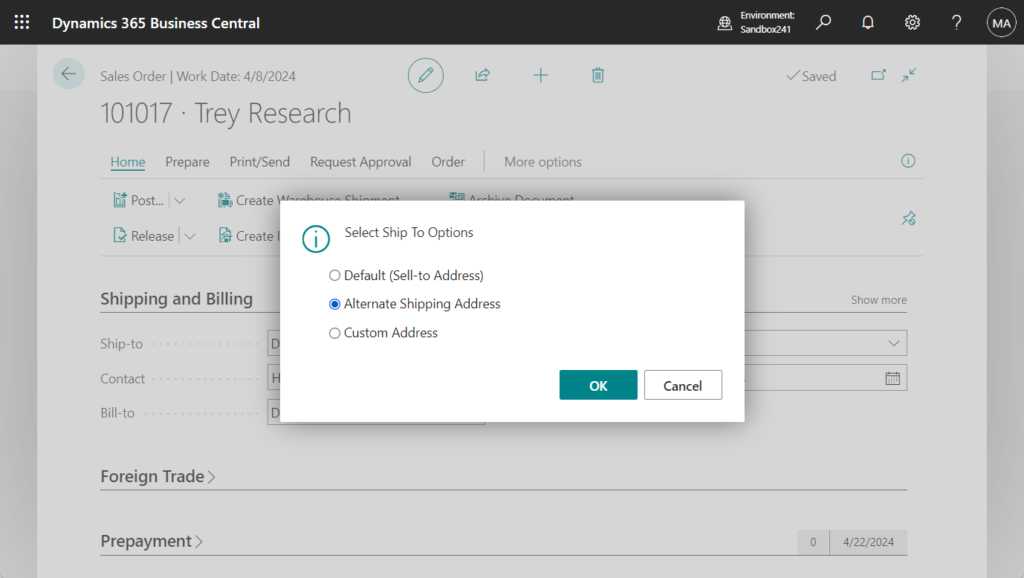
Ship-to
Specifies the address that the products on the sales document are shipped to.
Default (Sell-to Address): The same as the customer’s sell-to address.
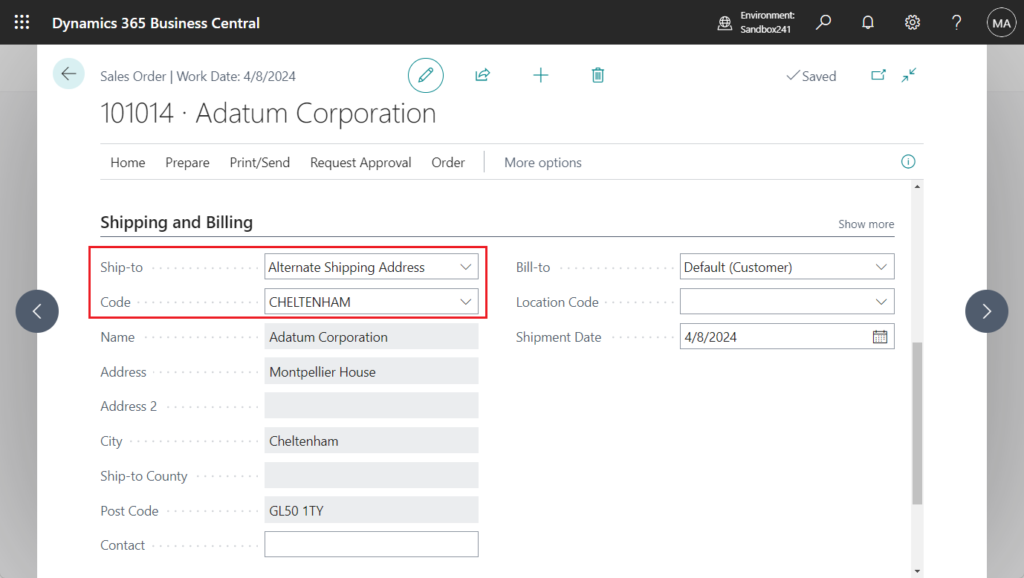
Alternate Ship-to Address: One of the customer’s alternate ship-to addresses.
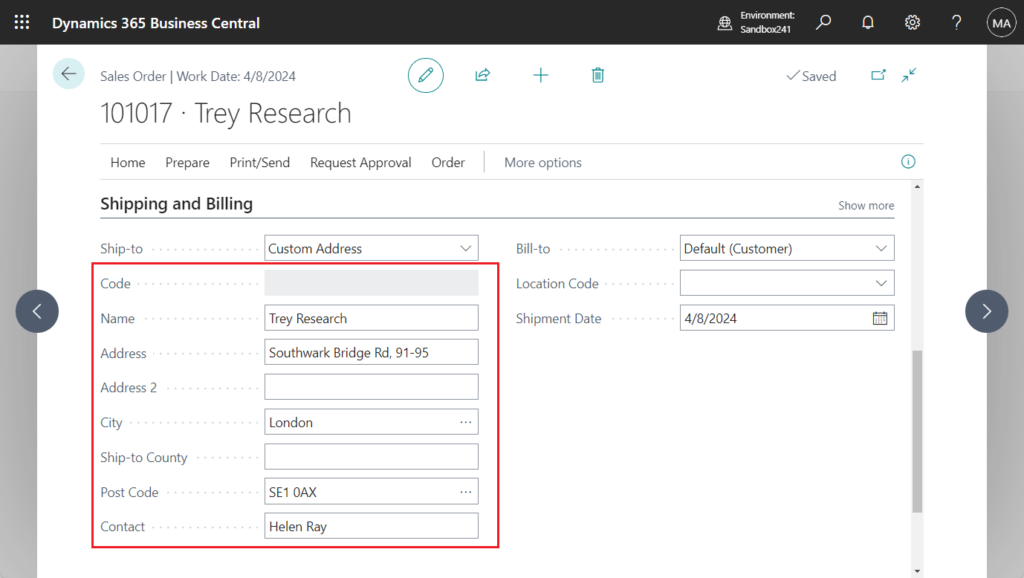
Custom Address: Any ship-to address that you specify in the fields below.
For example,
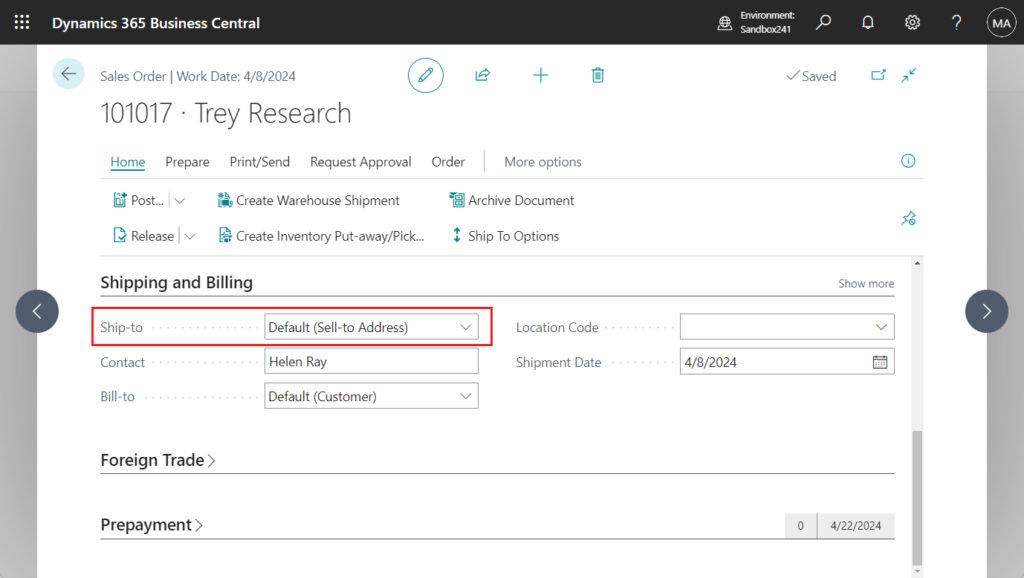
Default (Sell-to Address):
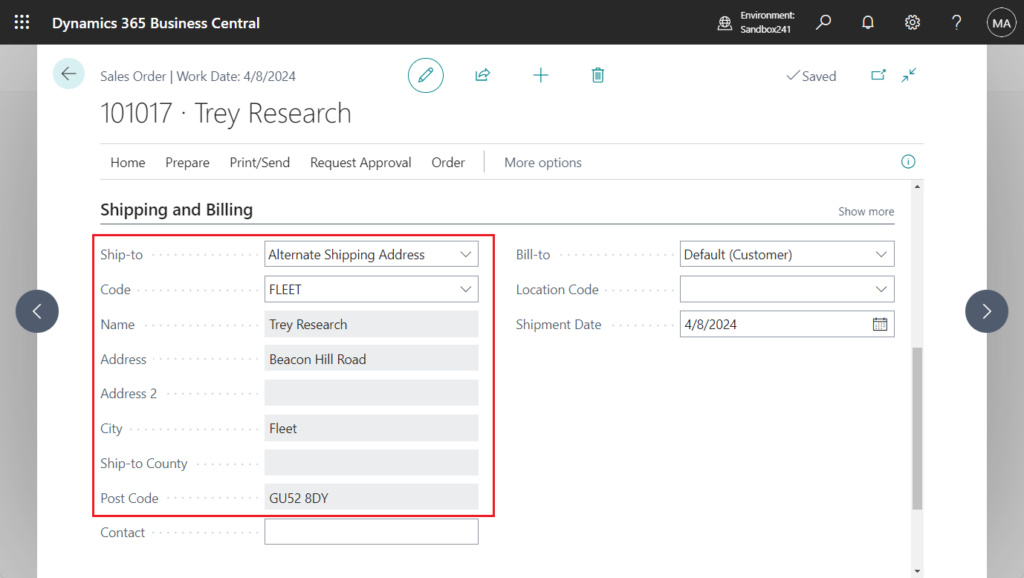
Alternate Ship-to Address:
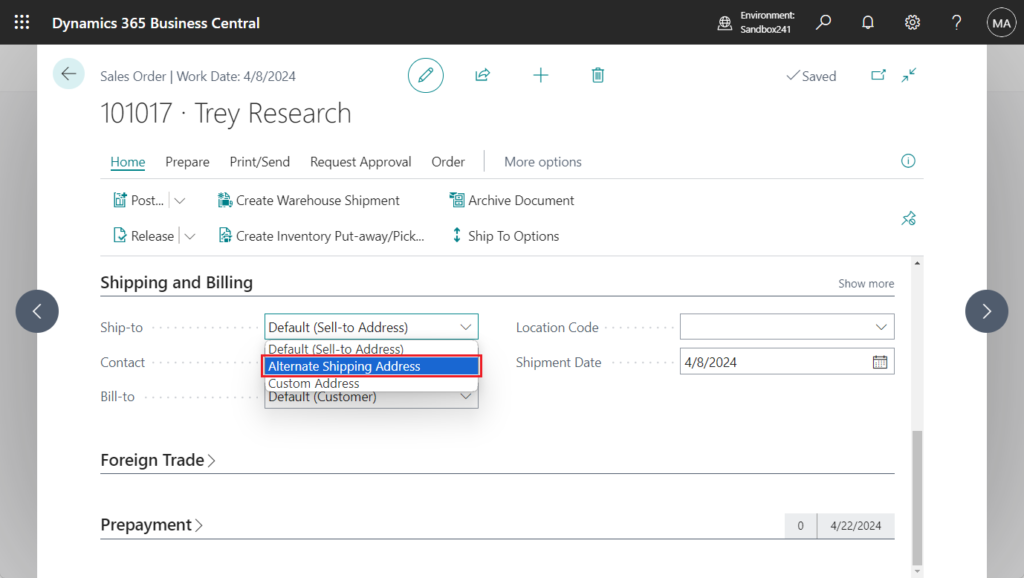
You need to select an address to be shipped to from the customer’s Ship-to Address List.
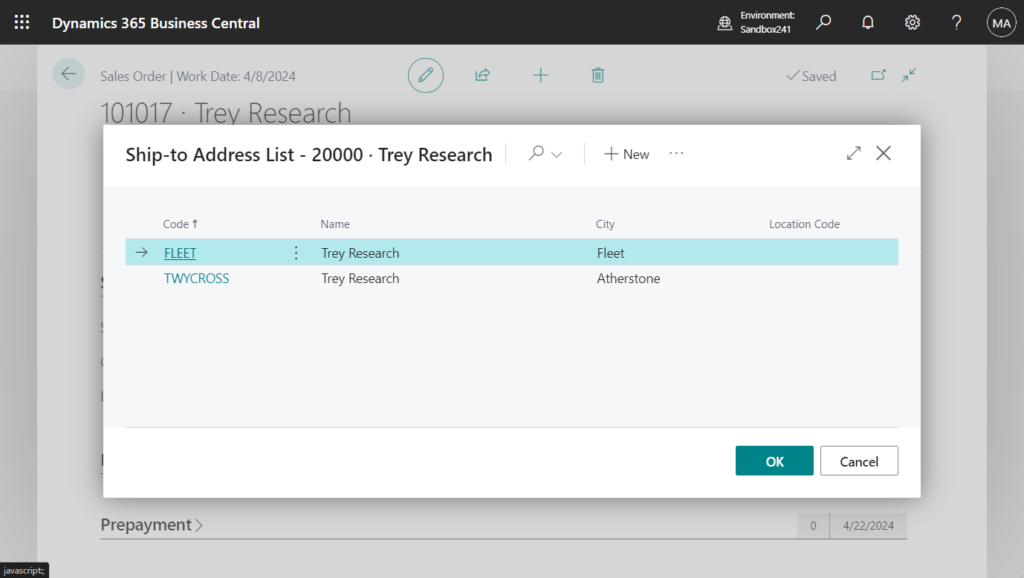
All Ship-to information cannot be modified.
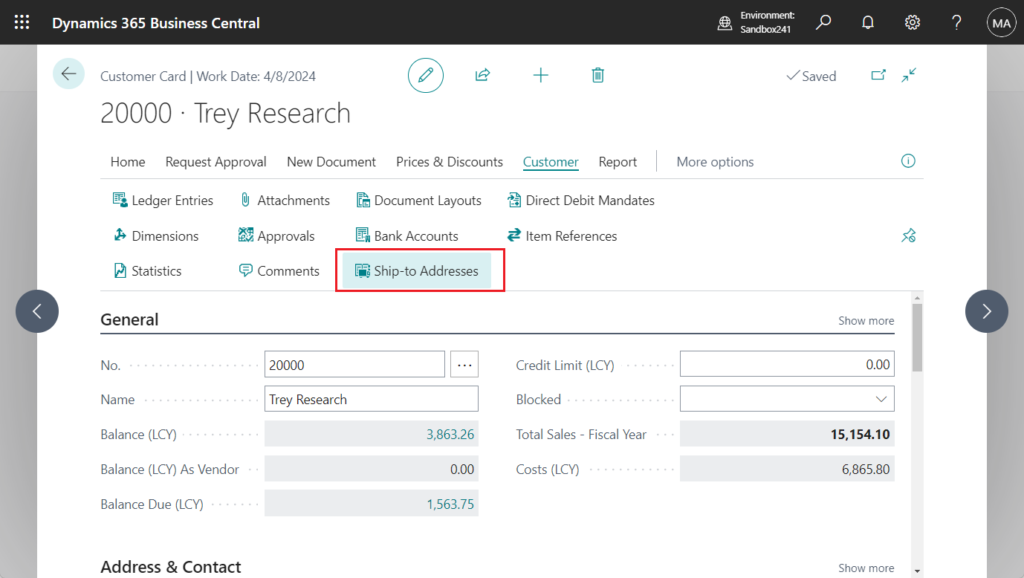
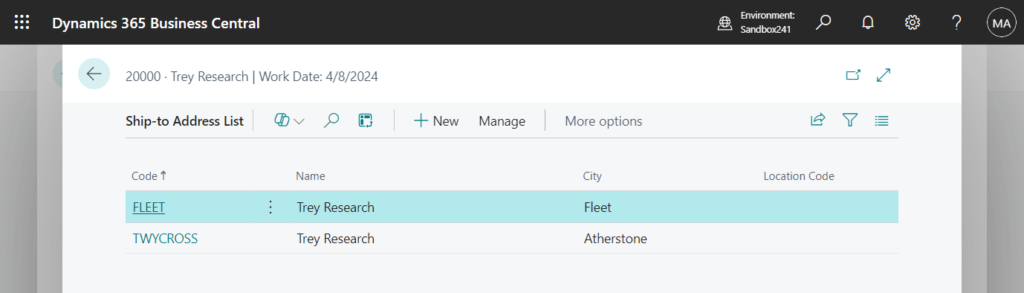
PS: Ship-to Addresses are maintained on the pages below.
Custom Address:
Ship-to Code is blank and cannot be edited. All Ship-to information can be modified.
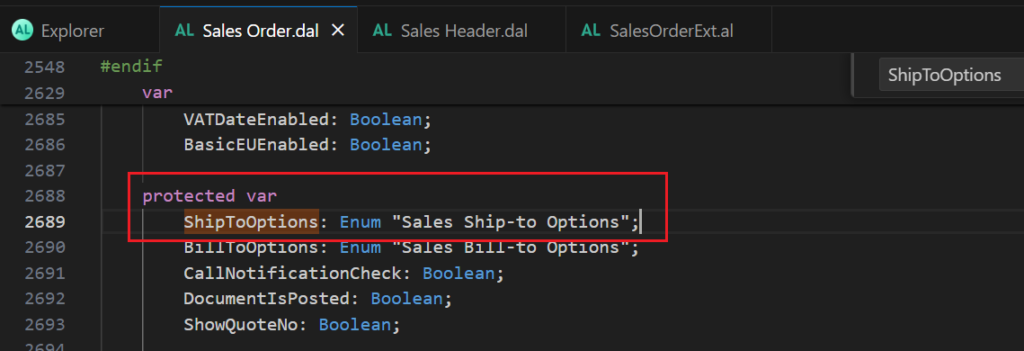
So why is this a problem? This is because this field is not a real field in the Sales Header table. This is a variable on the page.

But fortunately it is a protected var and we can access it from Page Extension.
More details: Dynamics 365 Business Central: Can we access global variables from page extensions or table extensions? Yes, But……
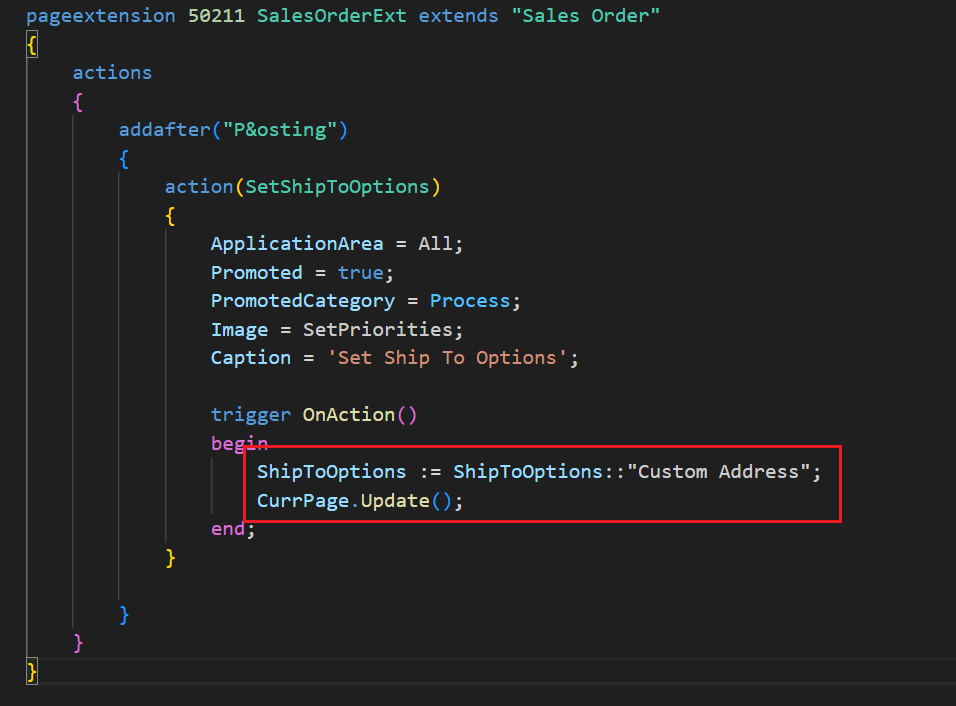
For example, but the code below cannot modify the value on the page……
In fact, on the customer card, we can set the default Ship-to Code.
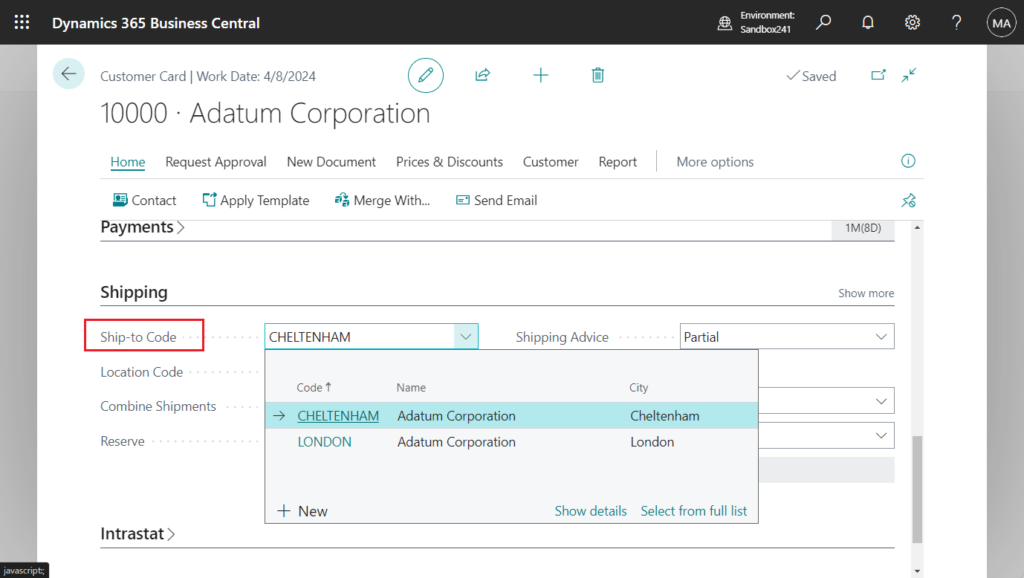
In this way, when creating a new Sales Order, the Ship-to Code will be automatically applied as the default. And the value of the “Ship-to” field (ShipToOptions) will also change automatically.
Below is a portion of the standard code. There is no handling of the “Ship-to” field (ShipToOptions).

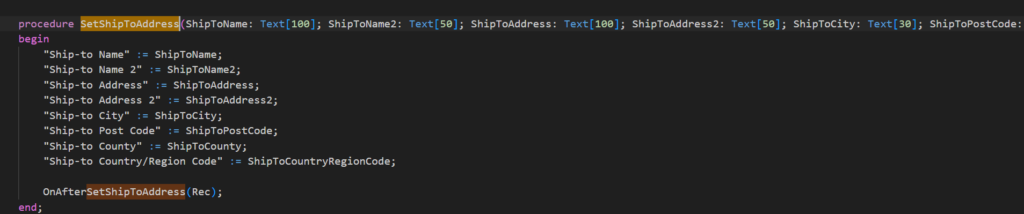
So we don’t need to worry about this field. As mentioned above, this is just a variable and does not affect the values in the table.
In conclusion, there are three situations.
- When the “Ship-to Code” field is blank, “Ship-to” field (ShipToOptions)=Default (Sell-to Address).
- When the “Ship-to Code” field is not blank, “Ship-to” field (ShipToOptions)=Alternate Shipping Address.
- When the “Ship-to Code” field is blank and other Ship-to releated fields (For example, “Ship-to Name”) is not blank, “Ship-to” field (ShipToOptions)=Custom Address.
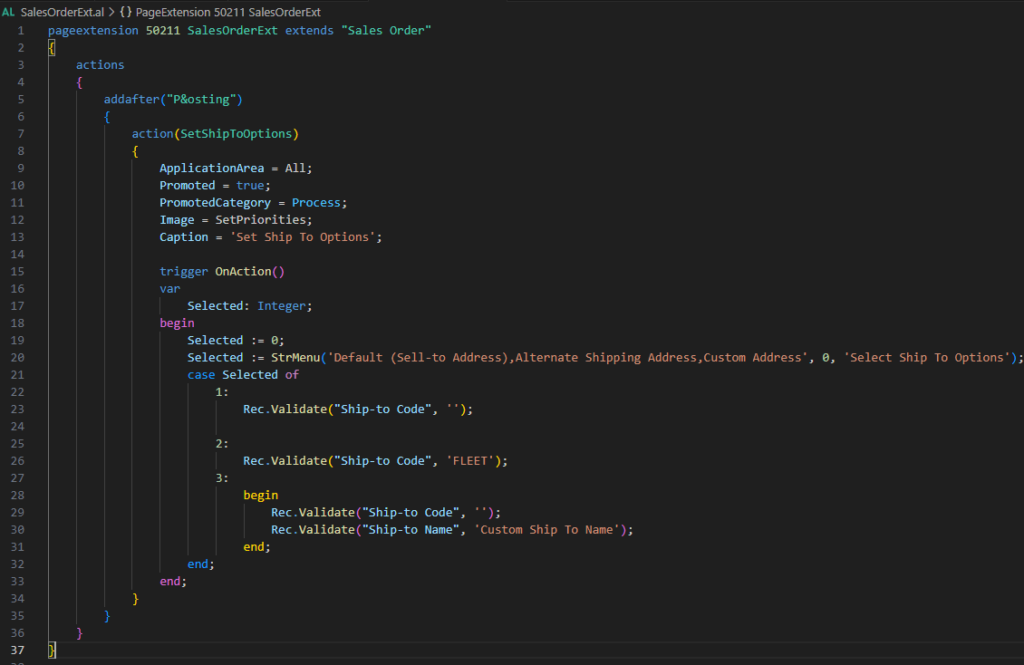
Let’s see a detailed example. I created a new button on the Sales Order page to modify the default “Ship-to” field (ShipToOptions).
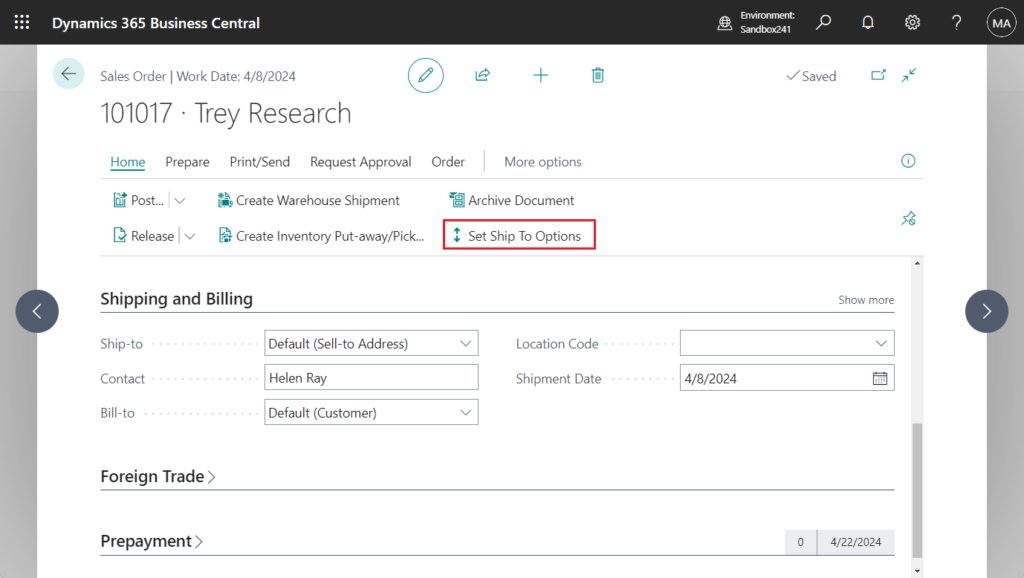
Great. (My example is just a example of modification, you can use the same method when inserting)

Test video:
Other fields such as BillToOptions, or other documents are handled the same way. Give it a try!!!😁
Test code:
pageextension 50211 SalesOrderExt extends "Sales Order"
{
    actions
    {
        addafter("P&osting")
        {
            action(SetShipToOptions)
            {
                ApplicationArea = All;
                Promoted = true;
                PromotedCategory = Process;
                Image = SetPriorities;
                Caption = 'Set Ship To Options';

                trigger OnAction()
                var
                    Selected: Integer;
                begin
                    Selected := 0;
                    Selected := StrMenu('Default (Sell-to Address),Alternate Shipping Address,Custom Address', 0, 'Select Ship To Options');
                    case Selected of
                        1:
                            Rec.Validate("Ship-to Code", '');

                        2:
                            Rec.Validate("Ship-to Code", 'FLEET');
                        3:
                            begin
                                Rec.Validate("Ship-to Code", '');
                                Rec.Validate("Ship-to Name", 'Custom Ship To Name');
                            end;
                    end;
                end;
            }
        }
    }
}
END
Hope this will help.
Thanks for reading.
ZHU

コメント